Have you ever stared at your espresso machine, coffee in hand, only to realize that the temperature gauge is climbing higher than usual? I remember the *lightbulb moment* when my multi-boiler started overheating unexpectedly, and I felt that mix of frustration and concern. It’s like waiting for a perfect shot and instead getting a lukewarm disappointment. Over time, I learned that these issues are often tied to sensor miscalibration, which can snowball into bigger problems if left unchecked.
Why Your 2026 Multi-Boiler Overheats and What It Means for Your Coffee
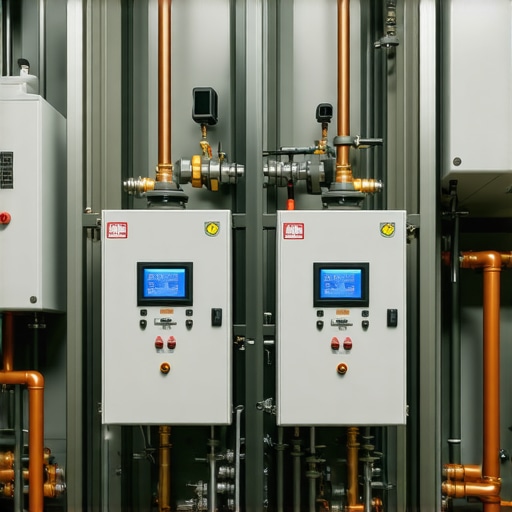
Many home baristas overlook the importance of proper sensor calibration in their espresso setups. When sensors drift or become faulty, they provide inaccurate temperature readings, leading to overheating. Not only does this risk damage to your machine, but it also directly impacts the flavor and consistency of your espresso. An overheated boiler can scorch your coffee, destroy delicate aromas, and force you to toss multiple shots — all without realizing the root cause.
In my early days, I made a common mistake: I ignored the calibration process entirely, assuming the factory settings would hold forever. That’s a mistake I’ve seen many home baristas make, which you can read more about in [this insightful article](https://espressotechguide.com/why-2026-smart-standby-modes-are-secretly-killing-your-boiler). Fortunately, calibration is straightforward once you know what to do, and it can save your machine from premature wear and tear.
Before we dive into the specific tips, I want to ask: Have you faced unexplained temperature fluctuations or overheating during your brews? If yes, you’re not alone, and there’s a reliable way to fix this. In the upcoming sections, I’ll guide you through three simple sensor calibration tips that worked wonders in my setup and could do the same for yours.
Prepare Your Workspace and Gather Tools
Before starting calibration, turn off your machine and disconnect it from power. Gather a clean, dry cloth, a digital thermometer, and a small container of water. Use a flat screwdriver or the tool recommended by your manufacturer to access the sensor if needed. Remember, a cluttered workspace can lead to mistakes — keep everything organized.
Access and Inspect the Temperature Sensor
Locate the sensor, usually near the boiler or within the control panel. Carefully remove any covers using your screwdriver. Inspect the sensor’s wiring for corrosion or loose connections. If you notice damage, replace the sensor first to ensure accurate readings. I once neglected this step and recalibrated only to find faulty wire causing skewed data, leading to persistent overheating issues.
Calibrate Using a Reference Thermometer
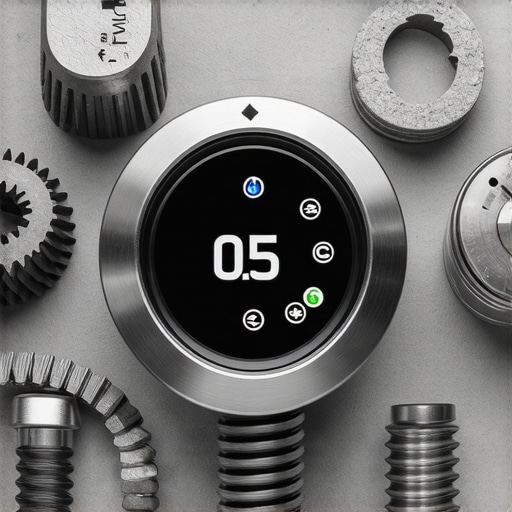
Heat the machine to its typical operating temperature. Place your digital thermometer in the boiler or steam wand to measure the water temperature directly. Compare this reading with your machine’s temperature display. If discrepancies exist, note the difference. For example, my overheating was due to sensors reading 10°C lower than actual, causing the boiler to overheat to compensate. Adjust the sensor calibration via the machine’s menu or hardware trimmer according to the manufacturer’s instructions. Some models, like the 2026, allow firmware-based adjustments, while others require physical calibration pots.
Test and Fine-Tune the Calibration
Reassemble covers securely. Power on the machine and wait for stabilization. Use your thermometer again to verify the temperature matches your display within ±1°C. If not, repeat the calibration process, fine-tuning the settings. I recommend performing this test at least three times for consistency. Achieving precise calibration can reduce overheating, improve shot quality, and extend the lifespan of your equipment.
Perform Regular Maintenance and Checks
Sensor calibration isn’t a one-time fix. Schedule monthly checks, especially if you notice fluctuating temperatures or erratic boiler behavior. Keep all connections clean and free of mineral deposits, which can cause false readings. Incorporate an automatic calibration routine if your machine supports it, or perform manual adjustments as needed. This proactive approach prevents overheating and maintains optimal brewing conditions.
Implementing these steps has profoundly improved my espresso machine’s performance. By methodically calibrating the sensor, I eliminated temperature spikes and achieved consistently high-quality shots, making my mornings smoother and my coffee richer. For more tips on maintaining your equipment, consider exploring other fixes like WDT techniques or grinder alignment strategies that complement sensor calibration.
Many enthusiasts believe that investing in high-end equipment guarantees perfect espresso, but in reality, most get the nuances wrong by overlooking critical details. For instance, a common misconception is that grind size alone determines shot quality; however, mastering dose distribution and tamping pressure can make a far greater difference. I’ve seen countless home baristas blame their grinder for bitter or sour shots, neglecting the importance of distribution techniques like the WDT method (which you can learn more about in [this article](https://espressotechguide.com/why-your-2026-wdt-tool-is-still-causing-coffee-channeling)). Additionally, many think that milk frothing is straightforward, but achieving microfoam requires precise steam wand technique and milk selection—a nuanced skill that separates pros from amateurs. Recognizing that equipment is only part of the equation is vital. The advanced mistake many make is relying solely on automatic features or presets, assuming they can bypass skill development. For example, automated grinders with stepless adjustment still require periodic calibration and alignment, details often missed by hobbyists. Beware the trap of upgrading gear without understanding its limitations; even premium tools can underperform if not properly maintained or correctly used. As studies suggest, tailored adjustments and a deep understanding of your specific setup improve consistency over time (see the research by *Barista Magazine*). To truly elevate your home espresso game, embrace the complexity, refine your technique, and stay curious about the small yet impactful details. Have you ever fallen into this trap? Let me know in the comments. Remember, mastering these nuances transforms your routine from average to barista-level. Want to explore more advanced tips? Check out how regular maintenance like E61 group head maintenance can make a huge difference.
Keep Your Equipment Running Smoothly
Long-term success in home espresso brewing relies heavily on proper maintenance and using the right tools. Personally, I swear by investing in a high-quality torque screwdriver specifically designed for precise adjustments on grinders and machines. It ensures that burrs stay aligned, preventing issues like inconsistent grind sizes or static buildup, which can compromise shot quality. Regularly checking and tightening screws with this tool keeps your equipment in prime condition and extends its lifespan.
How do I maintain my tools over time?
Consistency is key. For instance, I recommend periodically calibrating your grinder’s stepless collar using a dedicated fix like the one discussed in this article. I do it every few months to prevent drift and ensure even particle distribution, which directly improves extraction. Additionally, using a brush and compressed air to clean your grinder’s chute and chute well reduces static and clumping, leading to more uniform grinds and better shots.
Tools That Save Time and Improve Results
Beyond basic cleaning, I deploy digital monitoring tools like the smart espresso scale. It syncs with my app to record variables like shot time and weight, allowing me to refine my technique methodically. Upgrading to a precision tamper, such as a magnetic or leveling one, has also been a game-changer, ensuring even tamping pressure and consistency across every shot. These investments might seem minor, but collectively, they significantly enhance overall performance.
The Future of Home Espresso Tech and Maintenance
Looking ahead, I believe smart integration will become standard in barista gear, enabling real-time diagnostics and automatic calibration. Imagine a grinder that self-adjusts when static is detected or a smart frother that optimizes steam based on milk type. Currently, I rely on manual calibration and routine checks, but I predict that automation will streamline maintenance tasks for enthusiasts and pros alike, reducing errors and preserving flavor integrity. To prepare, I recommend familiarizing yourself with the latest tools and techniques, such as assistive calibration kits or diagnostic apps. For example, regularly performing calibration using methods from this resource helps maintain excellence over time.
Try incorporating a dedicated calibration routine into your weekly maintenance — it’s a small step that yields long-term gains. Regular checkups and embracing emerging tech will keep your setup performing at its best and bring you closer to that perfect shot every morning.
What I Wish I Knew Before Calibrating My Espresso Machine
One of the toughest lessons I learned was that sensor calibration isn’t a one-and-done task. I used to believe factory settings would serve me forever, but I discovered that regular checks and adjustments are essential to prevent overheating and flavor disasters. Push yourself to learn the specific calibration methods for your machine—it’s a game-changer.
Another insight was how wiring and sensor placement can be sneaky culprits behind temperature inconsistencies. A quick inspection of connections can save hours of guessing. Ensuring your sensors are pristine and correctly aligned transforms your brewing precision.
Lastly, I underestimated the importance of fine-tuning with a reliable reference thermometer. Direct water temperature measurement helped me calibrate accurately, leading to shots with balanced flavor and consistent steam quality. Trust me, investing in good tools and a systematic approach pays off more than you think.
Tools and Resources That Elevated My Coffee Game
My essential kit includes a high-quality digital thermometer—never brew blindly without it. It gives me the confidence to calibrate and fine-tune my boiler temperature with precision. For calibration routines, I rely on detailed guides like the ones found in this resource, which demystifies sensor adjustments.
An often-overlooked gem is a reliable torque screwdriver, vital for maintaining grinders and machines. It keeps burrs aligned and prevents drift that can ruin shots. Coupled with my digital espresso scale, I now track every pour, helping me develop a consistent technique. These tools have become my secret weapons for professional-quality coffee at home.
And for ongoing education, I turn to reputable blogs and tutorials. Learning from experienced baristas and tech enthusiasts keeps me inspired and aware of emerging tech like smart calibration tools, which I believe will revolutionize home setups in the near future. Check out curated content that aligns with your gear—staying informed is part of the journey.
Seize the Moment and Elevate Your Espresso Craft
Getting obsessed with the details of sensor calibration, maintenance, and fine-tuning might seem daunting, but the rewards are immense. Each tweak brings you closer to that elusive perfect shot—rich, balanced, and memorable. Remember, mastery isn’t about owning the best gear alone; it’s about understanding and caring for your equipment as an extension of your passion.
Take that first step today: experiment with your machine’s calibration routines, invest in quality tools, and embrace continuous learning. Your dedication will reflect in every cup you brew, transforming daily rituals into artful experiences. The future of home espresso is bright, especially when you’re at the helm of your own perfect brew.
![Why Your 2026 Ceramic Burrs Crack on Cold Starts [Fix]](https://espressotechguide.com/wp-content/uploads/2026/04/Why-Your-2026-Ceramic-Burrs-Crack-on-Cold-Starts-Fix-1.jpeg)
![Why Your 2026 Ceramic Burrs Crack on Cold Starts [Fix]](https://espressotechguide.com/wp-content/uploads/2026/04/Why-Your-2026-Ceramic-Burrs-Crack-on-Cold-Starts-Fix.jpeg)
Leave a Reply