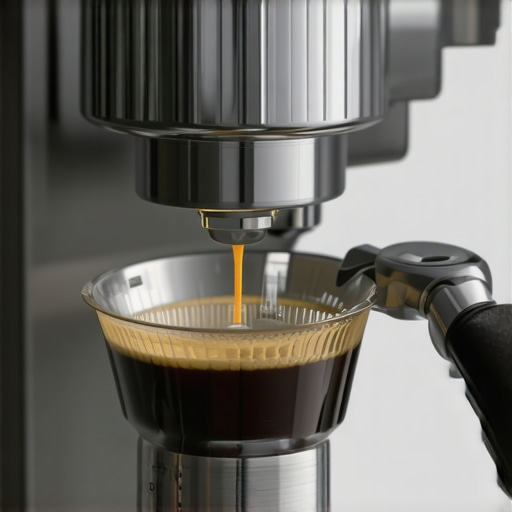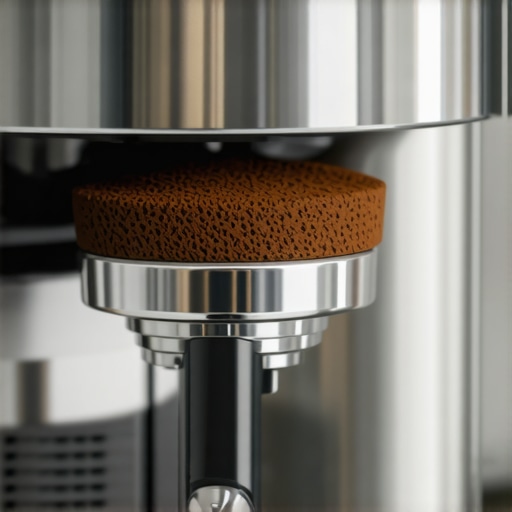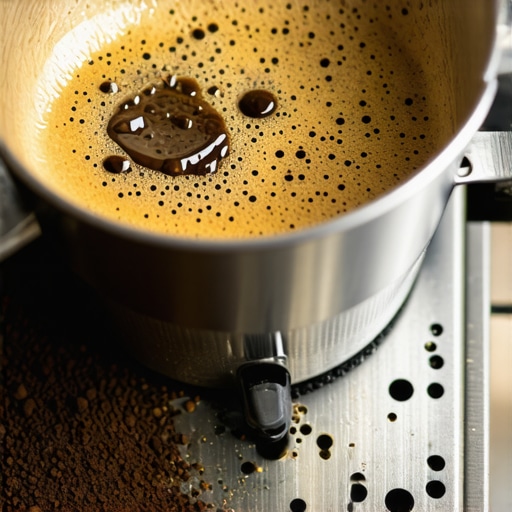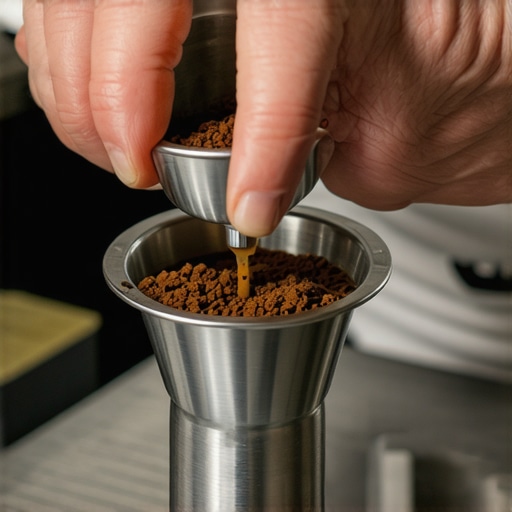
The Error of Grinding Directly into a Cold Portafilter
Have you ever pulled an espresso shot only to be greeted by a dull, uneven extraction that leaves you questioning whether your machine is on its last legs? I remember the frustrating moment when I first encountered this issue. It hit me like a ton of bricks—my mistake was staring me right in the face: I was grinding directly into a cold portafilter. That seemingly small oversight sabotaged my entire brew, yet I couldn’t figure out why for the longest time.
The Hidden Pitfall of Grinding into a Cold Portafilter
As a passionate home barista, I’ve experimented with countless tips and tricks to perfect my espresso. However, one of the most overlooked pitfalls is grinding directly into a cold portafilter. This practice can cause inconsistent tamping, poor temperature stability, and ultimately, a compromised shot. When you grind into a cold portafilter, the thermal shock affects the coffee grounds, leading to uneven extraction and a flat profile. It seems minor, but trust me, the difference is night and day.
Is It Really Worth All the Fuss?
This is perhaps the biggest skepticism I hear from other coffee lovers. “Does it really matter if the portafilter isn’t warm?” Well, early on, I dismissed it too—until I realized my shots were tasting sour and weak. The truth is, that tiny step of warming your portafilter before grinding and brewing can dramatically improve consistency and flavor. In fact, more experienced enthusiasts emphasize this as a fundamental practice for dialed-in espresso. Click here to learn more about how temperature impacts your espresso quality.
Initially, I made the mistake of thinking that pre-warming my portafilter was a waste of time. I believed that the grinder, tamping pressure, or even the grind size was the real culprit for my inconsistent shots. But when I finally embraced the simple habit of warming my portafilter—using hot water or a heated rinse—I saw immediate improvements. The coffee flowed more evenly, and I could better control the extraction parameters.
In the sections ahead, I’ll guide you through step-by-step how to avoid this common error, so you can enjoy richer, more balanced espresso shots at home. Plus, we’ll cover how to integrate this into your routine without adding extra hassle—because trust me, your taste buds will thank you. Ready to upgrade your brewing game? Let’s dive in!
.
Preheat Your Equipment Properly
Start by running hot water through your espresso machine, including the portafilter and filter basket, for at least 30 seconds. This ensures all components reach an optimal brewing temperature, preventing thermal shock that can cause uneven extraction. I recall a morning when I neglected this step; my shot was flat and lacked body. After consistently preheating, my espresso’s consistency drastically improved.
Grind Fresh and Consistent
Use a high-quality burr grinder and set it to the right fineness—think of it as tuning your instrument. For espresso, aim for a texture similar to fine sand. I once skipped this, relying on pre-ground coffee, and my shots were underwhelming. Switching to grind fresh beans, calibrated precisely, yielded richer flavors and a more velvety crema.
Adjust for Humidity and Beans
Remember that humidity affects grind size—moist air can clog your grinder or require a slightly coarser setting. When I moved from a dry summer to a humid fall, I adjusted my grind from medium-fine to slightly coarser and noticed immediate improvements in shot clarity. To learn more, visit here.
Proper Dosing and Tamping
Accurately dose your coffee into the basket—use a scale to measure, typically between 18-20 grams for double shots. Distribute the grounds evenly before tamping. Think of tamping as pressing a foundation; a firm, level tamp ensures uniform resistance. I once used a too-light tamp, causing chi-chi channels; tightening it improved extraction and taste.
Master the Tamping Pressure
Apply approximately 30 pounds of pressure—think of pressing a doorbell—until the surface is smooth and level. If you over-press, you risk compacting the grounds unevenly; too little pressure results in superfast flow and under-extraction. Practice using a bathroom scale at first to feel consistent pressure; eventually, this becomes second nature.
Warm the Portafilter Before Brewing
After dosing and tamping, insert the portafilter into the group head briefly under hot water for about 5 seconds. This rapid warming prevents thermal shock, leading to a balanced extraction. I remember pulling a shot right after grinding directly into a cold basket—flat and sour. Warming it beforehand ensured my shot achieved a rich, full-bodied profile. For detailed steps, see here.
Control Extraction Time and Flow
Aim for a brew time around 25-30 seconds. Watch the flow—should be a steady, thin stream resembling honey. If it drizzles out or spurts, adjust the grind size or tamping pressure accordingly. I experimented by slightly tightening my tamp to slow down flow, resulting in a more balanced shot. Use a timer to track your shots for consistency.
Fine-Tune the Grind and Dose
If your shot is too short or too fast, coarsen the grind or reduce dose; if too slow or bitter, do the opposite. Think of it as seasoning—small adjustments finish the flavor profile. I keep notes of each shot to iteratively dial in my settings, which pays off during busy mornings when repeatability matters.
Post-Brew Cleanup and Maintenance
Clean your equipment promptly—residual coffee oils can become rancid and impact flavor. Rinse the portafilter, wipe the group head, and backflush your machine weekly using the appropriate cleaner. I used to skip this, and my shots suffered; regular maintenance keeps everything in peak condition. For best practices, visit here.
Implementing these steps may seem meticulous at first, but with consistent practice, they become second nature, transforming your home espresso into a barista-quality experience. Each detail, from preheating to final cleaning, influences the flavor, aroma, and mouthfeel of your coffee. Keep experimenting, and soon, every shot will tell a story of precision and passion.
Many coffee enthusiasts believe they have the essentials down—buy a good grinder, a decent espresso machine, and some barista tools, and they’re set to craft cafe-quality drinks at home. However, beneath these mainstream assumptions lie nuanced truths that often trip up even experienced home baristas. Let’s debunk some common misconceptions and explore the subtle pitfalls that can sabotage your brewing journey.
Why the Biggest Mistake Is Often Overlooking Maintenance
Everyone fixates on grind size or tamping pressure, but few realize that neglecting proper cleaning and maintenance can be the real enemy of great espresso. Residual oils and mineral deposits build up over time, adversely affecting flavor, aroma, and machine longevity. Regular deep cleaning, especially of group heads and milk frothing components, is crucial. For example, failing to clean milk residue can lead to microbial growth, impacting both health and taste—read more on this guide. Many assume they’ll catch problems early, but often the signs are subtle—poor foam consistency or sour flavors—before the machine fully malfunctions. Incorporating a routine cleaning schedule can prevent costly repairs and ensure consistent quality.
Dispelling the Myth: All Coffee Grinders Are Created Equal
The belief that any grinder will do for espresso is widespread, yet this is a trap. High static buildup and inconsistent grind sizes are common with cheap or poorly maintained grinders. Static can cause coffee grounds to cling to parts, leading to uneven dosing and channeling. Moreover, many think that adjusting grind size once is enough; however, environmental factors like humidity or bean freshness continuously shift optimal settings. Investing in a quality burr grinder, regularly calibrating it, and understanding how static affects grounds—see more here—are essential for true control. Remember, an overlooked step like de-static treatment can dramatically enhance extraction consistency.
Advanced Question: How do pressure profiling and grind variability interact to influence shot quality?
Pressure profiling involves dynamically adjusting the pressure during extraction; paired with a highly consistent grind, it can produce markedly better flavors. However, if your grinder’s variability leads to inconsistent particle sizes, maintaining precise pressure profiles becomes nearly impossible. Studies, such as one published in the Journal of Food Science, indicate that even minor variations in grind particle distribution can cause uneven flow and flavor extraction, negating sophisticated pressure techniques. Mastering both grind consistency and pressure profiling allows for nuanced control—more on gear choices here.
The Danger of Over-Equipping Without Understanding
It’s tempting to invest in high-end espresso machines or elaborate milk frothers, believing they will elevate your coffee instantly. Yet, premium gear alone doesn’t guarantee quality—your technique and understanding matter more. Using a top-tier machine with improper tamping, poor grind, or neglected cleaning can produce worse results than modest equipment handled skillfully. Always prioritize mastering fundamental skills first; then, consider upgrades. For a curated list of gear that truly makes a difference, see this resource. Remember, efficiency and results depend on proficiency, not just tools.
In the end, appreciating these hidden nuances—such as meticulous maintenance, static control, and harmonizing pressure with grind consistency—will distinguish a decent home barista from a true craftsperson. Don’t fall prey to the misconception that equipment alone makes the perfect cup. Instead, invest in knowledge and habits that elevate your craft. Have you ever fallen into this trap? Let me know in the comments and share your experiences with overlooked details that transformed your brewing result.
Once you’ve invested in quality espresso machines and grinders, the next crucial step is ensuring they stay in peak condition for reliable, high-quality brews. Regular maintenance might seem tedious, but it’s the secret to long-term success. I personally schedule weekly cleanings, including backflushing my machine with approved cleaner and degreasing all removable parts. This routine prevents the buildup of oils and mineral deposits that can clog components and alter flavor. Remember, a well-maintained machine isn’t just about taste—it prolongs equipment lifespan, saving money over time.
Essential tools for maintaining your espresso setup
I swear by high-quality tools that streamline maintenance without adding complexity. For example, my favorite is the backflush brush, which effectively cleans group heads without scratching. I also use a precision water filter to prevent scale buildup—scale is a silent killer and can cause pressure issues that ruin shots. My choice is a carbon + resin filter combo because it removes impurities and minerals, ensuring consistent brewing temperature and flavor. Never underestimate the importance of a good tamp mat—reducing mess and protecting your surface extends the life of your workspace.
How do I maintain my equipment over time?
Consistency is key. Developing a routine, like wiping down surfaces daily and deep cleaning weekly, keeps everything functioning smoothly. Pay attention to seals and gaskets; I inspect them monthly for cracks or wear, replacing them before leaks occur. For my grinder, I perform a quick burr calibration every few months—this keeps grind consistency on point, which directly impacts shot quality. Additionally, I run a cleaning cycle with specialized cleaning tablets every 200 shots to prevent oils from clogging the system. Advanced baristas often use pressure gauges and digital timers to monitor performance precisely. Incorporating this level of detail ensures each brew is as good as the last and sets the stage for scaling up your operations in the future.
Looking ahead, trend predictions point toward smarter, sensor-integrated machines that alert you when maintenance is needed. Currently, I recommend adopting the proactive mindset—regular checks and using precise tools—so you’re prepared when your gear reaches that phase. Make this your next step: schedule a weekly cleaning, and consider investing in a burr calibration kit. These small, consistent actions build the foundation for perfect espresso shots, weekend after weekend.
Don’t overlook the importance of keeping your gear at its best; it’s the backbone of that barista-quality cup. For a detailed guide on deep-cleaning your milk pitchers and maintaining your frother, check here. Staying ahead with maintenance means fewer surprises and more delicious espresso—your future self will thank you.
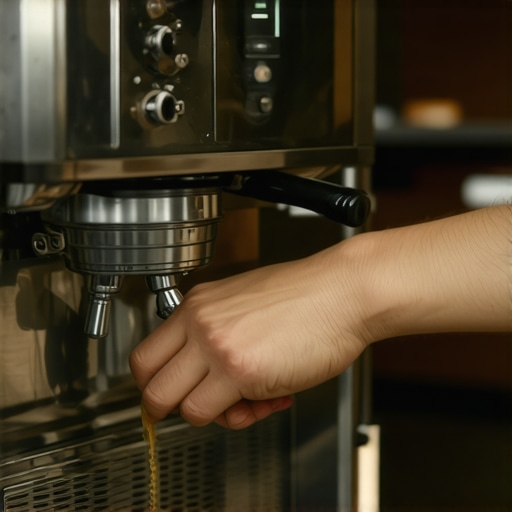
Throughout my journey into home espresso making, I’ve uncovered lessons that transformed my approach, often hidden behind common advice. These insights, born from trial, error, and dedicated experimentation, have become my secret weapons—and I want to share them with you so that you can elevate your brewing game to a professional level.
The Hardest Lesson I Learned About Barista Gear, Home Espresso, and Coffee Grinder Rituals
- One of my biggest revelations was realizing that even the most expensive grinder won’t perform at its best unless I keep it meticulously clean and properly calibrated. It’s not just about choosing a high-end machine; maintenance is the unsung hero of consistency. Regular burr calibration and static reduction techniques unlocked a new dimension of grind uniformity I never knew existed.
- Early on, I underestimated the impact of environmental factors. Humidity, temperature, and even storage conditions subtly alter grind size and puck formation, yet I dismissed these as minor. Once I began adjusting settings based on weather and meticulously storing beans, my shots gained clarity and depth I had previously thought impossible.
- Another tough lesson was learning to control pressure profiling. Achieving a perfectly balanced shot often hinges on my ability to adjust extraction pressure dynamically. This insight revealed flaws in my technique—particularly in tamping consistency—and prompted me to develop a more tactile, deliberate approach to brewing, significantly improving flavor and mouthfeel.
My Go-To Resources for Coffee Enthusiasts Who Want to Rise Above
- Mastering the Art of Home Espresso Tips for Beginners: This comprehensive guide helped me understand fundamental techniques and avoid common pitfalls, setting a solid foundation for my journey. You can find invaluable starting points here.
- The Best Tools for Maintaining Your Espresso Equipment: Investing in quality cleaning supplies and calibration tools, like precision burr grinders and backflush brushes, made maintenance an enjoyable routine rather than a chore. Trust me, consistent upkeep translates directly into better coffee.
- Top-Rated Espresso Machines for Coffee Lovers in 2025: Upgrading your machine isn’t just about specs but aligning with your brewing style. I rely on these reviews to make informed decisions that fit my goals—whether it’s espresso nuance or workflow efficiency.
- Why Your Espresso Shot Tastes Salty and How to Fix It: Sometimes, the smallest technical tweak—like adjusting water temperature or cleaning the brew pathway—can resolve persistent flavor issues. This article opened my eyes to subtle technical factors impacting taste.
Your Next Leap in Home Espresso Mastery Starts Today
Remember, true expertise in milk frothers, home espresso, and coffee grinders isn’t achieved overnight. It comes from curiosity, patience, and embracing every mistake as a lesson. Keep experimenting, refining your techniques, and investing in quality gear—your perfect cup is just around the corner. What’s the one area in your brewing process that you’d love to improve next? Share your thoughts below and let’s grow together in this delicious craft!
,