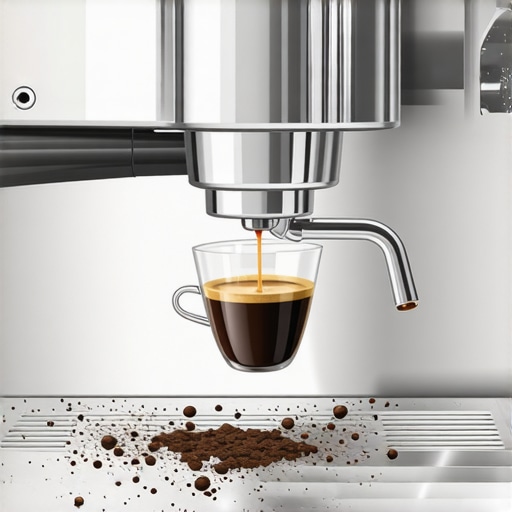
Why Your Coffee Puck Looks Like a Muddy Mess
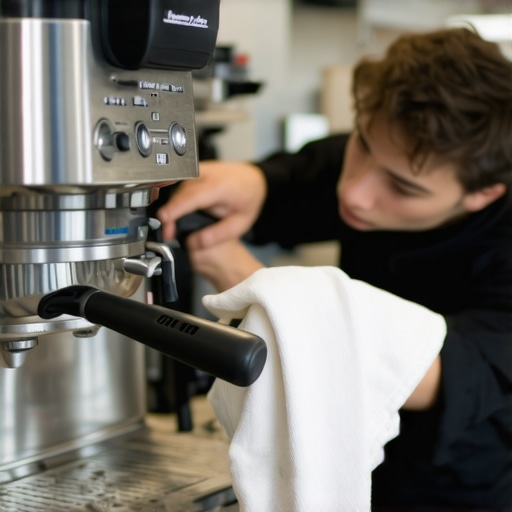
Ever had that moment when you’re pulling an espresso shot, and instead of a beautiful, compact puck, you get a muddy, crumbly mess? It’s frustrating, messy, and can leave you questioning if your machine is malfunctioning. I’ve been there, tossing my paper towel like it’s a relay baton, trying to clean up the chaos. One day, I had a lightbulb moment—realizing that my coffee puck’s appearance was a window into what I was doing (or not doing) behind the scenes.
Discovering the Real Cause of the Muddy Coffee Puck
This muddy mess isn’t just an eyesore; it’s a sign that something’s off in your brewing process. Unlike the picture-perfect espresso shots you see online, many home brewers struggle with a crumbly, uneven puck. This is usually due to incorrect grind size, uneven tamping, or poor distribution—simple mistakes that add up and turn your carefully extracted espresso into a soggy disaster. After years of experimenting and tweaking my routine, I found that small adjustments make the biggest difference. Want to turn your mud pit into a beautifully solid puck? Stick around, because I’ll show you how I finally cracked this code, and how you can, too.
Is a Messy Puck Worth All the Fuss?
At first, I thought the appearance didn’t matter. As long as the shot tasted okay, I figured some mess was just part of the game. Spoiler alert: it isn’t. A proper, consistent puck leads to better extraction, richer flavor, and less cleaning chaos. I made the mistake early on of ignoring my puck’s look—until I realized that it was telling me I was making fundamental errors. The truth is, a muddy puck can sabotage your entire espresso game, no matter your fancy equipment. If you’ve ever wondered whether your sloppy puck is affecting your flavor, you’re not alone. Many beginners overlook this aspect until it’s too late, but I promise—it’s easier to fix than you think. Feel free to check out this comprehensive guide on mastering your home espresso to avoid common pitfalls.
Now that I’ve shared my story, let’s dive into how you can transform your muddy, crumbly puck into a compact, ideal foundation for delicious espresso. It’s all about understanding the nuances of grind size, tamping pressure, and distribution—details that, once perfected, will change your coffee game forever.
Start With the Right Grind Size
Push your grinder to the limit by dialing it finer than you think—aim for a consistency similar to powdered sugar. I vividly remember the first time I set my burr grinder to the finest setting and pulled a shot—initially messy, but after tweaking, the puck compacted beautifully. This finer grind increases resistance, creating a more cohesive bed of coffee that resists crumbling.
Use Uniform Distribution Techniques
After dosing your portafilter—using about 18 grams for a standard double shot—give the portafilter a gentle tap and a quick swirl to settle the grounds evenly. I found that employing a WDT (Weiss Distribution Technique) needle—like the one detailed in this guide—helps eliminate air pockets, ensuring an even density across the puck.
Apply Consistent Tamping Pressure
Place your tamper centrally over the grounds, pressing down with about 30 pounds of pressure. Visualize pressing a tennis ball flat—firm and even. My breakthrough came when I started to use a scale to monitor tamping pressure—matching it consistently led to a uniform puck, reducing the risk of channeling. A proper tamping technique creates the perfect seal, preventing water from passing through unevenly—one of the chief causes of crumbly pucks.
Ensure Proper Tamping and Check for Levelness
After tamping, give the portafilter a gentle twist or tap to settle any loose grounds. Check for levelness by visually inspecting the surface—if it’s uneven, re-tamp or redistribute as needed. I once experienced a crumbly puck after rushing this step, resulting in a weak shot with a watery appearance—simple adjustments here saved that shot.
Manage Your Machine’s Temperature and Pressure
Preheat your espresso machine thoroughly, allowing the brew boiler to stabilize at around 200°F (93°C). A temperature that’s too low can cause insufficient extraction, leading to a crumbly puck. Use a reliable thermometer or your machine’s temperature dial, as detailed in this article. Additionally, ensure your pump pressure is set within 9-10 bars—too high or low can disrupt the puck’s integrity.
Monitor Extraction and Adjust Accordingly
Start the shot and observe the flow—aim for a steady, honey-like stream. If it sputters or produces a muddy, slow drip, pause and reassess your grind size or tamping force. I remember reducing my grind a notch after a sluggish shot, which improved the compactness of my puck. Consistent monitoring helps you fine-tune each variable for a solid, well-formed puck—key to unlocking the full flavor potential of your coffee.
Many experienced baristas and home enthusiasts alike often get caught up in the latest gadgets or the hype around certain brands, but let’s dig deeper into some nuanced mistakes that can sabotage your coffee experience without you realizing it. One prevalent myth is that investing in a high-end espresso machine guarantees perfect shots. While quality equipment matters, many overlook the importance of understanding the machine’s quirks and proper calibration. For instance, studies show that even top-tier machines require routine maintenance and calibration to sustain optimal pressure and temperature stability, critical factors often underestimated by beginners. Failure to regularly service your machine or neglecting to adjust settings based on ambient conditions can lead to inconsistent extractions, regardless of brand prestige. Want to avoid this trap? Regularly check out expert advice on machine maintenance and calibration tips from trusted sources.
Another misconception revolves around coffee grinders. Many believe that a burr grinder’s price directly correlates with grind quality, but the real nuance lies in the grinder’s burr material and design. Cheap, plastic-burr grinders may seem appealing but often produce inconsistent particle sizes, which adversely affect extraction. Conversely, some mid-range grinders with proper burr alignment can outperform premium brands if maintained properly. This underscores the importance of selecting a grinder based on grit consistency and adjusting for your specific roast profile. For a detailed guide on selecting the ideal grinder, check out this comprehensive resource.
Now, let’s address the often-overlooked aspect of milk frothers. Many users assume that all frothers produce microfoam suitable for latte art, but the truth is that foam quality heavily depends on the technique and the frothing device’s design. Handheld frothers can produce decent foam with practice, but automatic frothers equipped with steam wands, if not used correctly, can create large bubbles or uneven textures. One advanced tip involves controlling the temperature and positioning of the milk pitcher to optimize foam microstructure, a skill that elevates your coffee game. Want to master this? Explore the detailed techniques in our dedicated frothing guide.
When it comes to barista gear, there’s a misconception that more expensive tools automatically deliver better results. This over-simplification neglects the importance of proper technique and familiarity with your equipment. Choosing the right tamper or distribution tool can drastically improve your puck consistency, but only if you understand how to use them effectively. For example, a precision tamper may help achieve uniform pressure, yet improper tamping pressure or angle can negate its benefits. Remember, mastery of technique often outweighs equipment costs.
For enthusiasts diving into home espresso, a common hidden mistake is overlooking environmental factors like humidity and temperature, which subtly influence grind size, extraction time, and beverage flavor. Adjusting your setup to seasonal changes can hugely impact the consistency of your shots. For instance, higher humidity levels can cause coffee grounds to clump, leading to uneven tamping. Addressing these nuances may seem minor, but they present the difference between a good shot and a great one.
Before we wrap up, consider this advanced question: How does understanding the temperature stability of your boiler influence shot quality, especially with nuanced roasts? Research indicates that temperature fluctuations in the boiler can lead to under or over-extraction, subtly affecting flavor and crema development. Investing in a PID controller or regular temperature checks can mitigate these issues, ensuring a more consistent shot. Curious about the intricacies? You might want to explore further by reading expert analyses on brewing temperature stability.
In essence, mastering home espresso involves attention to these hidden nuances—be it calibration, grind consistency, technique, or environmental adjustments—that often fly under the radar. Recognizing and addressing these subtleties will elevate your coffee experience far beyond basic expectations. Have you ever fallen into this trap? Let me know in the comments, and share your own insights on refining the craft of home brewing.
Maintaining your espresso setup is crucial for consistently delivering high-quality coffee experiences at home. Investing in the right tools and understanding their usage can significantly extend the lifespan of your equipment and enhance your brewing results. One of my go-to gadgets is a calibrated coffee scale, like the
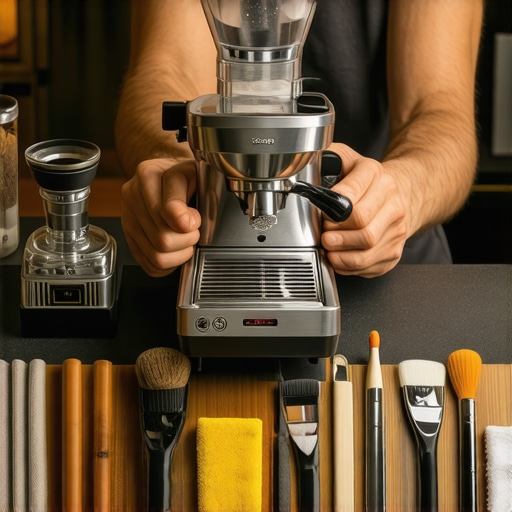
Regular cleaning tools are just as important. I highly recommend a portafilter cleaning brush combined with a descaling solution compatible with your machine. Keeping internal components free of mineral buildup prevents pressure drops and scaling issues, which can cause long-term damage. For grinders, a dedicated burr cleaner helps maintain consistent grind size, crucial for repeatable results.
Climatic conditions impact equipment durability and performance as well. To combat humidity’s effect on ground coffee and internal parts, I store my beans in an airtight, opaque container, and keep my grinder in a dry environment. Similarly, insulating my espresso machine with a cover during colder months avoids temperature fluctuations that can cause pressure and temperature inconsistencies. In the future, I predict smart, IoT-enabled devices will increasingly help monitor and manage these variables automatically, ensuring optimal conditions without constant manual oversight.
How do I maintain my espresso tools over time?
Adopting a routine maintenance schedule is the key. I set weekly reminders to descale my machine and clean accessories, and quarterly I replace grinder burrs and seals. Upgrading to quality accessories like a dosing funnel or a precision tamping station not only improves your coffee consistency but also reduces wear on individual components. Regular calibration of your grinder using a calibration method ensures your grind remains at optimal levels over months.
Long-term maintenance also involves paying attention to software updates for electronic machines and replacing worn-out gaskets or seals promptly. Following manufacturer-specific guidelines, like those outlined in the official documentation, guarantees that you address issues before they escalate into costly repairs. For instance, professional technicians typically recommend inspecting and replacing the group gasket every 6-12 months to maintain pressure integrity.
As equipment advances, so do maintenance practices. Many modern machines now feature diagnostic tools built into their UI, helping you identify potential problems early. Embrace these innovations—regular updates and proactive checkups are the best way to keep your espresso gear working flawlessly for years to come.
Ready to enhance your maintenance routine? Try implementing a weekly cleaning checklist with specific tools like the [EspressoTech’s Multifunction Maintenance Kit]. It’s a comprehensive set designed to streamline upkeep and prolong your equipment’s lifespan. Consistency is the secret—so take action today and enjoy better brews tomorrow!
What I Wish I Knew Before Taking My Espresso Game to the Next Level
One of the toughest lessons I learned was realizing that precision in technique often outweighs fancy equipment. For example, even a top-tier espresso machine can’t compensate for uneven tamping or inconsistent grind size—these little details matter immensely. I used to believe that buying a more expensive grinder would automatically improve my shots, but I soon understood that proper maintenance and calibration are just as important. It’s not just about having good tools; it’s about mastering their use and understanding their quirks.
Another lightbulb moment was discovering that environmental factors like humidity and ambient temperature silently sabotage consistency. Storing beans in airtight containers and adjusting for seasonal climate shifts kept my coffee tasting consistent year-round. Also, I found that regular machine calibration and scheduled maintenance prevent unexpected breakdowns and flavor dips, saving time and money in the long run.
Tools and Resources That Took My Coffee to the Next Level
Over time, I curated a toolkit that truly makes a difference. A calibrated coffee scale, for instance, became my secret weapon for consistent dosing and tamping pressure—check out this guide for tips. Additionally, a dedicated portafilter cleaning brush simplifies maintenance, which is crucial for maintaining flavor clarity. I also trust resources like this comprehensive beginner’s guide for overall mastery, and I frequently revisit this article to troubleshoot my machine’s pressure irregularities.
Your Next Step is Just One Brew Away
Embarking on your home espresso journey is a rewarding challenge—each shot is an opportunity to learn and improve. Remember, the journey toward perfect coffee isn’t about perfection from the start but persistence and curiosity. Whether you’re fine-tuning your grind, mastering tamping, or understanding your equipment’s quirks, each step gets you closer to that ideal shot. Don’t be afraid to experiment and celebrate your progress along the way.
What’s the one area in your home coffee setup you’re eager to improve? Share your thoughts below and let’s inspire each other to elevate our espresso crafts!