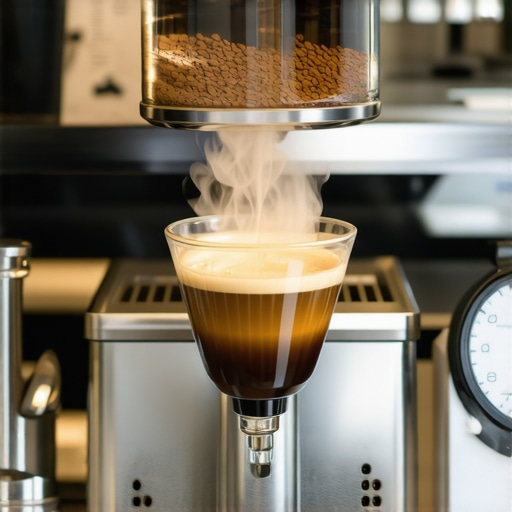
Why Your Light Roast Coffee Needs a Much Longer Rest Time Than You Think
Have you ever pulled a bright, vibrant cup of light roast coffee only to be disappointed by its sharpness or lack of flavor depth? I remember the first few times I did this—thinking I was doing everything right, yet the coffee just didn’t taste as good as I hoped. Frustrating, isn’t it? That vivid bean aroma, the detailed nuances—all seem to vanish too quickly. It wasn’t until I had a lightbulb moment that I realized I was rushing the process. The secret? A much longer rest period than I originally believed.
Unlocking the Power of Proper Rest for Light Roasts
In my journey to perfect my home brewing, I discovered that light roasts actually benefit from a significantly longer resting time after roasting. While many home baristas race to brew immediately, understanding that freshly roasted beans are still actively releasing gases can make all the difference. This rest period allows the beans to settle, ensuring optimal flavor extraction and a more balanced cup. Think of it like wine—give it time to develop its character, and you’ll be rewarded with a richer sensory experience.
Does Your Skepticism Make You Question This Long Rest? Better Coffee Awaits
I used to believe that resting was an unnecessary step, especially since some roasters boast that beans can be brewed just days after roasting. My early mistake was skipping the crucial resting phase, assuming that fresher was always better. But research shows that degassing, the process of releasing carbon dioxide, can take anywhere from 24 to 72 hours for light roasts—significantly longer than most imagine. This gas, if trapped, can cause uneven extraction, making your coffee taste sour or flat. Once I embraced the longer rest, my brew improved dramatically—not just in flavor but in clarity and aroma.
If you’re tired of bitter, sour, or overly sharp cups from your light roasts, it might be time to reconsider your timing. The next sections will show you exactly how to dial in that perfect rest period and transform your home coffee routine.
}
Time Your Beans Precisely for Optimal Flavor
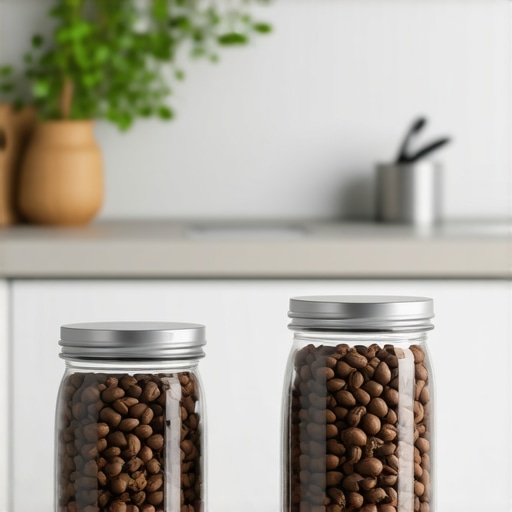
Start by roasting your light beans and setting a timer immediately. For the first 24 hours, keep them in a cool, dry place, avoiding sunlight and humidity. Use a dedicated air-tight container, like a glass jar, to prevent external odors from contaminating the beans and to control airflow. This initial phase is crucial; during this time, the beans release gases that can negatively impact taste if trapped. I remember once forgetting to seal my jar properly, which led to a sour aroma the next day—since then, I always double-check my seals.
Implement a Systematic Rest Schedule
Select the Right Rest Duration
Most experts agree that light roasts benefit from a rest period of at least 48 hours and up to 72 hours. To be precise, plan your brew time a couple of days post-roast, adjusting based on your taste test results. Use a structured calendar or a coffee log to mark your roasting and resting dates. I prefer to roast on Mondays and rest through Wednesday; this pattern has significantly improved my cup clarity and flavor complexity.
Use an Accurate Timer and Temperature Monitoring
Invest in a digital thermometer or a smart coffee thermometer to verify that your beans reach the desired resting temperature—typically around room temperature, but colder environments slow down degassing. Using your smartphone’s timer app ensures you don’t accidentally start brewing too early. In my initial attempts, I underestimated the importance of precise timing, which caused inconsistent flavor profiles. Now, I set alerts for each step, akin to managing a delicate science experiment.
Control the Storage Environment
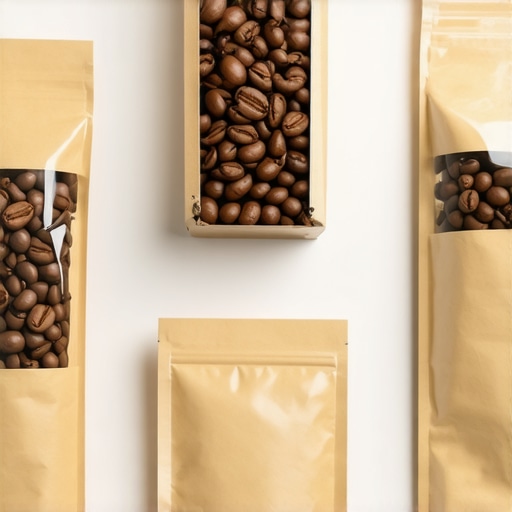
Once rested, store your beans in an airtight, opaque container with a one-way valve that allows gases to escape while preventing oxygen ingress. Avoid refrigerating or freezing; instead, keep beans at room temperature in a dark cupboard. I once stored my beans in the fridge, which led to condensation and mold; switching to a cool pantry has made a noticeable difference in bean freshness. For added convenience, I label each batch with the roast date and rest period, ensuring future batches are equally optimal.
Refine Based on Your Brew Response
After your first brewed cup post-rest, assess flavor, aroma, and body. If the coffee tastes flat or sour, extend the resting period next time. If it’s too sharp or undeveloped, consider shortening the rest. Keep detailed notes about each batch, similar to tracking shot consistency in filmmaking, to identify what timing optimizes your specific beans. Remember, small adjustments can yield big improvements in flavor complexity and smoothness.
This methodology might seem meticulous, but imagine it like tuning a musical instrument; every detail counts. Implement these steps consistently, and over a few cycles, you’ll master the rhythm of resting your light roasts. For more detailed guidance on equipment that can help streamline your process, visit this comprehensive guide on grinders.
Many coffee enthusiasts believe that choosing the right milk frother or grinder is simply about picking the most popular model or the latest feature. However, in my experience, there’s a lot more beneath the surface—a complex interplay of variables that can make or break your brew’s quality. Let’s dive into some common myths and advanced pitfalls that even seasoned home baristas often overlook, so you can elevate your coffee game.
Why Bigger Isn’t Always Better When It Comes to Espresso Machines
It’s a widespread misconception that an espresso machine’s size correlates with its performance. Many assume a heavy, commercial-style machine guarantees great shots. In reality, smaller, well-designed machines can offer superior temperature stability and heat retention if engineered correctly. Overly large machines may have more thermal mass but also tend to be less responsive to small temperature fluctuations, leading to inconsistent extraction. For detailed insights on selecting the right setup, see this guide on grinders.
Common Missteps with Coffee Grinders That Sabotage Flavor
Here’s a crucial tip: many users rely solely on factory settings or aim for the ‘finer grind’ without understanding the nuances of burr quality and grind consistency. Dull burrs or misaligned grinders introduce uneven particles, causing channeling and weak extraction. Regularly inspecting and maintaining your grinder could dramatically improve shot clarity. For the most reliable results, learning how to choose the best grinder tailored to your beans is essential—visit this article on grinder selection.
Barista Gear: Investing Wisely or Falling for Costly Traps
Many believe that acquiring every shiny piece of barista gear will turn their humble kitchen into a professional café. But price doesn’t always equal quality, and unnecessary gadgets can clutter your space and complicate your routine. Opting for versatile, high-quality basic tools often yields better results than constantly upgrading with the latest gadgets. Want to build an efficient home setup? Check out this comprehensive guide.
Advanced Mistake: Underestimating the Impact of Water Quality and Temperature
For seasoned enthusiasts, the often-overlooked nuances like water mineral content and precise temperature control are critical. Using tap water with high mineral content can lead to scale buildup and off-flavors, even with the most expensive machine. Similarly, slight temperature deviations during extraction can skew flavor profiles, especially with delicate light roasts. Investing in a quality water filter and a PID temperature controller can make a marked difference. According to a study by the Specialty Coffee Association, water chemistry directly influences extraction efficiency and cup quality—seeing the details counts.
In essence, elevating your coffee craft involves understanding and controlling these subtle factors. Next time you set up your gear, remember that mastery goes beyond the obvious—small improvements in nuance can lead to the most spectacular results. Please share your thoughts or experiences—have you ever fallen into this trap? Let me know in the comments or reach out.
Keep Your Equipment Running Smoothly: Essential Tools and Maintenance Tips
Investing in quality barista gear like espresso machines, grinders, and milk frothers is only the first step. Ensuring these tools continue to perform at their best requires regular maintenance, the right accessories, and a strategic approach to long-term care. Over time, neglecting small details can lead to inconsistent shots, machine breakdowns, and costly repairs. Let’s explore specific strategies and tools that help you keep your equipment in top shape, maximizing both flavor quality and longevity.
Using the Right Cleaning Devices and Accessories
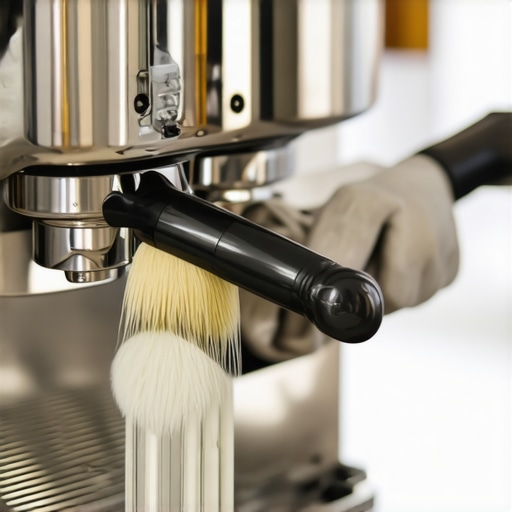
One of my go-to tools for maintaining my grinder is a dedicated cleaning brush with stiff bristles designed to reach into the chute and burrs. Regularly cleaning the burrs with this brush, combined with periodic use of grinder cleaning tablets, prevents coffee oil buildup that can compromise flavor and cause clogging. Additionally, a microfiber cloth and a soft-bristle brush are indispensable for wiping down the exterior and delicate components of your espresso machine, like the group head and steam wand. I have found that consistency in cleaning routines, especially with tools like this quick habit for solenoid valves, significantly reduces downtime.
Scheduled Preventive Maintenance and Monitoring
To prevent unexpected failures, setting a schedule for detailed inspections of seals, gaskets, and hoses is critical. For instance, replacing the group head gasket every 1-2 years based on usage helps maintain optimal pressure and prevents leaks. Modern espresso machines often come with diagnostic features or digital readouts; leveraging these for routine checks ensures you catch issues early. I personally use a digital multimeter to verify electrical components and a calibrated thermometer to monitor water temperature consistency, which is vital for uniform extraction.
Tools That Save Time and Money
An essential addition to my toolkit is a burr alignment gauge—used periodically to verify that burrs are correctly positioned and not causing uneven grind particles. This simple device, paired with high-quality lubricants for moving parts, extends the life of your machine and maintains shot consistency. Also, investing in a calibration kit for your espresso machine’s PID controller can fine-tune temperature stability, leading to more predictable results. Remember, small tweaks and preventative care can prevent costly repairs and prolong the lifespan of your gear.
Where Do I Go from Here?
Looking ahead, the trend is leaning toward smart maintenance solutions that incorporate IoT sensors and predictive analytics. These advancements can alert you when a component needs attention before it fails—imagine your grinder notifying you it’s time for a cleaning cycle or a water filter replacement. For now, adopting systematic cleaning and scheduled checkups remains the most practical method for keeping your equipment in prime condition.
Try integrating a monthly deep cleaning routine with targeted tools like this grinder retention guide and see how your shots improve. Remember, your gear is an extension of your craft—treat it with care, and it will reward you with consistently exceptional coffee.
< >
>
For more detailed insights on gear maintenance, visit this comprehensive guide.
Lessons That Took Me from Amateur to Aficionado
- One of my biggest revelations was realizing that rushing the rest of my light roast beans was sabotaging their flavor potential. Patience truly enhances taste, and understanding this was a game-changer.
- I learned that the small upkeep on my grinder and espresso machine—like regular burr cleaning and gasket checks—can prevent major headaches and flavor inconsistencies down the line.
- Discovering the critical impact of water quality and precise temperature control made me rethink my entire setup—sometimes, the tiniest tweak yields the biggest improvement.
- The realization that details matter—like proper storage environments and meticulous timing—pushed me to become more deliberate with every shot, elevating my home-brew skills to professional standards.
- Finally, embracing the idea that mastery is a continuous journey—not a destination—kept my curiosity alive and fueled my passion for perfecting every cup.
My Go-To Resources for Elevating Coffee Craft
- Choosing the right grinder—This comprehensive guide helped me understand the nuances of grind consistency and maintenance, which are vital for flavor.
- Home espresso mastery—A treasure trove of tips that demystified the espresso-making process, turning my kitchen into a mini café.
- Selecting ideal barista gear—This resource helped me invest wisely in equipment that balances quality and affordability, avoiding costly mistakes.
- Top-rated machines—Guidance that kept me updated on the latest innovations, ensuring I choose gear that lasts and performs.
Bold Steps Await Your Coffee Journey
The path to exceptional coffee is paved with patience, curiosity, and a knack for fine-tuning every detail. Whether you’re perfecting your light roast resting times or maintaining your gear for peak performance, each small step brings you closer to barista-level results. Keep experimenting, keep learning, and most importantly—enjoy every flavorful moment that your dedication creates. Now it’s your turn: what’s one technique or tip you’re excited to try next in your coffee routine? Share your plans below and join the community of passionate home brewers.