The Paper Clip Hack for Clearing a Clogged Basket in Seconds
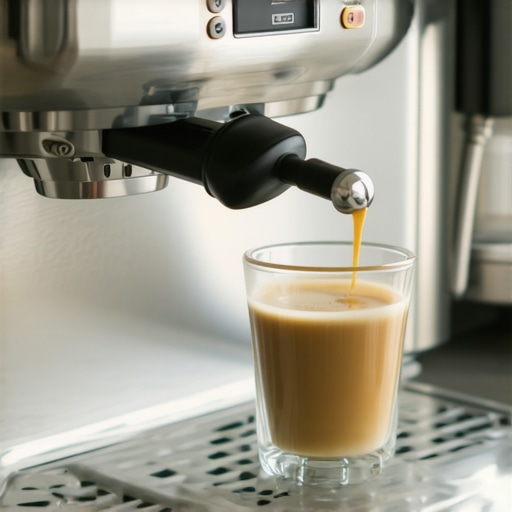
It was a typical Sunday morning, the aroma of freshly ground beans filling my kitchen. I eagerly prepared my espresso, only to be met with a frustrating little hiccup—a jammed, clogged basket that refused to let the water flow through smoothly. My heart sank. I’ve been there more times than I care to admit, staring at a stubborn brew that just won’t come out right. That moment of irritation turned into a lightbulb moment I won’t forget.
If you’re passionate about pulling perfect shots or just love the ritual of a good coffee, you know how annoying it is when your machine decides to misfire just when you need it most. A clogged basket can ruin your day—causing bitter, uneven extrusions and the dreaded slow drip. The worst part? With most cleaning routines, I’d spend ages scrubbing or disassembling parts, trying every traditional method under the sun.
But then I stumbled upon a simple trick—something so straightforward and unconventional that it changed the way I maintain my equipment. Today, I want to share this surprising hack that cleared my clogged basket in seconds and can do the same for you, saving valuable time and frustration.
Why Clearing a Clogged Basket Doesn’t Have to Be a Chore
A clogged espresso basket is more than just an inconvenience—it’s a signal that your machine isn’t functioning at its best. Coffee oils, fine grounds, and mineral deposits can build up over time, creating blockages that interfere with extraction. If left untreated, they can even impact the flavor of your shots, making them flat or sour.
In my initial efforts to fix this issue, I relied heavily on traditional methods like soaking parts in descaling solutions or meticulously scraping away residue. While sometimes effective, these approaches often took too long and risked damaging delicate equipment. More importantly, I kept making the mistake of overlooking simple, quick fixes—like using the paper clip hack—you know, the one that instantly dislodges debris without any fuss.
According to industry experts, minimal tools and unconventional methods can be surprisingly effective in maintaining your espresso gear. I admit, I was skeptical at first, especially after a few mishaps early on—like forcing a stubborn component or using harsh chemicals that ate away at my machine’s interior. Avoiding these mistakes is crucial and is part of what makes this hack so reliable. For more insights on maintaining your gear, check out [this helpful guide](https://espressotechguide.com/the-proper-sequence-for-cleaning-your-barista-tools-after-every-shift).
Next, I’ll walk you through the exact steps I took to clear that stubborn clog—step-by-step, safe, and simple enough for any home barista—and how you can implement this trick during your next cleaning routine. Brace yourself—it’s a game-changer.
Remove the portafilter and locate the clog
Take out your portafilter and examine the basket for any visible grounds or blockages. I vividly recall the Sunday I did this and found a stubborn coffee ground lodged near the drain hole. It looked tiny but was enough to cause that dreaded slow drip. Using a pair of tweezers or a toothpick, gently dislodge any debris, being careful not to scratch the metal. This step often reveals the culprit immediately.
Prepare a paper clip or a thin wire tool
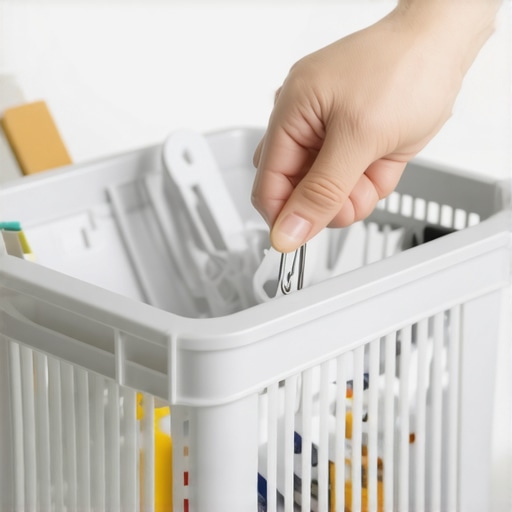
Find a sturdy but flexible paper clip or a thin wire. Straighten it out and create a gentle hook at one end. Picture a miniature fishing hook designed specifically for removing tiny coffee grounds from narrow spaces. This makes it easy to reach into tight corners of the basket and grab any stubborn particles stuck in the drain channels. I personally keep one in my toolkit for quick maintenance.
Insert the tool and dislodge the debris
Carefully insert the hooked end into the drain hole or the small channels within the basket. Twist or gently poke to loosen trapped grounds. The goal is to dislodge anything blocking the flow without applying excessive force. During one of my attempts, I used this method to clear a particularly stubborn clog, resulting in a visibly improved flow and a much cleaner shot afterward.
Flush with hot water and test
After removing debris, rinse the basket with hot water to wash away remaining grounds and oils. You can briefly run hot water through the basket if you have a flush attachment or simply rinse under the tap. Reassemble the portafilter and run a test shot. You should notice a smoother flow and a more even extraction. This quick step often restores my machine to peak performance, especially before more thorough cleaning.
Extra tip: Keep your basket clean
To prevent future clogs, develop a habit of wiping the basket after each use and doing a weekly deep clean. For detailed cleaning routines, check out this guide.
 Many espresso enthusiasts operate under misconceptions that can hinder their brewing quality. One prevalent myth is that higher-priced equipment guarantees perfect shots, but in reality, understanding the nuances—like grind size consistency and pre-infusion techniques—plays a more significant role. For example, even premium machines can produce mediocre espresso without proper calibration or maintenance, a point highlighted by experts who emphasize routine checks and adjustments. Additionally, common mistakes such as neglecting grinder cleanliness or misjudging bean freshness often lead to subpar results; these oversights can be more detrimental than investing in expensive gear.
Advanced baristas recognize that variables like tamping pressure and shot timing require a nuanced approach; relying solely on presets or default settings can be a trap. Instead, meticulous attention to detail—such as utilizing tools for even distribution or implementing consistent workflow routines—can elevate your espresso quality significantly. For those looking to optimize their setup, exploring resources on calibration techniques or organization strategies can be invaluable. For instance, adjusting grind settings after replacing burrs or mastering efficient station layouts impacts both consistency and speed.
Beware the trap of believing that equipment improvements alone solve all issues; often, the key lies in mastering maintenance and understanding machine behaviors. For example, regularly cleaning group heads and checking seals prevents water leaks and ensures optimal pressure. Moreover, novice advice sometimes oversimplifies the science behind extraction, ignoring factors like mineral deposits or water temperature fluctuations. According to industry studies, precise control over variables like brew temperature and pressure profiles yields noticeable improvements in flavor clarity [source: Barista Institute].
Have you ever fallen into this trap? Let me know in the comments! Interestingly, knowing the true intricacies—like how to identify under-roasted beans before brewing—can make a significant difference. Properly roasted beans, for example, contribute to more balanced and vibrant shots, proving that sourcing quality beans is as crucial as gear calibration. So, remember: mastering subtle nuances often outweighs the allure of fancy equipment. Dive deeper into these topics by exploring guides on grinder calibration or efficient coffee station setups—that’s where real progress begins.
Keep Your Equipment Running Smoothly with Precision Tools
Maintaining espresso gear isn’t just about cleaning—it’s about using the right tools to ensure longevity and top performance. I highly recommend investing in a high-quality calibration tool. Personally, I use a digital caliper and a grinder calibration kit to fine-tune my settings after replacing burrs, which guarantees consistent grind size and shot quality over time. These tools help me catch subtle deviations that could otherwise lead to uneven extraction or clogged filters.
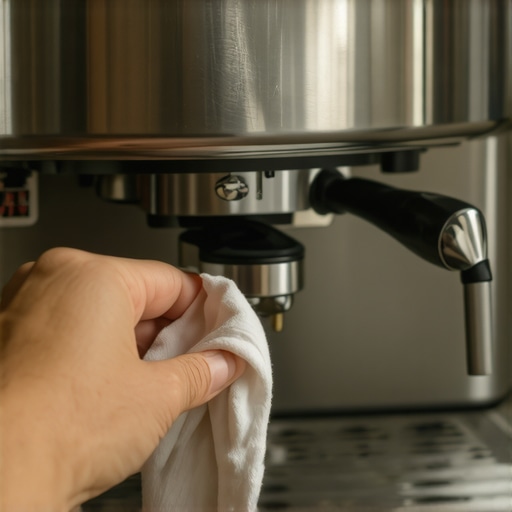
Another essential item is a microfiber cleaning cloth designed specifically for stainless steel and delicate finishes. This prevents surface scratches while maintaining a polished look. For more thorough cleaning, I incorporate a quick flush with an internal cleaning brush—a simple yet effective step that drastically reduces buildup and enhances flavor clarity.
Building a Long-Term Maintenance Routine
Creating a consistent routine is key to preventing issues like clogging or reservoir slime. I set a weekly schedule that includes descaling using natural solutions—like vinegar and citric acid—and inspecting seals and gaskets. Applying gasket replacement tools ensures seal integrity, preventing leaks and maintaining optimal pressure. Regularly calibrating your grinder with tools like a dial indicator can also keep your dosing precise, which is crucial for consistent shots.
Thinking About Scaling Your Coffee Station?
As your enthusiasm grows, so do your equipment needs. Considering a modular setup with stackable storage solutions can streamline your workflow. Using an organized setup guide helps minimize clutter and boost efficiency. Moving beyond basic accessories, integrating temperature controllers for precise brewing profiles will future-proof your setup and elevate your flavors. Industry experts suggest that such upgrades can yield measurable improvements—see Barista Institute’s studies on temperature consistency for more insight.
How do I maintain my equipment over time?
The secret lies in routine checks and embracing advanced tools like pH testers for water quality, and high-quality descaling solutions certified for espresso machines. Don’t overlook the importance of periodic calibration; using tools such as calibrators can prevent issues before they appear. Make it a habit to inspect parts for wear, and consider scheduling professional maintenance annually to catch hidden problems. Implementing a vigilant maintenance plan ensures your machine performs reliably, shot after shot.
To really elevate your routine, try integrating the 10-second purge before brewing—this simple step can prevent sour notes caused by residual cold water in the brew path, preserving the freshness of each shot and improving overall taste. Incorporate these tools and habits, and you’ll be surprised at how hassle-free your espresso mornings become.
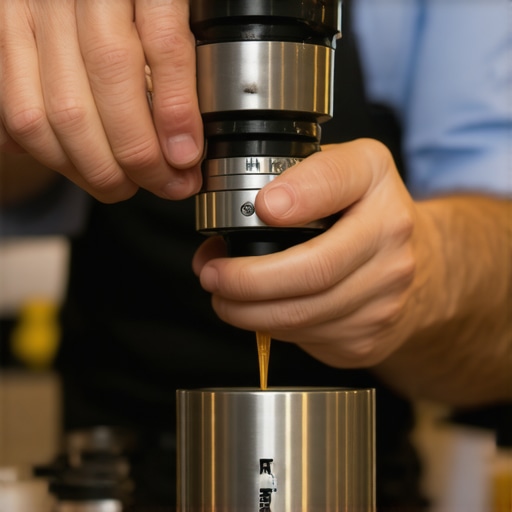
Using the right tools like a precision grinder calibration kit and regular maintenance routines can dramatically extend the lifespan of your gear and improve your brew quality. Embrace these practices, and your espresso journey will be smoother and more enjoyable.
The Unexpected Lessons That Transformed My Espresso Craft
One of the most profound realizations I’ve had in my barista journey was understanding that equipment honesty and routine maintenance often outweigh the allure of high-end gear. It’s easy to fall into the trap of believing that upgrading to the latest machine or grinder guarantees exceptional quality, but I’ve discovered that consistency and intimate knowledge of my tools are the true game-changers.
I’ve also learned that every machine has its quirks—recognizing these quirks and adapting my approach accordingly saves me countless headaches. For example, tuning my grinder after each burr adjustment or developing a sensory diary for shot flavors helped me troubleshoot issues more effectively. This hands-on engagement fostered not just better coffee but a deeper respect for the artistry involved.
Moreover, consistent routine maintenance—like regularly checking seals, calibrating settings, and cleaning with purpose—ensures longevity and optimal performance. Embracing these practices shifted my perspective from reactive fixes to proactive care, which has been invaluable.
Finally, I realized that patience—paired with curiosity—is essential. Troubleshooting a persistent clog or flavor inconsistency often requires stepping back and re-evaluating each step without rushing. This mindset cultivated a more thoughtful, skilled approach that continues to elevate my coffee craft every day.
Tools That Became My Coffee Sidekicks
For anyone serious about elevating their espresso game, certain tools have become indispensable in my toolkit. A precision grinder calibration kit has allowed me to ensure consistent grind size after burr replacements, directly improving shot quality. The calibrate your grinder after replacing burrs regularly to stay on top of your game.
Similarly, a high-quality group head cleaning brush simplifies weekly maintenance, preventing buildup that affects flavor extraction. For deep cleaning, I rely on natural descaling solutions and the 10-second purge trick to keep my machine in pristine condition.
Investing in a digital temperature display has also helped me fine-tune my brew profiles, especially when experimenting with different beans or roasts. These tools foster an environment of precision and confidence, making the entire process more rewarding.
Grounding Your Passion in Daily Rituals
Creating a personalized maintenance routine has been a cornerstone of my success. I set aside time each week to inspect and replace gaskets, clean internal components, and perform descaling. Incorporating simple habits, such as wiping the portafilter after each shot and checking for channeling signs, keeps my workflow smooth and my flavors consistent.
This attentive approach also sparked curiosity—prompting me to explore new beans, experiment with tamping pressures, and even calibrate my grinder for specific roast profiles. Over time, these small adjustments accumulated, resulting in a nuanced, flavorful profile that I now personally recognize and appreciate.
My journey has shown me that mastering your espresso craft is less about chasing perfection and more about cultivating patience, knowledge, and a proactive mindset. If you embrace these lessons and tools, you’ll find your coffee not just better—it’s transformed into a daily ritual of joy and discovery.
What’s Your Next Move to Elevate Coffee Days?
Remember, small consistent actions in your routine can lead to remarkable improvements. Whether it’s calibrating your grinder, deep-cleaning your machine, or experimenting with brewing parameters, every step offers growth. So, what simple change will you implement today to make your espresso routine more rewarding? Share your thoughts below—I can’t wait to hear your stories!
,