The Hidden Air Pocket Inside Your Espresso Pump
Have you ever pulled a shot of espresso and wondered why it tasted flat or lacked that vibrant crema? I used to battle inconsistent shots, thinking it was all about grind size or tamping pressure. But one day, I stumbled upon a sneaky culprit hiding inside my machine: a tiny, almost invisible air pocket in the pump. It was a lightbulb moment for me, realizing how such a small cavity could sabotage my entire brew.
Poor espresso consistency starts deep within the pump
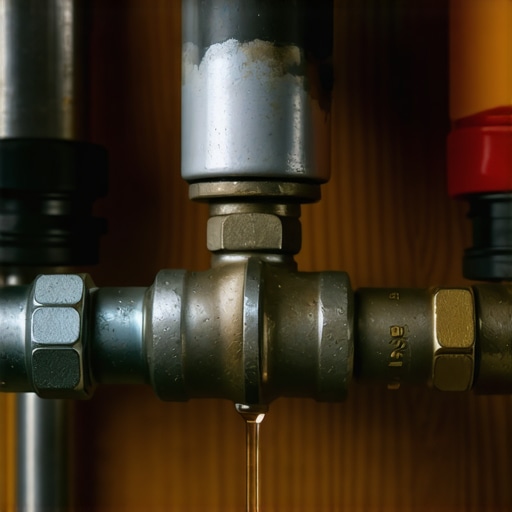
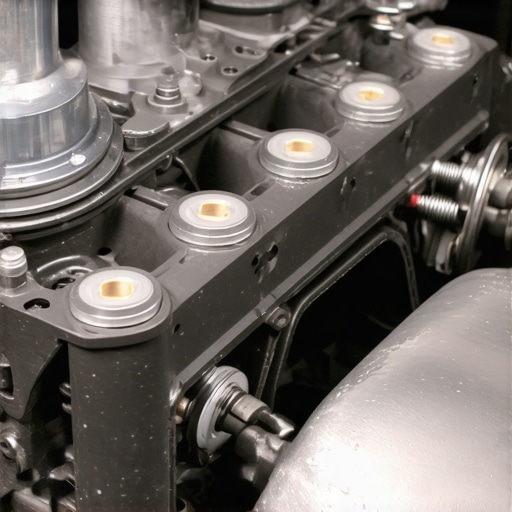
The pump in your espresso machine is like the heart of your brew pathway. It pushes water through the coffee grounds with precision and pressure. But if there’s an air pocket tucked away inside the pump chamber—something I didn’t even know was possible—it can cause fluctuations in pressure, leading to weak extractions and inconsistent flavor profiles. Over time, I noticed that my shots would sometimes run too fast or taste sour—classic signs that the pump wasn’t doing its job properly.
And here’s the kicker: many home baristas don’t realize this silent issue exists because it’s not something you can see directly. It’s a hidden troublemaker, lurking in the depths of your machine’s innards. If you want to understand more about pump issues and their effects on your espresso, check out how to diagnose your commercial pump for cavitation [here](https://espressotechguide.com/how-to-tell-if-your-commercial-pump-is-cavitating-before-it-breaks/).
So, what are we going to do today? Well, I’ll guide you through identifying that sneaky air pocket and how it’s been messing with your brewing. We’ll explore simple yet effective steps to eliminate it, restoring your machine’s performance and bringing back that vibrant, rich espresso every time.
Have you faced persistent issues like inconsistent shots or strange sounds from your pump? If so, keep reading because the fix might be simpler than you think, and it could turn your espresso game around entirely.
Locate the Pump and Prepare for Disassembly
Start by turning off your espresso machine and unplugging it. Remove the water reservoir and any accessories blocking access to the pump area. Use an appropriate screwdriver to unscrew the pump cover—this may vary depending on your machine model. Be cautious and keep track of all screws and small parts.
Drain Water and Access the Pump Chamber
Drain any residual water to prevent spills. Carefully disconnect the pump inlet and outlet hoses, noting their positions to reassemble correctly. Use a flashlight to visualize the internal pump chamber; look for signs of trapped air or debris. Remember, some pumps have a safety valve or pressure-release mechanism—consult your machine’s manual for specifics.
Remove and Clean the Pump Components
Gently extract the pump impeller if accessible, and inspect for tarnished or blocked areas. Clean the chamber using a soft brush and a mild descaling solution if necessary, avoiding harsh chemicals that can damage seals. During this step, if you notice a visible cavity or pocket that could trap air, mark its location for vacuum elimination.
Bleed Air and Refill the Pump Chamber
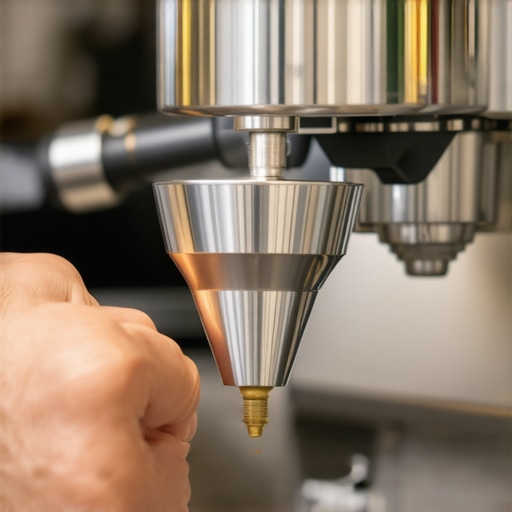
To remove trapped air, fill the chamber with a small amount of clean water or food-grade silicone lubricant—just enough to cover internal surfaces. Use a syringe or a small funnel to slowly inject fluid, ensuring it pushes out any air bubbles—think of it as filling a tire with air but in reverse, forcing out the bubbles. Then, reassemble the pump components carefully, tightening all screws securely.
Reassemble and Test the Machine
Reinstall the pump cover and reconnect hoses. Fill the water reservoir and turn on your espresso machine. Run a blank shot or flush cycle to observe pump operation—listen for smooth, steady sounds without sputtering or hissing. This is a sign that the air pocket has been effectively eliminated, restoring pressure consistency in your brew process.
Additional Tips to Keep Air Out
If you experience recurring issues, ensure your water source is deaerated—consider pre-filling hoses or using a water filter. Regularly maintaining components like the group gasket can also help prevent pressure fluctuations that encourage air ingress. For more advanced tips, explore how to spot a failing group gasket.
 Many home baristas believe that merely having a high-end espresso machine or a premium grinder guarantees perfect shots. However, this misconception overlooks critical nuances that can make or break your brew. For instance, it’s often assumed that grind size alone is the key, but factors like dose, tamping pressure, and even extraction time play equally vital roles. Overlooking these aspects can lead to inconsistent results, regardless of equipment quality.
A widespread myth is that rinsing your equipment frequently can *only* eliminate old coffee residues, but in reality, proper cleaning—like regularly cleaning the inside of your copper boiler here—can significantly affect flavor and machine longevity. Moreover, many believe that burr grinders with a stepless grind adjustment are always superior, but they require more skill to dial in correctly compared to stepped models, which can be more consistent for everyday use.
Beware of the trap where home baristas focus solely on brewing temperature or grind setting, neglecting the importance of fresh beans and their proper storage. Beans that have been left exposed or sat out too long lose aroma and flavor; learn how to recover their freshness here. Additionally, advanced mistakes include using excessive tamping force, which doesn’t improve extraction but can cause channeling and uneven puck density—it’s a common error that even experienced enthusiasts make.
Beyond equipment, understanding the subtle effects of water quality and mineral content can drastically influence espresso taste. Hard water, for example, can contribute to scale buildup and affect pump performance, leading to inconsistent shots and machine damage. Regular descaling, like following proper procedures for boilers here, is crucial, but often overlooked.
What about milk frothing? Many believe that steaming longer yields thicker foam, but in reality, temperature control and milk freshness are more critical. Overfoaming or creating large bubbles often results from incorrect steaming technique rather than equipment limitations—so focus on technique over brute force.
Finally, one tricky aspect that separates amateurs from connoisseurs is the micro-adjustment of grind and yield based on real-taste feedback, rather than sticking rigidly to preset settings. This delicate balancing act requires patience, experience, and a keen palate—sure signs of a serious home barista.
Have you ever fallen into this trap? Let me know in the comments. By appreciating these hidden nuances, you’ll elevate your espresso craft beyond the basics and enjoy consistently stellar results every time.
Why Invest in Quality Maintenance Tools for Your Espresso Setup
Maintaining your home espresso equipment isn’t just about cleaning; it’s about ensuring consistent performance and prolonging the lifespan of your investment. I personally rely on a set of specialized tools that make routine maintenance straightforward and effective, saving me time and headaches in the long run.
Precision Calibration with a Digital Pressure Gauge
One of my must-have tools is a high-accuracy digital pressure gauge. It allows me to monitor the boiler and pump pressures precisely, helping to identify issues like declining steam pressure or inconsistent extraction. For example, if your machine’s pressure suddenly drops, it might be time to check the group gasket or descale the boiler using a reliable descaling solution.
Implementing Routine Descaling with a Specialized Kit
Descaling is crucial for preventing scale buildup that hampers heat transfer and pressure. I recommend investing in a commercial-grade descaling kit tailored for home machines. Follow the instructions meticulously—this ensures you avoid clogging tiny orifices and keeps your equipment running efficiently. Regular descaling using this method minimizes long-term repairs and maintains the rich flavor of your espresso.
Thorough Cleaning with a Group Head Cleaning Brush
A dedicated group head brush helps remove coffee oils and residue trapped inside the portafilter and shower screen. I do this after every few shots, especially if I switch beans or grind sizes. This simple step prevents flavor contamination and ensures even water flow, giving you better shot consistency. For stubborn deposits, combining this with a cleaning solution like cafiza is a game-changer.
Tools for Long-Term Results and Scaling Up
As your skills grow, consider adding a quality scale for dose accuracy and timing. Precise weighing of your coffee grounds guarantees consistent puck density and extraction timing. Additionally, exploring advanced water filtration setups can dramatically improve taste and extend your machine’s life by reducing mineral deposits. This holistic approach means you’re not just fixing issues but actively optimizing your entire espresso environment.
Looking Ahead: The Future of Maintenance Equipment
Technology in maintenance tools is advancing rapidly. I predict that integrated IoT sensors will soon enable real-time diagnostics via smartphone apps, alerting you to issues before they become serious. Imagine a smart machine that notifies you when it’s time to descale or replace a gasket—making maintenance almost effortless.
How do I maintain my espresso gear over time? An Expert’s Tip
One of the most effective practices is scheduling regular maintenance using these tools, rather than waiting for performance issues to arise. Incorporate weekly checklist routines like cleaning the portafilter and shower screen, monthly descaling, and quarterly pressure calibration. This discipline ensures your machine performs at its best, shot after shot.
I highly recommend trying an advanced tip: use a magnet-based solenoid valve fix for stuck valves. It’s simple, cost-effective, and can save you from costly repairs down the line. Regularly employing these tools will make you a true home barista pro, enjoying cafe-quality espresso with minimal fuss.
Over the years, I’ve realized that the journey to perfecting home espresso isn’t about acquiring the latest gear but understanding those subtle nuances that often go unnoticed. These lessons have been my compass, guiding me through frustrations and toward consistent, cafe-quality shots. Let me share some of the most impactful insights I’ve gathered along the way.
The Unseen Power of Margins in Your Brew
Little did I know that tiny adjustments in tamping pressure could dramatically alter flavor. I once thought that dialing in grind size was everything, but I discovered that a consistent tamp and paying attention to dose weight created stability I never experienced before. Mastering this balance is like learning a secret handshake among baristas. Don’t underestimate the importance of distribution techniques like WDT—it’s a game changer for avoiding channeling and ensuring even extraction.
The Art of Listening to Your Machine
Early on, I dismissed strange noises as harmless, but I learned that sounds—like sputtering pumps or hissing steam—are often indicators of underlying issues. Regularly listening and correlating these with maintenance actions, such as checking the group gasket here, can prevent small problems from escalating into expensive repairs. Your machine talks; the trick is tuning in.
Cleaning Beyond the Surface
Routine cleaning is obvious, but I found that deep cleaning components like the copper boiler here and ensuring internal pathways are free from scale and debris made an unexpected difference in shot clarity. Investing in a quality descaling kit and scheduling regular maintenance helped me sustain not just great flavor but the longevity of my equipment.
Curated Resources That Elevated My Espresso Game
Some tools truly transformed my approach. A digital pressure gauge helped me monitor pump health and prevent cavitation issues here. Using a precise scale for dose accuracy improved consistency significantly. For detailed cleaning routines, a dedicated group head brush became indispensable. Finally, learning from trusted sources like this guide kept my equipment and technique sharp.
Keep Pushing Your Limits
One thing I wish I knew earlier is that perfection is a continual pursuit. Stay curious, experiment with variables like brew temperature and pre-infusion times, and document what works best. Your taste buds will thank you, and your espresso will keep improving. Remember, every challenge is an opportunity to learn—keep refining your craft.
What subtle adjustment has made the biggest difference in your home espresso experience? Share your insights below—I’d love to hear what’s worked for you!