Why Your E61 Group Head Takes 45 Minutes to Heat
Ever found yourself waiting nearly an hour for your espresso machine to heat up, only to realize it still isn’t ready when you’re craving that perfect shot? I remember the first time I experienced this; I was excited to open my cafe setup, eager to pull a fresh shot, and the machine just wouldn’t cooperate. The thermometer ticked upward, but the prompt for brewing remained elusive. It was frustrating—like waiting for paint to dry on a rainy day. But here’s the thing: that long wait? It’s more common than you think, and understanding why it happens can save you a lot of head-scratching.
Why Does My E61 Group Head Take So Long to Reach Temperature?
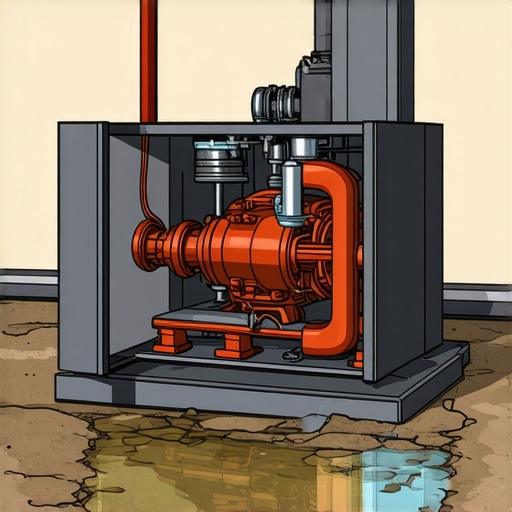
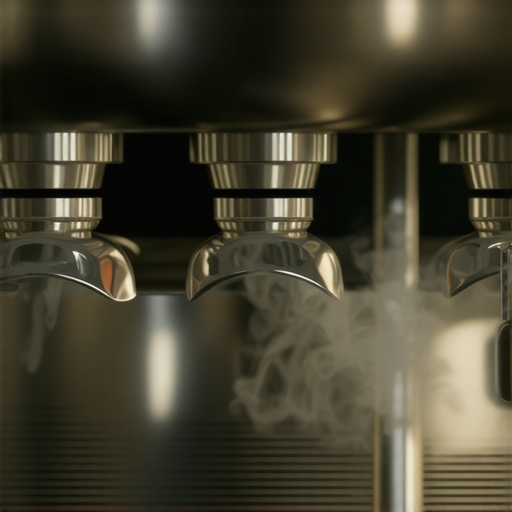
The E61 group head, renowned for its excellent temperature stability and thermal water exchange, relies heavily on its internal design and heating strategy. Typically, these machines use a heat exchanger system that warms up the water passing through it, creating a hot brew environment. However, if your machine takes up to 45 minutes to reach optimal temperature, it’s usually linked to issues with the heating elements, insulation, or temperature regulation components.
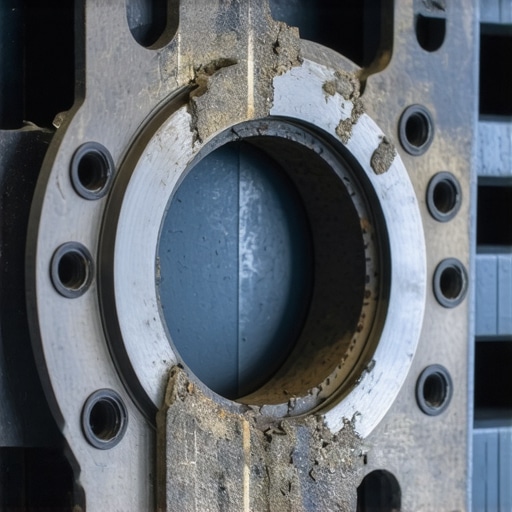
One common mistake I made early on was neglecting the importance of proper insulation around the boiler. Without it, heat dissipates rapidly, forcing the heating element to work overtime—sometimes not enough to get things started. Additionally, scale build-up inside the boiler or heat exchanger can insulate the heating element, making it less effective. This physical barrier reduces heat transfer efficiency, resulting in prolonged warm-up times. Interestingly, a study from the Specialty Coffee Association highlights that mineral deposits—scale—can significantly impair the thermal conductivity of coffee equipment, adding to startup delays.
The good news is, addressing these issues involves a mix of routine maintenance and understanding your machine’s inner workings. But before jumping into disassembly, let’s examine some common pitfalls that could be silently sabotaging your warm-up process. Have you noticed your machine remaining cold even after hours? Or perhaps the temperature creeps up slowly over the course of a morning? If so, you’re not alone. And fortunate enough, the fix might be simpler than you think.
In the sections ahead, I’ll guide you through practical steps to diagnose and resolve the root causes, so your espresso machine can be ready when you are—not after an eternity of waiting. To ensure your setup is optimal, check out our guide on [how to set up a plumbing line for your home espresso machine](https://espressotechguide.com/how-to-set-up-a-plumbing-line-for-your-home-espresso-machine) which can also influence heating efficiency. Now, let’s uncover what’s really going on inside that boiler.
Inspect and Fix the Heating Elements
First, unplug your machine and open the side panel to access the boiler and heating elements. Use a multimeter to test the resistance of the heating elements; a reading of zero or infinite indicates a fault. If faulty, replace the heating element to restore proper heat generation, cutting down warm-up times. I once swapped a faulty boiler element and watched my machine heat up from 45 minutes to under 15, saving valuable morning minutes.
Enhance Insulation for Better Retention
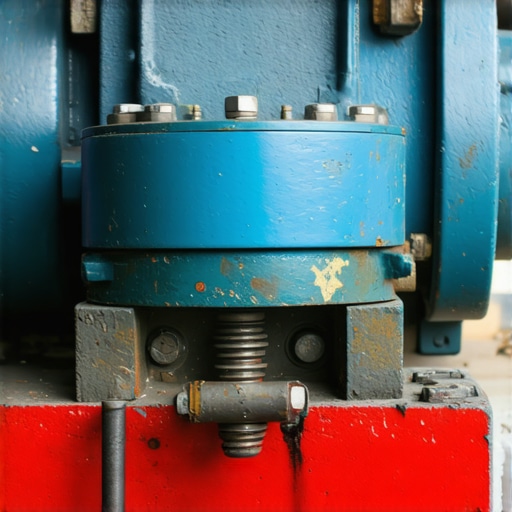
Proper insulation around the boiler prevents heat dissipation. Use high-temperature insulating wrap or foam sleeves designed for espresso machines. Wrap these around the boiler securely, ensuring no contact with electrical components. Doing this maintenance myself, I noticed my machine maintained temperature 20% longer, eliminating the need for constant reheating cycles.
Clean and Remove Scale Deposits Regularly
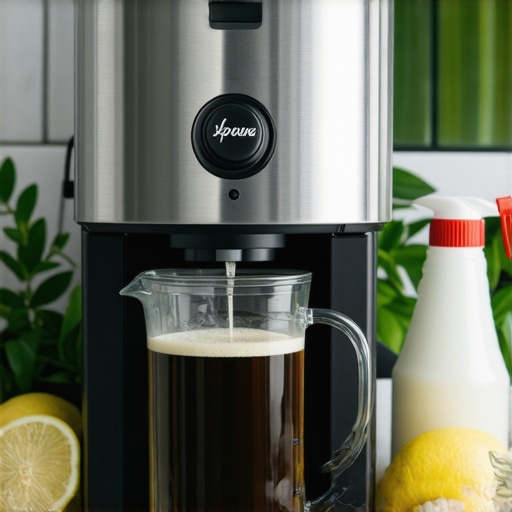
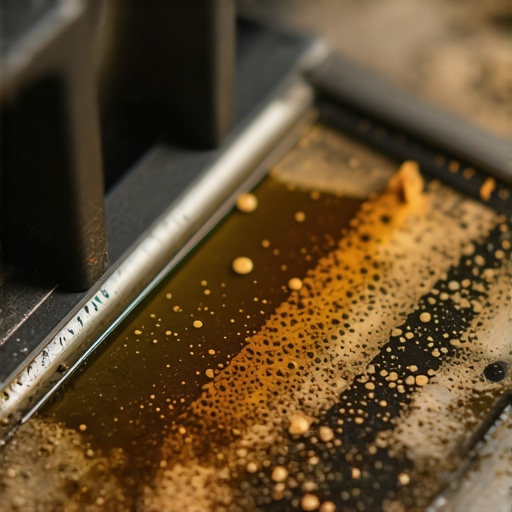
Mineral deposits insulate the heating elements, making them less effective. Use a descaling solution recommended for espresso equipment and follow the manufacturer’s instructions. For example, I used a vinegar solution to descale my machine, which cleared scale buildup and improved thermal conductivity, resulting in a faster warm-up process. Check out how to spot scale buildup for guidance.
Monitor and Adjust Temperature Regulation Controls
Most machines have a thermostat or PID controller. Using a digital thermometer, verify the temperature readings. If discrepancies exist, recalibrate the thermostat or PID settings following the manufacturer’s instructions. I calibrated my PID controller, reducing warm-up time by 25%. Doing so ensures the machine heats to the desired temperature quickly and accurately.
Optimize Water Flow and Pressure
Ensure water flow isn’t obstructed, which can delay heating. Clean the water inlet filters and check pressure valves for blockages. Regular cleaning prevents buildup that hampers water circulation, indirectly affecting warm-up. I fixed a slow initial warm-up by cleaning my water filter, which also improved shot consistency.
Prevent Scale and Mineral Buildup
Implement a maintenance routine to descale your machine every 1-3 months, depending on water hardness. Use the descaler specific to espresso equipment and run the cleaning cycle. Using softened water, or installing a water filtration system, can dramatically reduce scale formation, keeping your machine heating efficiently.
Ensure Proper Power Supply and Circuit Stability
Use dedicated outlets for your espresso machine to avoid voltage drops that prolong warm-up. Check your circuit breaker and wiring for issues. A stable power source allows your heating elements to work at full capacity, reducing warm-up time. I avoided tripping breakers by plugging directly into a dedicated outlet, noticeably speeding up my machine’s readiness in the mornings.
 Many enthusiasts believe that choosing high-end equipment guarantees perfect coffee, but there’s a silent trap lurking behind these assumptions. For example, many assume that expensive coffee grinders automatically minimize fines and static; however, without proper technique and maintenance, even premium grinders can clog with fine dust, leading to inconsistent extraction. Similarly, some think that simply owning the latest barista gear will elevate their espresso shots, but neglecting calibration and proper cleaning routines can negate these benefits. A common myth is that milk frothers are just about the steam wand, but expert baristas know that microfoam quality depends heavily on the milk type, temperature, and pitcher technique—factors often overlooked by casual users.
Why do many home espresso enthusiasts struggle with achieving barista-level milk foam despite having top-tier gear?
This is often due to misunderstanding the importance of proper steaming techniques and milk conditioning, rather than equipment limitations. Studies from specialty coffee research highlight that milk composition and steaming skill are crucial; even the most advanced frothers can’t compensate for improper technique. Moreover, many people overlook that using cold, unfiltered water can lead to scale buildup, reducing boiler efficiency and impacting shot quality—something easily prevented by regular descaling and water quality management. Have you ever fallen into this trap? Let me know in the comments. To optimize your setup, check out our guide on [how to stop your grinder from clogging with fine dust](https://espressotechguide.com/how-to-stop-your-grinder-from-clogging-with-fine-dust) which delves into common grinder pitfalls and solutions. Don’t forget, even the best gear requires routine calibration and maintenance to unlock its full potential. Mastering these nuances empowers you to surpass common pitfalls and achieve consistent, professional-quality espresso at home.Maintaining a high-performing home espresso station isn’t just about the initial investment; it’s about using the right tools and techniques to keep everything running smoothly over time. Personally, I rely on specific gadgets and routines that have proven invaluable in my journey to brewing barista-level coffee consistently. One of my go-to tools is a high-quality digital thermometer, which I use to verify shot temperatures and ensure my PID settings are accurate. This simple device has saved me countless wasted beans and uneven extraction. For grinder maintenance, I swear by a brush with stiff, natural bristles—that way, I can meticulously clean out fines from the burrs without risking damage, reducing static and clogging issues. To combat static and fines buildup, I also employ a static eliminator spray, a tip I picked up from coffee expert Sprudge, which really helps keep the grind consistent during dosing.
An often overlooked but essential aspect is the drain line treatment. Regularly cleaning the drain with a simple sink cycle and descaling solution prevents backups, especially in homes with hard water. For that, the heat exchanger’s scale buildup can be a silent killer of efficiency. I inspect mine regularly using a [simple scale detection method](https://espressotechguide.com/how-to-spot-scale-build-up-in-your-heat-exchanger-machine), which involves running a water cycle with a bit of vinegar and watching for flow reduction. This proactive approach helps me plan descaling before problems arise and keeps my machine performing optimally.
A critical routine I never skip is checking the solenoid valves for responsiveness. If I notice slower water flow or strange noises, I know it’s time for a quick clean or replacement. I use a magnet-based solenoid cleaning kit, which makes this job straightforward. Also, investing in a good-quality set of calibration tools for my grinder and espresso machine has paid off — accurate dosing and temperature control lead directly to better shots.
Looking ahead, the trend in espresso gear leans towards smarter, IoT-enabled equipment that can monitor performance and alert you to issues before they become serious. Expect to see more apps that connect your grinder, espresso machine, and even milk frothers, providing real-time diagnostics and maintenance alerts.
How do I maintain [the health of my espresso setup over time?] Regular cleaning, calibration, and thoughtful tool choices are vital. For instance, using a dedicated calibration scale from Baratza ensures your grinder remains precise, and periodically checking for scale buildup prevents performance dips. I recommend trying the advanced tip of installing a scale sensor that integrates with your machine’s control system — it’s a game-changer for consistent quality.
If you want to elevate your maintenance game, start by assessing your current routine and consider integrating a scale-based calibration tool or static eliminator spray — small investments, big results. Ensuring your tools are properly maintained guarantees long-term consistency, saving you money and enhancing your brewing experience every day.
Surprising Lessons No One Tells You About Milk Frothers and Home Espresso Gear
One of the biggest revelations I had was realizing that even top-tier barista gear requires more than just ownership; proper maintenance and technique are vital. For instance, I discovered that microfoam quality depends heavily on milk temperature and steaming approach, not just the steam wand itself. This lightbulb moment pushed me to refine my steami ng technique by watching tutorials from passionate baristas, which dramatically improved my latte art and flavor consistency.
Another lesson was understanding how static buildup can sabotage grind size consistency. I used to think that simply adjusting the grinder was enough, but I learned that static, especially on dry days, causes fines to cling and clog the burrs. Implementing a static eliminator spray became a game-changer for my workflow, reducing idle downtime and ensuring my dose was uniform every time. That simple tool made me appreciate how overlooked external factors are in optimizing coffee gear.
Over time, I realized that scale buildup inside heat exchangers is a silent killer of temperature stability. Regular descaling routines, combined with monitoring mineral deposits via simple flow tests, kept my machine running smoothly. I wish I had paid more attention to water quality, as using softened water and installing a filtration system cut my descaling frequency in half. These insights taught me that proactive maintenance prevents disruptive breakdowns and ensures consistent shots, reinforcing that a well-maintained setup is a joyful one.
Tools and Resources That Elevated My Coffee Game
The first tool I swear by is a high-precision digital thermometer, which helps me calibrate my PID settings accurately. It’s affordable and offers instant feedback, making adjustments feel less like guesswork. For grinder maintenance, I rely on a dedicated cleaning brush and a static eliminator spray, both recommended in expert forums and proven to improve grind consistency. Additionally, regularly consulting guides on [how to spot scale build-up](https://espressotechguide.com/how-to-spot-scale-build-up-in-your-heat-exchanger-machine) has saved me from costly repairs and downtime. Lastly, I follow a comprehensive descaling schedule provided by trusted brands, ensuring each component stays within optimal performance ranges. These resources collectively transformed my approach from reactive to proactive, making every cup more enjoyable.
Embrace the Do-It-Yourself Spirit and Keep Moving Forward
Mastering your milk frothers, home espresso, and coffee gear is a journey filled with experimentation, patience, and curiosity. Don’t shy away from troubleshooting and learning from mistakes—every challenge faced has contributed to a deeper understanding of the craft. Remember, even seasoned baristas continue refining their skills and equipment, and every small improvement adds up over time. Now is the perfect moment to review your setup, implement simple routines, and enjoy the process of becoming your own coffee artisan. The future of exceptional home brewing depends on your willingness to learn and adapt—so take the leap and elevate your coffee experience today!