The One Mistake That Makes Decaf Espresso Taste Like Ash
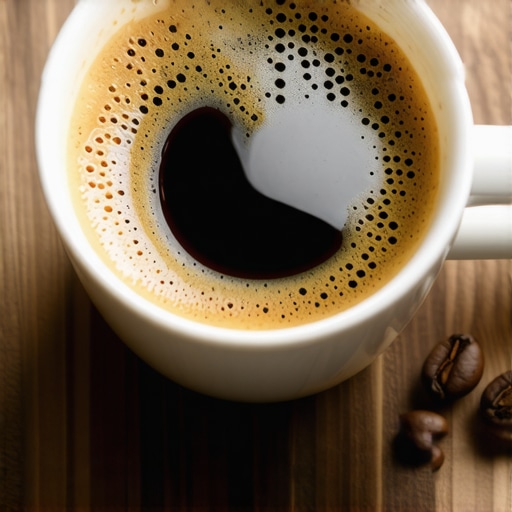
I vividly remember the moment I realized my decaf espresso tasted like burnt paper, after hours of troubleshooting and frustration. It was late evening, my kitchen filled with the comforting aroma of coffee, yet the first sip left me underwhelmed—flat, bitter, and oddly smoky. That lightbulb moment made me dive deep into the nuances of espresso brewing, especially when dealing with decaffeinated beans that are already a challenge to perfect. Over time, I discovered that a single oversight can turn a beautifully roasted decaf into an inedible ashpit, ruining what should be a delightful cup.
Cracking the Code of Decaf Disasters
Today, I want to share with you a revelation that transformed my approach and prevented countless failed attempts. The key lies in identifying and avoiding one common mistake—one that even seasoned baristas sometimes overlook. This error, surprisingly, is tied to a simple yet overlooked aspect of the brewing process: the grind setting and extraction balance. When mismanaged, it turns the delicate flavor of decaf beans into a harsh, burnt taste. If you’re tired of pouring out cups that resemble charcoal, stick around, because I’m about to reveal what I did differently to achieve that rich, full-bodied espresso every time.
Is Your Coffee Potential Being Sabotaged by Bad Habits?
Early on, I fell prey to the misconception that brewing decaf was just a matter of slightly adjusting the grind and hoping for the best. I was wrong. I discovered that overly fine grinds spike pressure and extraction temperatures, scorching the beans and causing that ash-like aftertaste. Trust me; I’ve made this mistake more times than I can count. In the process, I learned that even small changes in grind size or tamping pressure can make a world of difference. For more on fine-tuning your setup, check out this guide on grind static and static issues.
Decaf beans are often more porous and require a gentler touch, meaning the standard settings that work for regular beans can backfire. The difference between a good shot and a ruined one often boils down to precision and understanding your machine’s behavior. If you’ve been fighting stubborn bitterness, perhaps your extraction parameters need a second look. Stay tuned—I’ll walk you through exactly how to identify and correct this common pitfall, so your decaf finally tastes as good as it smells.
Adjust Your Grind Size Precisely
The first critical step is to fine-tune your grinder. Start with a slightly coarser setting than you use for regular beans. Imagine your grind as the soil in a garden—too fine, and it blocks the roots; too coarse, and the nutrients leak away. For decaf, aim for a texture similar to granulated sugar. I once applied this adjustment after a messy session where my shot tasted reminiscent of burnt paper. By turning the grind dial just a notch coarser—using my grinder’s micro-adjustment feature—I noticed an immediate improvement; the shot became clearer, with fewer bitter notes.
Control Tamp Pressure and Distribution
Next, ensure you’re tamping evenly with consistent pressure, roughly 30 pounds of force. Think of tamping as packing a suitcase—firm, but not crushing. Over-tamping can compact the coffee excessively, causing over-extraction and burnt flavors, while under-tamping leads to uneven flow. Once, I used a calibrated tamper and paid close attention to distribution, which significantly lowered my dwell time and prevented scorching. For best results, incorporate WDT (Weiss Distribution Technique) to break clumps—see this guide on basket size and puck consistency.
Set the Right Extraction Time
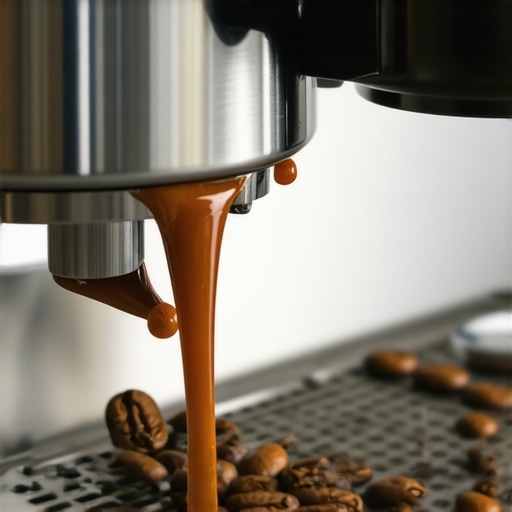
Extraction time is your third lever—aim for 25-30 seconds for a double shot. Use a timer to monitor and dial in accordingly. I remember a morning where I started with a 20-second shot; the coffee was weak and sour. After adjusting by extending the grind slightly, I hit the sweet spot at 28 seconds. The result was a balanced shot with vibrant flavors and no burnt aftertaste. Regularly check your shot flow; it should be smooth and thick like honey streaming. If it starts to sputter or slow down drastically, it’s a sign that your grind or tamp pressure needs further adjustment.
Manage Temperature and Pressure
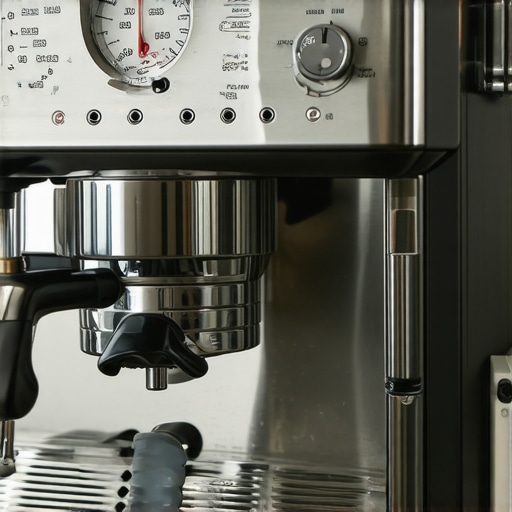
Calibrating your machine’s temperature ensures optimal extraction. Decaf beans are more porous and sensitive, so avoid brewing above 94°C (201°F). Use the PID settings if available; better yet, verify your temperature stability with an accurate thermometer. Additionally, monitor your steam boiler’s pressure—aim for around 9 bar during extraction. In my setup, I noticed that a slight increase in pressure caused temperature spikes, leading to off-flavors. For complex boiler pressure issues, check this guide on boiler pressure control.
Refine Maintenance and Setup
Finally, a clean and optimal setup pays dividends. Descale your machine regularly, especially the heat exchanger, to prevent temperature inconsistencies. Use this quick flush technique to clear oil buildup that may affect flavor. Also, ensure your water quality is top-notch—using a water filter prevents mineral deposits that cause uneven heating. I experienced a drastic taste improvement after switching to filtered water, and it reduced scale buildup in my boiler. Regularly check gasket seals and replace them when worn to prevent air leaks, which can cause channeling and over-extraction, leading to bitter, burnt notes. For more on this, see here.
By systematically adjusting each of these elements—grind size, tamping, extraction time, temperature, pressure, and maintenance—you develop a fine-tuned process that guards against burnt, bitter decaf espresso. Remember, consistency is key; small tweaks can accumulate into a big improvement over time. My own breakthrough came from a messy trial-and-error session, which ultimately taught me to observe each variable carefully and fine-tune accordingly. Keep experimenting, and your decaf will taste as rich and satisfying as any regular shot.
,
Many enthusiasts believe that investing in high-end equipment automatically guarantees perfect coffee, but this is a common misconception. In reality, most confusion stems from misunderstanding or misusing equipment, rather than the gear itself. For example, a frequent myth is that expensive grinders always produce better results—yet, if those grinders lack proper calibration or are used without understanding their nuances, they can still deliver inconsistent grounds. A study from the Specialty Coffee Association highlights that grinder burr alignment and grind uniformity are more critical than price alone, emphasizing that mastering your existing gear often trumps upgrading equipment prematurely.
Another trap many fall into relates to milk frothers. The assumption that the most expensive wand produces the best microfoam is flawed. Instead, technique and milk temperature play larger roles. Using a lower-cost handheld wand with proper practice can outperform a costly machine if the barista understands the fundamentals, such as how to manage steam pressure and tip positioning. Don’t forget, regular cleaning and maintenance are often overlooked but vital—residual milk fats can clog nozzles, leading to uneven frothing or even microbial issues.
When it comes to home espresso machines, many users misunderstand pressure and temperature settings. They often believe that setting the machine to maximum pressure yields a richer shot. However, over-pressurization can cause over-extraction and bitter flavors. The key lies in precise calibration—aiming for around 9 bar during extraction while maintaining optimal temperature (around 93-95°C). Proper setup, including plumbing lines (see this guide), ensures stability and consistency, preventing common errors like pressure drops or temperature spikes that ruin shots.
Are You Overlooking the Advanced Details for Perfect Espresso?
Beyond the basic setup, there are often subtle nuances that can make or break your brew. For instance, inconsistent tamping pressure or uneven coffee distribution can cause channeling, leading to under-extraction or bitter tastes. Implementing micro-adjustments and using tools like the Weiss Distribution Technique (WDT) can help—these are especially crucial when working with complex beans or striving for consistency. Furthermore, understanding your machine’s internal components—like how pressure regulators or solenoids function—can prepare you to troubleshoot and optimize performance effectively. Remember, even small mechanical tweaks, such as adjusting the pressurestat or ensuring proper boiler calibration, can lead to noticeable improvements, as discussed in this helpful article.
Lastly, be wary of common pitfalls like neglecting routine cleaning, which can cause pressure leaks or temperature inconsistencies, especially in home setups. Developing a maintenance routine and understanding the inner workings of your equipment elevates your barista skills from novice to expert, enabling consistently outstanding espresso. Have you ever fallen into this trap? Let me know in the comments and share your experiences!
How do I keep my espresso setup running smoothly over time?
Keeping your coffee equipment in optimal condition requires more than just regular cleaning; it involves strategic maintenance, choosing the right tools, and understanding the nuances that prevent downtime. For example, investing in a high-quality vibratory pump noise reduction kit can extend the lifespan of your machine and ensure consistent performance. I personally recommend a dedicated tuning and cleaning kit that includes calibrating tools, descaling solutions, and brushes designed for espresso machines; these allow for precise adjustments and prevent build-ups that could cause pressure drops or temperature inconsistencies. Predictive maintenance, such as regularly checking the pressurestat and boiler elements, helps you catch malfunctions early, saving money and avoiding messy failures.
What tools do I need for effective long-term maintenance?
Beyond standard cleaning brushes, I rely heavily on a digital manometer to monitor pressure stability—crucial for avoiding extraction issues. A proper plumbing setup ensures consistent water flow, reducing wear on components like solenoids and valves. Quality descaling devices such as electronic descalers or natural solutions like vinegar infused with citric acid can prolong your boiler’s health without damaging its internals. Remember, replacing worn gaskets and seals periodically (even if it feels unnecessary) prevents leaks that could cause pressure drops or water damage. I have found that maintaining a log of maintenance routines helps track component wear and schedule timely replacements.
What’s the future of equipment maintenance in coffee?
Emerging trends include IoT-connected machines that self-diagnose issues and send alerts for parts requiring attention—imagine a machine that warns you before a pump fails or a temperature drift occurs. As technology advances, integration with maintenance apps can streamline your routine, ensuring your gear remains in peak condition with minimal manual effort. For now, mastering the basics—like regularly checking pressure stability through pressure drop troubleshooting—sets a solid foundation for long-term reliability.
Take this opportunity to incorporate a monthly calibration of your pressurestat and temperature settings, ensuring consistency in your brew quality. Such proactive measures can significantly extend your equipment’s lifespan, and ultimately, improve your daily coffee experience. Remember, a little effort upfront guarantees endless moments of great-tasting espresso—your future self will thank you. Why not start tomorrow by checking your machine’s pressure stability and scheduling a deep clean? Small steps like these can lead to big results, turning your setup into a true barista powerhouse.
Lessons That Changed My Espresso World
One of the most valuable lessons I learned was that decaf beans are delicate and demand a tailored approach—what works for regular beans often backfires. Overusing fine grind settings, for instance, caused scorching and a burnt taste, making me realize that patience and precise adjustments are crucial. I also discovered that consistent tamping pressure can be the difference between a vibrant shot and a bitter disaster—it’s easy to overlook how small variations can accumulate into flavor ruin. Additionally, I realized the importance of maintaining clean equipment, especially for decaf, since residues can intensify off-flavors. These insights—gained through trial, error, and reflection—fostered a deeper understanding of how to coax the best flavors from even the most challenging beans.
Tools and Resources That Elevated My Espresso Skills
My journey wouldn’t be complete without sharing some go-to resources. The grinder static guide helped me minimize static and ensure consistent grounds, which is vital for decaf. The plumbing setup tutorial clarified how proper water supply prevents fluctuations affecting extraction quality. For temperature control, temperature guides have been invaluable in fine-tuning my machine’s PID settings. Lastly, investing in a noise reduction kit improved my machine’s stability and longevity, ensuring consistent, high-quality shots over time.
Embrace the Journey: Your Next Cup Awaits
Achieving decaf espresso perfection is an ongoing adventure filled with learning, adjustments, and moments of satisfaction. Don’t let initial setbacks discourage you—every small tweak brings your brew closer to excellence. Remember, the beauty of home barista mastery lies in each brew you craft, knowing you’re elevating simple beans into a transcendent experience. Keep experimenting, stay curious, and soon you’ll be savoring rich, satisfying decaf that rivals any caffeinated version. Your perfect espresso is just a few mindful steps away—embrace the process and enjoy every cup along the way.