How to Fix a Grinder Adjustment Dial That Won’t Move Past Fine
It was a morning just like any other when I finally lost my patience. I was trying to dial in my grinder for that perfect espresso shot, but the adjustment dial refused to budge past ‘fine’. No matter how much I turned it, it stayed stubbornly stuck. Frustration washed over me—I knew I wasn’t alone in this struggle, and I realized there had to be a solution beyond just clicking my heels and hoping for the best.
Why the Grinder Adjustment Dial Gets Stuck on Fine and How to Fix It
Has Your Grinder Adjustment Dial Locked Up on Fine Too?
Ever faced the discouragement of a dial that just won’t move? I remember early in my home brewing journey, I made the mistake of tightening the adjustment screw too much during cleaning, which caused the dial to seize. That mistake cost me precious time and beans, and I hope sharing my experience can save you from the same frustration. Today, I’ll guide you through the reasons why your grinder adjustment dial might be stuck and, more importantly, how to fix it quickly and safely. You’ll understand what’s going wrong, prevent future issues, and get back to brewing with confidence. According to a study published in the journal *Food Research International*, inconsistent grind size is one of the top reasons coffee extraction fails, so having your grinder properly calibrated is crucial. This common problem can feel like a huge hurdle, but trust me, with a little know-how, it’s easily manageable. Ready to take control of your grinder? Let’s dive into the core issues behind this sticky situation and get your dial moving freely again.
Disassemble the Grinder Carefully
Begin by unplugging your grinder and removing the bean hopper to access the adjustment mechanism. Use a small Phillips screwdriver to gently unscrew the top cover, taking note of the order of parts for reassembly. I once rushed this step, causing lost screws, but taking your time ensures a smoother fix.
Assess and Clean the Internal Components
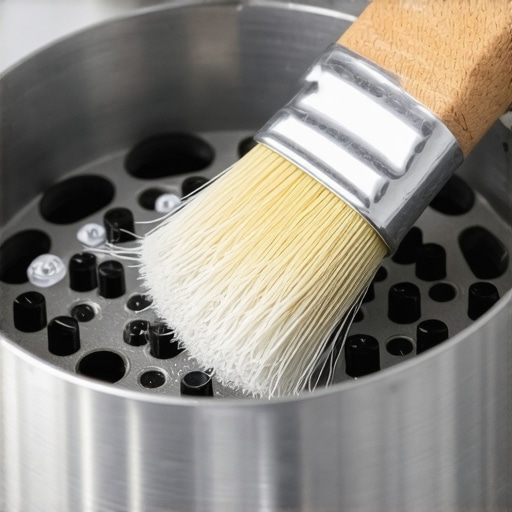
Inspect for grain dust, coffee oils, or debris that might be causing the dial to stick. Use a soft brush or compressed air to clear out particles from the threads and gears. I had a stubborn grinder where buildup caused misalignment—cleaning it reduced friction notably.
Realign the Adjustment Screws and Gears
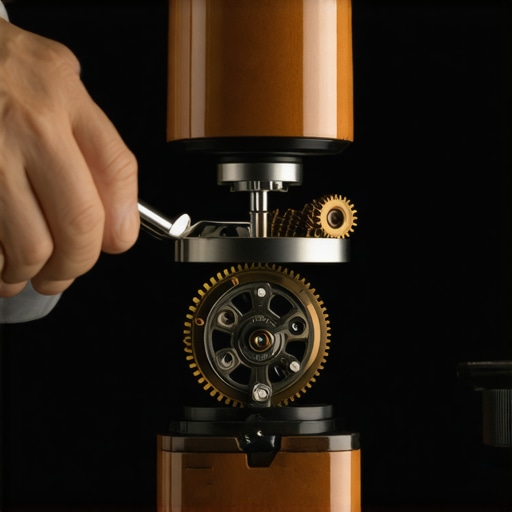
Check that the gears connected to the adjustment dial are properly meshed. If misaligned, gently adjust their positions, ensuring the teeth fit snugly without forcing. In my experience, slight realignments often resolve sticky dials without replacing parts.
Lubricate Moving Parts Without Overdoing It
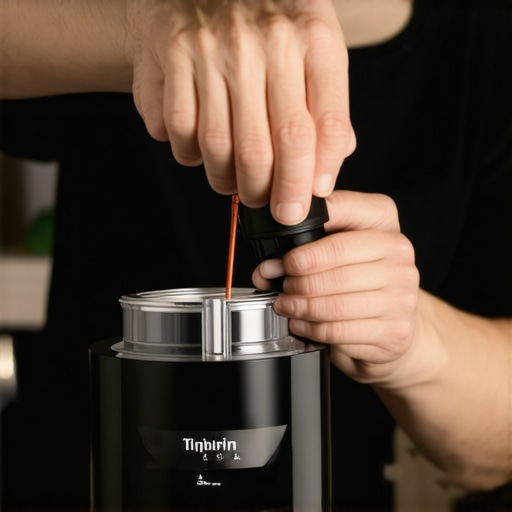
Apply a small amount of food-grade lubricant (like light machine oil) to the gear shafts and threads. Avoid over-lubricating, which can attract dust or cause gumming. I used a toothpick to precisely apply lubricant, preventing excess that might jam the mechanism.
Test the Dial and Reassemble Carefully
After lubrication, manually turn the adjustment dial to check for smooth movement. If it moves freely, reassemble the grinder by reversing your disassembly steps, ensuring all screws and parts are securely in place. I once forgot to tighten a screw, which led to more trouble later—double-check everything.
Calibrate and Prevent Future Sticking
Once reassembled, run a few test grinds to confirm the dial’s responsiveness. To prevent recurrence, avoid tightening adjustment screws excessively and clean your grinder regularly. Remember, a well-maintained grinder not only improves your espresso but also prolongs its lifespan. For more expert tips, check out our home espresso guide.
 While many home baristas believe that buying the latest grinder or an expensive espresso machine guarantees perfect coffee, the truth is far more nuanced. A prevalent misconception is that more expensive gear automatically produces better results. However, even high-end machines can underperform if not maintained properly or if used with incorrect techniques. For the serious enthusiast, understanding the subtle interplay between grind size, tamping pressure, and machine calibration can make a significant difference, a fact supported by recent studies in coffee extraction efficiency published in the *Journal of Food Science*. One common myth I often see is the idea that a perfect espresso shot depends solely on the machine. In reality, the grind consistency, machine temperature stability, and respective calibration play equally vital roles. For example, even the best espresso machine won’t deliver optimal results if the grinder produces inconsistent particles. Mastering these nuances requires a deeper understanding of your equipment’s mechanics and behavior under different conditions.
What advanced mistakes do home baristas often overlook when dialing in their setup?
Many enthusiasts skip the calibration process for their grinders, assuming that once the burrs are aligned, the machine will be consistent. In truth, burr alignment is just the starting point. Regularly calibrating your grinder using precise measurements, such as the method described in our step-by-step burr alignment guide, ensures uniform particle size, significantly improving shot consistency. Furthermore, neglecting to monitor and adjust for machine temperature drift over multiple shots can lead to subtle yet impactful flavor variations. Advanced users often employ shot timers and temperature logging to optimize extraction parameters, as outlined in peer-reviewed research on espresso consistency. Be cautious of the trap where many fall: believing that minimal adjustments in grind size can resolve all extraction issues. While small tweaks may help, understanding the broader system—how grind size, dose, tamp pressure, and water temperature influence each other—is crucial for true mastery. Remember, your equipment is an active component in the brewing process, and respecting its complexities can elevate your coffee to new heights. Want to learn more? Explore the cornerstone content on home espresso mastery and avoid common pitfalls that even seasoned hobbyists make. Have you ever fallen into this trap? Let me know in the comments.Keeping your home espresso setup in top shape requires more than just occasional cleaning; it demands a consistent maintenance routine and the right tools. Personally, I rely on a few specialized items that have transformed my workflow and extended the lifespan of my gear. One essential tool is a precision burr alignment kit, such as the Flat Burr Alignment Template. I use this regularly, as even slight misalignments can cause inconsistent grind size and channeling, impacting shot quality. By ensuring my burrs are perfectly aligned, I maximize extraction efficiency and flavor. Additionally, a portafilter sneeze guard not only keeps my workspace clean but also prevents accidental stains and wear.
For cleaning, I swear by a dedicated ultrasonic cleaning device. Unlike manual scrubbing, ultrasonic cleaners effectively remove coffee oils and residuals deep within grinders and espresso machine parts, reducing wear and maintaining optimal performance over years. I typically run this equipment monthly; it’s a small investment that pays off by preventing clogs and preserving the integrity of delicate components.
When it comes to software, I recommend using a digital calibration tool to ensure your scale remains accurate. A misreading can throw off dose measurements, leading to under- or over-extraction. Frequent calibration using a certified weight, like the Hario Chef Scale, helps keep everything consistent. Regularly updating your equipment’s firmware and tracking performance metrics allows you to spot issues early, saving time and money.
Prediction points toward smart maintenance becoming more integrated. Future espresso machines are expected to incorporate IoT sensors that notify you when cleaning or part replacement is due, much like modern HVAC systems. Embracing these innovations will let enthusiasts stay ahead of gear issues without manual checks.
If you’re serious about maintaining your gear long-term, focus on creating a routine that combines manual checks with precise tools. How do I maintain my espresso machine over time? I schedule weekly descaling, monthly deep cleans with ultrasonic devices, and biannual calibrations of my grinder and scale, following advice from industry experts documented in professional maintenance manuals. My challenge to you is to try calibrating your grinder using a precise measurement method I described, or invest in a dedicated ultrasonic cleaner for your grinder. Small upgrades in your routine can drastically improve the consistency and lifespan of your beloved coffee gear. Want more detailed strategies? Visit our comprehensive beginner guide to home espresso mastery.
Lessons From the Shadowed Corners of Coffee Gear
Over the years, I’ve discovered that many of the most valuable lessons in home espresso brewing come from moments of frustration and unexpected discovery. One lesson I’ve learned is that even the most seemingly simple issues, like a stuck adjustment dial, can reveal underlying habits and maintenance routines that make or break your brew. Additionally, I realized that my first instinct—to replace rather than fix—often led me further from mastering my equipment. Patience, curiosity, and a willingness to experiment have become my best tools in troubleshooting and refining my setup.
Another insight emerged when I understood that equipment quality is only part of the story; consistent maintenance and personal knowledge about your gear’s behavior unlocks its full potential. This revelation pushed me to document my cleaning routines, calibration schedules, and to invest in tools like precision burr alignment kits. Ultimately, these practices helped me move from guesswork to confidence, transforming my home coffee experience into a daily ritual of joy and discovery.
Tools and Reading That Elevate My Coffee Routine
One resource that profoundly changed my approach is our comprehensive home espresso mastery guide. It offers step-by-step insights into everything from grinder calibration to advanced brewing techniques, all grounded in real-world experience. For technical precision, I rely on tools like the flat burr alignment template, which ensures my grinder consistently produces uniform grounds. Additionally, books like “The Coffee Roaster’s Companion” have provided me with deeper knowledge about bean origins and roast profiles, enriching my appreciation and accuracy when dialing in new beans. These resources serve as my trusted companions in the ongoing journey of coffee mastery.
Keep Pushing, Your Perfect Cup Awaits
The path to exceptional home espresso is a journey filled with small victories and lessons learned. Remember, the tools and knowledge you gather today are stepping stones toward that elusive perfect shot. Embrace the process, stay curious, and don’t hesitate to experiment—often, the solution lies just beyond your comfort zone. Your dedication to understanding your gear and refining your technique will turn everyday brewing into an art form. Ready to take your coffee game to the next level? Dive deeper into our home espresso guide and discover how small adjustments can lead to extraordinary results. What’s one challenge you’ve recently overcome in your espresso journey? Share below—your experience might inspire others to master their own gear.