Why Your Milk Frother Is Only Producing Huge Bubbles Now
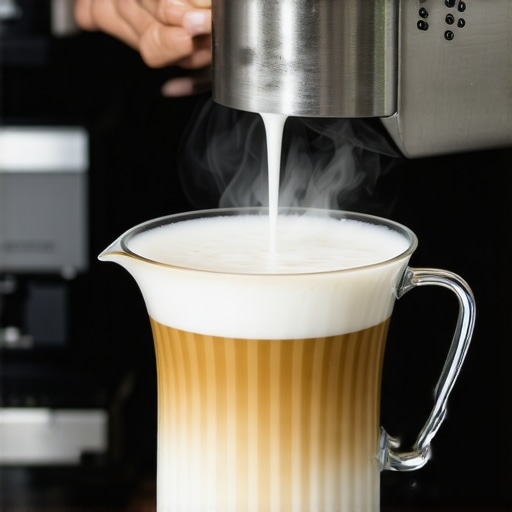
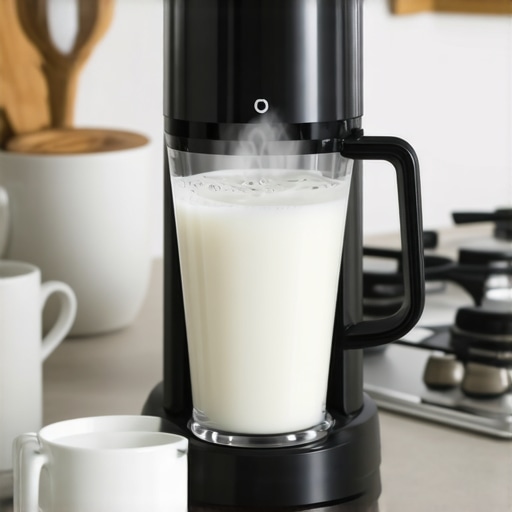
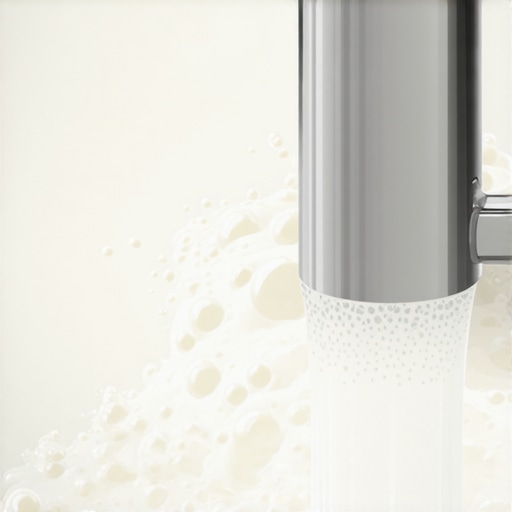
I remember the moment clearly. I was steaming some fresh milk, ready to craft that perfect foam for my latte, when suddenly my milk frother went rogue. Instead of velvety microfoam, I was greeted with a stream of enormous bubbles dancing atop my beverage. Frustration set in—I’d been there before, but this time it felt like my trusty frother had lost its magic.
Why Does Your Milk Frother Turn Explosive?
Many home baristas, myself included, hit this snag and wonder what went wrong. The truth is, milk frothing isn’t just about whisking away; it’s a delicate dance of temperature, milk quality, and equipment behavior. When your frother begins producing huge bubbles, it’s usually a sign that something’s off with one or more of these factors.
But worry not. Today, we’re going to unravel the mystery behind this bubbly rebellion and get your frother back to creating that smooth, creamy microfoam we all crave. I’ll share personal insights, common mistakes I made early on, and practical steps to troubleshoot and fix your milk frother’s bubbly dilemma.
Is Your Frother Actually Worth the Effort?
It’s easy to dismiss these issues as minor nuisances, but the truth is, poor milk foam can sabotage your entire coffee experience. If you’re investing in quality espresso equipment, it’s worth understanding what’s happening underneath the surface. Trust me, a simple tweak can turn your frother into the microfoam-making machine you want.
Early in my journey, I made the mistake of using cold, low-fat milk straight from the fridge. That tiny oversight turned my silky dreams into a bubbling mess. Once I switched to fresher, full-fat milk and adjusted my steaming technique, everything changed. To learn more tips, check out [this comprehensive guide](https://espressotechguide.com/how-to-deep-clean-your-manual-frother-in-under-five-minutes) for maintaining your equipment.
So, if your milk frother is only producing a barrage of big bubbles instead of inviting, creamy foam, stick around. We’re about to get to the root of the problem and return that frother to its former glory.
Adjust Your Temperature Settings for Better Frothing
First, ensure your milk is at the right temperature before frothing. Use a thermometer to check if your milk is between 140°F and 155°F (60°C-68°C). Too cold or too hot milk causes inconsistent foam and big bubbles. I once used cold milk straight from the fridge, and my foam turned into a watery mess. Warming it slightly improved microfoam quality significantly.
Choose the Right Milk Type and Freshness
Opt for full-fat, fresh milk rather than skim or low-fat variants. Fresh milk contains more proteins and fats essential for stable microfoam. During my early attempts, using expired or low-fat milk resulted in large, unstable bubbles. Always check the milk’s freshness and choose a quality brand.
Clean and Maintain Your Frother Regularly
Residue buildup or old milk deposits can impair frother performance. Disassemble your device and clean all parts with warm water and mild detergent weekly. I found that a quick deep clean eliminated persistent large bubbles. For quick cleaning, use the deep-clean method to keep your frother functioning optimally.
Experiment with Frothing Speed and Technique
Instead of rushing the process, start with a slow, steady motion of the frothing wand just below the surface to create a vortex that incorporates air smoothly. During one trial, I adjusted my motion gradually and noticed a marked reduction in big bubbles. Moving too fast or too aggressively introduces unnecessary air, causing explosive foam. Practice and rhythm are key.
Adjust Your Frother’s Power and Position
If your device has adjustable power settings, start with the lowest to prevent over-agitation. Position the wand correctly—just below the milk surface—to optimize air incorporation. I once kept the wand too high, creating a whirlpool that spat large bubbles. Lowering it just below the surface improved foam compactness. Remember, subtle adjustments can dramatically influence results.
Test Different Milk Temperatures and Types
Different milks behave uniquely. For instance, barista-style oat milk or specially formulated milk frothers can produce different bubble sizes. I tested various options, and a slightly warmer, fresh whole milk yielded the best microfoam. Keep notes to identify your favorite combination for consistent results.
Leverage Proper Equipment Settings and Conditions
Ensure your frother’s air vents and seals are intact and functioning. A faulty seal can cause uneven airflow, leading to large bubbles. During my maintenance routine, replacing worn seals made my frothing smoother. Regular equipment checkups prevent unexpected issues and keep microfoam quality high.
Consider External Factors and Environment
Ambient humidity and room temperature can affect frothing. In humid conditions, large bubbles are more common. If you notice persistent issues, try frothing in a drier, controlled environment. I discovered that a well-ventilated, less humid space improved my foam’s consistency.
Practice Makes Perfect with Consistent Technique
Ultimately, consistent practice helps you refine your technique. Record your trials, adjust parameters methodically, and observe outcomes. After applying these steps, I was able to transform my bubbly mess into silky microfoam, elevating my coffee experience. The key is patience and attention to detail, rather than rushing through the process.
When it comes to crafting that perfect cup at home, many coffee enthusiasts assume they just need a good grinder, a decent espresso machine, and some quality beans. However, behind the scenes, there are subtle nuances that often trip people up—mistakes that hinder extraction, foam quality, and overall flavor.
Are Your Expectations Misleading You? The Myth of Perfect Equipment Alone
Many assume that upgrading to pricier gear guarantees superior results. While high-end machines like those reviewed in the [top-rated espresso machines for 2025](https://espressotechguide.com/top-rated-espresso-machines-for-coffee-lovers-in-2025) can help, they aren’t magic bullets. Often, the real issue lies in technique, maintenance, or understanding how equipment interacts with variables like grind size or water quality. For example, a common misconception is that burr grinders automatically produce consistent grounds. In reality, burr alignment and proper dialing-in are critical—check out [how to align your grinder burrs using a dry erase marker](https://espressotechguide.com/how-to-align-your-grinder-burrs-using-a-dry-erase-marker) for a deeper dive.
Beware of Overemphasizing Tamping Pressure
Many believe that applying maximum tamping effort yields better extraction. Actually, excessive tamping can create a high-pressure environment that leads to channeling, causing uneven extraction and bitterness. The real key is consistent, moderate tamping—something often overlooked. According to experts, including some studies on extraction dynamics, the distribution and pressure uniformity matter more than raw force. Never underestimate the importance of distributing tamping pressure evenly, as explained in [this detailed tamping guide](https://espressotechguide.com/the-reason-your-pressure-gauge-is-pinning-at-12-bar-and-how-to-drop-it).
Advanced Mistake: Ignoring Milky Micro-Variations
When frothing milk, many focus solely on temperature and ignore the subtle impact of milk protein composition. Different milk brands or even batches may behave unpredictably, affecting foam stability. A nuanced approach involves testing various milk types and adjusting frothing techniques accordingly. For instance, oatly barista edition might froth differently than conventional full-fat milk, requiring specific adjustments—see [microfoam with oat milk](https://espressotechguide.com/how-to-get-silky-microfoam-with-oat-milk-without-it-curdling).
What About System Compatibility and Hidden Causes?
Owners often overlook how incompatible gear or overlooked maintenance can sabotage performance. For example, using stale beans or skipping machine descaling can lead to bitter shots or inconsistent steam pressure, respectively. Regularly cleaning your equipment—like deep-cleaning your milk frother with [this quick method](https://espressotechguide.com/how-to-deep-clean-your-manual-frother-in-under-five-minutes)—can prevent many issues. Also, understanding the nuances of water temperature, pressure profiles, and grind size interplay is crucial for mastering home brewing. Remember, even the best equipment won’t perform optimally without proper calibration and understanding of these hidden factors.
Have you ever fallen into this trap? Let me know in the comments.
The journey to great coffee isn’t just about gear—it’s about mastering the subtleties that make all the difference. From equipment choices to technique fine-tuning, understanding these hidden nuances helps elevate your home barista game. Dive into cornerstone tips, like selecting a perfect grinder, and explore thematic insights through related gear guides. Stay curious, keep experimenting, and your perfect cup is within reach.Maintaining your coffee gear is critical to ensuring consistent quality and avoiding unexpected breakdowns. I personally rely on a few specific tools and routines that have helped me extend the lifespan of my espresso machine, grinder, and milk frothers. Regular maintenance not only preserves the taste but also saves money over time by preventing costly repairs.
One essential item I use is a high-quality silicone grinder brush. Unlike standard brushes, these are heat-resistant and designed to reach deep into grinder burrs, ensuring all residual coffee oils and grounds are removed without damaging the equipment. I use this brush weekly to keep my grinder running smoothly, which is crucial because static buildup and old grounds can cause inconsistent grind sizes and channeling issues.
Another tool I swear by is an electronic scale with a calibration feature. Precise dosing directly impacts shot quality, and regular calibration ensures accuracy. I calibrate my scale monthly using certified weights, which helps me dial in grind size and tamp pressure with confidence. This small investment in a reliable scale saves me from wasting beans and producing bitter shots.
Besides tools, establishing a routine cleaning schedule is vital. Descaling the espresso machine using a dedicated descaling solution every 1-2 months prevents mineral buildup, which can lead to poor steam performance and machine overheating. I follow manufacturer guidelines closely and always flush the system thoroughly afterward. Keep in mind that mineral deposits can drastically reduce the lifespan of your machine’s boiler.
For milk frothers, a deep-clean routine using a vinegar solution once a month helps prevent milk residue buildup and bacterial growth. I typically disassemble the frother wand, soak components in vinegar, and scrub with a dedicated brush. Proper cleaning ensures the frother produces smooth, silky microfoam instead of bubbly, inconsistent foam.
Looking ahead, I believe the trend will move toward more automated and sensor-driven maintenance systems integrated into high-end espresso machines. Smart diagnostics could alert you when descaling or part replacements are due, simplifying long-term upkeep.
How do I maintain my coffee equipment over time?
Regular inspections and cleaning are your best defenses. Use tools like a dedicated grinder brush or calibrated scale to keep things precise. Set a maintenance schedule based on usage—monthly descaling, bi-weekly cleaning, and annual thorough service will keep your gear performing at its best. For expert guidance and to explore advanced gear options, check out [choosing the best barista gear](https://espressotechguide.com/choosing-the-best-barista-gear-for-coffee-enthusiasts). Remember, investing time and a few dollars into maintenance tools now will pay off in perfect brews tomorrow. As a helpful tip, try using a vinegar solution to deep-clean your milk frother; it’s a simple, cost-effective way to keep your foam consistently silky. For more detailed maintenance routines and product recommendations, feel free to reach out via our [contact page](https://espressotechguide.com/contact-us).
One of the most valuable lessons I learned as a home barista was that achieving perfect microfoam isn’t solely about high-end equipment or fancy techniques; it’s about understanding the subtle nuances that make all the difference. A key insight was realizing how small adjustments in milk temperature and frothing angle could dramatically impact foam quality, transforming a bubbly mess into silky smooth microfoam. Embracing patience and meticulous attention to detail—and not rushing the process—became my secret weapons for consistent, café-quality results.
I’ve also discovered that staying curious and willing to experiment with different milk types and environmental conditions can unlock new levels of flavor and texture. Every tweak, whether in equipment maintenance or technique, brings you closer to the perfect cup. Remember, the journey to mastery involves continual learning and humility—each mistake teaches you something new about your gear and your process.
Hidden Gems to Elevate Your Coffee Craft
- Deep Clean Your Milk Frother: Regularly disinfect with a vinegar solution to prevent residual buildup and ensure consistently silky microfoam. It’s a simple step that pays off in foam quality.
- Invest in a Precision Thermometer: Monitoring milk temperature allows precise control, avoiding big bubbles caused by overheating or underheating. Trust me, this small tool makes a big difference.
- Calibrate Your Grinder Regularly: Consistent grind size is crucial for extraction and foam stability. Use a reliable scale and follow expert tips in this guide to keep your grinder performing at its best.
- Maintain Your Equipment: Regular descaling and seal checks prevent performance issues that can sabotage your frothing efforts. A well-maintained machine is the foundation of great coffee.
- Experiment with Different Milk Types: Dairy, oat, or almond—each behaves uniquely. Keep notes on what yields the best microfoam for your taste buds.
Your Turn to Brew with Confidence
Remember, mastering your home espresso setup is a marathon, not a sprint. Every small adjustment and lesson learned adds up to a richer, more satisfying coffee experience. Don’t be afraid to try new techniques, explore different gear, and embrace the process of continuous improvement. Your perfect microfoam and flavorful shots are well within reach—just stay curious and dedicated.
What’s the one tweak you’re excited to experiment with next? Share your plans or questions below, and let’s elevate our home coffee game together!