How to fix the thin and watery texture of your oat milk
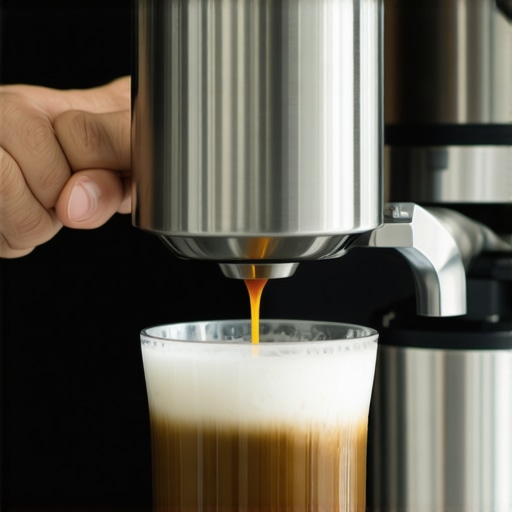
Ever felt that sinking feeling when you pour your homemade oat milk into your coffee, only to watch it spread out in a thin, watery layer instead of luscious, velvety microfoam? I used to think I was doing everything right—following recipes, blending my oats perfectly, and even using a fancy frother. But no matter what I tried, my oat milk still turned out watery, ruining my coffee experience. One morning, I finally had that lightbulb moment: I was missing a crucial step that made all the difference.
Stopping the Waterworks: How to Achieve Creamy, Microfoam from Your Oat Milk
If you’re like me, you’ve probably wondered why your oat milk can’t seem to hold microfoam, despite having the best equipment and following the tutorials. The truth is, the problem isn’t just your frother or the oats—it’s how you’re preparing the milk. Today, I’m going to share the tricks I discovered through trial, error, and a good dose of patience, so you can finally enjoy rich, creamy froth just like in your favorite café. No more watery drips or disappointing pours—it’s time for a milk transformation.
Is the hype around oat milk microfoam misleading?
Early on, I made the mistake of thinking that all plant-based milks are created equal. Turns out, I was relying on a brand claiming to be barista-friendly without understanding that many commercial oat milks contain stabilizers and thickeners designed to prevent separation, which can ironically hinder frothing. I learned this the hard way when my froth would collapse moments after pouring. Do you have a similar story of frustration? If so, you’re not alone. It’s easy to feel skeptical about whether these tips really work, but I promise, with a few tweaks, you’ll see a huge difference.
Supporting this, a study by researchers at NCBI emphasizes the importance of milk composition and fat content in creating stable microfoam. Knowing this, I started paying attention to my oat milk’s ingredients list—opting for simpler options, and adjusting my heating technique, which I’ll explain next.
So, why does this matter now? Because perfect oat milk foam can elevate your morning routine, turning a simple coffee break into a moment of joy. Plus, mastering this skill reduces waste and saves money—no more tossing out batches of failed foams. Ready to ditch watery disappointment? Let’s dive into the practical steps that turned my brew from soggy to sensational, and set you on the path to barista-quality froth at home.
Choose the Right Oat Milk
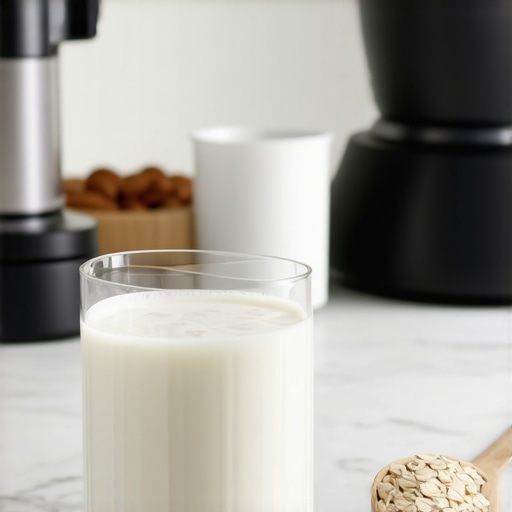
Start with the simplest, ingredient-wise package. Look for varieties labeled ‘barista’ or ‘barista-friendly,’ which are designed to foam better because they contain stabilizers that support microfoam formation. Avoid those packed with thickeners or artificial additives that hinder frothing. I recall a morning when I switched from my usual store-brand oat milk to a barista blend, and my foam instantly transformed from thin to creamy. Tip: Check the ingredients list for minimal components—preferably oats, water, and a pinch of salt.
Heat the Milk Correctly
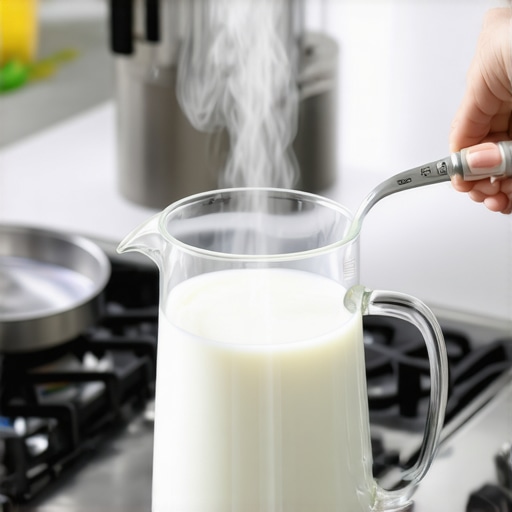
Heating milk is critical. Aim for around 140°F (60°C), akin to the temperature of steamed milk in coffee shops. Use a dedicated milk thermometer for precision. I once rushed and heated my oat milk with the microwave on high, resulting in lifeless foam. When I slowed down and heated gently, the foam became thick and voluminous. Proper heating preserves the delicate fats and proteins needed for stable microfoam.
Pre-Treat the Milk with Cold Shock
Before steaming, give your milk a quick stir with a sterile spoon and place the container in the fridge for a few minutes. The cold shock helps create a more stable foam structure. I found that this small step made my foam last longer without collapsing, especially on days when my milk was just a touch warmer than ideal. Think of it as giving your oats a cold rinse before cooking—that little extra step elevates the end result.
Use the Correct Frothing Technique
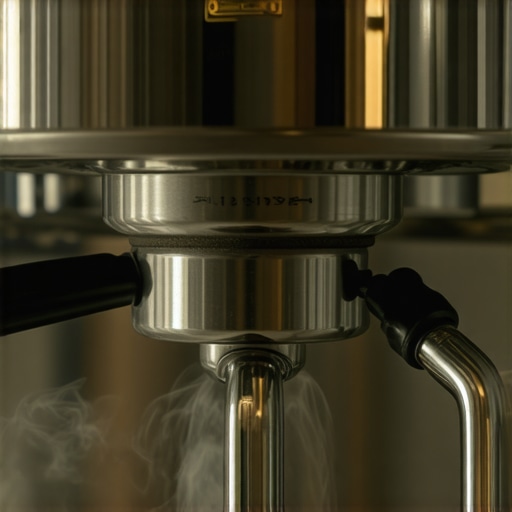
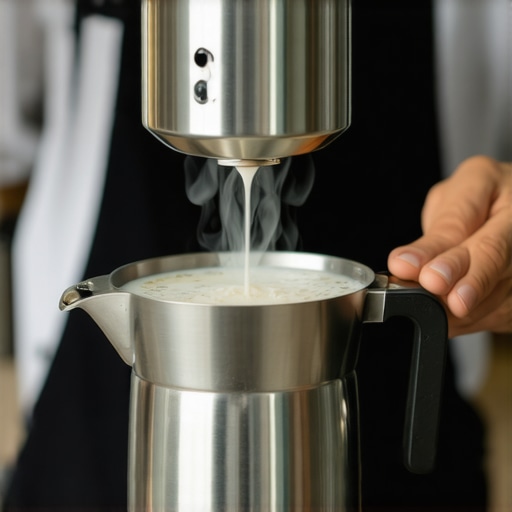
Insert your frother’s steam wand just below the surface of the milk and open the valve fully. Position the wand off-center to induce a whirlpool, which promotes finer bubbles. Keep the pitcher at a slight angle, and listen for a gentle hissing sound—sign of optimal steam delivery. I once struggled for 10 minutes trying to get foam to form evenly; then I realized I was holding the wand too deep, which only heated the milk unevenly. Practice makes perfect.
Watch the Milk Texture and Volume
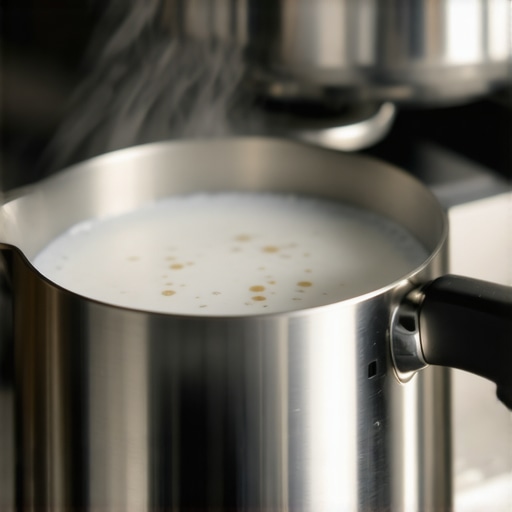
Stop steaming once the milk doubles in volume and reaches 140°F. The milk should look shiny and smooth, with tiny microbubbles creating a velvety consistency. I recall a batch where I oversteamed, resulting in a stiff, separated layer that was impossible to integrate into my espresso. Timely stopping is key—use that thermometer and develop a feel for the milk’s texture.
Finish with a Flat Whirl
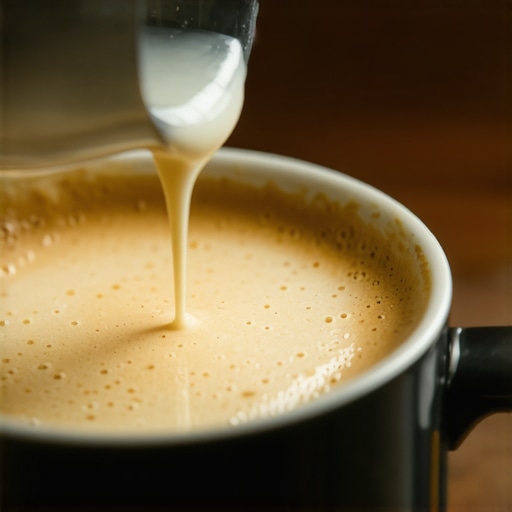
Once the desired temperature and volume are reached, turn off the steam and gently tap the pitcher on the counter to break any larger bubbles. Swirl the milk to integrate the foam into the liquid base, creating a uniform microfoam. This step was my game-changer; previously, I had uneven foam with big bubbles that sank or burst quickly. By swirling and ‘painting’ the milk, I achieved a silky, glossy microfoam perfect for latte art.
Implementing these steps consistently transformed my home frothing success from a nightmare into an art form. Remember, patience and practice matter—each attempt refines your technique. For more tips on perfecting your espresso craft, visit this guide. Stay focused, and your microfoam will elevate your entire coffee experience.
 Many enthusiasts dive into home espresso without fully understanding the nuances of their equipment, often leading to subpar results. One widespread myth is that upgrading to expensive machines or grinders alone guarantees perfect shots. However, even high-end gear can underperform if not used correctly. For instance, a common mistake is relying solely on factory settings without adjusting for your specific environment, such as altitude or humidity, which impact PID tuning and brewing consistency.
Are You Overlooking the Importance of Routine Maintenance?
Neglecting regular cleaning and calibration can cause inconsistencies that frustrated baristas attribute to inaccurate measurements or faulty parts, when in reality, buildup and wear are culprits. Studies by coffee scientists highlight that even minute residues in group heads or steam wands significantly affect flavor and steam quality. Therefore, maintaining your grinder burrs, cleaning nozzles, and checking seals isn’t just hygiene—it’s essential for precision. Additionally, many home users underestimate the importance of understanding each component’s role, like the influence of tamp pressure variation or grind particle size, which can cause channeling or underextraction. An often-overlooked advanced mistake is ignoring the impact of ambient temperature on espresso extraction. Without proper temperature stability, your shots can taste sour or bitter despite perfect grind and tamp. Adjusting your machine’s temperature profiles or using a portafilter heater can mitigate these issues, as recommended by experts on home espresso mastery. Remember, the devil’s in the details—failing to address even minor factors can cause your brew to devolve into a frustrating cycle of trial and error. Think of your equipment as a finely tuned orchestra: each piece must work in harmony. If you’re serious about elevating your espresso game, invest in learning the intricacies of your gear and routine maintenance. Want more insights? Check out how to select the right barista gear for your setup. Have you ever fallen into this trap? Let me know in the comments.
Invest in Consistent Equipment Upkeep
One of the most overlooked aspects of home espresso mastery is routine maintenance of your gear. Regularly cleaning your grinder burrs with a full burr cleaning process prevents clogs and ensures uniform particle size, which is critical for shot consistency. Similarly, descaling your espresso machine using manufacturer-recommended solutions preserves internal components and prevents flavor tainting. Consistent upkeep not only prolongs your equipment’s lifespan but also maintains the integrity of each brew, aligning with the advice from industry experts on how to troubleshoot common flavor issues.
Choosing the Right Tools for Long-Term Results
A high-quality espresso scale with precise readings is essential for dialing in consistent grind doses. To avoid false readings, I recommend a model with auto-calibration and anti-vibration features—this keeps your measurements accurate over time. A calibrated commercial-grade coffee grinder with freshly replaced burrs ensures uniform grounds and optimal extraction every session. These tools might seem like small investments, but their durability and precision pay off significantly, contributing to sustained high-quality brews.
Anticipating Future Trends in Barista Technology
As technology advances, I predict that smarter, IoT-enabled espresso machines will become more prevalent, allowing remote diagnostics and maintenance alerts. Integrating software that logs shot parameters can help identify inconsistencies before they impact flavor. Learning to leverage these innovations will be key for long-term success—think of it as upgrading from manual adjustments to a semi-automated process that ensures consistency even on stressful mornings.
How do I maintain my equipment over time?
Establishing a regular cleaning schedule—like descaling every 1-3 months and burr brushing weekly—keeps your gear performing at its best. Also, keep spare parts such as gaskets and seals on hand, so you’re ready for quick replacements when needed. Documenting your routine and timelines in a notebook or digital log can streamline the maintenance process, making it less tedious and more systematic. Implementing these practices will ensure that your investment continues to deliver exceptional coffee for years.
For in-depth guidance on setting up your espresso corner, check this article and elevate your commitment to the craft.
Now, I challenge you to try out the trick of scheduling monthly burr cleanings combined with descaling—this simple step can significantly improve shot clarity and aroma. Your future self will thank you for the investment in tools that keep your barista game sharp.
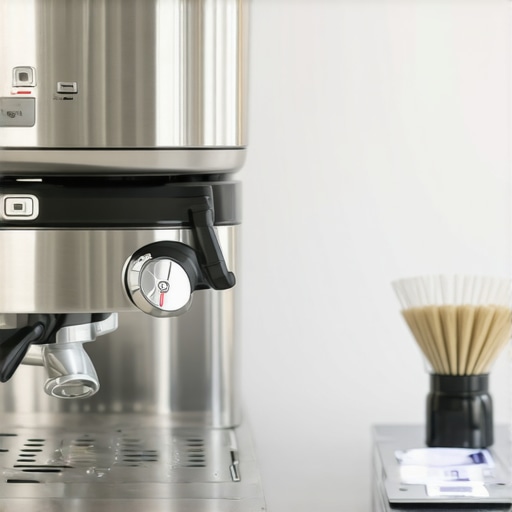
Image Description: Close-up of a well-maintained espresso machine with cleaning tools and a calibrated scale on a tidy barista station.
Lessons I Wish I Could Rewind About Home Espresso and Frothing
One of the most unexpected lessons I learned was that consistency isn’t just about equipment but about mindful technique and ingredient choices. I used to think that fancy gadgets would automatically elevate my coffee game, but I realized that paying close attention to each step—like starting with the right oat milk—made all the difference. The moment I stopped rushing and embraced a slow, methodical approach, my microfoam transformed from flimsy bubbles into silky clouds that held their shape. It’s a reminder that even in the world of coffee, patience and precision trump speed and price tags.
Another hard-won insight was understanding the importance of heat management. I once oversteamed, and the foam was lifeless; under-steamed, and it was too watery. Finding that sweet spot around 140°F changed everything. I also learned that pre-cooling my milk container in the fridge before steaming resulted in a more stable, long-lasting microfoam. These tiny adjustments, which I now consider my secret arsenal, are often overlooked but crucial for achieving barista-level results at home.
The biggest lightbulb moment came when I realized that the quality of the oat milk itself significantly impacts the final foam. Not all plant-based milks are created equal—those labeled ‘barista’ or ‘barista-friendly’ truly support microfoam creation, thanks to stabilizers that help maintain structure. Skipping this step meant battling mediocre foam, but investing in the right milk turned my mornings around. Trust me, this is a game-changer when you want that perfect latte art or just a thick, creamy cold foam to elevate your coffee ritual.
My Top Picks for Long-Term Coffee Success
For those serious about elevating their home espresso setup, a calibrated precision scale has been invaluable for consistent dosing and extraction. I rely on a model with anti-vibration technology to guarantee accuracy, ensuring every shot is on point. A high-quality coffee grinder with freshly replaced burrs ensures uniform grounds, which are essential for a balanced extraction. Pair these with an excellent routine maintenance schedule to prevent flavor degradation and mechanical hiccups over time. These tools and habits create a stable foundation for your coffee craft, making every cup a pleasure rather than a frustration.
And when it comes to steaming and frothing, I can’t recommend enough the importance of using the right milk frother and mastering your technique. A dedicated steam wand that’s cleaned regularly, coupled with proper heating and swirling, produces microfoam that rivals your favorite cafés. Don’t forget, small investments in these areas can yield big dividends in both flavor and visual appeal, inspiring you to experiment more and refine your skills.
Your Next Coffee Leap Starts Now
Mastering the art of home espresso and milk frothing isn’t just about equipment; it’s about embracing thoughtful routines and continuous learning. Each small adjustment, from selecting the right oat milk to perfecting your steaming technique, adds up to a significant upgrade in your daily coffee ritual. So, don’t be discouraged by initial setbacks—they’re just stepping stones on your path to barista-quality froth and flavor. Drink in the process, enjoy each improvement, and remember that every great barista started exactly where you are now—curious and eager to learn.
What’s the biggest challenge you’ve faced with frothing oat milk, and how did you overcome it? Drop your stories below—I’d love to hear your journey!