The proper way to store your tamper to prevent scratches
Ever had that sinking feeling when you reach for your trusty tamper and notice tiny scratches marring its surface? I remember the first time I saw those uneven marks on mine. It was a frustrating moment—one I hadn’t anticipated. I kept asking myself, “How could something so small cause such damage?” That realization was a lightbulb that led me down a path to better storage solutions.
Protect Your Tamper: Keep It Scratch-Free and Ready to Brew
Storing your tamper properly isn’t just about keeping it looking shiny; it’s about preserving the integrity of your equipment and ensuring each espresso shot tastes just as it should. A scratched tamper can indicate rough handling or improper storage, leading to potential damage over time. But the good news is, with a few simple tweaks, you can keep your tamper pristine—no scratches, no worries. Today, we’ll explore the best practices I’ve discovered through personal trial, error, and a bit of expert advice.
Is Your Storage Method Actually Protecting Your Gear?
Initially, I thought tossing my tamper into the drawer or lying it flat on the counter was sufficient. Spoiler alert: it wasn’t. Early on, I made the mistake of stacking it with other accessories or leaving it exposed to the elements. These small oversights led to tiny scratches that accumulated over time. According to barista experts, improper storage not only damages the tamper but also risks contaminating your coffee grounds or altering your shot consistency.
By paying attention to how and where I stored my tamper, I saw a noticeable difference. A dedicated, padded holder kept scratches at bay and made my setup much tidier. For more tips on organizing your home espresso station, check out our comprehensive guide on mastering home espresso.
Now, let’s dig into the specific methods that shield your tamper from scratches and keep it in top shape for your daily brews.
Choose the Right Storage Solution
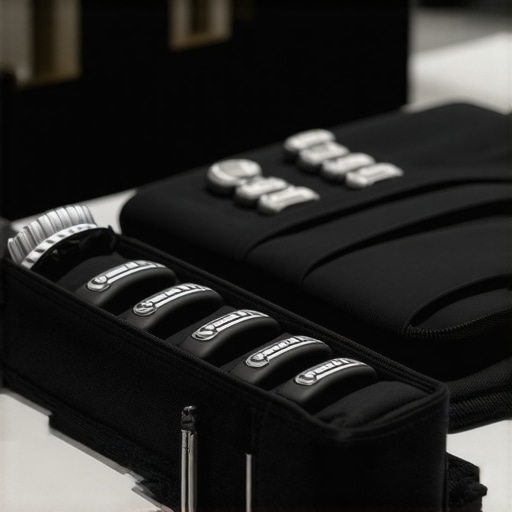
Start by selecting a dedicated holder with padding or a soft lining, such as a silicone or foam insert designed for barista tools. I once used an old jewelry box lined with felt, which prevented scratches but was bulky. Upgrading to a custom-made tampers holder specifically for coffee accessories significantly reduced damage and made my setup more organized.
Assess Your Workspace
Ensure your storage place is away from high-traffic areas or shelves where other objects might fall onto your tamper. I learned this lesson the hard way when a rogue spoon slipped off a cluttered counter, scratching my tamper. Clearing space and choosing a protected spot in your cupboard or drawer is key.
Implement Proper Handling Techniques
Always handle your tamper with clean, dry hands, grasping it firmly but gently. Avoid tossing or stacking it with other metal tools. I once stored mine loosely alongside a coffee scoop and a metal tamper brush; the next morning, I found small scratches from contact. Keeping your tamper separated in a soft pouch prevents unnecessary abrasion.
Use Protective Accessories
Consider adding a silicone sleeve or wrapping the handle with a microfiber cloth when not in use. This adds an extra barrier against knocks. My unintentional drop last week was cushioned by a simple silicone grip I slipped on, saving my tamper from a nasty dent and scratch.
Maintain Your Storage Gear
Regularly inspect your holder for wear or debris that could cause scratches. Clean it with a soft cloth and mild soap every few weeks. I replaced my foam insert after noticing dust buildup, which was indented and no longer protective. This routine upkeep keeps your storage reliable and your tamper protected.
Additional Tips for Long-Term Care
Store your tamper upright to prevent handle damage and avoid over-tightening any securing mechanisms. For aficionados serious about their gear, I recommend evaluating your storage setup periodically and making adjustments to optimize protection. For more insights on barista gear organization, check out this guide.
Many home espresso lovers fall prey to misconceptions about their equipment that hinder quality and longevity. For instance, there’s a widespread belief that all coffee grinders, regardless of type, produce equally consistent grinds. But in reality, **conical burrs tend to retain less coffee and produce more uniform particles** compared to flat burrs, which can lead to uneven extraction if not properly maintained. This nuance is often overlooked, and many assume that any grinder will do the job well after initial purchase, leading to subpar shots over time.
Another common myth revolves around milk frothers. Many assume that more expensive frothers automatically generate better foam. However, **manual frothers or basic electric models can often produce microfoam comparable to high-end steam wands** if used correctly. The real key lies in technique, not just equipment quality. For example, mastering proper milk steaming angles and temperatures can make a bigger difference than the frother’s price tag.
When it comes to espresso machines, there’s a misconception that higher pressure always means better espresso. While *19 bars* is often cited as ideal, **most commercial machines operate at around 9-10 bars during extraction** because this is where optimal flavor and crema develop. Over-pressurizing can result in over-extraction or bitterness, especially if other variables like grind size and tamping are not adjusted accordingly. According to espresso expert William Carlson, understanding the *correct pressure profile* for your specific machine is essential, rather than simply aiming for the highest pressure.
With coffee grinders, many believe that increasing grind size always simplifies dialing in shots. But in practice, **abrasive burr grinders may require more precise adjustment**, and coarser settings can sometimes cause uneven extraction or channeling if not finely tuned. A better approach is to focus on the consistency of grind distribution and to periodically calibrate your grinder using proper tools to avoid common pitfalls.
What advanced mistakes do home baristas often overlook? Let’s examine the finer points that keep many from reaching expert-level results.
One subtle trap is neglecting to level and calibrate your grinder regularly. Over time, burrs can shift slightly, causing inconsistent particle size. This may seem trivial, but according to studies on grind uniformity, even minor deviations can significantly alter shot quality. A simple routine of checking and recalibrating your grinder ensures consistent results and helps avoid bitter or sour notes in your espresso. For detailed calibration techniques, check out our guide on grinder calibration.
Similarly, many enthusiasts overlook the importance of water quality and temperature control, which profoundly impact extraction. Using tap water with high mineral content can clog equipment and dull flavors, while inconsistent brewing temperatures lead to under- or over-extraction. Investing in a good water filter and a PID-controlled machine can elevate your brewing game. Remember, quality water is the foundation of great coffee—don’t ignore it!
Finally, avoid the trap of rushing the process, believing that faster extraction yields better results. Slow, deliberate brewing with attention to each step—from dose sieving to tamping pressure—can dramatically improve flavor profile and consistency. This is where real expertise develops, as subtle adjustments make the difference between a good shot and a barista-level masterpiece. Continue honing your skills with advanced knowledge—visit our home espresso tips for more insights. Have you ever fallen into this trap? Let me know in the comments.Maintaining your coffee equipment is essential to consistently brewing great espresso at home. Investing in the right tools and understanding proper maintenance routines can significantly extend the lifespan of your gear and improve your overall coffee experience. For example, I rely heavily on a precision grinder calibration tool, which helps me maintain uniform particle size and avoid inconsistent shots. Regular calibration ensures my grinder remains at its optimal zero point, preventing uneven extraction and flavor deviations. To keep everything running smoothly, I also use a dedicated brush for cleaning burrs and a scale with Bluetooth connectivity for precise dose measurements. These tools help me identify issues early and fine-tune my setup without guesswork.
In the coming years, I predict that smarter, app-connected maintenance devices will become the norm, providing real-time diagnostics and personalized alerts to keep your machine in top shape. Staying ahead with the latest tech can save you both time and money, ensuring your equipment performs at peak efficiency.
How do I keep my espresso gear working flawlessly over time?
Establishing a routine maintenance plan is key. This includes descaling your espresso machine regularly, which can be simplified with specialized descaling solutions that are less harsh than chemical acids. I recommend using a high-quality, environmentally friendly descaler and following manufacturer guidelines to prevent mineral buildup that can impair performance. Additionally, scheduling monthly cleaning of the group head, portafilter, and steam wand prevents clogs and bacterial growth.
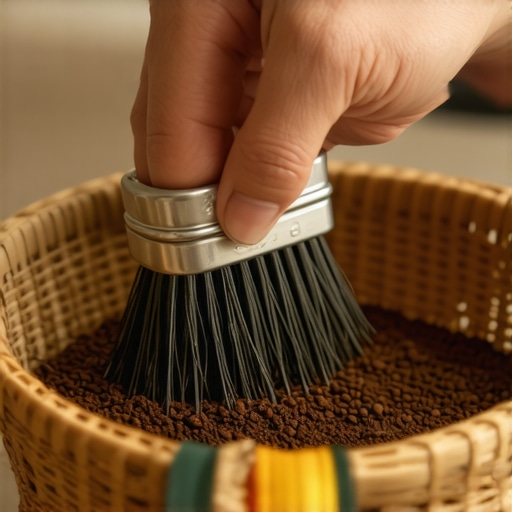
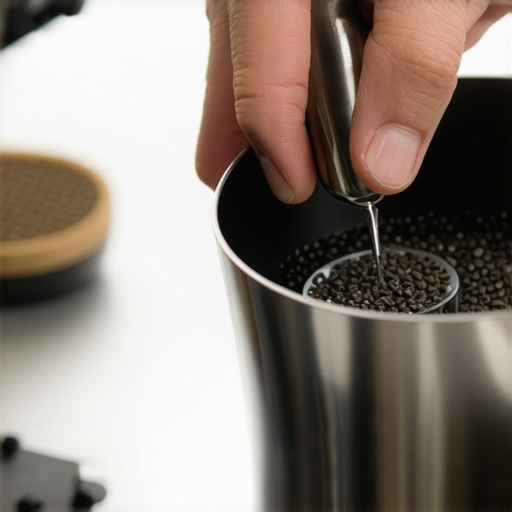
For grinders, consistency starts with regular burr cleaning. I use a dedicated grinder cleaning brush and periodically run grinder cleaning pellets through the burrs to remove coffee oils and fines. Checking and adjusting grind settings after every few pounds of beans also keeps extraction stable. To make this process easier, I utilize a simple magnet-assisted dosing funnel, which minimizes mess and ensures accurate dosing.
An often-overlooked aspect is water quality. Using filtered water reduces scale buildup and preserves your machine’s internal components. Consider installing a water softener if you notice mineral deposits forming within your boiler or hoses. I’ve personally seen significant longevity improvements by switching to filtered water, along with regular water tank sanitation.
Lastly, don’t forget to perform routine inspection of seals, gaskets, and hoses. Tiny leaks or worn seals can disrupt pressure and temperature stability, directly affecting your shot quality. A quick inspection every few months, along with replacing worn parts, keeps your setup airtight and functioning efficiently.
Embracing these maintenance habits not only prolongs your equipment’s life but also ensures each cup tastes exquisite. Try setting a weekly reminder to clean and check critical components, and invest in tools like a zero-point calibration tool for your grinder. As you streamline your maintenance routine, you’ll notice a marked improvement in consistency and ease of use — turning your home coffee setup into a true barista sanctuary.
Lessons Coffee Gear Taught Me About Patience and Precision
One of the most surprising insights I’ve gained is that even seemingly minor details—like the way I handle my tamper or calibrate my grinder—can dramatically affect the quality of my brew. I used to overlook routine maintenance, thinking it was tedious, but I realized that consistent care reflects my commitment to excellence. The hardest lesson was understanding that perfection is a journey of small, deliberate adjustments rather than overnight fixes.
My biggest breakthrough came when I discovered that trusting only the right tools isn’t enough—it’s how you use and maintain them that counts. This mindset shifted my approach from reactive to proactive, turning good coffee into exceptional espresso every time.
My Essential Arsenal for Barista Mastery
For those serious about elevating their home espresso game, I recommend tools like a calibration disc to keep your grinder consistent, a high-quality portable scale for precise dosing, and a gentle cleaning brush to protect your equipment’s finish. These may seem like small choices, but they’ve made a noticeable difference in my brewing results. For more curated gear recommendations, check out this comprehensive guide.
Time to Elevate Your Coffee Ritual
Your journey with barista gear, milk frothers, and home espresso equipment isn’t just about making coffee—it’s about cultivating a craft that reflects your dedication and passion. Remember, great equipment is the foundation, but your skills and routine maintenance elevate your results. Keep experimenting, keep learning, and don’t shy away from investing in the best tools—and yourself. Your perfect cup awaits. What’s the first upgrade you’ll make to your setup? Share below and let’s inspire each other!