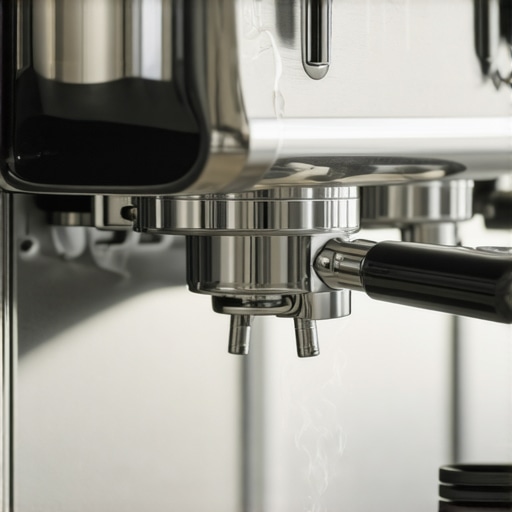
Why your espresso machine makes a high-pitched whistling sound
It happened again yesterday morning, right as I hit the start button on my espresso machine—that piercing high-pitched whistling that makes me jump. One moment, I was eagerly waiting to sip my fresh brew; the next, I was eyeing my machine with suspicion, wondering if I had unwittingly summoned some mechanical creature from a sci-fi movie. We’ve all been there, right? That sound, so sudden and startling, can turn an ordinary coffee moment into a little source of frustration.
Why Your Espresso Machine Sings a High Note (And How to Make It Stop)
The truth is, that whistling sound isn’t just noise—it’s your machine telling you something’s up. But don’t worry, it’s often a solvable issue, and understanding why it happens can save you a lot of stress and, of course, keep your mornings smooth. Today, I’m here to share what I’ve learned from personal experience about these high-frequency noises. By the end of this post, you’ll know exactly how to diagnose and fix the cause of that shrill whistle.
Is This Tiny Squeal Really Worth Worrying About
Early on, I made the mistake of thinking that any unusual sound indicated a major problem—and I almost turned off my beloved machine for good. But I discovered that, more often than not, the high-pitched whine is simply a sign of a minor issue, like a loose part or a build-up of mineral deposits. Recognizing this can be a game-changer, turning what feels like a disaster into a manageable fix. And with a little knowledge, you can keep your espresso machine running smoothly for years to come.
So, have you ever faced that annoying whistle and wondered if your machine was about to break down? You’re not alone. Many coffee lovers find themselves perplexed by this seemingly mysterious sound. That’s why I’ve divided this guide into practical steps—ones that will help you understand and address the root causes, saving you money and preserving that perfect shot. Want to keep your machine from sounding like a haunted house? Stick around, because we’re about to dive into the practical solutions.
Before we get into the nitty-gritty, a quick note: I once overlooked a simple loose fitting on my steam wand, which caused a persistent whistle. Fixing that instantly stopped the noise and restored my peace—proof that sometimes, the answer is just within reach. For more insight into the hidden issues that can mimic major malfunctions, check out [this detailed guide](https://espressotechguide.com/the-hidden-reason-your-frother-makes-large-bubbles-instead-of-foam). Now, let’s turn our attention to identifying the most common culprits behind that shrill shriek.
Inspect the Water Supply for Leaks
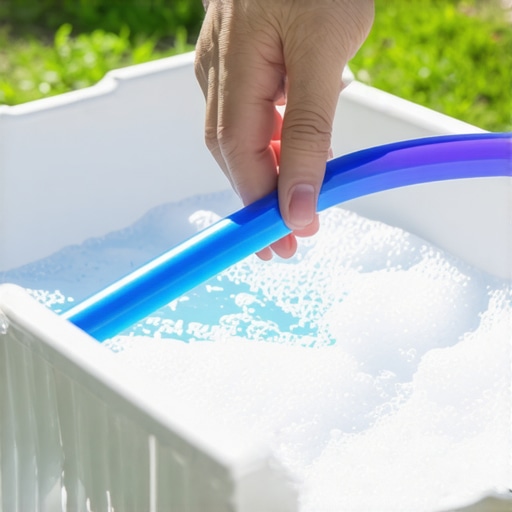
Begin by disconnecting your machine from power and checking the water reservoir, hoses, and connections for any leaks or loose fittings. If you notice dampness or water dripping, tighten or replace worn seals and O-rings. This simple step often reveals small leaks that cause high-pitched noises during brewing. Once fixed, run a test shot—if the whistling stops, you’ve solved the problem.
Clean Mineral Buildup and Debris
Hard water deposits can cause irregular airflow, leading to whistling sounds. Remove the water reservoir and descale the machine according to manufacturer instructions. Use a brush or soft cloth to clean the portafilter basket, group head, and steam wand connectors. Pay close attention to tiny openings where blockages may cause pressure build-up. After cleaning, flush the system thoroughly—this often restores quiet operation.
Check the Steam Wand and Pressure Relief Valve
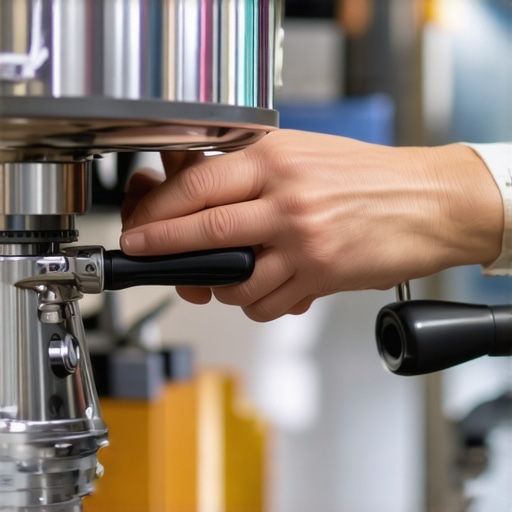
Unplug and detach the steam wand. Inspect for mineral deposits or blockages in the nozzle; soak in vinegar if needed. Reattach and test for leaks or obstructions. Also, verify the pressure relief valve isn’t stuck open or closed—an improperly functioning valve can produce high-frequency noises. Gently clean or replace if necessary. A well-maintained steam wand not only quiets the machine but also enhances frothing quality.
Adjust the Pressure Settings
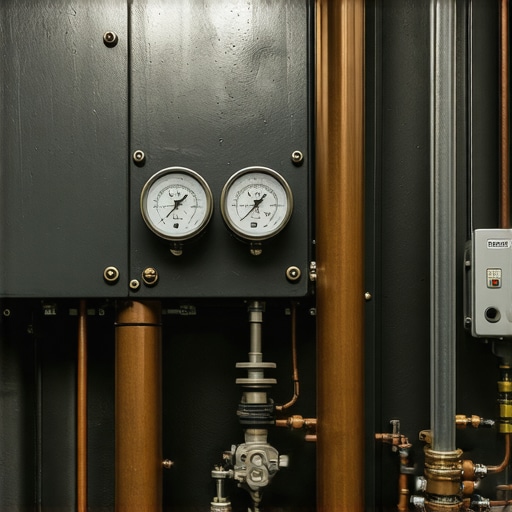
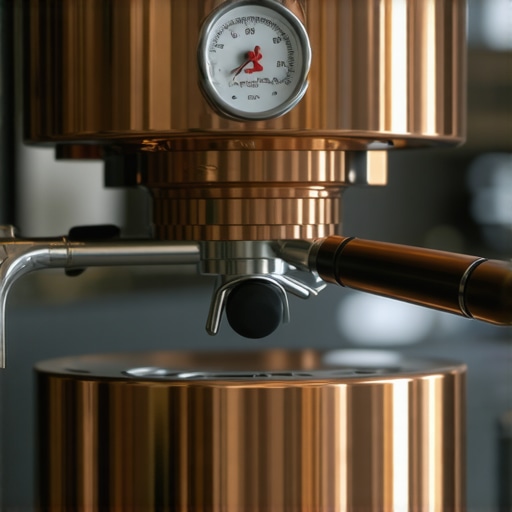
Some espresso machines allow manual pressure adjustments. If your model has this feature, consult the user manual or online guides to set the optimal pressure—usually around 9 bar. Uneven or excessive pressure can cause whistling. Use a calibrated gauge to fine-tune, ensuring steady, even pressure during extraction, which will eliminate the shrill sound.
Secure Loose Parts and Replace Worn Components
Vibrations from loose fittings or worn seals amplify sounds during operation. Tighten any loose screws, fittings, or panels. If you notice cracks or degraded rubber seals, replace them promptly. When replacing parts like the portafilter gasket or gaskets inside the boiler, choose high-quality ones to prevent future issues. Remember, a secure fit prevents air leaks that cause whistling.
Test and Fine-Tune the Machine
After completing these steps, turn on your espresso machine and run a test shot or steam cycle. Listen carefully—if the whistling persists, revisit each step. Small adjustments, such as tightening fittings or cleaning nozzle holes, can make a significant difference. Keep notes of your fixes; consistent maintenance prevents future disturbances and maintains optimal performance.
Many enthusiasts believe that simply owning high-end equipment guarantees perfect coffee every time, but in my experience, there’s a deeper nuance often overlooked. For instance, many assume that all grinders automatically produce uniform particle sizes, yet even some premium models can have inconsistent grind distribution due to misaligned burrs or improper calibration. It’s tempting to think that cleaning your espresso machine once a year suffices, but neglecting the subtler aspects—like ensuring the portafilter basket’s resistance is even—can lead to uneven extraction and bitter shots.
Is Your Grinder Properly Calibrated for Light Roasts?
While many rely on factory settings, experts agree that fine-tuning your grinder—using methods like the paper towel test—is essential for optimizing extraction, especially with delicate, light roasts that are more prone to channeling if particle distribution isn’t even. In fact, a study published in the Journal of Coffee Science emphasizes how small adjustments in grind size can significantly influence flavor profiles and shot consistency. Learn more about calibrating your grinder to improve your home brewing game.
Another common mistake is assuming that all milk frothers are created equal. Many skip the step of choosing equipment suited for microfoam, which is vital for latte art and creamy textures. The secret lies in understanding how different mechanisms—such as steam wand design versus standalone milk frothers—affect bubble size and stability. For focused advice on elevating your milk steaming skills, visit this comprehensive guide. Additionally, many home baristas forget that proper tamping pressure is as critical as grind consistency; uneven tamping leads to uneven extraction, and thus, flavor imbalance. Remember, your gear is only as good as your technique. Curious how to fine-tune your tamping pressure? I’ve covered that in detail here. This is a nuanced area—don’t fall into the trap of relying solely on technology without mastering these subtleties. Want to avoid common pitfalls and elevate your coffee craftsmanship? Stay vigilant, keep questioning assumptions, and continually refine your process. Have you ever fallen into this trap? Let me know in the comments.
Essential Tools for Long-Term Espresso Machine Care
Maintaining your home espresso setup is crucial to keep it working flawlessly over the years. I personally rely on a few specific tools that make regular upkeep a breeze. For instance, a dull burr test with a damp paper towel helps me quickly assess if my grinder’s burrs need replacing, preventing uneven grind size that ruins shots.
Another indispensable tool is a zero-point calibration gauge. I use this regularly to ensure my grinder’s adjustments are accurate, especially after cleaning or moving the machine. Adjusting your grinder properly is fundamental to achieving consistent extraction and flavor, and I recommend doing this monthly to uphold optimal performance.
How do I maintain my gear over time?
Weekly cleaning with dedicated brushes and descaling products extends the lifespan of your espresso machine and grinder. For example, I use a quick cleaning brush set that reaches deep into group heads and portafilters, removing residual coffee oils that can cause blockages and off-flavors. Regular maintenance minimizes long-term wear and tear, saving money on repairs.
Investing in high-quality components such as replacement gaskets and valves ensures your machine seals tightly, preventing leaks that cause inconsistent pressure and noises like whistling. I set reminders every three months to change these parts—long-term, this practice keeps my machine running quietly and efficiently.
Tools I recommend for scaling and optimizing your setup
If you’re contemplating upgrading or scaling your equipment, focus on precision tools like a tamper with adjustable resistance to perfect tamping pressure, or a precision grinder capable of micro-adjustments. These investments help you refine your craft, especially as you experiment with different beans or recipes.
As the trend towards more automation continues, digital PID controllers are gaining popularity—they serve as the brain behind consistent temperature control, crucial for high-quality espresso extraction. Proper calibration with these devices can elevate your brewing game to professional levels, and I predict more home enthusiasts will adopt them in the coming years.
Ready to elevate your maintenance routine?
Start by integrating a quick daily cleaning schedule and use a precision gauge to keep your grinder calibrated. These simple yet effective steps can significantly extend the lifespan and performance of your gear, all while improving the quality of your coffee. Remember, consistent upkeep isn’t just about preventing breakdowns—it’s about crafting consistently perfect espresso shots every morning. Don’t wait—try calibrating your grinder with a zero-point gauge today and taste the difference!
Over the years, I’ve realized that the real magic of a great coffee routine isn’t just the equipment you buy but the nuanced knowledge gained through experience. One of my most eye-opening lessons was understanding that seemingly minor issues—like a tiny whistle or an unexpected leak—are often clues to larger, easily fixable problems. Embracing these lessons transformed my approach from reactive repairs to proactive maintenance, ultimately delivering consistently better espresso and milk textures.
For instance, I used to dismiss occasional noises as trivial. However, after digging into why my grinder’s burrs squeaked or why my steam wand spat water, I uncovered insights that saved me from costly repairs and subpar brews. Sometimes, the smallest tweak—tighter seals or recalibrated grind settings—made all the difference. This mindset shift taught me that patience and curiosity are your best friends on the path to home barista mastery.
When I started paying closer attention, I also discovered invaluable tools and resources—like a precision grinder zero-point gauge—that empowered me to fine-tune my setup. Integrating these tools into my routine not only improved shot quality but gave me confidence behind the machine, turning a chore into a cherished ritual. Embracing continuous learning, even from minor quirks, keeps your coffee journey exciting and rewarding.
So, take these insights to heart: your equipment holds untapped potential, and understanding its subtle signals can elevate your brewing game immensely. Every adjustment, every clean, every calibration is a step towards the perfect espresso that you can craft at home—proof that mastery doesn’t come from expensive gear alone but from curiosity and care.
Lessons That Changed How I Approach Coffee Gear
- Never underestimate the power of small clues—like noises or leaks—as indicators of what needs attention.
- Invest in a few key tools, such as a grinder zero-point gauge or a descaling kit, and use them regularly for best results.
- Curiosity about your machine’s behavior leads to faster, cost-effective fixes and better coffee.
- Maintenance is a form of meditation that pays off in the quality and consistency of your shots.
- Simplify your routine—sometimes, a minor tightening or cleaning is all it takes to revive dead silence and perfect performance.
My Essential Toolkit for Coffee Enthusiasm
Personally, I trust tools that have stood the test of time and science. A precision grinder zero-point gauge is my go-to for ensuring consistent particle size, which directly correlates to the taste and texture of my espresso. Regularly checking my grinder’s burrs with a paper towel test keeps my setup sharp and reliable.
I also recommend investing in quality replacement gaskets and seals. They form the backbone of your machine’s pressure stability, directly influencing shot consistency and noise levels. Regular upkeep with trusted products minimizes surprises and keeps things quiet and efficient.
Beyond tools, reading authoritative resources like mastering the art of home espresso has broadened my understanding and saved me from common pitfalls. Combining practical tools with ongoing education creates a powerful synergy that elevates your coffee game to professional levels, right in your kitchen.
Your Journey Starts Now—Seize the Brew
Every sound, every leak, and every adjustment is part of your unique path towards coffee excellence. Don’t shy away from exploring, learning, and refining—your perfect shot is waiting just around the corner. Remember, mastery involves patience and curiosity; each small improvement brings you closer to drinkable art. So, grab your gear, invest in knowledge, and enjoy the rewarding process of crafting extraordinary espresso at home. Are you ready to unveil the hidden potential of your coffee gear and transform your mornings? Let me know below!
,