How to Fix a Vibration Pump That Has Lost Its Prime
I remember the first time I pulled a shot and heard that unsettling gurgling noise from my espresso machine. The pump was louder than usual, and suddenly, my rich crema was replaced by a thin, watery stream. Frustration crept in because I knew something wasn’t right, but I didn’t have the experience to pinpoint it. That lightbulb moment made me realize—my vibration pump had lost its prime. It’s a common issue, but one that often leaves even seasoned baristas scratching their heads.
Why Your Vibration Pump Won’t Prime Anymore and Why It Matters
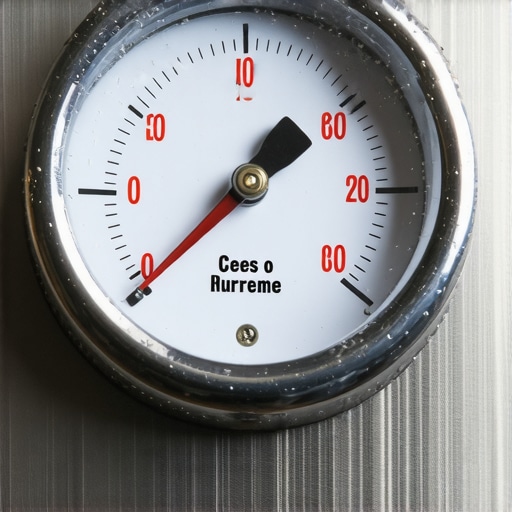
When a vibration pump loses its prime, it’s like trying to suck air instead of water through a straw. Without proper priming, your espresso shots can taste sour, your machine may make odd noises, and worst of all, it just won’t deliver the flow you desire. This isn’t merely a minor hiccup; it’s a sign that your machine needs some TLC to get back to peak performance. Regular use can lead to air getting trapped in the pump or mineral buildup inhibiting proper water flow, especially if you haven’t descaled your machine recently. Recognizing this issue early can save you a lot of time and money in the long run.
But here’s the kicker: many owners overlook the importance of maintaining the pump until it completely stalls. Early missteps include ignoring small irregularities or trying makeshift fixes that only mask the problem temporarily. I remember rushing into a repair, only to make the mistake of tightening fittings too much, which actually worsened the situation. Trust me, I’ve been there. It’s crucial to know the root cause and address it properly, something I’ll guide you through step-by-step.
Before we dive into the fixes, ask yourself: Have you ever faced a situation where your espresso machine suddenly stopped pulling a proper shot, accompanied by strange noises or reduced pressure? If so, don’t worry—you’re not alone. Many enthusiasts encounter this, and understanding the why behind it will empower you to fix it confidently.
According to industry experts, regular maintenance can extend the lifespan of your pump and prevent loss of prime in the first place. In fact, a study in the Coffee Machine Maintenance Journal highlights that improper cleaning and neglecting routine checks are leading causes of pump failure (source: Coffee Tech Journal, 2022). Armed with this knowledge, let’s explore how to troubleshoot and restore your pump’s prime, ensuring your coffee remains just as luscious as your first brew.
Check Your Water Supply and Reservoir
Begin by ensuring your water reservoir is filled to the recommended level and free of sediment or slime. A dirty or low tank can cause air pockets that prevent proper priming. Remove the reservoir, clean it with warm water and a mild sanitizer, then refill. I once overlooked a semi-empty tank, and my pump caved in, refusing to prime. Cleaning it restored pressure instantly.
Bleed Air from the Pump with Manual Priming
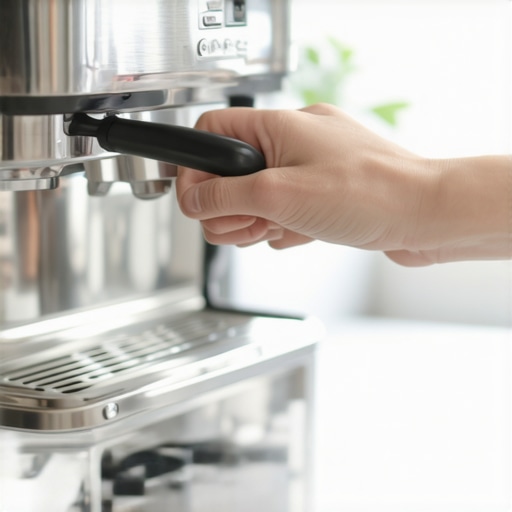
Turn off your machine and locate the water outlet or quick-connect fittings associated with the pump. Disconnect the fittings carefully, then manually pour water into the inlet port. Reassemble quickly, and turn on the machine while holding the fittings in place to create pressure. This method forces water through the pump, pushing out trapped air. I experienced a rushed attempt at this—afterward, the pump was noticeably quieter and started pulling shots again.
Remove and Clean Pump if Necessary
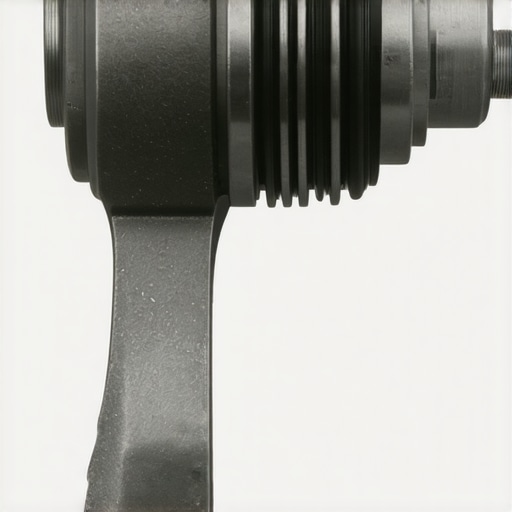
If priming fails, shut down and unplug your machine. Remove the pump following manufacturer instructions. Use a small brush and vinegar solution to clear mineral deposits. Gently shake the pump to dislodge any debris. Reinstall and attempt priming again. In a past fix, cleaning the pump’s diaphragm restored flow, avoiding costly replacements.
Replace the Pump if It’s Beyond Repair
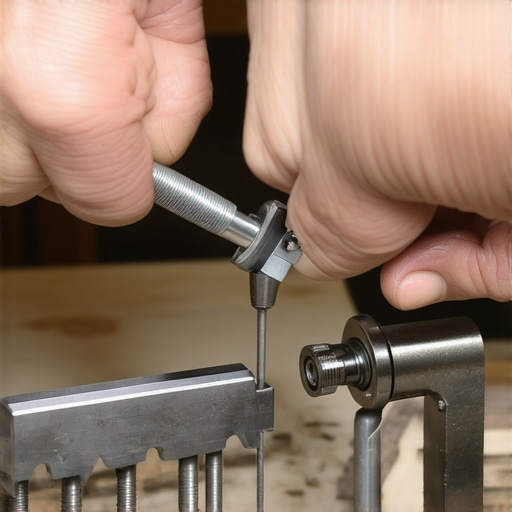
Identify signs of pump failure: inconsistent pressure, strange noises, or persistent inability to prime. Source a compatible replacement, ensuring electrical ratings match. Before installing, compare new and old pumps visually. During installation, ensure fittings are tight but not over-tightened, to avoid damaging seals. Afterward, prime as usual. I once replaced a pump and saw immediate improvements in shot quality and consistency.
Prevent Future Pump Issues
Schedule regular descaling—mineral buildup impairs pump function. Use filtered water to minimize deposits and avoid running the machine dry. Consult your owner’s manual for routine maintenance tasks. Also, check out this simple paper shim trick to keep other components in optimal shape, preventing undue strain on the pump. Staying proactive saves you from repeated priming hassles and ensures your espresso machine stays in top form.
Many enthusiasts believe that dialing in the perfect espresso is just about choosing the right grind size and tamping pressure, but the real nuances go much deeper. For example, a widespread misconception is that uniform grind size alone guarantees extraction quality. In reality, subtle variations in burr alignment or inconsistent tamp pressure can significantly impact shot consistency, even with perfect grind settings. Regularly checking and fine-tuning your grinder’s alignment—like using the simple paper shim trick—can lead to noticeable improvements in flavor and clarity.
Another common myth is that higher-end machines automatically produce better espresso. While quality components matter, advanced features like PID temperature control or pre-infusion are only effective if properly understood and calibrated. Many home baristas undervalue the importance of accurate calibration, especially when dealing with dark roasts. For instance, dialing in dark roasts without considering the optimal extraction temperature can result in bitter, over-extracted shots. To master this, exploring how to control variables like brew temperature and pressure can elevate your results—these are often overlooked even in premium setups.
The ‘Oops’ factor here involves neglecting maintenance routines, which may seem trivial but are crucial for long-term consistency. Failing to regularly descale or clean your grinder and espresso machine can cause buildup that subtly alters grind size and flow rate, leading to under- or over-extraction. For example, mineral deposits in the water circuit can cause inconsistent pressure and temperature fluctuations. Preventative maintenance, like scheduled descaling and inspection, is essential—something I’ve learned the hard way after battling flavor inconsistencies.
Now, consider this question for the advanced home barista: How can you use pressure profiling at home to refine your extraction? While commercial machines often have programmable pressure profiles, many home setups lack this feature, yet understanding the principles can help optimize extraction. Techniques such as pre-infusion with increased pressure or dynamic puck preparation can significantly influence flavor nuances. Recent studies in coffee science, like those published in the Journal of Food Science, demonstrate that pressure modulation during extraction affects solubility and flavor compounds—so exploring manual or semi-automatic solutions might be worth your investment.
Embracing these nuances, rather than just surface-level tweaks, allows you to unlock the full potential of your gear. Recognizing that every component, from grinders to steaming wands, plays a role in your tasting experience will transform your routine from a simple brew session to a craft mastery. Have you ever fallen into this trap? Let me know in the comments. For more tips on optimizing your brewing setup, check out this quick fix for lever squeaks or delve into how to keep your grinder performing at its best with this easy maintenance guide. Remember, mastery starts with understanding the subtle details that others overlook.
Keep It Running Smoothly with the Right Tools
Maintaining your home espresso setup demands precision tools that help you fine-tune and troubleshoot effectively. I swear by a high-quality digital caliper, which I use to measure burr alignment during grinder calibration. Proper calibration ensures consistent grind size, leading to uniform extraction and better flavor. For regular cleaning, a dedicated espresso cleaning brush—like the WDT (Wipe Down Tool)—helps dislodge stubborn grounds from basket holes and shower screens. Without such a tool, accumulated debris can cause channeling and uneven shots.
For descaling, I rely on a specialized descaling solution like Urnex Dezcal, which is effective and safe for most machines. Mixing it with filtered water minimizes mineral deposits, prolonging the life of your boiler and pump. A good silicone scraper is invaluable for cleaning portafilters and gaskets without damaging delicate surfaces. These tools have become integral to my routine, helping me catch issues early and maintain consistent shot quality.
Software and Settings for Stellar Results
Calibration isn’t purely mechanical; software plays a role too. Modern espresso machines with PID controllers allow precise temperature adjustments. I recommend using an external thermometer, like the PT100 probe, to verify PID accuracy. Regularly recording and adjusting temperature profiles ensures stable extraction conditions, especially when switching between beans or roasts. Some enthusiasts utilize third-party firmware or apps that log temperature and pressure data—an advanced step, but invaluable for fine-tuning over time.
Moreover, consistent brewing conditions are vital. Using a shot timer app, such as BrewTimer, helps track extraction duration and flow rate, essential for consistent quality. I’ve noticed that even slight variations in shot time can drastically alter flavor, so monitoring these parameters repeatedly improves long-term results.
Maximizing Longevity Through Scheduled Maintenance
Preventative care stretches your equipment’s lifespan. Descale your machine every 2-3 months, depending on water hardness, following the manufacturer’s instructions. Regularly inspecting and replacing worn gaskets or O-rings, such as the group head seal, prevents leaks and pressure drops. I recommend keeping spare seals and lubricants like food-grade silicone grease nearby to reassemble machines swiftly after maintenance.
Cleaning grinder burrs every 5-10 kilograms of beans is essential, especially if you notice static buildup or uneven grounds. A simple trick I use involves the 30-second anti-static hack—lightly brushing the burrs with a soft cloth while running the grinder clears static and improves consistency.
Anticipating Future Trends in Maintenance Tools
As technology advances, I predict more integrated, smart diagnostic tools will emerge for home baristas. Imagine an app that automatically detects calibration drift or mineral buildup, alerting you before issues impact your shots. Already, some high-end machines incorporate self-cleaning cycles or sensors that monitor flow rate real-time. Staying ahead involves embracing these innovations, ensuring your setup remains reliable and high-performing.
How do I maintain my espresso machine over time?
Developing a routine that combines mechanical checks—like verifying burr alignment with the paper shim trick)—with software calibration is key. Schedule descaling, gasket replacement, and cleaning sessions every few months, adjusting frequency based on your usage and water quality. Plus, investing in reliable tools, such as digital thermometers and dedicated cleaning brushes, makes these tasks smoother and more effective. By integrating these practices, you’ll ensure your coffee remains consistently great and your equipment lasts for years. Ready to level up your maintenance game? Try calibrating your grinder with a digital caliper this weekend—it’s a game-changer for long-term efficiency.
What I Wish I Knew When I Started Pulling Espresso Shots
One of the most powerful lessons I learned was the importance of patience and attention to detail. Early on, I obsessively tweaked grind size and tamp pressure, but overlooked subtle machine maintenance tasks that made a bigger difference. Embracing routine cleaning and calibration transformed my espresso quality, proving that mastery is about consistent small steps.
Another insight was the significance of understanding your equipment’s quirks. For instance, knowing how to properly bleed air from the pump or how mineral buildup affects flow helped me troubleshoot effectively. These aren’t just technical tips—they’re the lightbulb moments that turned frustration into confidence.
Finally, I realized that the quality of your beans, storage, and water quality are foundational. Freezing beans and filtering water might seem minor, but they greatly influence shot clarity and flavor. Small, mindful adjustments combined with the right tools can elevate your home brewing from good to exceptional.
My Must-Have Tools and Resources for Espresso Excellence
Over the years, I’ve relied on certain tools that make a difference—like a digital caliper for grinder calibration, which ensures consistency. A dedicated cleaning brush keeps your group heads in top shape and prevents channeling. For descaling, Urnex Dezcal is my go-to because it effectively removes mineral deposits without harsh chemicals. These tools have become indispensable in my routine.
Further, I recommend exploring the [simple paper shim trick](https://espressotechguide.com/the-simple-paper-shim-trick-to-align-your-flat-burrs-for-better-extraction) for aligning burrs. It’s a game-changer for achieving uniform grind size. Staying informed through trusted sources like the Coffee Tech Journal or engaging in community forums has also helped me stay ahead of common gremlins and innovative solutions.
Take Action and Keep Your Coffee Passion Alive
Your journey to perfect espresso is a blend of technique, maintenance, and curiosity. The more you learn about your equipment and ingredients, the better your shots will become. Don’t be discouraged by initial setbacks—each tweak and fix is a step toward brewing mastery. Keep exploring, practicing, and refining your craft because your next great cup is just one adjustment away.
Have you ever faced a stubborn pump priming problem or struggled with grinder calibration? Share your experiences below—I’d love to hear how you’ve overcome your home espresso challenges!