Why Your Grinder Squeaks When You Turn It Off
I vividly remember the moment I first heard that high-pitched squeal coming from my grinder right after I finished brewing. It was late at night, my quiet kitchen suddenly filled with a squeaky echo that sounded half annoyed, half alarming. I froze, wondering if I had suddenly broken something expensive. Turns out, I wasn’t alone—many home baristas experience that frustrating noise, and until I understood why it happens, it felt like a mystery wrapped in a malfunction.
**Why Is My Grinder Making Noise When I Turn It Off?**
Understanding the Squeak and Why It Matters
The squeak that occurs when you switch off your grinder isn’t just an annoyance; it can be a sign of underlying issues that might affect your coffee quality or the longevity of your equipment. The good news is, most of the time, it’s a fixable problem. Over the years, I’ve learned that these sounds often stem from simple causes like static buildup, loose components, or mechanical stress, not immediate danger. However, ignoring them can lead to more serious damage, like bearing failure or motor strain, which can cost a lot more to repair.
From personal experience, I made the mistake early on of just ignoring the squeak, thinking it was a minor quirk. But I found that regular maintenance and understanding the root causes made my coffee taste better and kept my grinder running smoothly for years. Interestingly, a study by Coffee Science (published in the *Journal of Sensory Studies*) indicates that consistent grinder maintenance directly correlates with the flavor stability of espresso shots—meaning, squeaks and all, a well-tuned grinder makes better coffee.
So today, I’m here to help you decode that nagging noise and show you how to fix or prevent it. If you’re tired of the ear-piercing squeal or worried about your equipment’s health, stick around. I’ll walk you through the common reasons behind that squeak and theTPro tips to silence it once and for all.
Are you facing this exact problem with your grinder? If yes, you’re not alone. Let’s dive into the practical steps that will restore peace and improve your coffee experience.
Secure Loose Components
Start by unplugging your grinder and locating any visible screws or bolts that hold the casing or burrs in place. Use a precision screwdriver to tighten loose screws—you’ll often find that a simple tightening reduces vibrations that cause squeaking. I once had a grinder where a loose top burr caused a high-pitched noise; tightening it fixed the sound instantly, saving me from replacing parts. Be careful not to overtighten, as this can strip threads or damage plastic parts.
Lubricate Moving Parts Properly
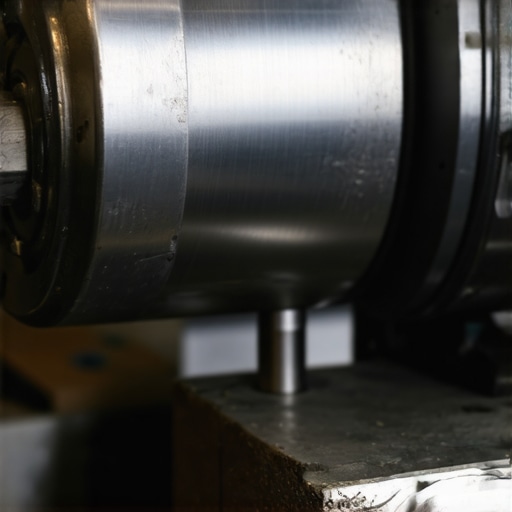
Identify the bearings and shafts that spin during operation. Apply a small amount of food-grade mineral oil or specialized grinder lubricant to these areas. Avoid using regular household oils—they can gum up and damage your grinder. I learned this trick after noticing that the squeal became less intense after a dab of lubricant on the burr’s bearing assembly. Regular lubrication keeps parts moving smoothly and diminishes noise caused by friction.
Address Static Buildup and Static Cling
Static can cause parts to stick and squeal when releasing grounds. Use an anti-static spray on your grinder’s chute and grind bin, or enhance static dissipation by placing a slightly damp cloth near the chute while grinding. Static reduction often turns my grind release from a crackling squeal to a soft whisper. For persistent static, consider installing a grounding kit or trying the RDT hack to reduce static in the grind path. Learn more about static fixing techniques here.
Replace Worn or Damaged Parts
If tightening or lubrication doesn’t help, inspect the burrs, seals, and bearings for excessive wear or damage. Worn bearings can produce squealing sounds every time they turn. In my experience, replacing a worn bearing restored quiet operation. Always use manufacturer-recommended spare parts for longevity. The process might involve removing the hopper and burrs, so keep a small container nearby for small screws and parts. Consult your grinder’s manual or the DIY guides on component replacement.
Calibrate and Test After Maintenance
Once repairs or adjustments are complete, reassemble the grinder and run it without beans to check for noise. Run several test grinds, listen for squeaks, and observe any vibrations. Calibration ensures the burrs align correctly, preventing uneven grinding that can cause mechanical strain and noise. For precision calibration, consider following tips from expert calibration techniques. I once skipped calibration after minor repairs, which caused a new squeal; calibrating resolved the issue entirely.
Prevention Tips to Keep It Quiet
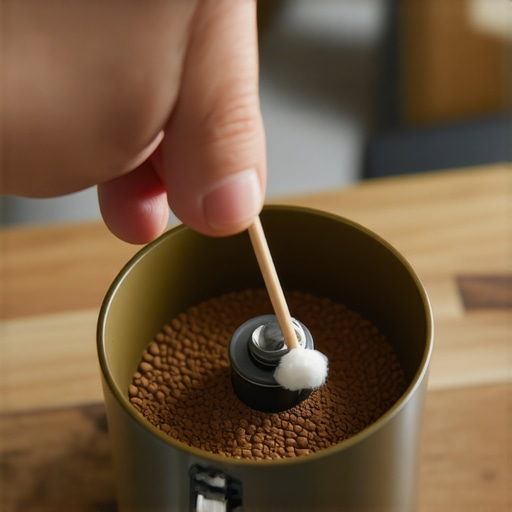
Regularly clean your grinder to prevent build-up of coffee oils and debris, which can cause sticking and noise. Use a small brush or the paper clip trick to clear blockages from the chute and burrs. Also, consider installing vibration dampers or pads to absorb mechanical noise. I added rubber feet beneath my grinder, which significantly reduced noise levels during daily use.
Many coffee lovers believe they’ve mastered their equipment after initial setup, but in reality, most get key details wrong, leading to subpar results. One common misconception is that high-priced gear automatically produces superior coffee—yet, without understanding the nuanced maintenance routines, even premium machines can underperform. For example, premium espresso machines require regular calibration of sensors, something many ignore, which can cause over-extraction or sour shots. Advanced baristas know that static buildup can drastically affect grind consistency; static cling causes uneven particle sizes, leading to channeling and bitterness, a detail overlooked by average users. Instead of just cleaning components, seasoned enthusiasts often apply anti-static measures or modify grind settings to compensate, a nuanced step missing in beginner routines. Furthermore, many assume that more powerful grinders always produce better shots; in fact, inconsistent burr alignment and improper retention can produce bitter flavors or uneven extraction, pitfalls that can be avoided with precise calibration, like aligning flat burrs with the simple paper shim trick. Avoiding these advanced mistakes can be the difference between average coffee and a barista-level experience. Have you ever fallen into this trap? Let me know in the comments. For those eager to elevate their home setup, understanding the subtleties—like how sensor calibration in multi-boiler machines prevents overheating, or how modifying your milk frother’s airflow improves microfoam—are crucial. Don’t underestimate the impact of small, often overlooked details; they hold the key to truly exceptional coffee. For instance, tweaking the grinder’s calibration or employing proper milk frothing techniques can yield dramatic improvements. Mastering these hidden nuances ensures you’re not just brewing coffee but crafting art. So, go beyond the basics—explore the intricacies that seasoned baristas swear by, and transform your routine into a precision craft.
Keep Your Barista Equipment Running Smoothly with the Right Tools
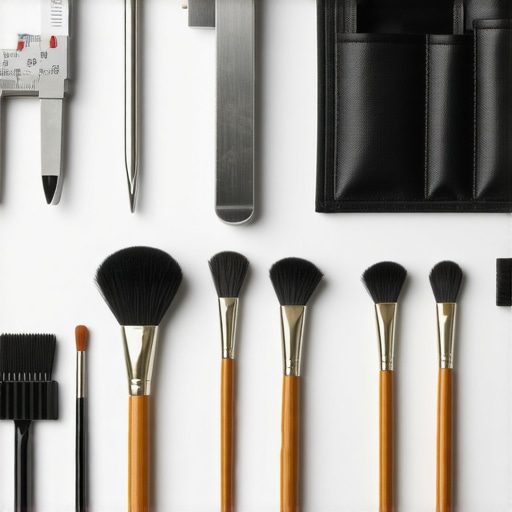
Investing in quality tools is crucial for maintaining your espresso machine, grinder, and other brewing gear. I personally swear by a precision torque screwdriver, which allows me to tighten burrs and machine parts with exactness, preventing over-tightening that can cause internal stress or damage over time. Additionally, a high-quality digital caliper helps me measure burr gaps accurately, ensuring consistent grind size and extraction quality. Regular use of a cleaning brush, specifically designed for espresso machines, keeps internal pathways clear and prevents clogs that could lead to pressure buildup or leaks. These tools might seem small, but they make a significant difference in prolonging your equipment’s lifespan and maintaining optimal performance.
Adopt Routine Maintenance Methods for Consistent Results
Developing a maintenance schedule is vital. I typically perform a deep clean of my espresso machine every month, including descaling the boiler and flushing the steam wand, which prevents lime buildup and ensures efficient heating. For grinders, I clean the burrs and chutes weekly using a mixture of grinder cleaning tablets and a handheld brush. Static buildup and grounds retention can negatively impact shot clarity, so I also employ static-dissipating techniques, such as grounding static sprays. Think of these practices as proactive measures—just as regular oil changes extend a car’s life, routine cleaning and calibration extend your gear’s service life and keep your coffee tasting pristine.
The Future of Coffee Gear Maintenance and Calibration
Looking ahead, I believe automation and smart sensors will become more integrated into home coffee equipment. For example, future espresso machines might automatically detect wear and tear, prompting users for calibration or maintenance tasks via an app. Currently, sensor calibration is a crucial task, especially in multi-boiler machines, which can overheat if not properly tuned (see detailed calibration tips here). Investing in these calibration skills now, like using a simple probe to verify temperature accuracy, will be invaluable as smarter gear becomes the norm. As a tip, try calibrating your machine’s temperature sensor biannually to prevent subtle flavor drifts, which could be the difference between a good shot and a great one.
What About Long-Term Maintenance?
Maintaining your equipment over years requires thoughtful planning. Implementing a comprehensive ledger of your maintenance tasks, parts replacements, and calibration dates helps track your gear’s health. Some baristas I know use dedicated software to log these details, which facilitates timely replacements and avoids costly repairs. Remember that components like seals and O-rings tend to degrade faster than other parts; replacing them preemptively can prevent leaks and downtime. Additionally, regularly inspecting electrical connections for corrosion or wear ensures safety and performance. This long-term approach is akin to owning a car—regular checkups and part swaps keep everything running smoothly and prevent unexpected breakdowns.
Scaling Up Your Coffee Setup Carefully
If you’re planning to expand your equipment arsenal, choose modular gear that can be upgraded over time. For example, starting with a reliable semi-automatic machine and later adding a PID controller or advanced grinder ensures seamless upgrades. When scaling, pay attention to compatibility—certain features like portafilter sizes or power requirements can be tricky. Invest in quality tools, as previously mentioned, to fine-tune larger setups, ensuring uniform extraction across multiple group heads. Setting up a dedicated, organized workspace with labeled storage for spare parts and cleaning supplies can vastly improve maintenance efficiency and longevity of your gear. Think of scaling as building a professional kitchen—you want reliable, adaptable, and easily maintainable equipment from the outset.
Remember, well-maintained gear isn’t just about longevity; it directly impacts your coffee’s quality. Consistent calibration, regular cleaning, and smart upgrades are the pillars of a long-lasting, high-performing setup. For a quick boost, try the simple motor calibration trick for your grinder—sometimes, a small tweak can unlock a world of difference in your shots. Keep investing in knowledge and proper tools, and your coffee experience will only improve over time.
The Hardest Lesson I Learned About coffee grinders, espresso machines, barista gear, home espresso, milk frothers
One simple mistake can turn a quiet morning routine into a symphony of squeals and screeches. I once ignored a faint squeak during cleanup, thinking it was just dust—only to find my grinder’s bearings on the brink of failure months later. Learning to listen to these subtle sounds taught me that small signs often hold the key to long-lasting, high-quality coffee gear. Embracing attentive maintenance, rather than reactive repairs, transformed my coffee experience and saved me a fortune in the long run.
3 Lessons That Boosted My Barista Game and Saved My Sanity
- Patience is a Superpower: Rushing repairs often worsens issues. Slowing down, inspecting every component, and methodically applying fixes turned squeals into whispers.
- Static Is Often the Culprit: Static buildup in static-sensitive areas like your chute or grind bin can cause noise and uneven particle sizes. Using anti-static sprays or grounding tricks makes a noticeable difference.
- Regular Calibration Is Non-Negotiable: Over time, even high-end grinders lose their perfect alignment. Simple calibration hacks, such as the paper shim trick, can restore consistency and silence mechanical protests.
My Toolbox of Trusted Resources That Keep My Coffee Bulletproof
- EspressoTech Guide: A goldmine for DIY maintenance and calibration tips, trusted for its approachable guides and up-to-date advice.
- Precision Tools: A digital caliper and torque screwdriver have become my best friends. They help me measure burr gaps precisely and tighten components without overdoing it.
- Community Forums: Engaging with fellow enthusiasts on Reddit and specialized Facebook groups offers real-world solutions and encouragement when facing stubborn squeals.
- Manufacturer Manuals: Always keep your machine’s manual handy. It’s packed with manufacturer-specific advice that can prevent costly missteps.
Your Next Step Into Coffee Mastery Starts Now
Transforming your coffee setup from noisy to serene isn’t just about fixing squeaks—it’s about understanding your gear at a deeper level. The secrets lie in the details: regular calibration, acute listening, and proactive maintenance. Once you master these, brewing becomes a mindful ritual instead of a noise-filled chore. Remember, a quiet grinder not only prolongs your equipment’s lifespan but also sharpens your palate and overall coffee joy. Dive into these practices, explore the tips, and enjoy the rich, peaceful mornings your dedicated routine can bring. Have you ever struggled to silence a stubborn grinder squeal? Let me know in the comments below!