Why Your Milk Pitcher Is Getting Too Hot Before the Foam Is Ready
Ever poured milk into your pitcher, only to realize it’s heated way beyond your desired temperature before you even get to that perfect microfoam? I remember the frustration vividly—watching my milk thermometer climb faster than I expected, and then rushing to cool it down before my shot was ruined. That lightbulb moment made me question: Why is my milk pitcher getting so hot so fast?
The Hidden Culprit Behind Sudden Pitcher Heating
It turns out, there’s a surprisingly common mistake many of us make when steaming milk—especially with a shiny, stainless steel pitcher. It’s easy to overlook, but this oversight can turn your session from smooth to frustrating in seconds. As I dug deeper, I discovered that the way I handled and prepared my pitcher contributed significantly to its rapid heating. If you’ve been battling this issue, you’re not alone. Today, we’ll uncover the reasons behind this common problem and how you can fix it to keep your milk frothing perfect every time.
Is Your Milk Steaming Technique Seriously Worth the Hype?
I used to believe that the more I preheated my pitcher, the better my frothing would be. That was a mistake—early on, I also made the blunder of constantly tapping the pitcher against the counter, believing it helped settle the milk. Turns out, these habits can actually induce more heat and cause uneven cooling, making the pitcher hotter before the real work begins. Trust me, I’ve been there, and this mistake isn’t unique—many baristas and home enthusiasts fall into the same trap without realizing it. Want to avoid ruining your milk steaming sessions? Stay tuned, because fixing this involves more than just turning down the steam—it’s about understanding the subtle factors that influence your pitcher’s temperature.
Master Your Milk Pitcher Handling
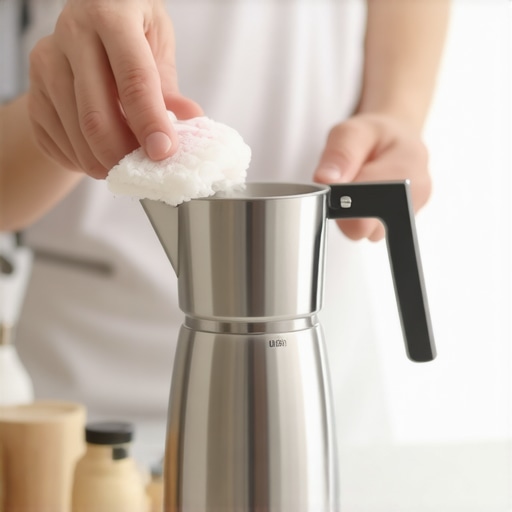
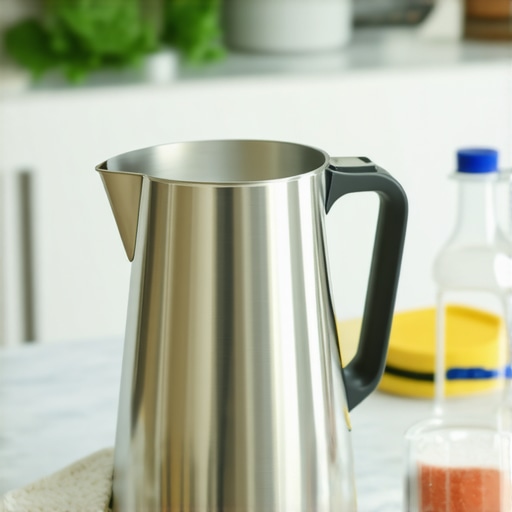
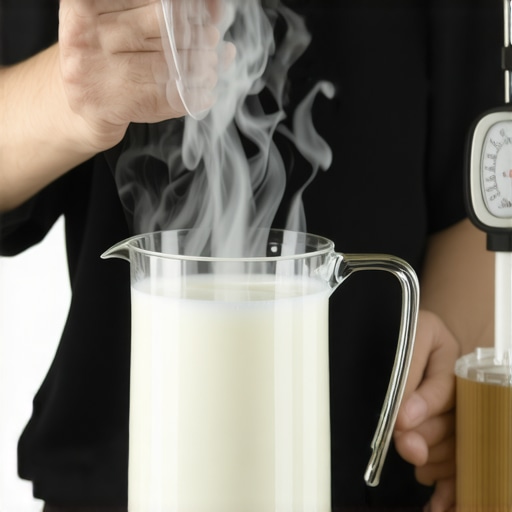
Start by pre-chilling your stainless steel pitcher in the freezer for 10-15 minutes before steaming. This simple step drastically reduces the heat transfer during frothing, preventing your pitcher from warming up too quickly.
Use the Right Temperature for Pre-cooling
especially when working in a warm environment. Cooling the pitcher ensures that the heat generated during steaming stays with the milk, not the vessel, leading to more controlled temperatures and better microfoam.
Adjust Your Steaming Technique
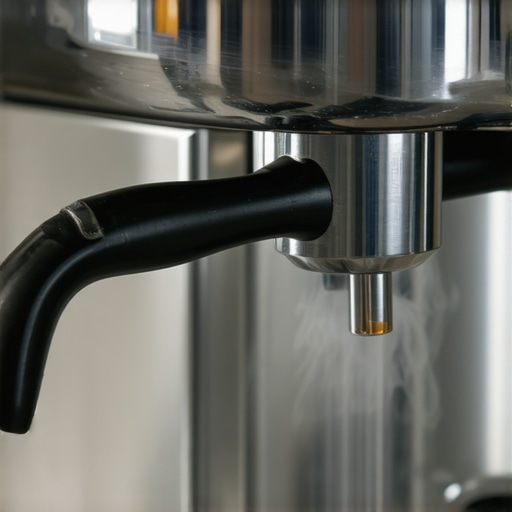
Instead of constantly reheating your pitcher, focus on the position of the steam wand. Keep it just below the surface of the milk at first, then submerge as the milk heats. This gradual process minimizes sudden temperature spikes.
Limit the Duration of Continuous Steaming
I found that steaming in short bursts—about 10-15 seconds at a time—gives the milk time to cool slightly between passes. This prevents the pitcher from absorbing excessive heat and keeps your temperature readings stable.
Be Mindful of Your Handling Habits
avoid tapping or tapping vigorously on the counter during steaming. Such impacts can transfer unwanted vibrations and heat to the pitcher, especially with thin-walled stainless steel. Instead, gently swirl or tap softly to settle the milk, which minimizes additional heat transfer.
Monitor Your Temperature Closely
Use an accurate thermometer, ideally an infrared thermometer aimed at the pitcher’s exterior, to keep an eye on the temperature throughout steaming. This real-time feedback allows you to stop at the optimal point, avoiding overheating.
Manage External Factors
Ensure your environment isn’t contributing to faster heater buildup. Keep the workspace cool and dry, and avoid placing the pitcher on hot surfaces or near direct heat sources that could increase its internal temperature unintentionally.
Many coffee enthusiasts believe that investing in high-end grinders or espresso machines guarantees perfect shots, but the reality is far more complex. A frequent misconception is that all burrs are created equal; however, multi-modal burrs outperform flat burrs on light roasts because of their superior heat dispersion and consistency, which many overlook. Another myth is that the grind size needs to be drastically adjusted for different bean origins; in truth, burrs require a settling period of about 5kg of beans before they deliver consistent results, a nuance players often ignore, leading to inconsistent extraction. When it comes to milk frothing, some believe pre-heating the pitcher is enough, but external factors like temperature stability and handle technique significantly impact microfoam quality. Many home baristas also fall prey to overusing the tamper force, assuming more pressure yields better extraction, but gentle tamping avoids uneven resistance and channeling. The key is understanding that equipment nuances profoundly influence outcomes. Regarding advanced setups, some enthusiasts think that more expensive gear automatically equals better coffee, but sensor calibration and environment control often matter more than brand prestige. For example, a suboptimal smart scale can introduce latency, skewing your flow rate data unless properly calibrated, which many miss. Have you ever fallen into this trap? Let me know in the comments. Let’s dive into the details that separate good from exceptional home brewing.
Keeping Your Equipment in Peak Condition
Owning high-quality espresso machines, grinders, and accessories is just the beginning; maintaining them properly ensures consistent performance and extends their lifespan. I personally rely on specific tools and routines to keep my setup functioning flawlessly, avoiding costly repairs or replacements down the line.
Invest in a Precision Calibration Scale
For precise tamping and flow control, I use a high-accuracy smart scale that integrates seamlessly with my workflow. However, it’s crucial to periodically calibrate your smart scale to prevent latency issues. Misreadings can lead to over- or under-extraction, affecting flavor and crema quality. I recommend checking calibration monthly if you’re serious about consistency, especially as your equipment ages.
Proper Burr Maintenance Preserves Coffee Quality
Grinding is arguably the most critical step, and dull or misaligned burrs can ruin your shots. That’s why I routinely settle my burrs after approximately 5kg of beans. This simple process ensures even particle size distribution. For differing bean roasts or ages, regular cleaning and alignment are essential; misaligned burrs produce muddy or bitter shots, as detailed in this guide on flat burr alignment.
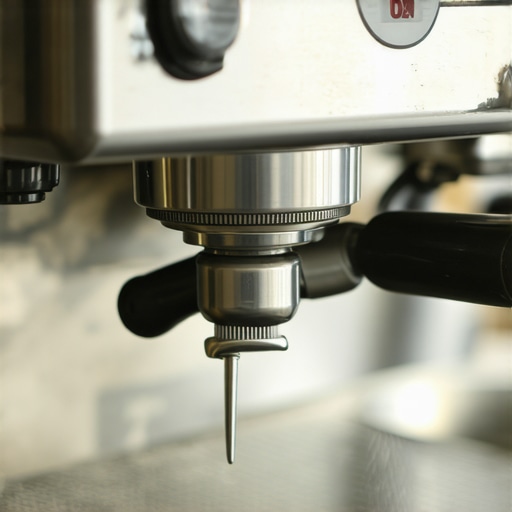
Maintain Your Steam Wand and Milk Frother
Prevent issues like sputtering or large bubbles by routinely descaling and cleaning your wand. For soy or alternative milks, I cleared persistent spitting with proper storage and handling practices. Additionally, using cleaning tablets designed for steam wands keeps internal channels clear and prevents microbial buildup.
Tools I Use for Efficient Maintenance
Beyond basic brushes and descaling solutions, I recommend investing in ultrasonic cleaners for removing residual oils from brew heads and portafilters. Their quick, thorough cleaning prevents rancid flavors and preserves seals. Also, a set of microfibre cloths and silicone brushes help keep your equipment spotless without scratching surfaces.
Anticipate Future Trends in Coffee Gear Care
Looking ahead, machine integration with IoT sensors is likely to revolutionize maintenance, alerting you proactively when parts need attention. For example, smart home hacks will become standard to optimize brewing conditions. Embracing these innovations will reduce downtime and improve shot consistency over the long term.
How do I maintain my coffee gear over time?
Developing a routine that includes regular cleaning, calibration, and part inspections is key. Keep a maintenance log and schedule based on your usage; for example, I set reminders every 50 hours of espresso extraction to check burr alignment and scale condition. Incorporate tools like ultrasonic cleaners and precision scales into your workflow for maximum efficiency. Don’t forget to stay informed on equipment updates and best practices through trusted sources like expert tech guides. Regular maintenance not only preserves your gear but also enhances your coffee experience—try scheduling a deep clean this weekend and see the difference it makes.
Through my journey with home espresso setups, I’ve learned that precision goes beyond just grinding or tamping—it’s about understanding and managing temperature nuances. A lightbulb moment for me was realizing that even small habits, like how I handled my milk pitcher, could dramatically impact temperature stability and milk frothing quality. This insight transformed my entire approach, making each cup more consistent and enjoyable. Remember, the devil’s in the details, and fine-tuning these subtle factors can elevate your coffee game to professional levels.
The Surprising Power of Equipment Handling and Environment
If you think that top-tier tools alone guarantee perfect shots, think again. External factors like your workspace’s temperature, the way you preheat or cool your equipment, and even your handling habits can influence outcomes profoundly. I discovered that cooling my stainless steel pitcher in the freezer and avoiding impacts during steaming dramatically reduced overheating episodes, preserving the delicate microfoam and temperature consistency. These small steps can make a huge difference in your daily espresso routine.
What Real Baristas Keep as Their Secret Weapons
Beyond fancy gear, seasoned baristas swear by routine calibration and environment management. Regularly checking your smart scales for latency issues (a quick calibration) and settling burrs after sufficient use (about 5kg of beans) ensures consistent extraction and flavor profiles. I also keep ultrasonic cleaners on hand for thorough cleaning, because cleanliness directly impacts temperature stability and taste. These strategies might seem small individually, but combined, they forge a robust foundation for excellent espresso every time.
Embracing Little Tweaks for Big Gains
Sometimes, enhancing your coffee experience isn’t about buying new equipment but making smarter adjustments. Short steaming bursts, mindful handling, and regular equipment maintenance—these are practices that build over time into a finely tuned setup. It’s rewarding to see that dedication translate into richer crema, balanced bitterness, and perfectly textured milk. These insider tweaks are your secret tools to mastering the art of coffee at home.
Unearthing Lessons That Changed My Coffee World
- Stainless steel pitchers heat up quickly if mishandled; pre-chilling them offers greater control, a lesson I learned after too many ruined microfoam attempts.
- Constant impact tapping or vigorous tapping transfers heat (and vibrations) that disrupt temperature stability—gentle swirling is all you need.
- Accurate and real-time temperature monitoring transforms your ability to fine-tune steaming, moving away from guesswork.
- External environment matters more than many realize; keeping your workspace cool and free from heat sources shields your equipment from unwanted heating.
- Regularly settling burrs with sufficient use and maintaining equipment cleanliness dramatically improve consistency—forget the myth that high-end new gear is the only way.
Tools That Turn Coffee Routines Into Rituals
- Precision calibration scales: My go-to for tamping and flow measurement, especially when paired with regular calibration checks.
- Ultrasonic cleaners: Essential for deep cleaning brew heads and portafilters, preserving temperature stability and flavor clarity.
- Infrared thermometers: Allow me to monitor my pitcher’s exterior temperature swiftly, preventing overheating.
- Environmental controls: Keeping my workspace cool and free from heat sources helps maintain equipment temperature, ensuring consistent shots.
Act Now for Coffee Excellence
Remember, mastering temperature control involves a blend of equipment handling, environmental awareness, and routine maintenance. Implementing these insights offers immediate improvements and long-term rewards in your coffee journey. The path to perfect espresso is paved with small, intentional steps—so why not start today? Your taste buds will thank you, and every cup will become a testament to your growing expertise.
What’s one little habit you’ve adjusted recently to improve your espresso quality? Share your experiences below and inspire fellow coffee enthusiasts!
,