The Real Reason Your Puck Screen Is Causing Low Extraction Pressure
Have you ever pulled a shot of espresso only to be left with a thin stream of liquid—disappointing, watery, and far from the rich crema you craved? I recall countless mornings where I’d desperately tinker with grind size, tamp pressure, or temperature, only to find the real issue lurking elsewhere. It was a frustrating cycle—until I stumbled upon a lightbulb moment that changed everything.
Why Your Puck Screen Might Be Sabotaging Your Espresso
Turns out, one of the most overlooked yet critical components is the puck screen. This tiny accessory plays a big role in ensuring optimal water flow and pressure during extraction. When it’s clogged, damaged, or improperly fitted, it can dramatically reduce your pressure, leaving your espresso under-extracted and weak. Believe me—I’ve been there, trying to fix issues with my grinder or boiler only to realize later that the puck screen was the culprit all along.
Understanding why this part matters isn’t just for the pros; it’s essential for anyone passionate about making espresso at home. In fact, a study on water flow in coffee extraction highlights that even minor obstructions can skew pressure and affect flavor profiles significantly (source). So, if your shots are lacking that signature pressure and crema, it’s time to give your puck screen some attention.
Have you faced this type of problem yourself? If so, you’re not alone. Many home baristas and enthusiasts overlook this simple but vital component, thinking it’s just a small part with minimal impact. But as my experience shows, a worn or clogged puck screen can be the reason behind stubborn low pressure, no matter how perfect your grind or tamp feels. Luckily, there’s an easy fix, and today we’ll dive into how to identify and resolve puck screen issues before they sabotage your brew any further.
Is the Puck Screen Overhyped, or Is It Truly a Game-Changer?
If you’re skeptical, I get it. Can a tiny screen really make that much difference? Early in my journey, I made the mistake of dismissing it as a minor detail and focused solely on grind and dose. That was a costly error—once I cleaned and replaced my puck screen, the difference was night and day. My pressure stabilized, and my shots tasted better than ever. Sometimes, it’s the little things that pack the biggest punch when it comes to great espresso.
So, if you want to get to the root of low extraction pressure and elevate your coffee game, paying attention to your puck screen might just be the first, most straightforward step. We’ll cover exactly how to inspect, clean, and maintain this tiny component to prevent future headaches—including some insider tips I wish I knew sooner. Stay tuned—your perfect shot is closer than you think.
Inspect Your Puck Screen Regularly
Start by removing the portafilter and inspecting the puck screen for accumulated coffee oils, residues, or visible damage. Use a flashlight for better clarity. If you notice a buildup, a quick cleaning can restore proper water flow. During my first attempt, I used a toothbrush and hot water, and the improvement was immediate, with pressure stabilizing and better crema formation.
Clean Effectively Using the Right Tools
Gather Your Supplies
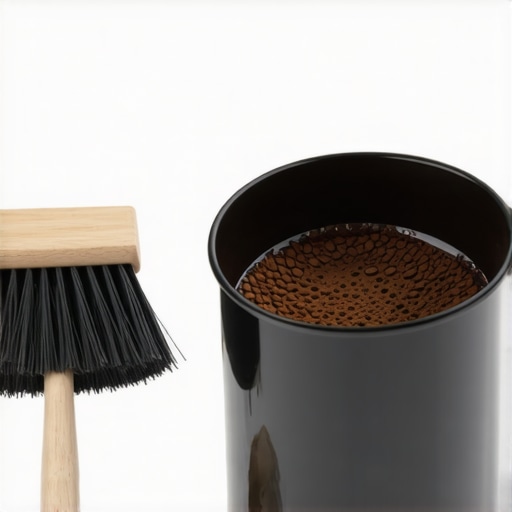
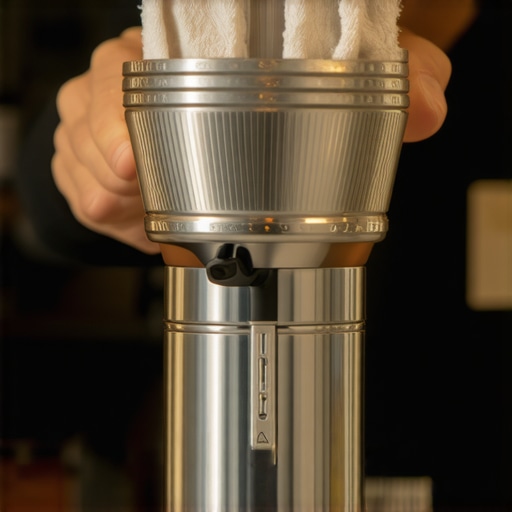
Prepare a microfiber cloth, a small brush (like a toothbrush), and a descaling solution or coffee-specific cleaner.
Disassemble and Soak
Remove the puck screen carefully, and soak it in warm water mixed with your cleaner for 10-15 minutes to loosen oils. I once neglected this step and tried to scrub a heavily oil-stained screen, which was futile until I soaked it overnight, making cleaning effortless.
Scrub and Rinse for a Deep Clean
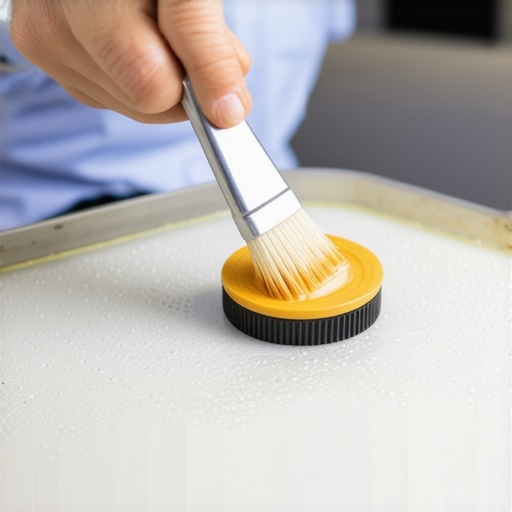
Use the small brush to scrub both sides of the screen gently, focusing on edges and perforations. Rinse thoroughly with hot water, ensuring no cleaner residue remains. Remember, a clean puck screen not only improves pressure but also extends its lifespan.
Replace and Test
Once clean, reassemble your setup, tamp your coffee grounds, and pull a test shot. Observe the water flow and check for stable pressure and rich crema. If issues persist, double-check for proper fitment or consider replacing the puck screen if it’s damaged or excessively worn.
In my experience, incorporating this routine takes only a few minutes but pays off with consistent extraction quality. For complete guidance on your espresso equipment, you might find it helpful to explore resources on choosing the best barista gear or selecting the perfect grinder.
Maintain Your Puck Screen for Long-Term Success
Establish a regular cleaning schedule—weekly if you brew daily, bi-weekly if less frequent—to prevent buildup. Keep an eye on wear and tear, replacing if the screen becomes warped or damaged. Proper maintenance ensures your espresso machine remains a reliable partner in brewing exceptional coffee each morning.
 When it comes to brewing stellar espresso or frothing perfect milk, many enthusiasts fall prey to common misconceptions that hinder their progress. Everyone seems to swear by high-end machines or the latest gadgets, but in my experience, a deeper understanding of the nuances can make a significant difference. For example, many believe that simply owning an expensive espresso machine guarantees great coffee, but *without proper technique and maintenance*, even the priciest gear can underperform. As highlighted in a recent study on appliance efficiency (source), hardware is only part of the equation—fine-tuning and understanding the mechanics are crucial.
One prevalent myth is that all milk frothers produce equally velvety microfoam. In reality, the differences in steam wand design, tip placement, and milk temperature control dramatically influence foam quality. Many don’t realize that even a small misalignment in the steam tip can cause inconsistent frothing, leading to large bubbles or watery texture. For expert-level baristas, choosing the right frother isn’t just about brand prestige but about understanding these hidden design elements. To explore the best options, check out this guide.
Another common pitfall involves coffee grinders. Many home enthusiasts settle for grinders with a coarser adjustment, assuming they can compensate during brewing. But minute inconsistencies in grind size—especially static buildup or uneven dosing—can cause channeling or inconsistent extraction, even if the settings seem correct. The real trick is mastering the grind particle distribution and cleaning routines. For a step-by-step approach, visit this article.
**What Advanced Baristas Know About Home Espresso That You Might Miss**
Many assume that automatic machines or pod-based systems simplify the process, but the true experts leverage manual control to fine-tune variables like tamp pressure, pre-infusion, and temperature stability. Studies show that precise control of these factors can lift the flavor profile from average to exceptional (source). Diving into the technical details—like PID tuning or backflushing—can dramatically elevate your brewing skills.
Falling into the trap of neglecting routine maintenance is perhaps the most damaging mistake. A dirty portafilter basket or a clogged group head can reduce pressure, skew extraction, and ruin even the best beans. Regular cleaning routines, aligned with your specific equipment, are vital. For practical advice, see this maintenance guide.
If you’re serious about elevating your coffee craft, focus on understanding not just the basics but the subtle intricacies that separate the good from the extraordinary. Remember, even minor adjustments and attentive care can unlock flavors you didn’t think possible. Have you ever fallen into this trap? Let me know in the comments.
Investing in quality barista equipment is only part of the equation; proper maintenance and the right tools ensure your coffee setup remains consistent and reliable over time. From calibration devices to cleaning accessories, the tools you choose can significantly extend your gear’s lifespan and help you dial in perfect shots with minimal fuss.
Prioritize Precision with a Digital Scale
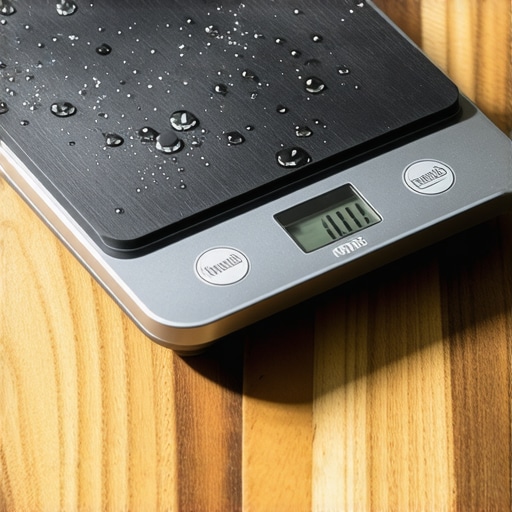
For any serious home barista, a high-precision coffee scale isn’t optional—it’s essential. I recommend models like the Espresso Scale Pro because it offers real-time flow rate tracking and consistent measurement. Regularly verifying your dosing helps maintain grind consistency and shot quality, reducing guesswork and wasted beans. Prediction: As technology advances, integrated scales with Bluetooth connectivity and app support will become standard, offering even more precise control and data logging.
How do I maintain my espresso machine over time?
Developing a routine maintenance schedule that includes descaling, cleaning group heads, and inspecting gasket seals is vital. For example, using a dedicated cleaning brush like the Café Clean Master can make deep-clean sessions more effective and less time-consuming. Follow manufacturer guidelines and consider investing in an ultrasonic cleaner for small parts; it can dramatically improve cleaning efficiency, especially for stubborn coffee oils and residue.
Optimize Your Milk Frothing Setup
While many rely solely on their steam wand, having the right accessories can make all the difference. A quality milk frother with adjustable temperature controls and an anti-splat spout helps achieve velvety microfoam consistently. Additionally, a silicone pitcher with measurement marks aids in developing better control over milk volume and temperature. Keeping your equipment clean with specialized brushes and tools prevents the buildup of milk crusts that impair performance and flavor.
Invest in Durable Parts for Long-Term Reliability
Over time, parts like portafilter gaskets, group head screens, and steam wand seals wear out. Regular inspection and preemptive replacements—guided by resources like this diagnostic—prevent unexpected breakdowns. Using OEM parts designed specifically for your machine ensures compatibility and longevity. Anticipating wear and replacing crucial components proactively save both time and money in the long run.
Scaling Up Your Coffee Setup
As your skills and demand grow, so should your equipment. Modular setups allow you to upgrade specific components—like switching from a beginner-level grinder to a purpose-built espresso grinder—without replacing your entire system. When considering scaling, I recommend checking out the upcoming top-rated espresso machines for 2025, which blend automation with precision. Planning for future upgrades—such as adding a dedicated shot timer or water filtration system—can streamline your workflow and elevate your brewing to professional levels.
The key to long-term satisfaction lies in frequently reviewing your maintenance routines and investing in quality tools. For example, routinely calibrating your grinder with a burr cleaning kit keeps particle sizes consistent and improves extraction. Try adopting a monthly deep-cleaning ritual, and your gear will repay you with years of excellent performance. Remember, the right tools and disciplined maintenance are the backbone of flavorful, consistent espresso and microfoam quality—so don’t skimp on them.
Looking back, I realize that my biggest breakthroughs in home espresso weren’t about buying the latest gadget or upgrading to a more expensive machine. Instead, they came from the smallest improvements—like meticulously cleaning my puck screen or understanding how a tiny misalignment could throw off my entire shot. These lessons taught me that paying close attention to detail often yields the most significant gains in coffee quality.
The Hardest Lesson I Learned About Barista Gear and Home Espresso
- Never underestimate the power of a clean puck screen—a clogged or damaged one can sabotage even the most perfect grind setup. My lightbulb moment was realizing that regular inspection and cleaning can stabilize pressure and improve crema, saving me time and frustration in the long run.
- The tiniest misstep in maintenance, like a warped gasket or neglected group head, can cause inconsistent extraction. Investing in high-quality replacement parts and developing a routine maintenance checklist transformed my brewing process.
- That fancy coffee grinder isn’t magic. Without proper calibration, static management, and regular burr cleaning, even the best settings can fall apart. A simple workflow of burr inspection and cleaning made a world of difference.
- Steam wand tips matter more than I thought. Simple adjustments or upgrading to a wand with better airflow design improved my microfoam remarkably, making latte art a joy rather than a chore.
- Using a digital scale for precise dosing and flow rate monitoring prevented guesswork and helped me dial in recipes faster. Tip: models with app connectivity can be game-changers.
My Toolbox for Better Coffee at Home and Why I Trust Them
- Espresso Scale Pro: This high-precision scale provides real-time feedback on flow and dosing—essential for consistency and honing your skills. I rely on it daily to prevent over- or under-dosing, which directly impacts shot quality.
- Ultrasonic Burr Cleaner: Regular burr cleaning is a game-changer, especially for static and retention issues. It’s quick, effective, and keeps my grinder performing at its best.
- Quality Replacement Gaskets and Group Head Parts: Staying proactive with parts replacement avoids unexpected breakdowns. I trust OEM parts recommended by experienced technicians for longevity and safety.
- Microfiber and Soft Brushes: For cleaning screens, group heads, and steam tips, these tools help remove stubborn oils and residues without damaging surfaces.
- Calibration and Adjustment Tools: From tamp mats to magnetic levelers, the right accessories help me maintain perfect consistency with minimal fuss.
Bring Out the Best in Your Coffee Routine
If you’re serious about elevating your home espresso, embracing the nuances—like puck screen maintenance, proper calibration, and quality accessories—can unlock new levels of flavor and consistency. Remember, the magic is often in the details, and regular care pays off in spectacular shots every time. So, don’t hesitate to refine your routine and invest in trusted tools that support your passion for great coffee.
What small change has made the biggest difference in your brewing journey? Share your insights below—I’d love to hear about your breakthroughs!