Why Your Latte Art Always Ends Up as a Blob
I remember the exact moment I realized my latte art was more blob than bloom. I was feeling proud after mastering the perfect microfoam, pouring with confidence, and then…a sad, amorphous mess. The heart I envisioned turned into a grayish smudge, and I felt that familiar pang of frustration. Have you ever experienced that sinking feeling when your beautiful pour turns into a disappointing blob? If so, you’re not alone.
Why Your Latte Art Always Ends Up as a Blob (And What It’s Costing You)
Many home baristas and even seasoned enthusiasts struggle with achieving that crisp, beautiful design. The truth is, there are subtle but critical factors that cause your milk to spread unevenly, resulting in blobs instead of intricate leaves or rosettas. Early on, I made the mistake of blaming my milk texture without realizing that the pour technique or temperature stability played a huge role. Once I pinpointed that, everything changed.
The good news? Fixing this isn’t about buying the latest fancy jug or upgrading your espresso machine (though those can help). It’s about understanding the core principles of milk microfoam behavior and how your gear interacts with your technique. And trust me, once you get the hang of it, those blobs will become a thing of the past.
Is Your Milk Frother the Enemy?
A common misconception is that the type of milk or frothing device is the biggest hurdle. The reality is, even the best milk frother won’t guarantee perfect latte art if your pouring technique is off. I once blamed my cheap milk frother for my failed pours, but after switching to a [top-rated milk frother](https://espressotechguide.com/milk-frothers-that-transform-your-coffee-experience) and honing my pour, my designs improved dramatically. The key isn’t just the equipment, but how you use it.
But here’s a surprising fact backed by experts: inconsistent pouring temperature can cause microfoam to collapse or form uneven patterns, making blobs more likely. Maintaining a stable temperature is crucial. Want to learn how to keep your milk at the ideal 140°F (60°C)? Check out [this detailed guide](https://espressotechguide.com/how-to-stop-your-steam-tip-from-clogging-every-single-day), which points out that even a slight temperature deviation can spoil your art.
So, what’s next? In the upcoming sections, I’ll share step-by-step techniques to troubleshoot your latte art blobs. From milk steaming tips to clever pouring tricks, you’ll discover what’s been holding back your designs—and how to finally nail that perfect pour every time. Ready to transform your coffee game?
Perfect Your Milk Texture First
Begin by steaming your milk to about 140°F (60°C). Use a quality milk frother like this top-rated device and aim for a velvety microfoam. For example, I once used a cheap frother on a cold morning, but switching to a high-quality model allowed better control, leading to smoother pours. The key is creating microbubbles that are tiny and uniform, which helps your design stay crisp.
Stabilize Your Pouring Technique
Hold your pitcher close to the surface of the espresso, about 1-2 inches above, and pour steadily in a thin, controlled flow. Imagine pouring paint from a fine brush—precision matters. When I first tried this, my hand trembled, causing uneven flow, but practicing with a steady hand improved my designs dramatically. Using a pitcher with a narrow spout helps direct the milk exactly where you want it, reducing blobs.
Control the Pour Timing and Speed
Start pouring in a small circle at the center, then gradually move outward. Once your cup’s about half full, increase the pour speed slightly to push the microfoam into the espresso, forming a clean pattern. I remember a session where rushing the pour resulted in a clunky blob—slowing down and timing the flow made the difference. Consistent, deliberate movements prevent uneven dispersion that causes blobs.
Adjust Temperature and Pressure Honestly
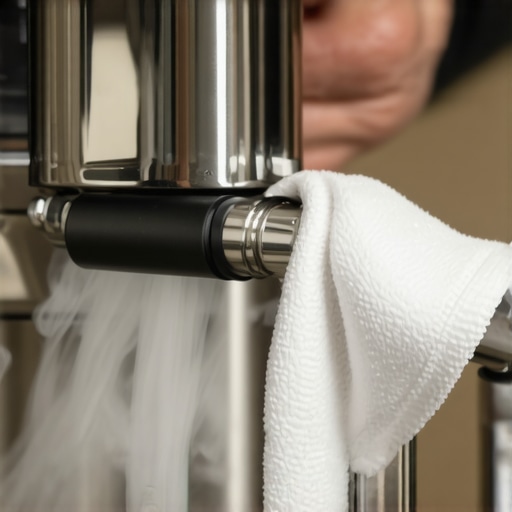
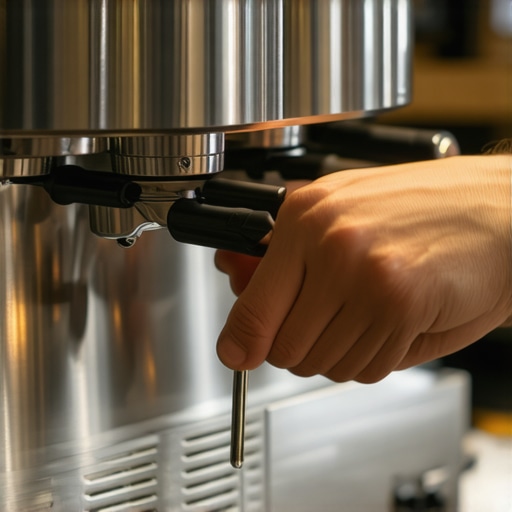
Steaming milk at too high a temperature or with inconsistent pressure causes microfoam collapse, leading to messy pours. Check your steam wand’s pressure with tools like this simple guide. I once neglected this, and the microfoam was unstable, resulting in blobs. Maintaining proper steam pressure and temperature ensures your milk stays stable during the pour.
Practice with Small Batches First
Always start practicing with smaller pours—say, 2 ounces of milk—so you can focus on control. I set aside a dedicated station with a clean towel and an extra pitcher to tinker. Over time, my steady hands and microfoam stability improved, making my latte art cleaner and more precise.
Use Visual Anchors and Consistent Angles
Keep your pitcher at a consistent angle, about 45 degrees, and watch for your pour’s flow and pattern. Imagine guiding a brush on a canvas—visual cues help keep your movement uniform. This was my game-changer: maintaining the same angle each time prevented unexpected blobs, especially when pouring intricate designs.
Many aficionados believe that owning the latest espresso machine or a fancy milk frother guarantees barista-quality results at home, but this is a misconception that can hinder genuine progress. The truth is, most people get misled by superficial features and overlook critical nuances that determine brewing success. For example, a high-end espresso machine with a powerful boiler won’t help if your tamping technique is flawed or your grinder isn’t calibrated precisely. As expert baristas often emphasize, skillful tweaking of grind size, tamp pressure, and extraction timing often makes a greater difference than hardware upgrades alone.
Why is it so easy to fall for shiny gear and miss the real pitfalls?
The common trap is focusing on branded equipment assertion rather than understanding the fundamental principles that govern extraction and flavor development. Studies, like those from the Specialty Coffee Association, show that variables such as water temperature stability and pre-infusion timing influence shot quality more significantly than marginal machine differences. Moreover, many overlook the importance of consistent maintenance. A neglected grinder burr or a dirty espresso portafilter can wreak havoc on your cups, regardless of your investment. Regular cleaning and calibration are often neglected, leading to subtle yet impactful errors in coffee flavor and shot consistency. One surprising nuance is the myth that more expensive burr grinders automatically produce better espresso; in reality, precision tuning and proper particle distribution matter more than price. Check out this comprehensive guide on choosing the right [coffee grinder](https://espressotechguide.com/how-to-select-the-perfect-coffee-grinder-for-your-brew) to understand what truly influences grind quality.
Another aspect that trips up many enthusiasts is the misconception around milk frothers. Many believe that a more powerful frothing device prevents scalding or ensures velvety microfoam. However, expert baristas often prefer manual steaming techniques and temperature control to achieve superior texture. Over-reliance on auto-frothing can lead to inconsistent results, especially if the device doesn’t allow fine temperature adjustments. This is why mastering manual steaming, with attention to temperature and pressure, elevates your milk microfoam far beyond what ‘automatic’ gear can offer.
Can advanced users benefit from upgrading or mastering basic gear?
Absolutely. Advanced espresso lovers often find that tuning their existing equipment yields more satisfying improvements than hardware upgrades alone. For instance, properly seasoning your portafilter gasket or shimming your grind adjustment can prevent common issues like channeling and uneven extraction. Technical tweaks such as adjusting brew pressure or pre-wetting your coffee bed can elevate your shot quality significantly. Regularly questioning your setup, performing detailed maintenance, and understanding the physics of espresso extraction are powerful ways to improve in ways that costly gear alone cannot replicate.
Finally, don’t forget about the role of user technique. Even the most expensive machine cannot compensate for inconsistent tamping or uneven distribution. Training yourself to develop a steady hand and adopting disciplined workflows can turn average gear into a remarkable brewer. To dive deeper into fine-tuning your home setup, consider exploring the [ultimate guide to barista gear](https://espressotechguide.com/choosing-the-best-barista-gear-for-coffee-enthusiasts). Remember, sophisticated equipment is just one piece of the puzzle—your skills and understanding are what truly make the difference.
Have you ever fallen into this trap? Let me know in the comments.
Staying Sharp with Your Equipment
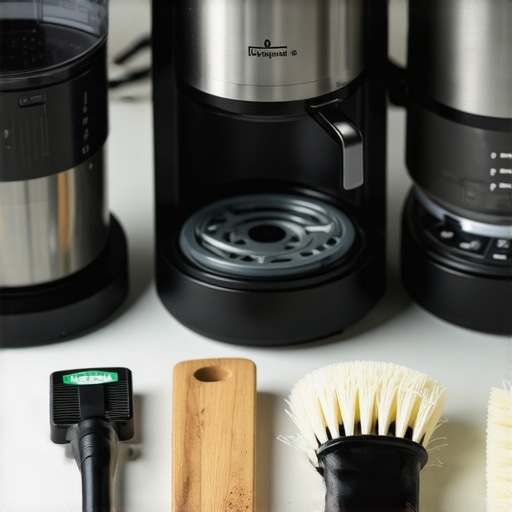
Regular maintenance of your espresso gear is crucial for consistent, high-quality results. I personally swear by a routine schedule that includes descaling your machine every three months using a descaling solution like this method. Additionally, inspecting and lubricating seals and gaskets with food-safe lubricant helps prevent leaks and maintains optimal pressure. Invest in a good cleaning brush set specifically designed for espresso machines, which makes deep cleaning of group heads and portafilters much more effective. These tools aren’t just about hygiene—they directly impact flavor clarity and machine longevity.
Tools I Recommend for Long-Term Performance
One game-changer in my routine has been a digital calibration scale for dosing and tamping consistency. Precise measurements ensure that every shot adheres to the ideal parameters, minimizing variables that cause blobs or uneven extraction. For grinder maintenance, I prefer a burr cleaning kit like the one recommended here. It allows me to remove built-up coffee oils and residue without disassembling the entire grinder, saving time and reducing wear. Calibration and adjustment lever tools, such as this precision tool, help keep grind size and consistency spot-on, ensuring your shots are reproducible and free of blobs.
Future Trends in Equipment Durability
Looking ahead, I predict that smart, IoT-connected espresso machines with real-time maintenance alerts will become standard. These devices can notify you when descaling is needed, or if a pressure sensor detects anomalies. Already, some models integrate Bluetooth connectivity to a companion app that logs usage and suggests maintenance schedules. Upgrading your gear to incorporate such features could significantly reduce downtime and keep your setup performing at its best.
How do I keep my espresso setup running smoothly over time?
Consistent cleaning routines combined with using calibrated tools for dosing, tamping, and grinding are the foundation. Scheduling regular descalings and seal checks ensures your machine’s longevity and flavor quality. I recommend setting reminders based on your usage—these small steps prevent costly repairs and flavor deterioration. To master maintenance on your equipment, delve into this comprehensive guide and try incorporating a monthly deep-clean session. This simple habit can make a dramatic difference in your daily coffee experience.
If you’re serious about long-term performance, consider investing in tools like a grinder calibration kit or a digital scale to enhance your consistency. Small, disciplined actions now will pay off with richer flavors, fewer breakdowns, and better shots. Ready to give your machine the care it deserves? Start with your next routine clean and see the difference it makes.
< >
>
Lessons Only Baristas Usually Keep to Themselves
One of the most eye-opening moments for me was realizing that even experienced home enthusiasts often overlook the importance of weather and humidity on milk microfoam stability. I used to blame my frother, but then I discovered that ambient moisture levels could subtly influence bubble formation. This insight pushed me to adjust my technique seasonally and see immediate improvements.
Next, I learned that patience during steaming and pouring can’t be overstated. Rushing my pour or moving the pitcher too quickly introduced blobs and uneven patterns. Slowing down, watching the milk’s behavior, and practicing deliberate movements made my latte art sharper and more consistent. Lessons like these reminded me that mastery isn’t about equipment alone but about tuning into the subtle cues your coffee and environment give you.
My Favorite Tools for a Consistent Coffee Experience
Over the years, I’ve curated a set of tools that truly elevate my home coffee journey. The precision grinder helps me dial in the exact grind size, crucial for avoiding blobs caused by over- or under-extraction. A reliable espresso machine ensures temperature stability, reducing the odds of microfoam collapse. My digital scale keeps me honest during dosing and pouring, which is vital for reproducibility. And, of course, I swear by the best milk frother that creates velvety microfoam, no matter the day’s humidity. These tools, combined with consistent practice, made my latte art more predictable and delightful.
Take the Next Step and Taste the Difference
Remember, every coffee session is an opportunity to learn and refine your skills. Don’t let a few blobs hold you back from impressing friends or simply enjoying a better cup at home. As you experiment with technique and gear, keep in mind that small tuned adjustments—like temperature stability, pour angle, or milk texture—can lead to big improvements. I encourage you to stay curious, persist through the initial frustrations, and celebrate each tiny victory on your journey to barista-level latte art. Your perfect pour is within reach—just take that first controlled step today.