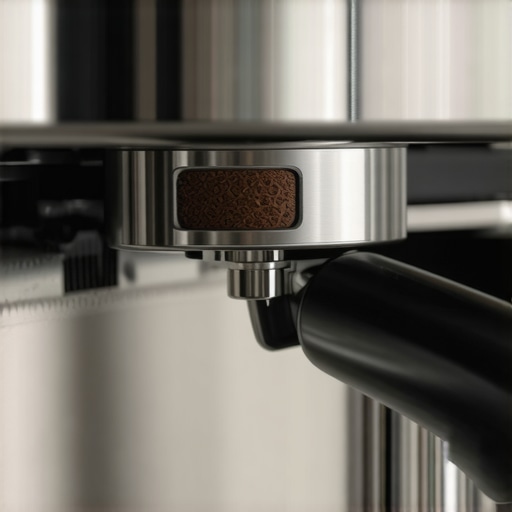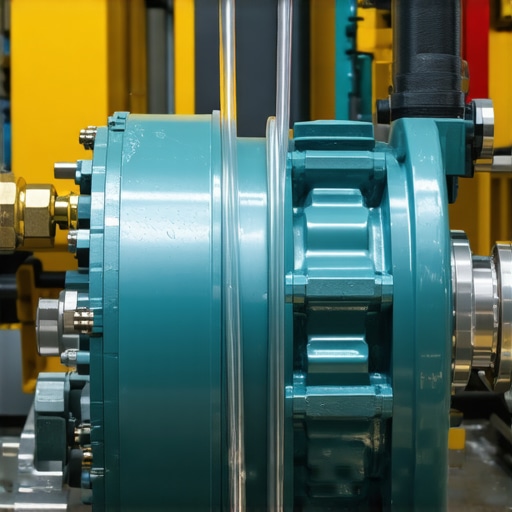
Why Your Rotary Pump Is Whining and How to Bleed the Air
Ever had that unsettling surprise in the middle of your morning brew—your espresso machine starts making a persistent whining sound from the rotary pump? I remember the first time it happened to me; I thought my beloved machine was about to give up the ghost. That sharp, almost screams-like noise threw me off—was it a sign of impending failure or something I could fix?
How a Simple Air Bubble Turned My Morning into a Mechanical Riddle
Initially, I ignored the strange noises, hoping they’d stop on their own. But as days went by, the whining grew louder, and my brew quality dipped. It’s frustrating, isn’t it? One moment everything is smooth and predictable, and the next, your machine sounds like a jet preparing for takeoff. That’s when I realized the problem might be air trapped in the pump. It’s a deceptively common issue that can cause your pump to whine loudly—annoying, distracting, and potentially harmful over time.
This whining isn’t just an annoyance; it could indicate that your machine’s pump is struggling to operate efficiently. Trust me, I’ve been there—making unnecessary repairs and wasting precious coffee time. The good news? Bleeding the air out of your rotary pump is a straightforward process once you understand what to look for and how to do it properly. I want to walk you through exactly how I fixed mine, saving me both money and a lot of frustration.
Is Bleeding the Pump Really That Important?
Early in my journey as a home barista, I made the mistake of thinking the whining was a sign to replace the entire pump. Spoiler alert: I was wrong. Properly bleeding your pump can restore smooth operation and prolong its life. According to industry experts, trapped air can cause cavitation—an issue that hampers pump performance and leads to louder noises (source: Espresso Tech Guide). The key is understanding the process and not ignoring that bothersome sound every time you turn on your machine.
Now, before you dive into fixed mode, I want to make sure you’re prepared. Do you often face these whines and weird noises? Have you ever hesitated to tackle a small issue, fearing it might be something complex or expensive? If so, you’re not alone. Many enthusiasts shy away from maintenance tasks, but with a little guidance, bleeding your rotary pump becomes an easy fix that can make a world of difference. Ready to get your machine whisper-quiet and working like new? Let’s roll up our sleeves and get this sorted.
In the next section, I’ll show you exactly how to bleed your rotary pump step-by-step—no fancy tools required. Whether you’re a seasoned hobbyist or just starting, these tips are designed to help you troubleshoot efficiently and keep your espresso machine running smoothly, shot after shot.
But first, if this problem has ever made you question the reliability of your gear, just know you’re not alone. Many have faced similar frustrations, and the good news is, with a little know-how, you can fix it yourself. Curious about other common issues? Check out my ultimate guide to home espresso tips to boost your skills and keep your machine happy.
Prepare Your Workspace and Gather Tools
Start by unplugging your espresso machine and removing the drip tray and water reservoir to access the pump area easily. Have a clean towel and a small container handy to catch any drips. This initial step prevents messes and keeps your workspace organized.
Access the Pump and Identify Bleed Points
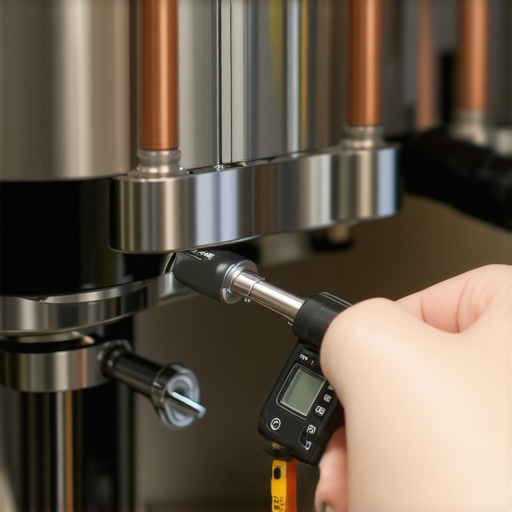
Locate the rotary pump, typically at the back or bottom of the machine. Look for the bleed screw or valve—it’s usually a small brass or plastic fitting with a hex head or a push-fit connector. Refer to your machine’s manual if you’re unsure. I once opened my machine, expecting a complicated process, but found the bleed screw right behind the panel, making the task straightforward.
Release the Pressure and Open the Bleed Valve
Before starting, turn on the machine briefly and then turn it off to release internal pressure—similar to releasing a car’s radiator cap after the engine cools. Carefully loosen the bleed screw or turn the bleed valve slightly counter-clockwise to allow trapped air and excess water to escape. Be cautious—water may spurt out if pressure is still present. I once forgot to release pressure first, and a sudden spray splashed me; always wear gloves or a cloth for safety.
Engage the Pump to Remove Air Bubbles
Plug the machine back in and turn it on, but do not initiate brewing. Listen for a humming sound—this indicates the pump is running. Let the pump operate for about 10-15 seconds, pushing water through the system. This process forces air out of the pump. During this step, small bubbles might surface at the bleed point or water may flow steadily—these are signs you’ve succeeded. Once the flow stabilizes, turn off the machine and tighten the bleed screw securely. I once over-tightened, causing a leak; ensure it’s snug but not overtightened.
Repeat If Necessary and Test for Smooth Operation
If you still hear unusual noises or detect air in the system, repeat the bleeding process. After completing the bleed, run a few test shots or steam to verify silence and consistent pressure. If issues persist, consult the manufacturer or a professional technician. Remember, bleeding the pump properly can restore performance and prolong your machine’s lifespan, saving you money and hassle in the long run.
<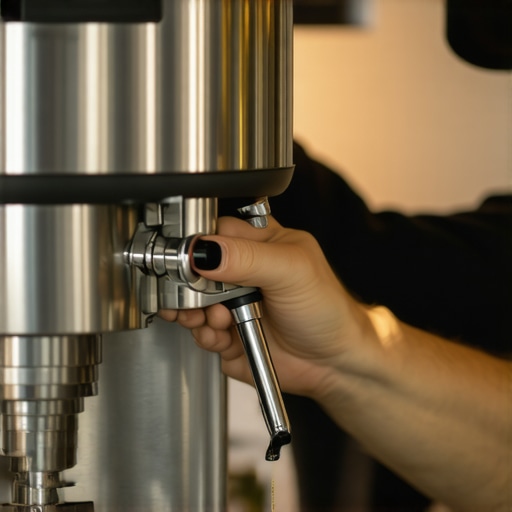 >Many enthusiasts believe that investing in high-end espresso gear guarantees perfect results every time. However, this overlooks the nuanced realities of espresso preparation that can make or break your experience. One common misconception is that a fancy coffee grinder is always necessary; in truth, even a modest grinder, when properly dialed in, can produce excellent shots. The key lies in understanding grinder retention and particle distribution, as detailed in my guide on how to choose the right grinder. Moreover, many assume that premium milk frothers will automatically create barista-quality microfoam, but technique and milk temperature play equally vital roles—discover more in this guide to milk frothers. A pervasive myth is that more pressure in the machine improves extraction; in reality, espresso pulls are about optimal balance and contact time, not just pressure. This misconception can lead to damaging your equipment or producing sour shots. Advanced users must be aware of correct boiler pressure settings and avoid over-tightening components, which can cause leaks or pressure drops, as explained in this article on portafilter gasket issues. To truly excel, mastering dose consistency is critical: a too-fine grind or uneven tamp can cause channeling, resulting in weak or bitter espresso. And one often-overlooked nuance is the importance of temperature stability, especially in single boiler machines—significant for flavor extraction and crema. For example, lacking a PID can cause fluctuations, which I explore in this comprehensive guide. Remember that even seemingly minor mistakes, like inconsistent tamping pressure, can have outsized effects on shot quality. Being aware of these subtleties allows you to troubleshoot effectively and avoid common pitfalls. Have you ever fallen into this trap? Let me know in the comments and share your experiences. Let’s make your home espresso setup truly reflective of your skill, not just your gear.
Keep Your Espresso Gear Running Smoothly
Maintaining your espresso setup isn’t just about fixing problems as they arise; it’s about implementing a systematic approach to ensure longevity and consistent performance. From selecting the right tools to adopting best practices, being proactive can save you time and money while delivering that perfect shot every time.
Invest in Precision Calibration Tools
For me, the game-changer has been a high-quality pressure gauge. It allows me to monitor boiler and group pressure accurately, ensuring my machine operates within optimal ranges. Regular calibration with a digital thermometer helps maintain temperature stability, which is crucial for flavor consistency. Over time, even small deviations can cause significant shifts in extraction, so I recommend checking these parameters monthly.
Use the Right Cleaning Equipment
Consistent cleaning extends the lifespan of your grinder and espresso machine. I rely on a dedicated brush set designed for coffee equipment. A soft-bristled brush removes residual coffee oils from grinder burrs and internal components without damaging delicate parts. Additionally, a cleaning cloth with isopropyl alcohol helps remove mineral deposits from water pathways, which I store in a sealed container to prevent contamination.
Streamline Long-Term Maintenance with a Schedule
Creating a maintenance routine is essential. I schedule weekly backflushing sessions for my espresso machine, using certified cleaning products, and perform descaling every three months using a descaler like Dezcal. Regularly inspecting and replacing worn gaskets, such as the portafilter seals, prevents leaks that can damage internal components. Documenting these activities keeps me on track and ensures no step is overlooked.
Embrace Smart Software and Technology
Modern tools like smart pressure monitors integrate with your smartphone, offering real-time alerts on pressure fluctuations or temperature drops. These innovations help detect issues before they escalate, simplifying maintenance and reducing downtime. As automation advances, I believe we’ll see more connected devices that can self-diagnose and even suggest corrective actions, making home barista setups more reliable than ever.
How do I maintain my equipment over time?
The key to long-term performance lies in consistent care. Regular cleaning, calibration, and monitoring are your best allies—don’t wait for problems to become obvious. Instead, adopt a disciplined routine that incorporates quality tools and technology to keep your setup in peak condition. Remember, investing in the right equipment now pays off in smoother operation and better coffee later. For personalized advice, reach out via the contact page. And don’t forget to try my advanced tip of using a digital pressure gauge to fine-tune your machine–small adjustments yield big results in espresso quality.
What I Wish I Knew Before My First Fix—And Why It Matters
One of the toughest lessons I learned was that many common issues, like pump whines or inconsistent extraction, are painfully fixable with just a little knowledge. I used to think I needed to replace entire components prematurely, but understanding nuances—like bleeding the pump—saved me hundreds and kept my machine humming. This insight taught me to trust in small, smart repairs over costly replacements.
Another revelation was how much clean, calibrated equipment influences flavor. It’s not enough to own fancy gear; regular maintenance, like descaling and gasket checks, is vital for unlocking the full potential of your home espresso setup. Embracing these routine habits transformed my brewing experience from hit or miss to consistent craftsmanship.
And finally, I discovered that mastering the basics—stable temperature, proper tamping, and dose accuracy—pays dividends. These foundational skills elevate your coffee from good to exceptional, proving that even high-end machines only perform their best when paired with attentive technique.
My Arsenal of Tools for Coffee Nirvana
A quality pressure gauge remains my secret weapon. It keeps my boiler and group pressures dialed in perfectly, preventing issues before they start. The long-lasting cleaning brushes ensure my grinder and machine stay free of oils and mineral deposits, which makes a real difference in shot clarity. And I swear by scheduling regular maintenance routines, combined with tech tools like smart pressure monitors, to keep my setup performing at peak levels.
Your Journey Starts Now—Make Every Shot Count
Embrace the mindset of continuous improvement. Every tweak, every fix, and every routine maintenance session brings you closer to barista-level coffee in your own kitchen. Your passion for brewing deserves that extra attention—and the joy of a perfectly extracted shot is well worth the effort. Remember, mastery is a journey, not a destination, and each step you take enhances your skills and satisfaction. Now, I’d love to hear—what’s been the biggest challenge in keeping your home espresso setup in top shape? Share below and let’s troubleshoot together!