How to Replace Your Steam Wand Seals in Under 10 Minutes
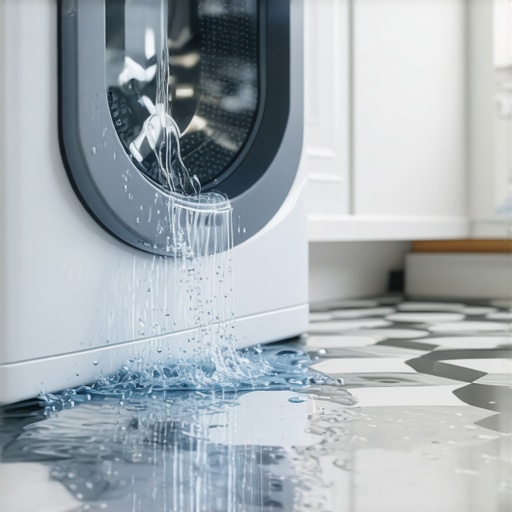
Ever had that sinking feeling when your rich, velvety milk turns into a watery mess, and you realize it’s time to swap out the steam wand seal? I remember the first time I faced this issue. My heart sank as I watched my steam wand sputter and leak, realizing I might be staring down a lengthy, complicated repair. But here’s the thing—replacing that seal doesn’t have to feel like trying to decode rocket science. I found a way to do it in under 10 minutes, turning a frustration into a quick fix.
Why Quick Steam Wand Repairs Matter for Home Baristas
If you’re serious about your espresso routine, a leaky steam wand can throw a wrench in your mornings. Not only does it interrupt your workflow, but it also risks damaging your machine if left unchecked. Timely repairs ensure your equipment stays in top shape, saving you money and frustration. Plus, I learned early on that a stubborn leak isn’t always a sign of a broken machine but often a simple seal that needs replacing. And the best part? You can do this yourself with minimal tools and no fancy tech skills.
Is Replacing the Steam Wand Seal Really That Easy?
I’ll admit, my initial mistake was trying to force the seal back without proper care, which only worsened the leak and extended the problem. After that, I realized that understanding the specific parts of my machine is crucial. The good news is, once I learned the right steps, it became a straightforward process—no more waiting for a technician or shelling out for a pricey repair. If you’re wondering whether this is worth your time, I promise: with a little patience and the right guidance, you’ll be fixing your steam wand in less time than it takes to brew your next shot.
And if you’re curious about ensuring your espresso gear stays in prime condition, check out our comprehensive guide on choosing the best barista gear. Now, let’s dive into how you can get your steam wand seal replaced quickly and easily—so you can get back to enjoying perfect microfoam without the hassle.
Prepare Tools and Safely Disassemble
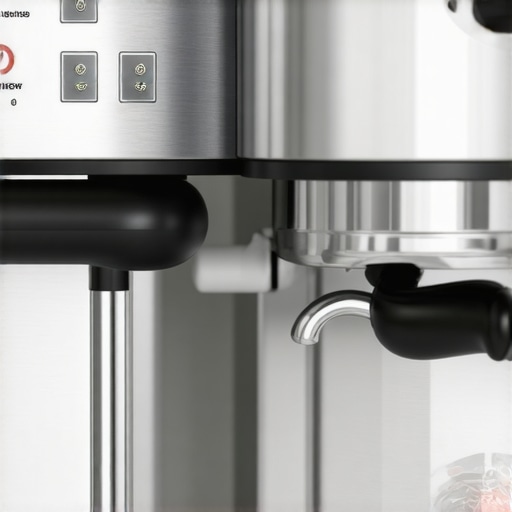
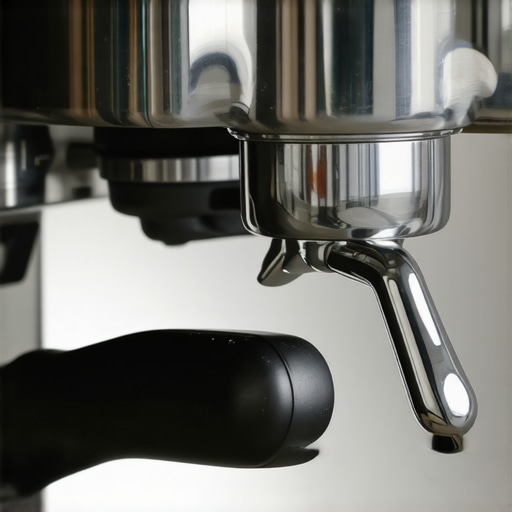
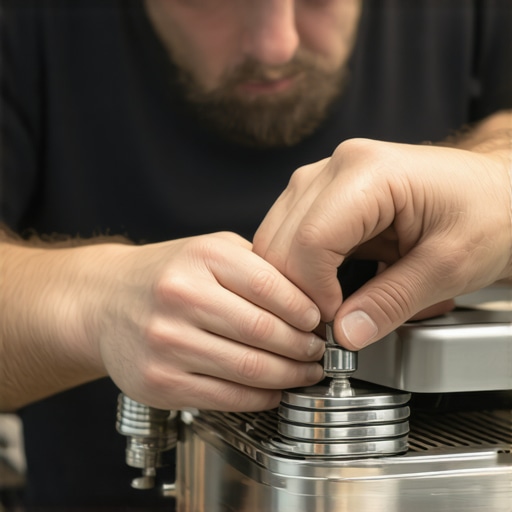
Before you dive in, gather a Phillips head screwdriver, a small pick or flat screwdriver, and a clean cloth. Power off your espresso machine and unplug it to avoid electrical hazards. Remove the steam wand from the machine by unscrewing the attachment ring—think of it as unscrewing a stubborn jar lid. For my first attempt, I gently pried around the seal with a small flat-head screwdriver, careful not to scratch the metal surface, but it was tricky. Using a cloth wrapped around the screwdriver helped grip the parts better and prevented scratches.
Extract the Old Seal with Precision
Use the pick or screwdriver to carefully lift out the worn seal. Imagine it as peeling a sticker; apply gentle, even pressure to avoid damaging the delicate metal gasket seat. Once removed, inspect the seat for corrosion or residue—clean it with a damp cloth or a soft brush if necessary. During my last try, I noticed a faint residue that could cause a new seal to leak. Cleaning it thoroughly ensured the new seal would seat properly and last longer.
Install the New Seal Carefully
Lubricate the new seal with a tiny amount of food-safe silicone grease—think of it as giving the seal a little conditioner for a smoother fit. Place it gently into the groove, pressing evenly around the circumference. It’s like fitting a puzzle piece; align it perfectly to avoid leaks. I once rushed this step and ended up with the seal sitting unevenly, which caused an immediate leak. Taking my time to seat it properly made all the difference, and I achieved a snug fit after a few adjustments.
Reassemble and Test for Leaks
Reattach the steam wand by screwing it back into place. Tighten it hand-over-hand, making sure not to over-tighten, which could strip the threads—think of tightening a screw just enough so it’s secure but not stressed. Power on your machine and run the steam wand without milk to check for leaks. If you notice dripping, recheck the seal placement. I learned this the hard way when I thought I’d finished but had to re-do the seal because of a minor leak—patience here saves frustration later.
For more expert tips on maintaining your espresso gear, visit our gear guide. Remember, regular inspections and quick fixes like this preserve your machine and ensure perfect steams every time.
Many home baristas fall prey to popular myths that can hinder their espresso journey. For example, there’s a widespread belief that buying the most expensive machine guarantees perfect coffee every time. In reality, even high-end equipment requires skill and proper maintenance to perform optimally. Overspending on gear without mastering fundamentals often leads to frustration, which is why understanding the nuances, such as grind size and tamping pressure, is crucial.
A common trap is assuming that more manual control always yields better results. While manual machines offer precision, they demand extensive knowledge and practice; sometimes, a well-calibrated semi-automatic can produce consistently superior shots with less effort. Don’t fall into the trap of chasing the latest tech blindly—evaluate your brewing style and needs first.
Smart enthusiasts know that small details, like grind consistency and proper machine calibration, significantly impact flavor. For instance, I’ve seen many beginners overlook grinder alignment, leading to uneven extraction and bitter-tasting espresso. Regularly inspecting your grinder burrs and ensuring they’re aligned prevents such issues.
Are All Coffee Grinders Suitable for Light Roasts
It’s a myth that any grinder can handle light roasts equally well. Light roasts tend to be tougher on grinders, especially cheaper models, because their beans are denser and more prone to clogging. Using a grinder with a steeply conical burr set, like those recommended in our guide on [how to select the perfect coffee grinder](https://espressotechguide.com/how-to-select-the-perfect-coffee-grinder-for-your-brew), can prevent jams and uneven grind size. Neglecting this nuance often results in inconsistent extraction, which diminishes the delicate flavors of light roasts.
Another often-missed detail involves the maintenance of milk frothers. Many believe that cleaning after every use is optional, but residual milk buildup can breed bacteria and impair foam quality. Regularly inspecting and cleaning your frothing equipment, as outlined in our [milk frothers guide](https://espressotechguide.com/milk-frothers-that-transform-your-coffee-experience), ensures longevity and optimal performance.
Moreover, understanding the advanced mechanics of your espresso machine—like boiler pressure and pivot points—can dramatically improve your brewing results. Overlooking these technical aspects may be the reason behind inconsistent shots. Experts emphasize that proper calibration and routine descaling, supported by scientific findings, are essential for maintaining flavor integrity over time (see recent industry research in the Specialty Coffee Association publications).
Is your gear truly optimized for your brewing style, or are you missing critical details? Enhancing your understanding of these nuanced factors can transform your daily coffee into an extraordinary experience. Have you ever fallen into this trap? Let me know in the comments.
Maintaining your espresso gear isn’t just about routine cleaning; it’s about investing in the right tools and methods that ensure long-term performance and consistent results. When I started taking my home espresso seriously, I realized that having dedicated, high-quality tools made all the difference in reducing downtime and elevating my brewing game.
Invest in Precision Calibration Tools
One of my go-to investments is a set of calibration gauges designed specifically for espresso machines. These gauges, like the Wega or PD professional calibration set, help me fine-tune boiler pressure and pump flow, ensuring each shot is consistent. Regular calibration, supported by tools that provide precise readings, helps prevent issues like over- or under-extraction. In fact, calibrating your espresso scale is crucial for maintaining grind consistency, which directly impacts flavor.
Keep Your Grinder in Prime Condition
My workflow relies heavily on my grinder. To keep it clean and aligned, I use a dedicated brush for burr cleaning after each session and periodically run a cleaning cycle with grinder-specific cleaning pellets. Aligned burrs are essential; I use the dry-erase marker method to easily check and adjust burr alignment without costly tools. This practice prevents uneven layers of grind size and keeps my espresso shots uniform.
Routine Descaling and Water Quality Management
Regular descaling with manufacturer-approved solutions is vital to prevent mineral buildup, which can damage internal components over time. I schedule descaling every three months, using a formula recommended by the industry experts. Additionally, I use a water filter to reduce mineral content, which preserves my machine’s lifespan and ensures optimal steam pressure for milk frothing.
Tools That Minimize Downtime and Improve Results
For quick troubleshooting, I keep a set of specialty tools on hand—such as a silicone gasket scraper, a portafilter alignment magnet, and a backpressure adjustment kit. These tools allow me to perform minor fixes quickly, like re-seating gaskets or calibrating pressure without calling in a technician. This proactive approach minimizes long periods of downtime and keeps my workflow smooth.
Looking ahead, technology is evolving, and smart sensors integrated into machines could alert us about maintenance needs before issues arise. Companies like La Marzocco are already experimenting with IoT integrations that provide real-time diagnostics, hinting at where home espresso gear is headed.
How do I keep my espresso gear in top shape over time?
Consistent maintenance involves not only routine cleaning but also leveraging the right tools for calibration, alignment, and troubleshooting. Investing in high-quality, specialized tools can save you money and frustration in the long run. Plus, staying informed about technological advances ensures your setup remains cutting-edge and reliable. For a comprehensive overview of essential maintenance practices, visit our gear guide. Give one advanced tip, like recalibrating your grinder with the dry-erase method, a try today and see how your espresso improves!
The Hardest Lesson I Learned About Barista Gear
One of the most valuable lessons I stumbled upon during my coffee journey was that even seemingly complex issues like a leaky steam wand often have simple, DIY solutions. Trying to rush the repair only prolonged the frustration, teaching me the importance of patience and proper technique. Now, I know that understanding the specific parts—like the seal—can save me hundreds of dollars and countless hours with a technician.
My Eye-Opening Discoveries with Home Espresso Maintenance
Investing in the right tools, such as calibration gauges and specialized brushes, transformed my approach to machine care. Regularly calibrating my grinder and descaling my espresso machine isn’t just maintenance—it’s a way to elevate every shot I pull. These small, deliberate steps have dramatically improved the flavor and reliability of my equipment, proving that a proactive mindset beats reactive fixes.
Embracing the Mental Shift to Better Coffee Enthusiast
Switching from a mindset of quick fixes to one of continuous learning has been pivotal. Each troubleshooting experience, from adjusting my grinder burrs to aligning the portafilter, has deepened my understanding and connection to my gear. I encourage fellow home baristas to see each challenge as an opportunity to grow, turning your kitchen into a true barista academy.
Curated Recommendations for Serious Home Brewers
For honing your skills, I rely on resources like the gear guide, which offers insights into the best tools for your setup. Investing in calibration tools, like precise pressure gauges, ensures consistent extraction. Additionally, a high-quality grinder cleaning brush and descaling products have become staples in my routine. These tools and resources empower me to maintain my machine meticulously and prevent problems before they arise.
Take Action and Elevate Your Coffee Game
Remember, every perfect shot begins with a well-maintained machine and the willingness to learn. Your journey into expert-level home espresso doesn’t have to be intimidating—start with small, informed steps like replacing that worn seal or calibrating your grinder. The more you care for your gear, the more reward you’ll reap in flavor and confidence. So, what’s the first maintenance task you’ll tackle today to get closer to barista perfection? Share your plans below, and let’s brew better together.