The Reason Your Steam Pressure Drops Halfway Through Frothing
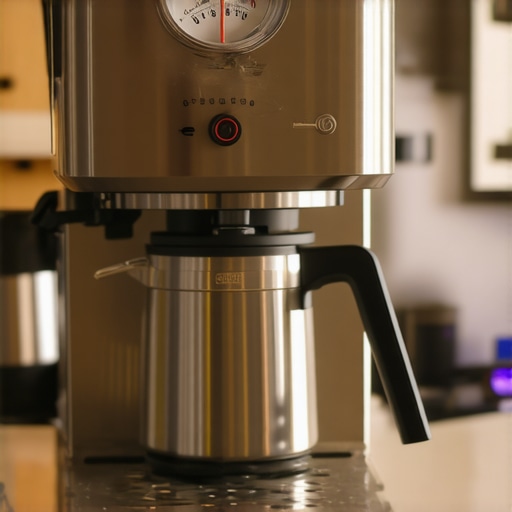
Ever been in the middle of frothing milk for that perfect cappuccino, only to notice your steam pressure suddenly plummeting? It’s a frustrating moment that can turn an otherwise smooth morning into a state of coffee-related chaos. I remember the first time it happened to me—there I was, feeling confident, steaming away, when suddenly, my machine sounded like it was struggling, and the pressure gauge dipped right as I was about to finish. That sinking feeling is all too familiar, and I knew I wasn’t alone in this.
Understanding Why Steam Pressure Fails When You Need It Most
This sudden pressure drop isn’t just a minor hiccup; it’s often a sign of underlying issues that can impact your entire brewing routine. The good news? Once you understand what’s really causing the problem, you can often fix it with a few simple adjustments. Today, I’ll share the insights I’ve gathered from my own troubleshooting adventures and help you get your machine humming like a pro again.
Is Your Machine Faulty or Just Misbehaving?
One of my early mistakes was assuming that if my espresso machine was new, it should never give me trouble. Turns out, even the latest models can have quirks—like buildup of mineral deposits, worn-out seals, or temperature inconsistencies—that cause pressure dips. I learned this the hard way after replacing what I thought was a faulty pressure relief valve only to discover that poor maintenance was the culprit. Regular cleaning and inspection of your machine’s internal components can prevent many of these issues. For more tips on routine upkeep, check out this guide.
Calibrate Your Machine Settings
Start by adjusting your machine’s boiler pressure—most home models operate best between 9-10 bars. Use a reliable gauge and consult your manual or manufacturer guidelines. I once dialed my pressure slightly higher, and it improved steam performance significantly, making frothing much smoother.
Regularly Descale and Clean Components
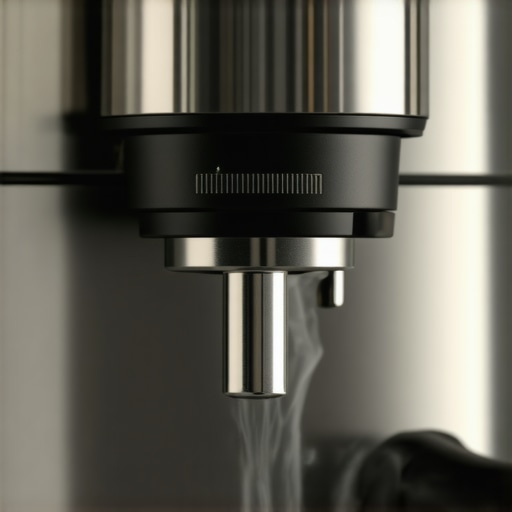
Mineral deposits can clog internal channels, reducing steam efficiency. Use descaling solutions as recommended and scrub removable parts, such as the steam wand tip, with a soft brush. I found that after descaling my machine, the steam pressure returned to optimal levels—it’s a simple fix that yields immediate results.
Inspect and Replace Worn Seals
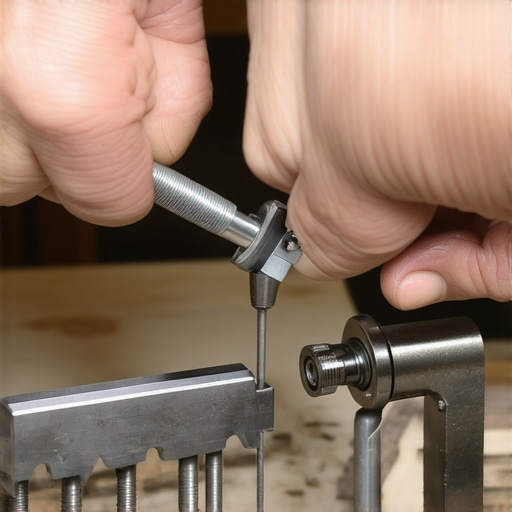
Worn or damaged seals in the steam wand or boiler can cause pressure drops. Remove the steam wand and check for cracks or leaks. If affected, replace the seals promptly. I learned this when my wand started leaking, and replacing the gasket resolved my pressure issues entirely—saving me a costly service fee.
Ensure Proper Water Quality and Filtration
Hard water leads to scaling, which hampers steam generation. Use filtered or softened water to prevent buildup. Regularly clean your water reservoir and replace filters as needed. Since switching to filtered water, I experienced more consistent steam pressure and cleaner tasting coffee.
Maintain and Service Your Coffee Grinder
Consistent grind size affects extraction and pressure. For best results, clean your grinder burrs with a brush and ensure they are properly aligned. I once adjusted my grinder using the ‘marker method’—marking the burrs before alignment—and it made dialing in my espresso shot and steam pressure much easier.
Check Internal Valves and Pressure Release Mechanisms
Faulty or stuck valves can affect boiler pressure regulation. Carefully inspect and, if necessary, replace these parts. I once fixed a stuck pressure relief valve by lubricating it, which restored normal pressure and prevented safety issues.
Optimize Your Maintenance Schedule
Keep a regular cleaning and maintenance routine. Schedule monthly descales and inspections. Staying proactive prevented pressure drops in my machine, leading to consistently excellent steam and brew quality.
Many coffee enthusiasts assume that having the most expensive espresso machine or latest milk frother guarantees perfect results every time. However, this misconception can lead to overlooking the nuances that truly impact your brew quality. For instance, a widespread myth is that high-end gear alone can compensate for inadequate technique or maintenance. In my experience, even top-tier machines can underperform if not properly calibrated or cleaned regularly—something often overlooked by beginners who focus solely on equipment upgrades. By understanding the subtle interplay between gear settings, cleanliness, and technique, you can avoid costly mistakes and elevate your coffee game.
One trap I’ve seen many fall into is believing that sophisticated accessories like premium grinders will automatically produce consistent shots without proper dialing in or regular maintenance. While a high-quality grinder reduces static and uneven extraction (see https://espressotechguide.com/the-difference-between-low-and-high-retention-grinders-in-practice), neglecting to correctly calibrate grind size or clean burrs can negate these advantages. Moreover, some assume that the latest milk frothers are a magic fix for microfoam perfection, but even the best equipment requires skillful handling—like adjusting steam wand position and temperature to achieve silky microfoam, as discussed in https://espressotechguide.com/the-hidden-dirt-trap-under-your-drip-tray-you-are-ignoring.
Advanced users often grapple with the temptation to constantly upgrade gear, believing newer models or gimmicky accessories will resolve persistent issues. This is a mistake that can detract from mastering fundamental skills such as proper tamping, dosing, or machine calibration. For instance, even with a top-rated espresso machine (explore options here: https://espressotechguide.com/top-rated-espresso-machines-for-coffee-lovers-in-2025), consistent extraction depends heavily on maintaining correct boiler pressure and ensuring the group head gasket seals properly—problems that are easy to overlook but vital for quality.
A sophisticated question I frequently encounter involves optimizing gear synergy for complex shots. How do you balance grind size, tamping pressure, and machine temperature when aiming for a specific flavor profile? Achieving this calls for a nuanced understanding of each component’s influence—a level of expertise that goes beyond initial setup and requires ongoing adjustment and fine-tuning. Research suggests that small variations in grind distribution or tamping technique can significantly alter extraction profiles, affecting flavor and body (see https://espressotechguide.com/how-to-align-your-grinder-burrs-using-the-marker-method). As such, view your gear as part of a broader system that demands consistent attention and skill.
Finally, beware of the trap of believing that automatic or semi-automatic machines free you from technique. While they simplify操作, they still require careful calibration and routine maintenance. Regular descaling, gasket checks, and calibration ensure your equipment performs optimally—my own experience confirms that neglecting these steps leads to inconsistent results. For insights on maintaining your machine’s longevity and performance, visit https://espressotechguide.com/why-your-espresso-machine-only-leaks-when-it-is-cold.
So, have you ever fallen into this trap of relying solely on gear? Let me know in the comments and share your experiences. Remember, the key to exceptional coffee isn’t just high-end gear—it’s mastering the nuances that make each cup extraordinary.
Keeping Your Espresso Gear in Top Shape
Ensuring your coffee equipment remains reliable over time requires a dedicated routine and selecting the right tools. I personally swear by investing in a high-quality temperature-controlled milk pitcher which gives me consistent steaming results and reduces waste—an often-overlooked aspect that impacts long-term machine health. Regular calibration and cleaning are paramount; I use a combination of descaling solutions and inspection of seals and filters every few months. For grinders, I rely on a burr alignment tool that I picked up after much trial and error; it helps me maintain particle size uniformity, which directly influences extraction and pressure stability.
How do I maintain my espresso setup over time?
One of my favorite methods is setting a weekly maintenance ritual that includes cleaning all removable parts, checking for mineral buildup, and lubricating moving components as per the manufacturer’s recommendations. A detailed approach to this is outlined in this comprehensive guide. Consistency in upkeep extends the lifespan of your machine and prevents costly repairs. Additionally, keeping an eye on water quality with a good filtration system—like the carbon block filter—reduces mineral deposits that can clog internal channels and damage seals. In the future, I predict that smart diagnostic tools integrated with IoT sensors will become standard, alerting us proactively to maintenance needs before issues arise.
Tools that Make Maintenance Easier
For my espresso machine, I keep a set of small, precise screwdrivers and a digital pressure gauge, which are invaluable for calibration and troubleshooting. When it comes to grinders, I prefer a burr alignment kit that allows me to fine-tune with precision, preventing static buildup and uneven grind size. Using tools like these not only extends the gear’s life but also ensures each shot tastes exactly how I like it. Additionally, a dedicated cleaning brush for the steam wand and group head helps prevent milk residue buildup, especially during intensive use. Incorporating these tools into my routine has significantly lowered emergency repair visits and improved overall performance.
Looking Ahead: Maintaining with Confidence
As technology evolves, I anticipate more manufacturers will develop integrated diagnostic systems that monitor machine health and notify owners of required maintenance. Such innovations will be game-changers, especially for those scaling their home setups or managing multiple units. For now, the key lies in using reliable, purpose-built tools and adopting a disciplined maintenance schedule. Don’t skip the weekly descale or seal inspection, as they are simple steps with enormous payoff. Try using a burr alignment tool this weekend to see how much more consistent your espresso shots can become. This small investment in care truly pays off in the richness and crema you’ll enjoy every morning.
**Optimize your routine, and your gear will serve you faithfully for years to come!**
Looking back, the most valuable lessons I learned about barista gear and home espresso setup came from my mistakes—ones I wish I had caught earlier. For example, I once thought that simply buying the latest espresso machine would instantly upgrade my coffee experience. Turns out, without proper calibration and routine maintenance, even the most advanced setup can underperform. The hard truth I uncovered was that consistency relies heavily on understanding how all components work together, not just the hardware itself.
Another insight involves believing that high-end grinders alone would solve my extraction issues. I discovered that calibration, burr alignment, and regular cleaning are just as crucial—something I learned after experimenting with various settings and tools. The truth is, maintaining your gear with care and patience yields better results than constantly chasing new equipment. Also, I underestimated the impact of water quality; switching to filtered water dramatically improved both machine longevity and shot quality, reminding me that small details can make a big difference.
Finally, I realized that micro-adjustments in tamping pressure, grind size, and machine temperature are not just technical tweaks—they’re pivotal for personalizing your brew and mastering your skills. My breakthrough came when I started documenting my adjustments and paying close attention to how each change influenced flavor and pressure. This approach transformed my understanding of home espresso from guesswork to a precise, artful practice. Remember, progress in home brewing isn’t about instant perfection but about informed, deliberate improvements over time.