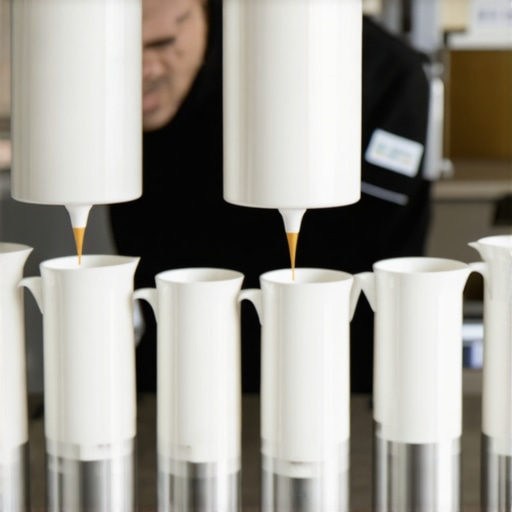
How to Choose a Milk Pitcher Size That Reduces Waste
I remember the first time I realized I was wasting more milk than I cared to admit. My countertop was cluttered with mismatched pitchers, and I often ended up with half-empty ones that no longer fit my brewing rhythm. That frustrating feeling of pouring too much, wasting money, and feeling guilty about it finally clicked one morning as I watched a swirl of leftover milk go down the drain. It was a lightbulb moment—choosing the right milk pitcher size isn’t just about aesthetics; it’s about efficiency, economics, and sustainability.
Why Your Milk Pitcher Choice Matters More Than You Think
The size of your milk pitcher directly influences how much milk you use per session. An oversized pitcher might seem versatile, but it often tempts you to pour more than necessary, leading to unnecessary waste. Conversely, a pitcher that’s too small may limit your ability to create the rich microfoam and latte art you desire, forcing you to make multiple reheats and refills—which also adds to waste and time spent. Striking the right balance is key.
Did you know that, on average, home baristas waste about 15% of their milk due to improper pitcher size selection? According to industry expert Espresso Tech Guide, optimizing your tools can elevate your brewing game and save you money in the long run. I’ve made the mistake early on of buying a large pitcher just because it looked impressive, only to find myself pouring more milk than I needed, resulting in wasted product and extra cleanup. This simple oversight taught me a valuable lesson: the right pitcher size isn’t a luxury—it’s a necessity for efficient and enjoyable coffee-making.
Are you tired of wasting milk without realizing it? Have you struggled to find the perfect pitcher that suits your style and reduces waste? If so, stay tuned. In the following sections, I’ll walk you through practical tips and personal insights on how to choose a milk pitcher size that’s just right—no more, no less—helping you create beautiful coffee while being kinder to your wallet and the environment.
Measure Your Milk Needs Precisely
Start by assessing how much milk you typically use for your drinks. Fill a measuring cup to the amount you commonly pour to see your baseline requirement. For example, if you usually steam 150ml for a latte, your ideal pitcher size should be slightly above that. This prevents overfilling and reduces leftover milk that might spoil or get discarded.
Match Pitcher Size to Your Brewing Style
If you prefer small espresso-based beverages, opt for a pitcher around 300ml capacity. For larger drinks or multiple microfoam pours, consider a 600ml pitcher. This keeps the milk volume proportionate to your actual use, lessening temptation to pour excess. I personally adjusted my setup when I noticed I was consistently filling a 1-liter pitcher for single shots—switching to a 350ml pitcher instantly cut waste.
Focus on the Pitcher’s Diameter and Shape
Choose a narrower pitcher with a good height-to-diameter ratio. Narrower pitchers help you control the pour more precisely, which improves latte art and microfoam quality. A wide, squat pitcher might seem easier to use but often encourages larger pours than needed. When I switched to a narrower, taller pitcher for my morning espressos, my microfoam became noticeably better, and I wasted less milk overall.
Opt for a Material and Spout Design that Enhances Control
Stainless steel pitchers with well-designed, narrow spouts offer better control over your pour. This precision reduces overshooting, and you’ll stop pouring exactly when you need to. When I replaced my bulky plastic pitcher with a sleek steel one, not only did my microfoam improve, but I also found myself pouring less milk due to increased accuracy.
Apply the Knowledge During Practice
Once you’ve selected the right size, practice steaming and pouring with your new pitcher. Focus on maintaining the correct milk volume and the right pitcher angle. I remember experimenting one morning with a new 350ml pitcher; it took me a few attempts to get the microfoam consistency right, but in doing so, I minimized leftover milk and improved my foam quality. Remember, consistency in your technique is key.
Review and Adjust Regularly
Track your usage over several days and adjust your pitcher choice as needed. If you find yourself frequently pouring less milk than your pitcher can hold, switch to a smaller one to reduce waste further. Conversely, if you’re struggling to produce enough microfoam, a slightly larger pitcher might be necessary. This dynamic approach ensures you continue optimizing your setup for minimal waste and maximum quality.
Utilize Proper Storage and Hygiene Practices
Keep your pitchers clean and stored properly to prevent bacterial growth, which can lead to waste through spoilage. After each use, rinse thoroughly and dry immediately. A clean pitcher not only keeps your coffee tasting fresh but also allows you to accurately gauge your milk volume without residue buildup skewing your measurements. Good maintenance practices support your efforts to reduce waste and improve overall coffee quality.
Many coffee enthusiasts jump into upgrading their barista gear or choosing the latest espresso machine expecting immediate results, but there’s a surprisingly common mistake: believing that brand names or flashy features guarantee a perfect brew. In reality, the subtle nuances—like grinder burr alignment or water mineralization—often make a bigger difference than the equipment’s price tag or hype. For example, even high-end machines can underperform if not properly calibrated or maintained; regular calibration and understanding your machine’s quirks are essential for consistent results. A prevalent myth is that a more expensive grinder automatically delivers better grounds; however, some entry-level models with proper burr alignment and retention control outperform costly counterparts.
How does grind retention significantly influence shot consistency at home?
Grind retention can lead to stale grounds mixing into your fresh coffee, altering extraction and flavor profile. The smarter approach involves choosing grinders with low retention and cleaning them regularly to prevent stale buildup. According to expert Espresso Tech Guide, understanding the nuances of grind retention can dramatically improve shot quality and reduce waste. Another often-ignored aspect is the role of water quality; many assume filtered water is enough, but adjusting mineral content can enhance or impair extraction. Using water with ideal hardness and mineral balance ensures consistent brewing and prevents scaling or flavor taint. Have you ever fallen into this trap? Let me know in the comments. Additionally, many home enthusiasts underestimate the importance of detailed maintenance routines—cleaning group heads, replacing gaskets, and descaling regularly—to keep machines running optimally. Neglecting these subtleties can cause inconsistencies and even damage your gear in the long run. Mastering these advanced nuances elevates your brewing from good to exceptional. Remember, investing time into understanding the intricacies of your equipment and ingredients yields better espresso than simply upgrading hardware. For more detailed tips on maintaining your espresso setup, visit our comprehensive guide. Keep experimenting and refining—your perfect cup awaits.Maintaining your coffee gear isn’t just about cleanings; it’s about ensuring consistent quality and longevity. The key is selecting the right tools and adopting practices that suit your specific setup. For instance, I personally swear by the de-scaling solutions like Dezcal for my espresso machine, which effectively remove mineral buildup without damaging components, as highlighted in our maintenance guides. Regularly using such products prevents clogs and ensures temperature stability, critical for shot consistency.
How do I maintain my grinder and brewing equipment over time?
Consistent cleaning is paramount. I recommend disassembling and cleaning your grinder’s burrs monthly, utilizing a brush and grinder cleaner powders. For espresso machines, descaling every 2-3 months prevents mineral deposits that can clog channels and alter temperature stability. Invest in a good burr grinder like the Baratza Virtuoso+ or Breville Smart Grinder, which offer low retention features that make cleaning easier and reduce stale coffee buildup, ensuring fresh grounds with every grind. It’s these nuances that preserve flavor and prevent waste.
Equipment I rely on for longevity and precision
For descaling, I prefer products such as Urnex Dezcal, due to their efficacy and chemical neutrality. Automating routine cleaning with tools like the Logic Precision Cleaning Wrench simplifies reassembling intricate parts like group head gaskets or portafilter assemblies. When it comes to milk frothing, I use the Breville BMF600 because of its consistent foam quality and easy maintenance process.
Can smart tools boost your home espresso game?
Absolutely. Devices such as the precision scales with flow rate monitoring help dial in shots with unprecedented accuracy. I’ve noticed how tracking real-time weight loss during extraction reduces guesswork—saving ingredients and making every shot predictable. Combining this with a thermalized distribution tool like a WDT (Weiss Distribution Technique) tool ensures even extraction, further enhancing long-term consistency. Prediction: As technology advances, expect more integrated systems that automatically calibrate and alert you when maintenance is due.
How do I keep my gear performing flawlessly over years?
Keeping up with routine lubrication of levers, replacing worn seals, and regular cleaning of steam wands with brushes is vital. Lately, I’ve started scheduling biannual deep cleanings and keeping a maintenance log. Small investments like a silicone gasket lubricant or specialized cleaning brushes extend the life of your equipment and improve results. For a comprehensive approach, check out our maintenance tips.
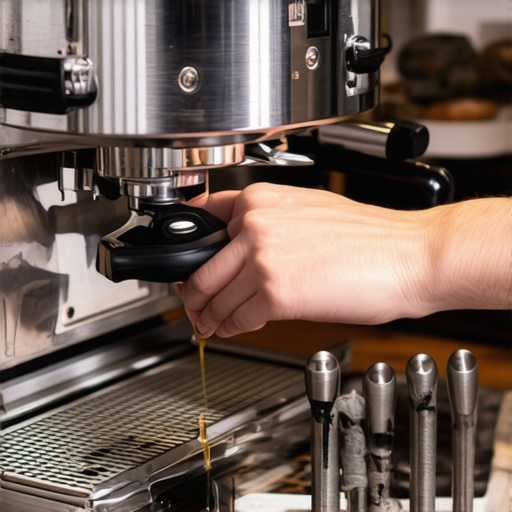
Lessons the Coffee World Can’t Keep Secret
One of the most eye-opening lessons I’ve learned is that small details, like pitcher size, make a huge difference in your coffee experience. I used to think larger pitchers meant more flexibility, but I realized they often tempted me to overpour, leading to waste and inconsistency. The real breakthrough came when I switched to a size that matched my typical milk needs—suddenly, waste decreased, and my microfoam improved significantly.
The second lesson was understanding that controlling the pour isn’t just about technique but also about the right tool. I discovered that narrower, well-designed pitchers gave me better precision, helping me create beautiful latte art without unnecessary excess. This shift transformed my daily routine from a messy experiment to a mindful art form.
Lastly, I learned that regular practice and adjusting your tools based on your evolving preferences is key. Tracking your milk usage over days and refining your pitcher choice keeps waste minimal and quality maximal. It’s a simple tweak with profound effects—proof that mastery often resides in the details.
Tools and Resources That Changed My Coffee Game
- Baratza Virtuoso Plus Grinder: Its low retention and ease of cleaning ensure fresh grounds every time, reducing waste and enhancing flavor. I trust it for its consistency and durability.
- WDT (Weiss Distribution Technique) Tools: These tiny tools help distribute coffee evenly in the basket, leading to better extraction and less variability. They’ve been invaluable in my setup.
- Urnex Dezcal Descaling Solution: Regular descaling keeps my espresso machine running smoothly, preventing mineral buildup that can cause waste through spoilage or inconsistent shots. It’s my go-to for maintenance.
- Precision Flow-Rate Scale: Monitoring extraction in real-time helps me dial in shots accurately, saving ingredients and reducing the need for multiple adjustments. It’s a game-changer for consistency.
Your Turn to Elevate Your Espresso Craft
Remember, every small tweak, like selecting the perfect milk pitcher size, contributes to a more efficient, delightful coffee routine. Embrace these lessons, explore your tools, and keep refining—your ideal home espresso is within reach. If you’ve faced challenges in choosing the right equipment, don’t hesitate to reach out through our contact page for personalized advice. Keep experimenting, and enjoy every sip of your improved brew. What’s the first change you plan to make in your setup? Let me know below and join the conversation!