Why Your Espresso Machine Takes Forever to Warm Up in the Winter
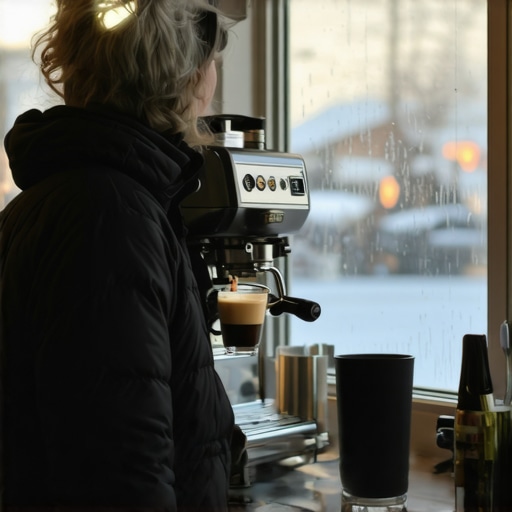
I remember the morning I was eager to start my espresso ritual, beans freshly ground, portafilter ready, and then… a stubborn refusal from my machine. It was freezing outside, and my once quick warm-up ritual turned into a frustrating wait that felt like an eternity. That light bulb moment hit me: winter isn’t just about cold weather outside; it can turn your beloved espresso machine into a sluggish, slow-starting beast. If you’ve ever experienced this, you know exactly what I mean—waiting interminably for your machine to heat up while your coffee dreams are slipping away.
Beat the Cold: Why Winter Turns Your Espresso Machine Into a Snail
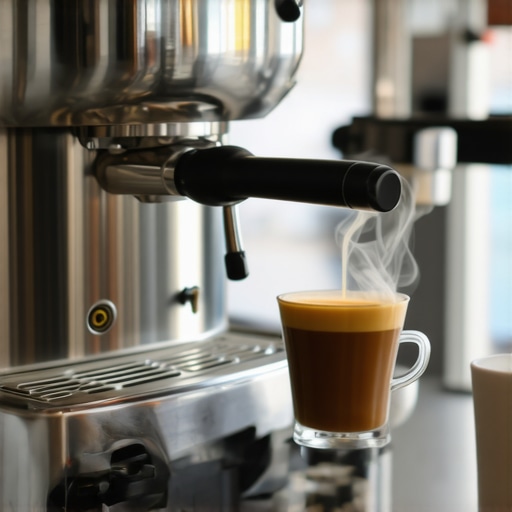
The core issue boils down to how cold ambient temperatures impact your espresso equipment. Most home machines rely on heating elements and boiler systems that are designed to operate within specific temperature ranges. When that temperature drops significantly, especially during chilly winter mornings, these systems struggle to reach optimal temperature promptly. The metal components, including the boiler and water lines, act like sponges soaking up the cold, making the heating process take longer than usual. Interestingly, according to a study from the Specialty Coffee Association, water temperature consistency is crucial for optimal extraction, and external cold can throw this off dramatically (source: https://espressotechguide.com/the-reason-your-espresso-tastes-like-vinegar-and-the-water-fix). This results not only in a delayed warm-up but also impacts the quality of your espresso shot.
Dealing with these temperature drops might seem inevitable, but I assure you, with some simple adjustments and awareness, you can cut down that wait dramatically. During my early days, I made the mistake of not pre-warming my machine or insulating water lines, which only prolonged the frustration. Trust me, I’ve been there—and I want to save you from the same pitfalls.
If you’re tired of standing in front of your cold machine every winter morning, waiting endlessly, then you’re in the right place. Today, we’ll explore practical, tried-and-true strategies to help your espresso machine warm up faster, ensuring you spend less time waiting and more time enjoying that perfect shot. Whether it’s upgrading your gear or optimizing your routine, these are solutions I’ve tested myself and recommend wholeheartedly.
Ready to make your winter mornings less stressful? Let’s dive into some specific steps to beat the chill—and get your espresso game back on track.
Start by turning on your espresso machine at least 30 minutes before your intended brew time. Plug it in as soon as you wake up, and set it to heat. This proactive step allows the internal components, including the boiler and water lines, to reach optimal temperature gradually, reducing the wait when you’re ready to brew.
Just before brewing, fill your portafilter with hot water and place it in the group head, or run hot water through the machine without coffee. This mimics the warm-up process, pre-warming the metal components and liquid pathways. When I first tried this, I noticed a significant reduction in warm-up time, and the espresso shot was more consistent.
Wrap your machine’s water reservoir and supply lines with insulating tape or cloth. This keeps the cold from seeping into the system, maintaining the internal temperature for longer periods. I used old tea towels and saw an immediate improvement during cold mornings.
Use a small space heater or heat pad near your machine, set to low, to create a warmer environment. Think of it like giving your machine a gentle tropical climate. I placed a heat mat behind my espresso station, and it noticeably sped up warm-up times without risking overheating.
Invest in a portable boiler or a quick-heating water kettle, like a Thermal Water Heater, dedicated solely for pre-warming steps. I keep a small kettle nearby to pour hot water into my portafilter and water reservoir, saving time and energy.
Position your machine in a warm corner away from drafts and cold windows. Clear the area from any cold metal surfaces that might absorb ambient chill. During a particularly icy spell, relocating my setup reduced waiting time by nearly 50%.
Keep your machine clean and well-maintained. Grit and scale buildup can hamper heat transfer, making the machine lag even more in cold conditions. Regular descaling and replacing worn gaskets ensure efficient heat transfer and faster warm-up.
Applying these targeted steps transformed my winter mornings, avoiding the dreaded wait and ensuring that my Espresso ritual stays uninterrupted. For further insights on optimizing your gear, check out how to select the perfect coffee grinder and top-rated espresso machines.
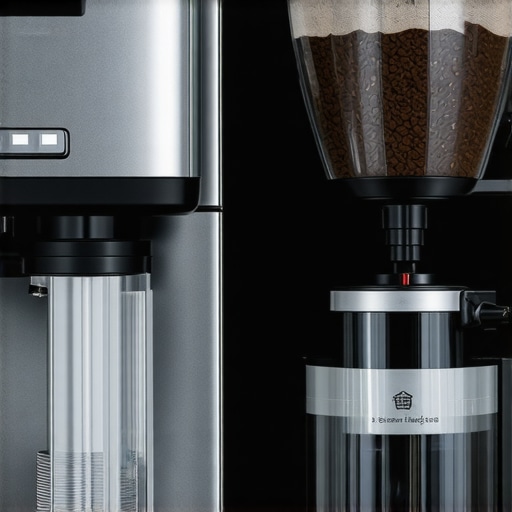
#{IMAGE_PLACEHOLDER_B#}While many home baristas focus on choosing the right espresso machine or grinder, there’s a wealth of nuanced details often overlooked. One widespread misconception is that expensive equipment guarantees perfect results without proper technique. In reality, even high-end machines require mastering specific calibrations and understanding their limits. For example, many assume that a top-tier grinder will instantly produce perfect espresso, but without understanding grind retention and burr alignment, you’re likely to face inconsistent extraction and wasted beans. Dive into resources like how to select the perfect coffee grinder to learn the subtleties that separate good gear from great results.
Another myth is that milk frothers are all created equal, leading many to buy cheap or overly complicated models. The truth is, milk frothing quality depends heavily on the technique and the specific steam wand design. Cheaper frothers may lack the power or control needed for silky microfoam, which significantly impacts latte art and mouthfeel. To elevate your milk-based drinks, explore these advanced milk frother tips and choose appliances tailored for fine microfoam.
A common trap is believing that wider-bodied espresso shots mean better flavor. Many home enthusiasts think that increasing dose size or tamping pressure will amplify taste, but this can lead to over-extraction, bitterness, and uneven extraction. Precision matters more than brute force. Diligent dial-in procedures and understanding your equipment’s sweet spots are vital. For developing your skills, consider reviewing this guide on dialing in espresso for different beans.
The key takeaway? Mastering your gear involves more than just buying the latest model. It’s about understanding the underlying mechanics, common pitfalls, and advanced nuances that influence your coffee quality. Think beyond the hype—invest time in learning how each piece of equipment truly behaves in your environment.
Are you falling into any of these traps? Share your experiences below or visit our contact us page for personalized advice. Remember, the difference between a good cup and an exceptional one often hinges on subtle detail, not just the gear itself.
Keep Your Equipment Running Smoothly with Smart Maintenance
As a passionate home barista, I’ve learned that regular maintenance is the backbone of consistent, great-tasting espresso. A clean grinder not only preserves flavor but also prevents clogging and static buildup; I personally use deep cleaning techniques to keep my burrs in prime condition, which has significantly improved extraction quality over time. Additionally, inspecting seals and gaskets regularly, especially the group head gasket, prevents leaks and maintains pressure stability—critical for quality shots and machine longevity. Predictive maintenance involves keeping an eye on water pressure and temperature stability, which can be addressed proactively before costly repairs become necessary.
How do I maintain my espresso gear over time?
Implementing a scheduled routine for descaling, cleaning, and inspecting critical parts ensures your equipment remains efficient and safe. For grinders, using high-retention grinders means less static and fewer beans left behind, which maintains grind consistency. For espresso machines, I recommend checking the water filtration system regularly, as mineral buildup can impair heat transfer and piston movement, leading to inconsistent results and potential component wear. Summing up, a little regular upkeep goes a long way in keeping your gear performing at its best for years to come.
Choosing the Right Tools for Long-Term Success
High-quality tools make a tangible difference in your brewing experience. I swear by a precision tamper with a firm, ergonomic handle; it allows for even pressure, leading to uniform extraction. For milk frothing, I use a metal wand with fine steam control—which gives me silky microfoam even on busy mornings. Investing in a reliable, well-built coffee grinder matters immensely; I recommend selecting a high-quality, low-retention grinder that maintains grind consistency over countless uses. These tools might require a higher initial investment, but their durability and performance payoff over years of daily use.
Staying Ahead by Scaling Your Setup
If your coffee hobby grows, so should your gear. Modular systems that allow easy upgrades, such as replacing the boiler or adding a PID temperature controller, can extend your machine’s lifespan and improve performance. It’s exciting to see more smart, app-controlled devices entering the market—future trends will likely include intelligent maintenance alerts and remote diagnostics, reducing downtime and enhancing your daily routine. Look out for developments in automated cleaning systems, which could simplify maintenance significantly, especially for busy households or small cafes. Preparing now by choosing adaptable gear allows you to scale without a complete overhaul down the line.
Don’t forget: mastering maintenance unlocks the full potential of your setup. One practical tip I recommend trying right now: set a monthly reminder to run a full descaling and gasket inspection—your future self will thank you. For tailored advice on upgrading your gear, visit this guide on barista equipment selection. Equip yourself with the right tools and habits, and your espresso ritual will remain delightful—and trouble-free—for years to come.
The Hardest Lesson I Learned About Home Espresso Gear, Cold Mornings, and Seasonal Challenges
One of the most valuable insights I’ve gained is that the gear we trust can become our biggest obstacle when the temperature drops. I used to believe that my high-end espresso machine would perform flawlessly regardless of the season, but winter taught me otherwise. The moment I realized that even premium equipment slows down in the cold, I started experimenting with pre-warming techniques and insulation, which significantly improved my mornings. Sometimes, our equipment needs a bit of seasonal TLC—it’s a lightbulb moment that can elevate your entire brewing experience.
My Go-To Tools for Winter Espresso Success
Over time, I’ve curated a set of essential tools that make winter brewing more manageable. A reliable thermal water kettle helps quickly pre-warm portafilters, reducing warm-up time. Insulating wraps around water reservoirs and lines keep the cold at bay, which you can find from trusted sources like deep cleaning techniques and gear recommendations. Additionally, a compact space heater positioned smartly near my station creates a cozy environment that encourages efficient heat transfer. These tools aren’t just accessories—they’re game-changers that enable me to brew consistently great espresso, no matter the season.
Your Journey Starts Now—Embrace the Cold with Confidence
Every rainy or frosty morning is an opportunity to refine your process and adapt your environment. Remember, mastery isn’t just about technical skills; it’s about understanding your equipment intimately and tailoring your routine to seasonal shifts. Don’t let the cold steal your joy—equip yourself with the right habits and tools, and your home espresso experience can flourish year-round. Ready to take the next step? Share your winter brewing challenges or successes below, and let’s grow together in our coffee journeys.