How to Get Better Texture with a Handheld Milk Frother
Ever since I first tried steaming milk with my handheld frother, I’ve faced a familiar frustration—sparse, uneven foam that clashed with my coffee dreams. One morning, after yet another disappointing attempt, I realized that my frother itself wasn’t the enemy; I was just using it the wrong way. That lightbulb moment opened a new world for me—smoother, creamier, and more consistent textures that make my home-brew feel barista-quality.
Why Texture Really Matters in Your Coffee Experience
If you’re like me, you know that the perfect foam isn’t just about aesthetics. It’s about unlocking the full flavor profile of your coffee. When the microfoam is luscious and well-textured, it creates a silky barrier that enhances aroma, taste, and overall mouthfeel. But getting that ideal texture with a handheld milk frother can be tricky. The good news? With a few tweaks—and a bit of patience—you can master it.
Have You Faced This Frothing Frustration?
Many enthusiasts make the mistake of assuming their frother is at fault when the foam doesn’t turn out right. Early on, I kept purchasing fancier devices, only to end up with the same disappointing results. It wasn’t the equipment; it was the technique. According to the Specialty Coffee Association, proper steaming and frothing can significantly improve the microfoam’s quality, even with basic tools (source: Specialty Coffee Association).
So, if you’ve ever been frustrated trying to achieve that perfectly silky milk, you’re not alone. But don’t worry—this post will guide you through simple, effective steps to elevate your frothing game. We’re going to focus on making the most of your handheld frother—techniques, tips, and insights that will transform your coffee in no time. Ready to improve your texture and impress yourself (and maybe friends)? Let’s dive into the core strategies that will help you get better results from every frothing session.
,
Prepare Your Milk and Equipment Properly
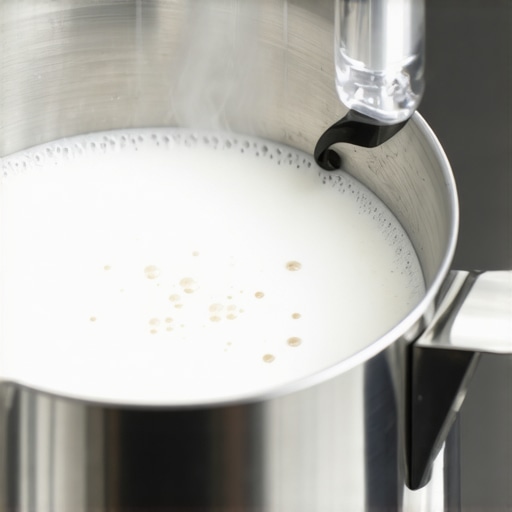
Start with fresh, cold milk straight from the fridge—this makes frothing more manageable and yields better microfoam. Use a clean, dry milk pitcher; a well-maintained pitcher with a shiny surface ensures smooth frothing. Before you begin, wipe the steam wand with a damp cloth to remove any residue that might impede steam flow. Consistent cleaning is vital; learn the best methods at keeping your cleaning tools dry and effective.
Master the Steaming Position and Technique
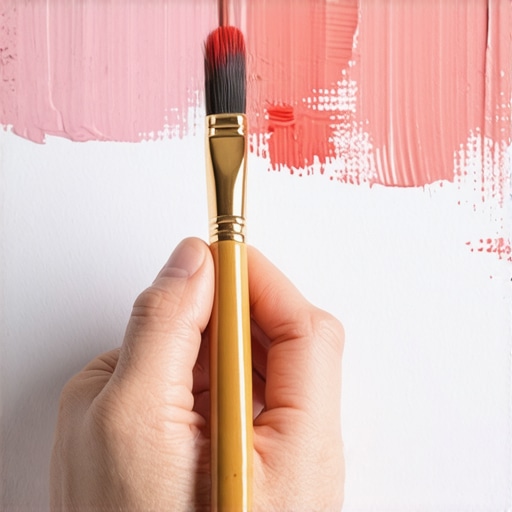
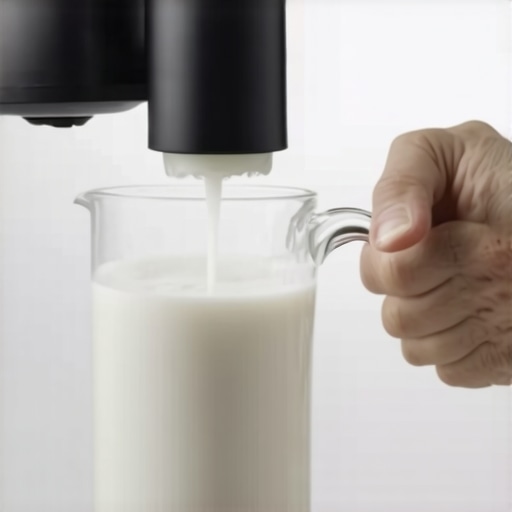
Insert the steam wand just below the milk surface at an angle—this position allows you to introduce air efficiently. Use a gentle, consistent motion, keeping the wand steady while slightly angling the pitcher. Think of the wand as a painter’s brush—the right angle produces the smoothest, most velvety foam. I remember a morning when I was rushing and unintentionally burped the wand too deep, causing large bubbles instead of fine microfoam. Once I adjusted to the correct position and rhythm, my foam transformed into silky perfection.
Control the Temperature and Frothing Pace
Keep the pitcher at a slight tilt and listen to the sound of the steam. A consistent hissing sound indicates proper air incorporation; a sputtering or uneven sound suggests adjustment is needed. Don’t overheat the milk; ideally, aim for 140°F (60°C). Use a thermometer if necessary, especially if you’re experimenting with different milk types, like almond or soy, which can foam differently. A common mistake is frothing cold milk too aggressively, leading to separation or stringiness; heating gradually enhances texture, especially when textured with plant-based milks like almond milk.
Incorporate Air and Achieve Microfoam
Begin by introducing air into the milk for the first few seconds—this creates tiny bubbles essential for microfoam. Afterward, lower the wand deeper in the milk to spin the liquid, creating a whirlpool effect that helps incorporate the air evenly and smooth out larger bubbles. Focus on stabilizing the foam rather than whipping it; I once tried to froth vigorously, but the microfoam ended up dense and dry. Slow, deliberate motions produce the creaminess you desire, reminiscent of barista-level texture. For more insights on achieving expert textures, check out coffee bean selection tips.
Refine and Finish the Froth
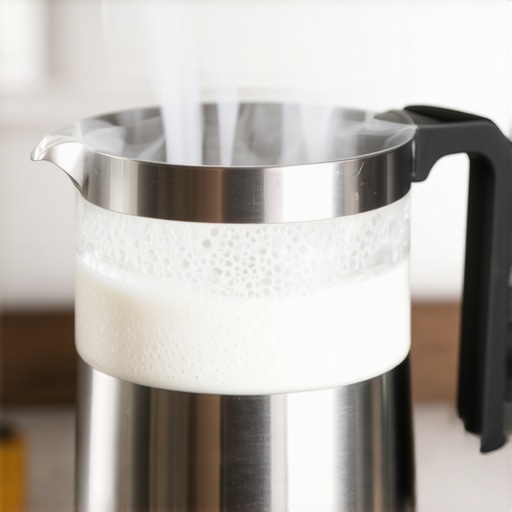
Once the milk reaches temperature, turn off the steam and submerge the wand to halt foam expansion. Tap the pitcher lightly on a surface and swirl the milk to merge any larger bubbles into the microfoam. Use a thermometer to ensure proper temp; if the pitch is too hot to touch comfortably, it’s ready. Pour immediately for latte art, or let it sit for a few seconds if thickening or polishing is needed, much like how latte artists finesse their designs once texture is set. I once practiced this step by pouring into a cup of contrasting coffee, and after some trial, achieved a beautiful rosette—proof that precision makes perfect.
Keeping these steps clear and consistent will dramatically improve your milk foam. Remember, practice makes perfect—so keep experimenting and adapting techniques as needed, especially when trying different milks or frothers. For comprehensive gear advice, visit gear selection tips.
When it comes to elevating your coffee game at home, many hobbyists focus on shiny new machines or the latest accessories. However, a common misconception persists: believing that premium equipment alone guarantees stellar results. In reality, the nuances of coffee grinders, milk frothers, espresso machines, and barista gear are often overlooked, leading enthusiasts astray. For instance, many assume that the most expensive grinder automatically produces the best espresso, but without understanding grind consistency and dosing techniques, even top-tier grinders can underperform. According to expert barista trainer Scott Rao, calibration and maintenance are as crucial as the equipment itself (source).
Maintaining your coffee gear is crucial for consistently pulling the best shots and creating velvety microfoam. Upgrading and caring for your equipment not only extends its lifespan but also ensures optimal performance. My go-to tool for preserving my espresso machine is a high-quality descaling solution. Regular descaling prevents mineral buildup that can impair pressure and temperature stability, ultimately affecting shot quality. I also swear by a dedicated cleaning brush set for my portafilter and brew head, which I dry thoroughly after each session to prevent corrosion and blockages.
For grinders, diligent calibration and quick cleaning are essential. I use a brush and cloth combo to clear grind retention, and I regularly check and adjust grind settings to maintain consistency. A step-less grinder with a locking mechanism helps me prevent drift over time, ensuring each dose remains precise. Remember, equipment that’s properly maintained not only performs better but also reduces the need for costly replacements.
When it comes to long-term results, consistency is king. Developing a maintenance routine—say, descaling every three months or after a certain number of shots—keeps your gear in top shape. I also label my equipment with a simple calendar or reminder app to stay accountable. As home espresso continues to gain popularity, I predict that integrated smart maintenance alerts, connected via IoT, will become standard, offering real-time feedback on device health.
Here’s a quick
Question
that helps me keep my setup in check: “How do I maintain my gear over time without turning it into a chore?” The secret lies in small, consistent actions—like wiping down components after each use and scheduling periodic deep cleans. Investing in tools such as a proper grinder brush or a cleaning kit for espresso machines ensures smooth operation and superior results every time. Why not pick one tip today—perhaps calibrate your grinder or schedule that descaling—and see how it elevates your brewing game?
The Unexpected Wisdom That Changed My Frothing Approach
- Realizing that technique outweighs equipment quality was a game-changer. Even affordable frothers can produce café-worthy microfoam when used correctly, reminding me that mastery often rests in practice, not tools. Choosing the right coffee beans set the foundation for walls of flavor; similarly, honing my frothing technique built confidence in my barista skills.
- I learned that patience and deliberate motion trump speed. Rushing the frothing process led to uneven textures, demonstrating that comfort and attention matter more than trying to emulate quick tutorials. Regularly, I’d slow down and focus on the gentle whirl, which yielded silky microfoam every time.
- Cleaning and maintenance are far more critical than I had thought. Keeping the steam wand and milk pitchers spotless ensured consistent performance. The best cleaning practices not only extend gear life but also improve results, proving that care breeds excellence.
- Understanding milk composition’s impact revealed subtle nuances. Different milks foam differently; adjusting frothing techniques accordingly made me more adaptable, deepening my appreciation for the craft. Experimenting with plant-based options like almond milk expanded my repertoire, making brewing more exciting.
- The importance of temperature control became evident when I measured that heating milk gradually and precisely yielded the best microfoam, reinforcing that small details matter. Using a thermometer was a revelation, helping me avoid common pitfalls and achieve barista-like quality consistently.
Tools and Knowledge That Elevated My Coffee Game
- Barista Gear: An entry-level but reliable milk frother combined with a high-quality coffee grinder helped me unlock fresh flavors and better textures. I recommend exploring top-rated equipment to accelerate skill development.
- Educational Resources: The home espresso tips series deepened my understanding of brewing fundamentals, which indirectly improved my frothing as well. Learning from seasoned baristas instilled confidence and broadened my perspectives.
- Maintenance Know-How: Mastering cleaning routines through trusted guides ensures consistent microfoam. Properly maintaining my steam wand and pitcher prevents buildup, making every session smoother, echoing the wisdom that gear care is a secret weapon for quality control.
- Community Insights: Connecting with fellow enthusiasts through forums and online communities provided real-world tips and encouragement, proving that shared knowledge accelerates mastery. Learning from others’ mistakes saved me time and frustration.
Your Journey Begins Now – No Experience Needed
Every great home barista started with a simple step: trying, correcting, and persisting. Remember, mastery in coffee magic isn’t about perfection from day one but embracing the process. Keep experimenting with your frothing technique, invest in consistent maintenance, and dive into trusted resources. Your future self—sipping luscious microfoam—will thank you for the effort. Now, over to you: Have you ever struggled with getting that perfect microfoam? Share your stories or questions below!
,