Why Your Bottomless Portafilter is Spraying the Counter
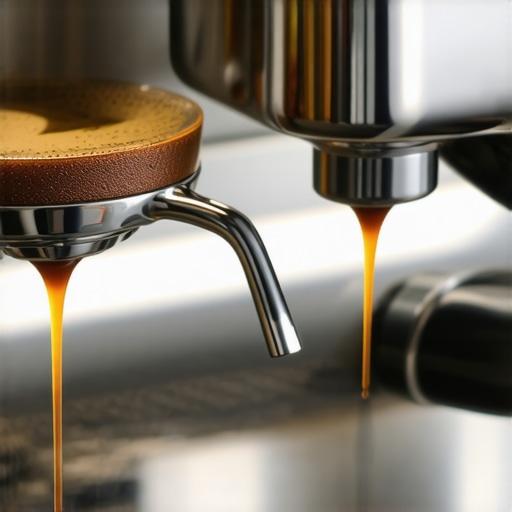
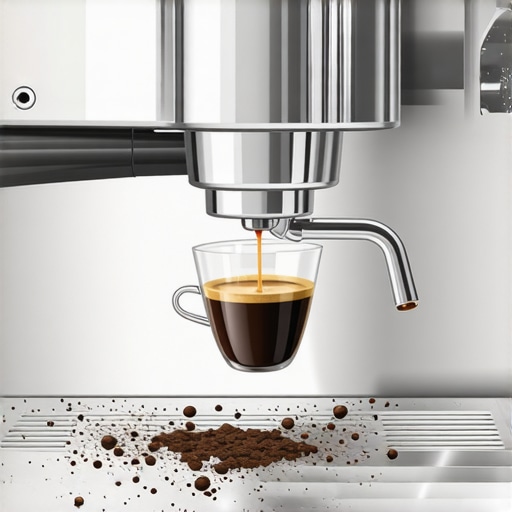
It was a typical Saturday morning in my kitchen, but the moment I locked in my bottomless portafilter and pressed the brew button, chaos erupted. A sudden spray of hot espresso splattered across my countertop, leaving me frustrated and a little bit burned. That lightbulb moment—realizing I’d overlooked a crucial detail—hit harder than my espresso shot that day. If you’ve ever experienced your beautiful microfoam suddenly turning into a messy cascade, you’re not alone. This common mishap can make even seasoned home baristas question their gear.
Dealing with Spills: More Than Just a Mess
For many of us, crafting that perfect shot is an art form, and our equipment is the brush. But what happens when your bottomless portafilter sprays coffee all over your pristine workspace? Suddenly, your elegant pour transforms into a cleanup nightmare, discouraging you from experimenting further. The good news? You’re not doomed to a messy morning routine. With a few simple insights and adjustments, you can regain control and turn your setup into a reliable, clean powerhouse.
Will Fixing This Save My Coffee Routine? Or Is It Just a Fluke?
In my early days, I thought a little espresso splash was just inevitable—part of the learning curve. I ignored a key mistake many beginners make: tamping unevenly or using an inconsistent grind size. Such missteps increase the likelihood of channeling, which causes water and coffee to tunnel through the puck unevenly, resulting in that explosive spray. I learned this the hard way when a stubborn grinder issue kept failing to produce a consistent grind, leading to unpredictable shots. If you want to avoid a similar frustration and achieve that silky shot without the mess, understanding these nuances is essential. Curious about picking the perfect grinder? Check out [how to select the perfect coffee grinder for your brew](https://espressotechguide.com/how-to-select-the-perfect-coffee-grinder-for-your-brew).
Let’s explore how to diagnose, prevent, and fix that spraying problem so you can enjoy brewing without the splattering chaos.
Check Your Grinder Consistency
First, verify that your grinder produces uniform grounds. Uneven grind sizes cause channeling, which leads to pressure buildup and sprays. To test, grind a small batch and observe if the particles are consistent. If they aren’t, consider calibrating your grinder or replacing worn burrs. For guidance, see how to select the perfect coffee grinder.
Ensure Proper Tamping Pressure
Apply even and moderate tamping pressure. Too hard or uneven tamping creates gaps in the puck, allowing water to channel and cause sprays. Use a calibrated tamper or a tamping station to develop consistency. Practicing with a light, consistent pressure will reduce channeling. Want to upgrade your tamper? Check barista gear options.
Perfect Your Brew Bed
Before tamping, distribute coffee evenly in the basket. Use a distribution tool or gentle tap to settle the grounds. An uneven bed causes water to find weak points, resulting in sprays and uneven extraction. For detailed techniques, visit tamping tips for precision baskets.
Inspect and Maintain Your Equipment
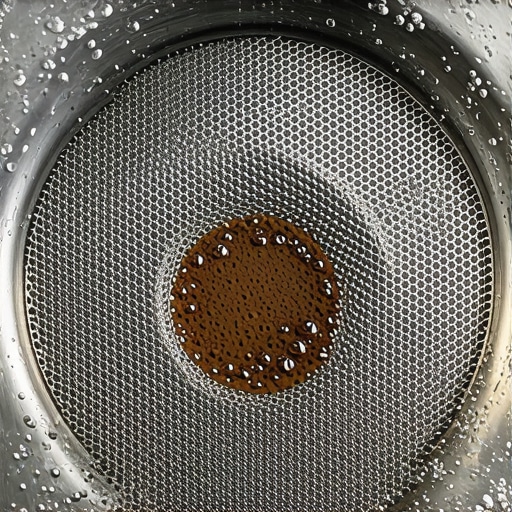
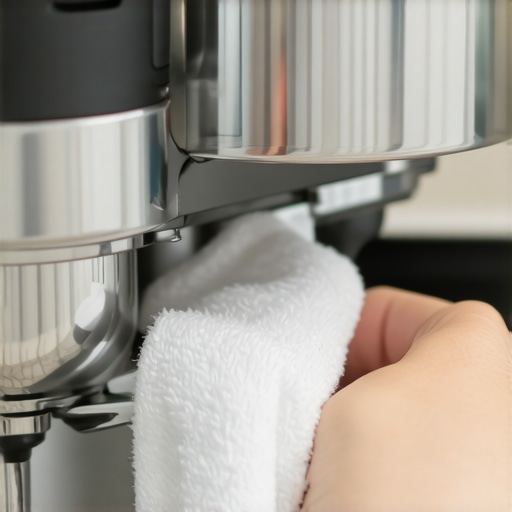
Regularly clean your portafilter, shower screens, and gaskets. Built-up coffee oils and residue restrict water flow, increasing pressure and risking sprays. Clean every week using these cleaning methods. Also, verify that your group head gasket isn’t worn or damaged. A proper seal ensures even water distribution and prevents sprayouts. Need to replace it? See this guide.
Calibrate Your Machine’s Pressure
Adjust your espresso machine’s pressure if sprays persist despite other corrections. Many home machines allow calibration of brew pressure; ensure it’s set to 9 bars, the optimal level for extraction. Failing to do so can cause water to burst through weak spots, creating sprays. If unsure, refer to calibration steps for your specific model.
Practice and Document Your Process
Keep notes of tamping force, grind size, and timing to develop a consistent routine. Over time, you’ll recognize what adjustments lead to clean pours. A messy spray-free shot is worth the effort—delivering even extraction and rich flavor. For more insight, explore tips for beginners.
When it comes to crafting the perfect cup, many enthusiasts believe that simply owning high-end equipment guarantees barista-level results. However, this myth often leads to overlooked nuances that can make or break your brew. For instance, newbies frequently assume that coffee grinders with higher wattage automatically produce better grounds, but in reality, grind consistency and burr quality matter far more—see choosing the right grinder. Furthermore, many think that all milk frothers are equal; yet, not all frothers deliver the same quality microfoam. A critical mistake is neglecting equipment calibration — even premium espresso machines require regular tuning, like calibrating your
pressure to about 9 bars, which involves understanding your machine’s specific parameters. Overlooking this leads to uneven extraction and flavor imbalance, which may not be evident until you analyze shot timing and crema quality. For advanced users, understanding the importance of PID calibration can greatly improve temperature control—an often underappreciated nuance.
One misconception that trips up many home baristas is the belief that more expensive gear is inherently better without paying attention to maintenance and technique. For example, a finely tuned grinder with sharp burrs and proper dosing can outperform a costly machine with poor calibration. This underscores why regular cleaning is crucial. Don’t fall into the trap of neglecting routine maintenance; cleaning your frother and grinder properly ensures consistent performance and prevents common issues like clogs or flavor contamination. For those aiming for the next level, mastering advanced techniques, such as precise distribution and tamping, can elevate your shots beyond basic familiarity. Remember, even a top-tier espresso machine won’t compensate for inconsistent tamp pressure or uneven puck distribution, which cause channeling and sprays—see tips for fixing channeling issues.
So, what’s the real secret?
It’s about attention to detail—obsessing over grind consistency, regular calibration, proper maintenance, and technique. These nuances, often dismissed as minor, significantly impact your final cup’s quality. Understanding the intricacies of your gear and applying advanced adjustments can transform your home setup into a professional-level system. Don’t merely rely on new equipment; develop your skills and knowledge to unlock the full potential of what you own.
Have you ever fallen into this trap? Let me know in the comments, and share your experiences or questions about optimizing your barista gear at home.
Tools That Keep Your Espresso Game Strong
Maintaining excellent coffee results over the long term depends heavily on the tools you choose and how well you care for them. Personally, I swear by the best barista gear options, such as the Baratza Sette 270WI grinder, which offers exceptional grind consistency and durability. For espresso machines, I lean towards models like the Profitec Pro 700, known for their build quality and precise temperature control, which is key for maintaining shot consistency over time. Regular calibration and cleaning are non-negotiables for these tools to deliver optimal performance.
How do I maintain my equipment over time?
Long-term maintenance is crucial, especially for delicate components like burrs and seals. For grinders, I recommend replacing burrs every 1,000-2,000 pounds of coffee, or when you notice inconsistent grind size—check out this step-by-step guide. Consistent cleaning with proper tools, such as a dedicated grinder brush and cleaning tablets, prevents buildup that can affect flavor extraction. Espresso machines need regular descaling and gasket inspections to avoid pressure drops and leaks, which undermine shot quality.
Why investing in quality tools pays off in the long run
While high-end equipment might seem costly upfront, it reduces the need for frequent repairs and calibration. For example, investing in a professional-grade PID controller ensures your brew temperature stays stable, leading to more consistent shots—see this expert resource. Additionally, tools like a calibrated tamper and distribution tools help prevent channeling, saving you time and coffee. As trends move toward smart coffee gear with app control and diagnostics, embracing reliable, easy-to-maintain tools now ensures you’re prepared for future upgrades.
How do I keep my tools performing at their best?
Develop a routine that includes regular cleaning, calibration, and part replacement based on usage. I set reminders to clean my grinder weekly and replace burrs biannually, which keeps the grind uniform and prevents overheating. Monitoring water quality with filters can extend the lifespan of your espresso machine and improve flavor consistency—learn more about water filtration benefits in this article. For detailed schedules, check out these beginner tips.
In the future, I predict more integration of smart diagnostics in most barista tools, helping users identify issues early and perform maintenance with minimal downtime. This tech evolution will make it even easier to sustain top performance without specialized knowledge.
Pro tip: Tackle your grinder’s adjustment dial issue head-on
If your grinder’s adjustment dial keeps moving on its own, it’s a sign of internal wear or a loose knob—see this expert guide. Addressing this promptly prevents inconsistent grind sizes that affect your shots. Try tightening the dial carefully or replacing worn parts—an easy fix that dramatically improves your brewing consistency. Take action today by inspecting your grinder’s adjustment mechanism; a small step that ensures your coffee remains superb every time.
What I Wish Someone Told Me About Brewing Chaos
One of the most powerful lessons I learned was that consistent tamping isn’t just about pressure—it’s about feeling each shot with intention. Neglecting the subtle feedback from my hand led to unpredictable sprays, turning a perfect routine into a messy challenge. Now, I trust my touch and seek feedback from each extraction, realizing that precision in technique beats fancy gear every time.
Secondly, equipment calibration goes beyond initial setup. Frequently adjusting my grinder and machine settings, based on ambient humidity or bean origin, helped prevent that dreaded spray. It’s about listening to your machine, tuning it, and understanding its quirks. I wish I appreciated the importance of routine calibration earlier—it’s the secret sauce for spray-free shots.
Tools That Changed My Espresso Game
Investing in a quality distribution tool transformed my puck consistency. It might seem minor, but even distribution means fewer sprays and a more uniform extraction. I swear by trusted barista gear that’s designed for precision, like a calibrated tamper and high-quality grinder. Regular cleaning schedules, guided by reliable resources, kept my equipment performing flawlessly, reducing unexpected pressure surges.
For deeper insights, books like mastering the art of home espresso became my roadmap, emphasizing the importance of nuanced adjustments over brute force. They reaffirmed that technique and maintenance are more critical than the most expensive machine.
Revive Your Passion: Take Action Today
Don’t let sprays derail your espresso journey. Embrace the small tweaks—consistent tamping, equipment calibration, and thorough cleaning—to unlock cleaner pours and richer flavors. Each shot is an opportunity to learn and improve; the more attentive you are, the fewer surprises you’ll face. Remember, your setup has immense potential—it’s your skill and routine that truly define the outcome.
What’s the one tweak you think could instantly improve your espresso spray problem? Share your thoughts below—I’m eager to hear your experiences and help you conquer this common hurdle!