How to Fix a Steam Wand That Leaks Even When Closed
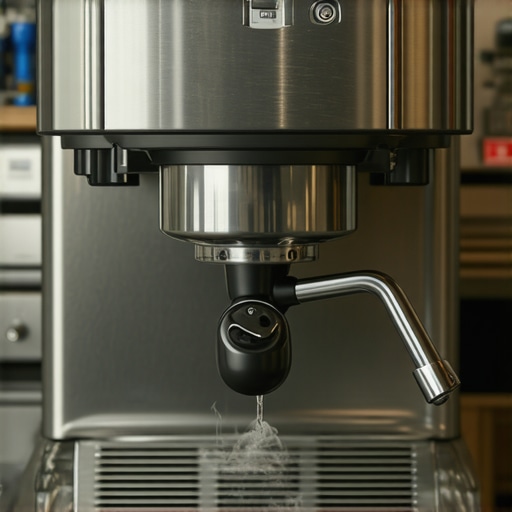
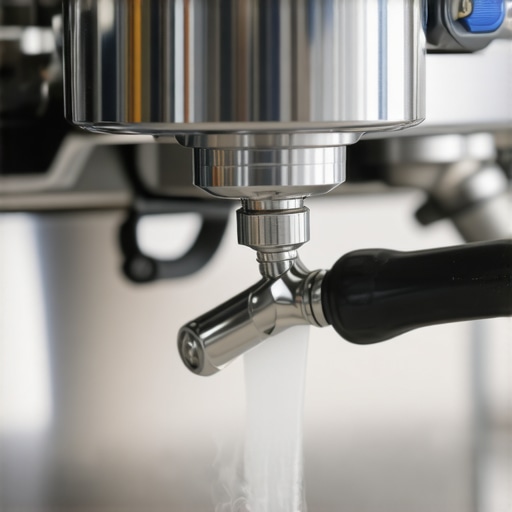
Have you ever been mid-latte, steaming milk with anticipation, and suddenly the wand sneezes out a tiny burst of water or steam even when you think it’s fully closed? Trust me, I’ve been there—messy, frustrating, and at the worst possible moment. The worst part? Figuring out whether it’s a minor seal problem or something more complicated. That lightbulb moment came when I realized my trusty espresso machine’s steam wand was leaking like a sieve, even though I thought I’d shut it tight.
Why Leaking Steam Wands Are More Than Just Annoying
If your steam wand leaks despite being shut, it’s more than just a minor inconvenience. It can affect your frothing consistency, lead to water damage, or even cause internal corrosion over time. But here’s the kicker: many home baristas give up or ignore the issue because they think fixing it is complicated, or worse—impossible without professional help. The truth? With a little know-how, fixing a leaking steam wand is often a quick, straightforward job.
What I want to do today is share my personal experience and walk you through how to effectively eliminate those leaks. I promise, by the end, you’ll understand the common causes and simple fixes, helping you get back to steaming milk without worries. Plus, I’ll share some pitfalls I made early on so you won’t repeat my mistakes.
Is It Worth the Effort to Fix a Leaking Wand?
Before we jump into solutions, I bet you’re wondering: “Is fixing this leak really worth my time?” In my case, ignoring a leaking steam wand only led to bigger problems—water damage, increased energy bills, and the risk of internal corrosion. A quick fix, on the other hand, saved me time, money, and a lot of frustration.
For thorough guidance, I recommend checking out the [simple method to repair a leaky steam wand in under ten minutes](https://espressotechguide.com/how-to-fix-a-leaky-steam-wand-valve-in-ten-minutes). It’s a game-changer—trust me. Remember, many mistakes begin early on: one of mine was neglecting to turn off the machine properly before attempting repairs, which caused more internal issues. Learning from my slip-ups, you’ll be able to approach this repair confidently.
Now, let’s get into the step-by-step process to fix that pesky leak and restore your machine’s performance. Ready to become your own Espresso hero? Let’s start by understanding the common causes behind these leaks and how to fix them quickly.
Shut Off and Prepare Your Machine
Before diving into repair, turn off your espresso machine and unplug it to prevent electrical hazards. Allow the machine to cool down completely, especially the steam wand, which can become extremely hot. Position a towel or bowl underneath the wand to catch any residual water or steam during the process. In my experience, rushing to fix a hot machine often leads to burns or additional damage, so patience is key.
Remove the Steam Wand
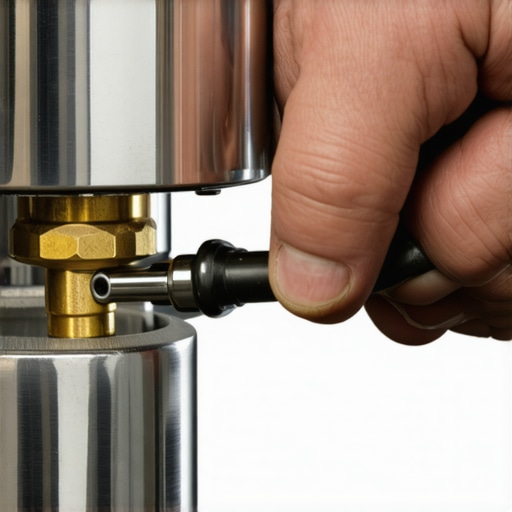
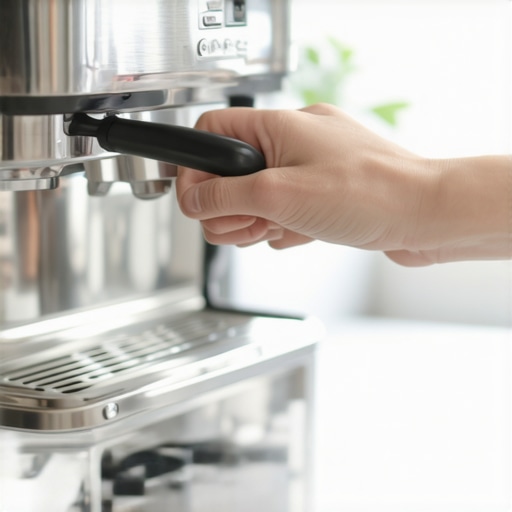
Loosen the nut that secures the steam wand to the group head using an adjustable wrench. Be gentle to avoid stripping the threads. Once loosened, carefully unscrew the wand from the machine. Think of this like removing a faucet for plumbing repairs—gentle handling ensures no broken parts and easier reassembly.
Inspect for Damaged Seals or O-rings
Check the gasket or O-ring inside the base of the wand. Over time, these rubber seals degrade, crack, or harden, losing their elasticity. If you notice any damage or deterioration, replace the seal with a new one matching your model. I once ignored a worn O-ring, which led to persistent leaks; replacing it immediately solved my issue.
Clean and Clear the Valve
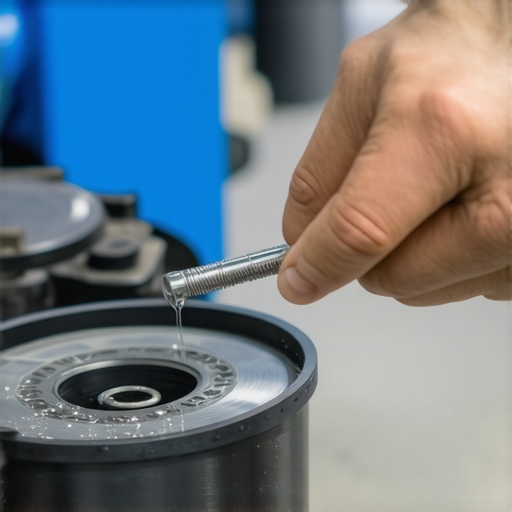
Most leaks originate from debris clogging the valve or seal. Soak the wand end in hot water mixed with a descaling solution or vinegar to break down mineral deposits. Use a small brush or pin to clean out any stubborn blockages in the valve or holes. Remember, mineral buildup is like limescale in pipes—restricting flow and causing leaks. Regular cleaning prevents this problem from recurring.
Reassemble the Wand
Once components are clean and dry, reattach the seal in the wand base, ensuring it fits snugly. Screw the wand back onto the machine by hand to avoid cross-threading, then tighten gently with the wrench. Over-tightening can damage threads or seals, so stop when you feel resistance. Think of this as tightening a screw just enough to hold everything securely but not crush the gasket.
Test for Leaks
Plug in and power your machine. Run the steam wand without any milk or frothing to check for leaks. If you notice water escaping, double-check your seals and tighten the connections if needed. It might take a few attempts to perfect the seal. For more comprehensive advice on maintaining your espresso gear, visit this guide.
Prevent Future Leaks
Regularly descale your machine and inspect seals periodically. Use filtered water to minimize mineral deposits. Applying a protective lubricant to O-rings, like food-grade silicone, can extend their lifespan. Remember, consistent maintenance preserves your investment and keeps your coffee tasting perfect.
When it comes to crafting the perfect espresso or creamy microfoam, many home baristas rely on popular myths or surface-level advice that can hinder their progress. For instance, many believe that a high-end coffee grinder guarantees perfect crema every time; however, without proper calibration and maintenance, even the priciest grinder can produce inconsistent results. As an expert who has tinkered with countless setups, I can tell you that understanding the subtleties—like grind consistency and particle size distribution—is crucial. Studies show that particle size variance impacts extraction uniformity more than just grind size alone, emphasizing the need for precise grinder calibration (source: Barista Hustle, 2022).
One common misconception is that more froth always equals better milk texture. In reality, many novices push the steam wand too hard, introducing air excessively and creating large bubbles instead of a smooth microfoam. Mastering the technique involves controlling steam pressure and position, which can be learned through focused practice. Moreover, enthusiasts often overlook the importance of equipment cleanliness; residual coffee oils or mineral deposits in group heads and steam wands can skew flavor and texture. Routine maintenance—not just cleaning—ensures consistent quality.
For those aiming for expert-level extraction, the nuance lies in the internal temperature stability of your machine. Small fluctuations can drastically alter shot clarity and bitterness, especially with lighter roasts. Investing in thermal behavior understanding and using tools like temperature strips or PID controllers can elevate your espresso to a professional standard. Don’t forget, even the best equipment needs time and skill to reach its potential. Regular calibration, understanding your grinder’s burr wear, and being mindful of water quality all play significant roles.
Have you ever fallen into this trap? Let me know in the comments.
Thinking of upgrading your setup? Check out the top-rated espresso machines for 2025 and learn which features truly make a difference. To master your current gear, visit this guide for beginners.
Tools That Make Maintenance Easier and More Effective
Investing in quality tools has transformed my approach to maintaining my home espresso setup. For example, a portafilter spanner is an underrated gem — it allows for precise removal and installation of the filter basket without damaging delicate parts. I use a mirror trick combined with a small inspection mirror to quickly identify channeling issues during routine shots, saving me hours over the years. Moreover, a high-quality water reservoir cleaner ensures mineral deposits don’t build up, keeping internal pipes flowing freely.
Beyond tools, automation software has become a game changer. I rely on workflow management apps that remind me of routine descaling and component checks, ensuring everything functions optimally over months and years. These tools reduce human error and extend the lifespan of my expensive gear.
Consistency in Maintenance Pays Off
One overlooked aspect is schedule regular deep-cleaning routines—think monthly descaling plus weekly inspection of seals and gaskets. This consistency maintains the machine’s performance and prevents small issues from snowballing. Regular maintenance also preserves the flavor profile and texture of your espresso, blocking mineral build-up that can cause bitter notes or uneven extraction.
In addition, I’ve adopted a habit of keeping a detailed maintenance log—tracking when I replaced seals, cleaned components, or calibrated the grinder. This habit not only keeps me organized but also helps predict when parts may need replacement, preventing surprise breakdowns.
How do I maintain my equipment over time?
First, learn the specific needs of each component. For instance, group head gaskets require periodic replacement—some models every six months to a year—based on usage. Using specialty tools like calibration gauges ensures your grinder maintains an even particle size distribution, crucial for consistent extraction.
Predictions for the future suggest that smart sensors integrated into home espresso machines will automatically notify owners of maintenance needs, and AI-driven diagnostics could diagnose issues before they become significant problems. Meanwhile, a good starting point is trying my tip: use a rubber band hack to improve dial grip, ensuring precise adjustments every time. Start implementing these practices now and enjoy trouble-free brewing for years to come. For more detailed guidance on long-term gear care, visit this comprehensive guide.
The Hidden Lessons From Failed Repairs That Made Me Smarter
One of the toughest lessons I learned was during a frantic attempt to fix a stubborn leak in my espresso machine’s steam wand without proper prep. Rushing led to stripping threads and ultimately more damage—something I wouldn’t wish on anyone. Now, I approach repairs with patience and respect for the machine’s delicate parts. A key insight? Always inspect seals and O-rings carefully; they are often the silent culprits behind leaks. This experience underscored that even small details matter immensely in maintaining barista-level quality at home.
Tools and Resources That Elevated My Maintenance Routine
I found that investing in quality tools like a portafilter spanner and a good inspection mirror transformed my troubleshooting process. These tools made it easy to reach tight spaces and see hidden issues, saving me hours of guesswork. Additionally, following professional guides like this comprehensive resource gave me confidence to perform repairs myself and extend my machine’s lifespan. Remember, quality tools and trusted advice are your best allies in home barista mastery.
Ignite Your Drive to Keep Brewing Perfect Shots
Taking control of your espresso machine’s maintenance isn’t just about fixing leaks—it’s about empowering yourself to craft exceptional coffee consistently. Every improvement, no matter how small, brings you closer to that perfect microfoam or rich crema. Your journey in becoming a home barista is continuous, and each repair or upgrade sparks confidence and joy in every cup. Dive in, experiment, and enjoy the process—your best espresso awaits.
What’s the trickiest repair you’ve tackled on your machine, and how did it turn out? Share your story below—I’d love to hear your experiences!
,