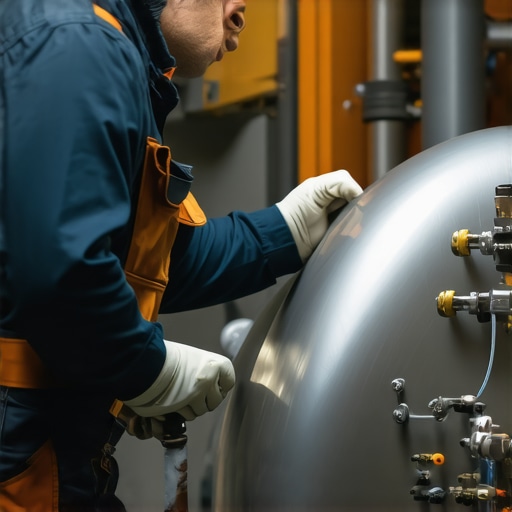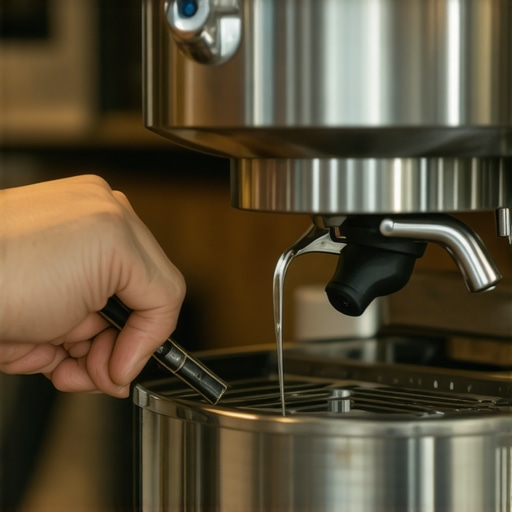
The easy way to check if your boiler is actually empty
Ever been halfway through your shower or cooking routine when your hot water suddenly vanishes, leaving you standing there puzzled? That frustrating moment of losing heat unexpectedly is a common headache, especially if you’re unsure whether your boiler truly needs recharging or if there’s another sneaky culprit. I remember thinking I could just gauge the water level by eye, only to be caught off guard by a dry boiler just when I least expected it. It was a real lightbulb moment—truth was, relying on guesswork isn’t just risky; it can also lead to costly repairs or unexpected cold showers.
Discovering a Simple, Reliable Method to Check Your Boiler’s Water Level
When it comes to maintaining your home’s comfort, understanding whether your boiler is genuinely empty is crucial. It’s not always about adding water; sometimes, it’s about recognizing a faulty gauge or a hidden leak. The good news? There are straightforward ways to verify your boiler’s status without calling in a professional every time or risking a mishap. Today, I want to share proven techniques I’ve picked up over the years that can save you time, money, and frustration. Mastering this can empower you to troubleshoot basic issues confidently, ensuring your home stays warm when you need it most.
Is Stuff Like Boilers Really Worth the Hype?
You might be thinking, “Is figuring out if my boiler is empty really worth all this fuss?” Believe me, early on, I made the mistake of ignoring small signs—like not checking water levels properly—and ended up with an emergency call to a technician that cost me a pretty penny. Skipping proper checks can lead to more significant problems, such as corrosion or burnt-out components, which could have been prevented. Ensuring you know exactly when your boiler needs water or attention keeps it functioning efficiently and extends its lifespan. Plus, learning how to do basic checks can give you peace of mind, especially during those cold mornings when every minute counts.
Once you’ve grasped why this is a skill worth developing, you’ll find it easier to avoid common pitfalls. So, do you often wonder whether your boiler is truly empty, or do you just guess and hope for the best? If you’re tired of unexpected cold snaps or expensive repairs, stay with me—I’ll walk you through simple, actionable steps to check your boiler like a pro.
Start with the Visual Inspection
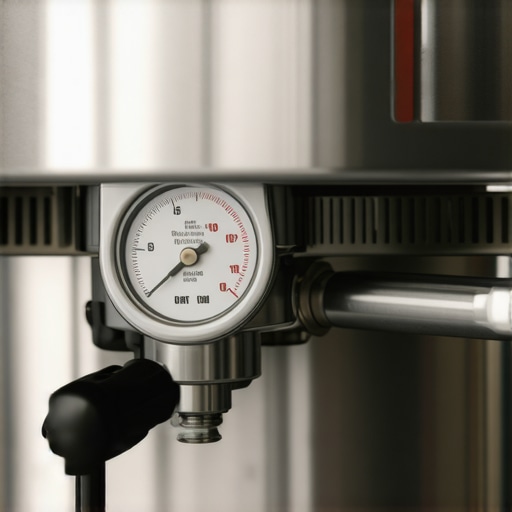
First, locate your boiler’s water gauge—usually a transparent window or a dial with markings. When the system is cool, observe where the indicator points. If it’s below the minimum mark, that’s a clear sign you need to add water. Remember, a dry boiler can cause overheating and damage. I once ignored this and ended up with a costly repair; since then, I check the gauge weekly.
Use the Manual Fill Method
Next, turn off the boiler and wait for it to cool down completely. Find the manual fill valve—usually a lever or a tap connected to the water supply. Slowly open it and observe the water flow into the boiler. When you hear a steady hissing sound or see the water level rising in the sight glass, close the valve. This direct approach helps confirm whether the water level was truly low. I tried this during a chilly morning, and within minutes, I prevented a cold shower.
Assess for Leaks and Drips
While performing the fill, look for any leaks or drips around the valves, fittings, or seals. Even small leaks can reduce the water level without obvious signals. If you notice water pooling or damp spots, tighten fittings carefully or contact a professional. Once, I noticed a tiny drip from the pressure relief valve and fixed it with a wrench, avoiding potential water damage.
Perform a Pressure Test
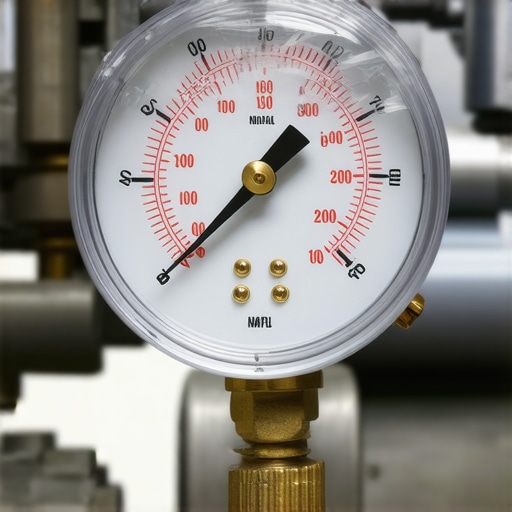
Most boilers have a pressure gauge connected to the system. Check if the pressure reading is within the recommended range—usually between 1 and 2 bars. If it’s below, you’ll need to add water. Be cautious: over-pressurizing can be dangerous. I once overfilled the system and had to release excess pressure through the safety valve. Knowledge of pressure levels prevents accidents and prolongs boiler life.
Utilize an Electronic Water Level Sensor
If you want a more precise measurement, consider installing an electronic sensor. These devices monitor water levels continuously and alert you to low levels via your phone or control panel. While this is more advanced, it offers peace of mind—especially if you lack the time for manual checks. I’ve seen setups that integrate seamlessly with home automation systems, making maintenance effortless.
Confirm the System’s Response
Finally, after adjusting the water level, turn the boiler back on and watch for normal operation. Listen for consistent running sounds, check the pressure gauge again, and ensure the indicator shows adequate water. Performing this check regularly helps catch issues early. When I followed this routine last winter, I avoided emergency repairs and kept my home comfortably warm.
For more detailed troubleshooting techniques, including fixing specific issues, visit this comprehensive guide.
Many coffee enthusiasts assume that all milk frothers or espresso machines are created equally, but in reality, there’s a lot more beneath the surface that can trip up even seasoned baristas. A widespread misconception is that fancy-looking gadgets automatically yield superior coffee or milk foam, yet this oversimplification neglects critical nuances like temperature control, steam pressure, and the quality of individual components. For example, many home espresso machines lack precise pressure regulation, which plays a vital role in extraction quality—the difference between a straightforward shot and a complex, layered espresso. According to industry experts, a common mistake is neglecting these advanced factors, leading to subpar results regardless of gear cost or brand reputation.
Is There a Hidden Cost to Relying on Budget Gear for Serious Coffee?
Absolutely. While entry-level grinders and frothers may save money upfront, they often introduce defects such as inconsistent grind sizes, inadequate steam pressure, or uneven milk frothing—issues that become more pronounced with regular use. Trust me, skimping on quality control can derail even the most diligent brewing routines. For instance, cheap coffee grinders might have burrs that quickly become misaligned, resulting in uneven extraction. Read [this guide](https://espressotechguide.com/how-to-select-the-perfect-coffee-grinder-for-your-brew) to understand how choosing the right grinder impacts your espresso’s flavor and consistency. Moreover, a faulty milk frother might create bubbles or dry foam, ruining latte art and presentation. Many assume quick fixes or manual techniques are enough but neglect that mastering advanced steaming involves understanding steam pressure curves, not just steaming time. A well-calibrated steam wand offers superior microfoam essential for barista-level drinks—so investing in more sophisticated gear pays off in the long run. Beware of assuming that all frothers produce the same results; some high-end models feature adjustable steam temp and pressure controls, vital for crafting perfect milk textures. Check out [this article](https://espressotechguide.com/milk-frothers-that-transform-your-coffee-experience) to see how gear differences influence milk quality. Recognize that these subtle adjustments matter—a small tweak to your steam pressure can mean the difference between flat, untextured milk and velvety microfoam. Are you leveraging your gear’s advanced features or just sticking with basic settings? Think about whether your approach is hindering your progress or helping you excel. If you’re serious about elevating your home coffee, consider exploring [top-rated espresso machines for 2025](https://espressotechguide.com/top-rated-espresso-machines-for-coffee-lovers-in-2025) to understand what features truly matter. Failing to refine your technique with quality gear is a common mistake, so take that extra step toward mastery instead of settling for mediocre results. Remember, the devil is in the details, and paying attention to the hidden intricacies of your gear can unlock a new level of coffee excellence. If you’ve ever fallen into this trap, let me know in the comments and share your experience!
Investing in high-quality espresso machines, grinders, and milk frothers is only the first step toward achieving barista-level results at home. To truly make the most of your equipment, consistent maintenance and the right tools are essential. I personally rely on a few specific items and routines that keep my setup performing optimally, ensuring each shot is as good as the last. In this section, I’ll share my tried-and-true tools and practices that prolong your gear’s lifespan and maintain top performance over time.
Essential Tools for Daily and Periodic Maintenance
One of my go-to tools is a precision calibration scale. I use it daily to weigh coffee doses and tamp pressure, which makes a noticeable difference in shot consistency. A high-quality tamper with a calibrated handle is also indispensable; ergonomic design minimizes fatigue and ensures uniform tamping—crucial for even extraction. For backflushing the machine, I recommend a dedicated blind filter along with a backflush disc. This combo safely cleans the brew path and prevents buildup that can cause channeling or uneven pressure.
Smart Maintenance Routines Extend Equipment Life
Beyond daily wiping and weekly backflushing, focus on descaling your espresso machine every 200–300 shots, especially if you have hard water. I swear by a descaling solution designed for heat exchangers, which effectively dissolves mineral deposits without damaging internal components. Regularly replacing parts like portafilter gaskets and group head screens, which can wear out or become clogged, helps maintain proper pressure and heat stability. For this, I keep a set of OEM replacement gaskets and screens handy—trust me, using cheap substitutes often leads to leaks and inconsistent results.
Software and Monitoring for Contemporary Espresso Enthusiasts
Although not as traditional, I now integrate a digital temperature controller with my espresso machine to experiment with varied brewing temperatures. This allows me to fine-tune extraction and discover subtle flavor notes, pushing beyond the standard factory settings. For grinders, a timed dosing system helps maintain consistency and reduces waste, especially during busy mornings. These tech-savvy tools might seem advanced, but they offer invaluable insights and control over your brewing process.
Looking Toward the Future of Espresso Maintenance
Emerging trends point toward smarter gear with self-cleaning features and IoT connectivity, providing real-time diagnostics and alerts. As these technologies mature, you’ll be able to monitor your equipment remotely and receive proactive notifications about potential issues. Staying ahead of maintenance needs will become easier, ensuring your gear lasts longer and performs better—saving you time and money in the long run.
If you’re serious about maintaining your barista setup, try implementing a regular cleaning schedule combined with calibration checks. These straightforward yet powerful steps keep your equipment in pristine condition. For tailored advice or equipment recommendations, don’t hesitate to reach out to me. Keeping your gear in top shape isn’t just about durability—it’s the key to consistently excellent coffee that makes every morning feel special.
The Biggest Slip I Made as a Home Espresso Enthusiast
One of my early mistakes was relying solely on preset machine settings without understanding how to tweak them for my beans and preferences. It took me countless cups of mediocre coffee before realizing that truly great espresso demands attention to detail beyond simply pressing the button. The lightbulb moment came when I finally learned to calibrate my grinder and adjust tamping pressure. That realization transformed my entire approach and elevated my brewing game significantly.
Curated Gems to Elevate Your Home Coffee Craft
For deepening your understanding, I highly recommend “The Professional Barista’s Guide to Coffee”—it offers insider techniques from industry pros that can push your skills further. To keep your equipment performing at its best, descaling solutions have been a game-changer for me, preventing mineral buildup and ensuring consistent temperature stability. Additionally, maintenance tools like silicone cleaning brushes help me keep my steam wand spotless—crucial for silky microfoam. Lastly, selecting quality gear has saved me from frustration and inconsistent results. Investing thoughtfully in these resources has made a real difference in my coffee journey.
Your Next Step Toward Barista-Level Coffee
Everyone starts somewhere, and the road to perfect home espresso is paved with small, deliberate improvements. If you’re committed to elevating your coffee craft, remember that mastery isn’t about having the most expensive gear but about understanding and caring for your setup. Take that leap today—experiment, learn, and enjoy every delicious shot along the way. Your favorite cafe-quality coffee is within reach, and I believe with consistent effort, you’ll be amazed at what you can achieve. So, what’s the first tweak you plan to make to your setup? Share your goals below and let’s grow together as home baristas!