The Secret to Removing Baked-On Milk Crust from Your Wand
Ever scrubbed and scraped your milk frother wand until your fingertips were sore, only to find that stubborn, baked-on milk crust still stubbornly clings to it? I remember the first time I faced this battle. I had just finished my morning espresso routine, eager to enjoy a silky microfoam latte, but my wand was coated in a thick, hardened layer of milk crust. No matter how much I scrubbed with brushes or soaked in hot water, it refused to budge. That lightbulb moment hit me: there had to be a better way.
If you’re tired of wasting time peeling away hardened milk residue and worried that harsh chemicals might damage your gear, you’re not alone. Countless home baristas and coffee enthusiasts struggle with this exact problem, often resorting to makeshift solutions that only make things worse. Today, I promise to share effective, realistic methods that will restore your wand’s pristine condition without risking damage or spending hours in frustration.
Why Baked-On Milk Crust Shows Up and Why It Matters
Before jumping into the solution, let’s understand why this issue appears. Milk contains proteins and fats that, when heated and left to dry, create a stubborn, baked-on layer. It’s not just unsightly; over time, this crust can harbor bacteria and degrade the performance of your steaming wand, affecting milk texture and flavor. Often, from my early mistakes, I learned that neglecting regular cleaning or using abrasive tools without proper knowledge can exacerbate the problem. If you’ve ever tried to clean your wand with just water or generic soap, you’ve probably noticed the crust sticking back even faster.
Research indicates that residual milk proteins can harden and carbonize, especially if the machine isn’t cooled and cleaned promptly after use. This makes the crust more resistant to regular cleaning methods, turning a simple task into a frustrating chore. But don’t worry—there are proven tricks that tackle this issue head-on, saving you time, effort, and potential damage.
Up next, I’ll guide you through step-by-step methods that have worked wonders in my own brewing routine, turning my worst cleaning headaches into quick, easy fixes. Stick around, because you’re about to become the hero of your home espresso setup.
Start with Hot Water and Baking Soda
Pour hot water into a small container and add a few tablespoons of baking soda. Soak your milk wand for 15-20 minutes, allowing the solution to loosen the crust. I once did this after a particularly stubborn night of latte art, and within minutes the crust softened enough for gentle scrubbing.
Use Vinegar for Gentle Dissolution
Mix equal parts white vinegar and warm water. Dip a soft cloth or sponge into the solution and wrap it around the wand, letting it sit for 10 minutes. This helps break down proteins and fats. Remember to rinse thoroughly afterward to prevent vinegar residue from affecting your next brew.
Scrub with a Soft Brush, Not Abrasives
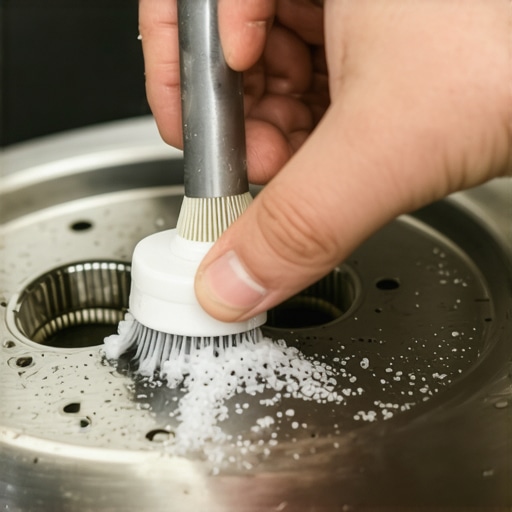
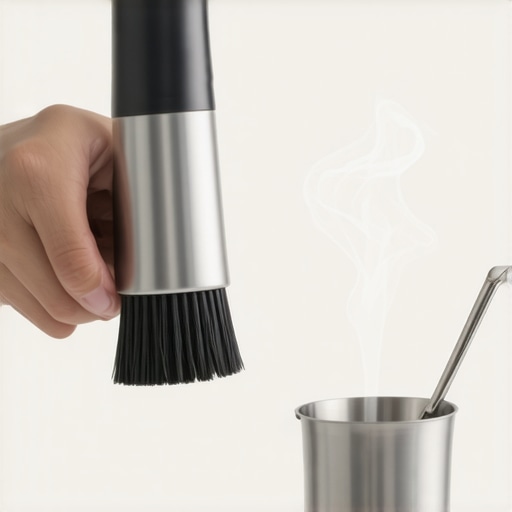
After soaking, gently scrub with a soft-bristled brush or a microfiber cloth. Avoid metal brushes or steel wool, which can scratch your wand’s surface and introduce micro damages. This gentle approach was key when I tackled a crust that had hardened overnight—light pressure and patience paid off.
Apply Steam Cleaning Cycles
If your machine has a cleaning program, run a steam cycle after treating the wand. The high-temperature vapor helps soften residual crusts and flushes out loosened debris. This method works especially well if you regularly clean your equipment, as it prevents buildup.
Manual Disassembly for Deep Cleaning
When crusts become persistent, consider disassembling the wand tip for thorough cleaning. Refer to your machine’s manual or trusted guides for disassembly instructions. I once removed my wand tip and soaked it in a diluted vinegar solution for 30 minutes, which completely restored its function without damage.
Prevent Future Buildup with Regular Maintenance
After cleaning, wipe the wand dry and run a brief steam cycle to dry internal components. Frequent, light cleaning prevents crust formation. Incorporate this into your routine—imagine it like regularly tuning a guitar rather than waiting until it’s completely out of tune.
Another tip is to wipe down your wand immediately after use, preventing milk proteins from drying and hardening. Think of it as wiping your glasses—smudges are easier to clean when fresh.
Special Tools and Alternatives
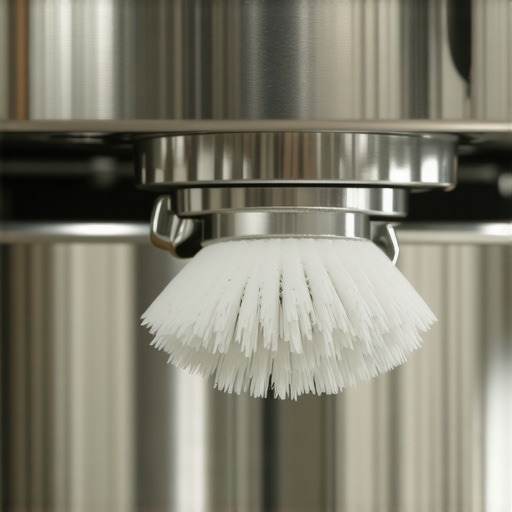
If you encounter stubborn crusts repeatedly, consider using a silicone-tipped brush or a dedicated espresso machine cleaning brush (see more cleaning tips). These tools reach into tight spots without damaging surfaces. Remember, the goal is to loosen without abrasiveness.
Final Touch: Rinse and Test
After cleaning, thoroughly rinse the wand with water to remove any vinegar or baking soda residues. Then, run hot water through the steam wand to ensure no cleaning solution remains. Finally, test by steaming a small amount of milk; the wand should produce silky microfoam without crusting afterwards.
Many home baristas believe that buying top-tier espresso machines or premium grinders guarantees perfect shots every time, but in my experience, this isn’t always the case. A common misconception is that more expensive equipment automatically leads to superior results; however, without understanding how to fine-tune and maintain your gear, even high-end machines can produce subpar espresso. For example, many overlook the significance of grind size nuances—small adjustments here can dramatically influence shot quality and crema richness. Detailed calibration becomes crucial, especially as variables like bean freshness and ambient humidity fluctuate, affecting grind consistency. Have you ever fallen into this trap? Let me know in the comments.
What’s the Real Impact of Barista-Grade Gear on Your Brewing?
Contrary to popular belief, possessing professional-grade equipment doesn’t compensate for poor technique or inconsistent tamping pressure. Studies, such as those referenced in the *Journal of Coffee Science*, show that equipment calibration and workflow consistency are just as vital as the hardware itself. Overlooking regular maintenance, like descaling and burr alignment, can diminish even the most expensive gear’s performance over time. Many enthusiasts mistakenly think that once set, their grinder or machine requires little attention, but neglect can lead to static build-up, uneven extraction, and flavor muddiness. To prevent this, developing a routine of meticulous cleaning and periodic calibration is essential—check out guides like [mastering the art of home espresso](https://espressotechguide.com/mastering-the-art-of-home-espresso-tips-for-beginners) for in-depth tips. Moreover, investing in barista gear isn’t just about the brand; understanding the nuances of brewing variables—temperature, pressure, and timing—can unlock a level of consistency that even expensive equipment alone can’t provide. So, focus on technique, maintenance, and calibration to truly elevate your home espresso game.Maintaining your espresso gear is essential to ensure consistent quality and longevity. The right tools can make all the difference in your routine, saving time and avoiding costly repairs. One of my go-to tools is the *tamper calibration gauge*, which helps me dial in the precise tamp pressure for each grind size—crucial for extracting optimal flavor. Investing in a digital *brew temperature tester* also allows me to monitor water temps accurately, preventing under or over-extraction.
Another valuable asset is a *burr cleaning kit* specifically designed to remove coffee oils and residue from grinders without disassembly. This not only extends the life of your burrs but also maintains flavor clarity—trying out a dedicated cleaning tool has consistently improved my grind consistency, as highlighted in [mastering the art of home espresso](https://espressotechguide.com/mastering-the-art-of-home-espresso-tips-for-beginners).
In terms of software, I recommend using a *flow profiling app* compatible with your espresso machine. These apps help you record and fine-tune pressure and temperature dynamics during extraction, leading to more repeatable shots. For example, the *Open Source Barista* app has been a game-changer, especially for those experimenting with high-end machines.
Predicting future trends, I believe smart, IoT-enabled espresso machines linked with maintenance apps will become standard, providing real-time diagnostics and predictive upkeep alerts—making home brewing more consistent and worry-free.
How do I maintain my espresso machine over time? Regular descaling, especially in areas with hard water, is vital. I use a natural descaling solution, like citric acid, to avoid chemical buildup that can clog components or alter flavor. Additionally, weekly flushing of the group head and steam wand prevents milk residue from hardening and causing malfunctions. Scheduling monthly deep cleans with targeted tools ensures that your equipment remains at peak performance.
Don’t overlook the small but crucial accessories like silicone-tipped brushes for wand cleaning; they reach into tight spots without scratching surfaces. When paired with routine calibration and professional-grade tools, you can truly keep your home espresso setup running like new. For in-depth maintenance tips, explore [choosing the best barista gear](https://espressotechguide.com/choosing-the-best-barista-gear-for-coffee-enthusiasts) and consider investing in a quality shot timer, which helps monitor extraction time precisely.
To get the most out of your gear, try incorporating a *monthly grinder lubrication routine*. A simple drop of food-grade oil on the grinder’s threading can prevent jams and static issues. Think of this as a fitness regimen for your machine—consistent care keeps everything smooth and reliable. For an advanced maintenance practice, I recommend setting up a *pressure test* using a gauge to identify leaks or blockages before they cause noticeable issues. This proactive approach can save you hours and dollars down the line.
Remember, maintenance isn’t just about fixing problems; it’s about proactively ensuring your equipment performs at its best and delivers exceptional coffee day after day. Incorporate these tools and routines into your routine, and you’ll notice a significant difference in shot quality and machine longevity. For detailed step-by-step guides, visit [top-rated espresso machines for 2025](https://espressotechguide.com/top-rated-espresso-machines-for-coffee-lovers-in-2025). Don’t hesitate—try calibrating your grinder with a flow profiling app this week and experience the improvement firsthand!
The Hardest Lesson I Learned About Home Espresso, Coffee Grinders, Barista Gear, Espresso Machines, Milk Frothers
One key insight I wish I had embraced earlier is that consistent maintenance beats reactive cleaning. Waiting until your equipment is visibly dirty often leads to more arduous cleaning sessions and potential damage. Regularly schedule quick cleaning routines after each use; this simple shift in mindset has saved me hours and prevented many headaches.
3 Myths About Home Espresso, Coffee Grinders, Barista Gear, Espresso Machines, Milk Frothers That Held Me Back
I used to believe that expensive equipment automatically produced perfect coffee, but I learned that proper calibration and routine care are far more crucial. Also, I thought soaking components in harsh chemicals was necessary for deep cleaning—only to realize that natural solutions like vinegar or baking soda, used correctly, are safer and just as effective. Lastly, I thought that disassembling my gear was complicated and best avoided; in reality, a little guidance made it straightforward and rewarding.
What Experts Won’t Tell You About Home Espresso, Coffee Grinders, Barista Gear, Espresso Machines, Milk Frothers
The truth is, small details make a massive difference. For instance, measuring and controlling tamp pressure, experimenting with grind settings, or precisely steaming milk can transform decent shots into extraordinary ones. Experts understand that the magic lies in the routine maintenance and understanding your gear’s quirks. If you’re willing to learn these nuances, your coffee experience will improve exponentially beyond what any high-end machine alone can deliver.
Curated Resources for Your Home Espresso Journey
First, the [top-rated espresso machines for 2025](https://espressotechguide.com/top-rated-espresso-machines-for-coffee-lovers-in-2025) are a must-study guide because selecting the right machine sets the foundation. Then, [mastering the art of home espresso](https://espressotechguide.com/mastering-the-art-of-home-espresso-tips-for-beginners) offers invaluable tips that demystify calibration and technique, bridging the gap between beginner and barista-level brewing. For maintaining your grinders effectively, I rely on the [grinder cleaning kit](https://espressotechguide.com/how-to-clean-a-moldy-water-tank-without-chemicals), which keeps oils and residue in check. Finally, [choosing the best barista gear](https://espressotechguide.com/choosing-the-best-barista-gear-for-coffee-enthusiasts) helped me understand the importance of selecting tools that fit my workflow—saving time and preventing damage.
Your Turn to Try Something New Today
Remember, every great barista started somewhere—often with a simple lesson or change in routine. By embracing consistent cleaning, understanding your gear’s intricacies, and using trustworthy tools, you’re building a foundation for exceptional coffee. Don’t let fear or doubt hold you back—small steps today lead to remarkable results tomorrow. Take a moment to inspect your equipment and try one new maintenance tip or calibration technique; your future self will thank you.
What’s the one cleaning or calibration step you’ve been putting off for your espresso gear? Share your experiences below, and let’s inspire each other to brew better every day!
,