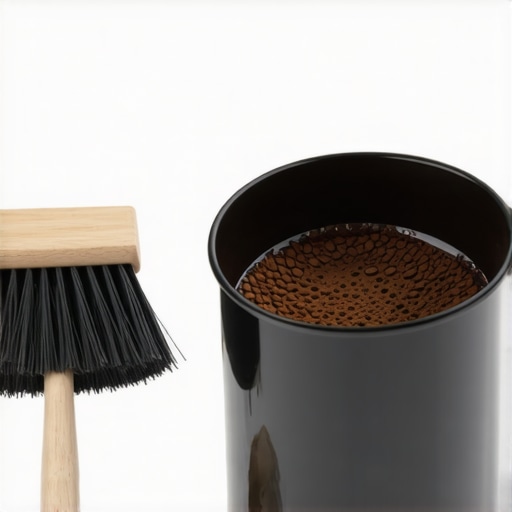
Why Your Knockbox is Smelly and How to Deep Clean it
Ever reached for your trusted knockbox after a long morning of brewing, only to be greeted by a less-than-pleasant odor? I know that feeling all too well. One day, I opened my kitchen drawer and was hit by a surprisingly foul smell whenever I reached for my espresso accessories. Turns out, that stinky surprise was coming from my knockbox—a crucial yet often overlooked part of my daily coffee ritual. The realization hit me: if I didn’t clean it properly, my morning espresso might also start tasting off, and honestly, no one wants their coffee to carry yesterday’s grime.
Spotting the Hidden Culprit Behind the Smell
Many home baristas simply empty their used coffee grounds into the knockbox and forget about it. But over time, residual oils, coffee grinds, and moisture can cultivate mold, bacteria, and that unmistakable sour odor. The good news? With a few simple steps, you can banish that smell and keep your knockbox—and your coffee—fresh and inviting.
Is Deep Cleaning Really Necessary, or Is Regular Wiping Enough?
Initially, I thought a quick rinse or wipe would do the trick. However, I made the mistake early on of neglecting the buildup beneath the surface, which only worsened the odor. A deep clean involves more than just rinsing; it requires thorough scrubbing and natural disinfectants. Trust me, neglecting this step can turn your beautiful coffee station into a petri dish of bacteria. Don’t let that happen to you. For more tips on maintaining your favorite barista gear, check out our guide on choosing the best barista gear.
Start with a Rinse to Remove Loose Residue
Immediately after your brewing session, rinse your knockbox with hot water to flush out the remaining coffee grounds and oils. Use a brush or sponge to scrub away any stuck bits, focusing on the bottom where buildup tends to accumulate. I remember one morning I skipped this step, only to find a stubborn patch of dried coffee residue that refused to budge, causing persistent odor. Regular rinsing prevents this and keeps your knockbox smelling fresh.
Use Natural Disinfectants for Deep Cleaning
Mix a solution of equal parts water and white vinegar, then soak a cloth or sponge in it. Wipe down all surfaces, paying special attention to crevices and the underside where moisture can linger. Vinegar’s acidity inhibits mold and bacteria growth without harsh chemical fumes. I once tackled a particularly foul-smelling knockbox by soaking it in a vinegar solution overnight, and the next day, it was odor-free. For stubborn mold or stains, consider temporarily dismantling the knockbox if possible, but avoid using bleach, as it can damage the material and leave residual smell.
Scrub with Bristled Tools for Thorough Cleaning
Use an old toothbrush or a dedicated scrub brush to clean hard-to-reach areas and threads. Apply the vinegar solution or a mild dish soap to break down residual oils. Think of this step as exfoliating your skin; it removes the dead layers that harbor odor. During my last deep clean, I used a toothbrush to clean around the lid and corners, which significantly reduced odor and improved the overall cleanliness. Regular scrubbing prevents oil buildup that can turn sour over time.
Dry Completely to Prevent Moisture-Based Odors
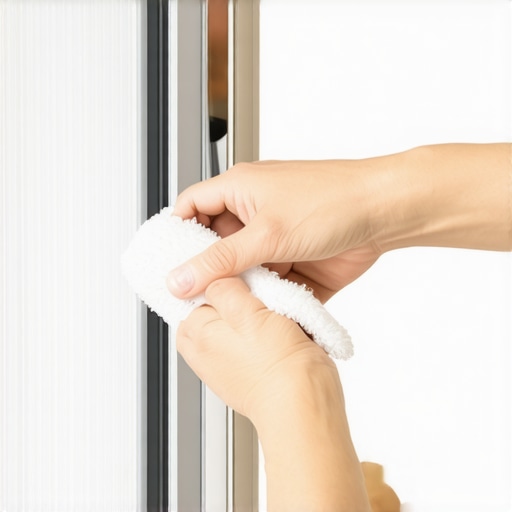
After cleaning, dry every part of the knockbox thoroughly with a clean towel. Moisture promotes mold and bacterial growth, which causes smell. I learned this lesson the hard way when I left my knockbox wet overnight; the next morning, it reeked of mildew. To speed up drying, place the knockbox in a well-ventilated area or under direct sunlight for a few hours, if weather permits. Ensuring complete dryness is key to long-lasting freshness.
Maintain Regular Cleaning Schedule
Set a weekly routine: empty grounds, rinse, disinfect, scrub, and dry. Consistency prevents odors from developing and keeps your coffee station inviting. Incorporate this into your cleaning routine alongside your machine maintenance, such as descaling and cleaning the steam wand, for an overall pristine setup. I now schedule a quick weekly clean, which takes less than ten minutes but makes a noticeable difference in smell and hygiene. For a comprehensive maintenance plan, visit our maintenance tips page.
Many enthusiasts jump into home espresso making armed with the latest machines and fancy barista gear, but there’s a common trap: believing that more expensive or high-end equipment alone guarantees perfect shots. In fact, several nuanced factors can sabotage your efforts, even if you’ve invested in top-tier gear. For instance, many think that dialing in the grind is just about weight or time, but a subtle miscalibration in static or burr alignment can cause uneven extraction, leading to sour or bitter espresso. According to a study published in the Journal of Coffee Science, burr alignment impacts particle consistency more than most amateurs realize, emphasizing the need for regular grinder maintenance. Oversimplifying the cleaning routine is another persistent myth; cleaning your espresso machine daily isn’t necessary if you’re aware of critical points like the group’s piston seals or water inlet valves, which require less frequent attention but are vital for flavor consistency. An advanced mistake is neglecting humidity’s effect on grind size; higher moisture levels can cause clumping, affecting extraction. Invest in a hygrometer or a simple dehumidifier to monitor your environment—small but impactful steps that make a difference. Now, what about milk frothing? Many think that the frothing temperature alone determines microfoam quality, but foam stability also depends on the protein structure in your milk, which can be affected by its freshness and storage conditions. Using an old or improperly stored milk variant might produce thick foam that won’t pour smoothly, sabotaging latte art. For even more in-depth insights, check out our guide on why your milk foam isn’t pouring perfectly. Mastering home espresso isn’t just about equipment; it’s about understanding the intricate dance of variables like water quality, machine calibration, and environmental factors. Overlooking these nuances can lead to persistent issues that sabotage your brewing success. Make a habit of weekly maintenance checks, monitor environmental conditions, and refine your technique continuously. Remember, the difference between a good shot and a great one often lies in these subtle details. Have you ever fallen into this trap? Let me know in the comments. For detailed gear selection tips, visit our comprehensive guide. And if you’re ready to elevate your setup further, explore our recommended top-rated espresso machines for 2025.Keeping your home espresso machine and barista gear in top shape requires more than just regular cleaning; it demands the right tools and methods to ensure longevity and consistent performance. Personally, I rely on a high-quality digital pressure gauge to monitor my machine’s performance accurately—this helps me identify pressure drops early before they affect shot quality. Additionally, a set of calibration weights ensures my grinder remains precisely dialed in, preventing uneven extractions that can turn your coffee sour or bitter. For thorough cleaning, I swear by a dedicated steam wand brush that reaches stubborn milk residue—using the correct tool speeds up maintenance and reduces microbial buildup, especially when paired with natural cleaning solutions like vinegar and baking soda. In the evolving landscape of coffee tech, smart sensors are becoming more accessible, allowing real-time data logging of temperature, pressure, and shot times. I predict this trend will continue, transforming home barista routines into data-driven workflows. How do I maintain my equipment over time? I recommend adopting a weekly checklist that includes inspecting seals and gaskets—wearing parts that can silently compromise your brew if neglected. Investing in a calibration service or using calibration kits regularly, as outlined in the official calibration guide, can dramatically improve consistency. Also, keeping a log of performance metrics helps track degradation and plan maintenance proactively. Remember, using precise tools isn’t just about fixing problems; it’s about preventing them and brewing at your best. For an advanced tip, try incorporating a hygrometer in your storage area to monitor humidity, which impacts grind size and espresso extraction—small adjustments here can yield significant gains in flavor clarity. If you’re ready to step up your maintenance game, I invite you to explore our comprehensive gear selection guide to find tools tailored for dedicated home baristas.
Secrets the Coffee World Won’t Tell You About Keeping Your Gear Fresh
One of the most overlooked aspects of home espresso brewing is the hidden power of proper maintenance. My lightbulb moment came when my once-delicious shots began tasting sour after neglecting my grinder’s burrs and seals for too long. That wake-up call taught me that even the best machines need regular TLC—small, consistent efforts prevent big, costly problems down the line.
How I Discovered the Unexpected Benefits of Minor Tweaks
Adjusting my grinder’s burr alignment by a fraction made a surprising difference in shot clarity. I also started monitoring humidity levels around my coffee setup, which reduced clumping and improved extraction. These nuanced changes reminded me that precision isn’t just for pros—it’s within our reach when we pay attention to detail. For more insights into refining your flavor profile, explore our guide on choosing the right coffee grinder.
Amplify Your Routine: Tools That Elevate Your At-Home Barista Game
Investing in a quality digital pressure gauge and calibration weights transformed my maintenance approach. These tools helped me detect pressure drops early and maintain consistent shots—saving me time and money. For those serious about their craft, I recommend a dedicated steam wand brush and a hygrometer to keep moisture levels in check. Trusted sources like our maintenance tips page are full of these essentials.
Putting It All Together Without Overthinking
The real secret to mastering home espresso isn’t just about high-end gear but creating a system of small habits—weekly cleanings, environmental monitoring, and precise calibration—that keep your setup humming. I’ve learned that consistency beats perfection, and over-investing in tools isn’t necessary if you focus on these manageable routines. Remember, even the smallest changes can elevate your coffee experience from ordinary to extraordinary.
Have You Experienced a Breakthrough Moment?
Perhaps a simple adjustment or a new tool suddenly improved your shots. I’d love to hear your stories! What minor tweak made the biggest impact on your home espresso journey? Share your experiences in the comments below, and let’s learn together.