Why Your Portafilter Handle Is Stuck at the 5 O-Clock Position
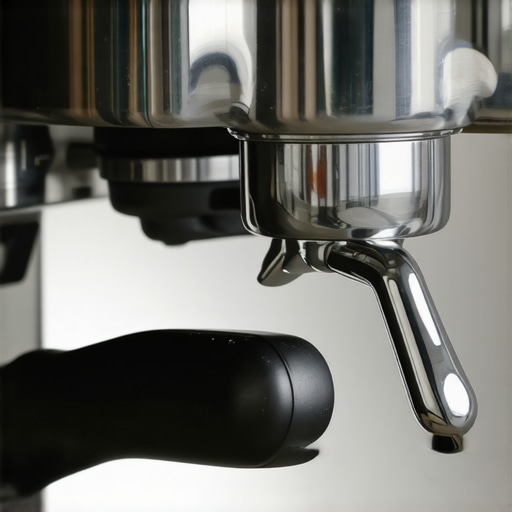
Ever been right in the middle of brewing a perfect espresso shot, only to find your portafilter handle refusing to budge, stuck stubbornly at that 5 o’clock position? I can’t tell you how many times I’ve been there—frustrated, fiddling with tools, and questioning whether I missed a crucial maintenance step. That moment of stuckness isn’t just inconvenient; it can also impact your shot quality and even damage your beloved machine if left unaddressed.
The good news? You’re not alone, and there’s a straightforward way to solve this common issue. Today, we’re diving into why your portafilter handle tends to get jammed and, more importantly, how you can fix it without pulling your hair out. Trust me, once you understand the root cause, you’ll be able to troubleshoot like a pro and keep your espresso game on point.
Uncovering the Real Reasons Behind the Jam
Is Your Grinder or Tamp to Blame?
Many home baristas—including myself early on—make the mistake of overlooking how grinder settings and tamping pressure can contribute to portafilter lock-ups. When the grind is too fine or tamping is inconsistent, it can cause excessive pressure during extraction, making the handle stick. Or, if the coffee bed is uneven, it might interfere with smooth insertion and removal. I learned this the hard way, spending hours trying to force the handle without addressing these issues first.
Another sneaky culprit is the buildup of coffee oils and debris around the group head and gasket. These deposits can create resistance, making the handle difficult to turn or remove. Regular cleaning plays a vital role in keeping things operating smoothly, which is something I now swear by—don’t skip your maintenance routines! For tips on keeping your machine spotless, check out [this guide](https://espressotechguide.com/how-to-clean-your-grinder-hoat-without-taking-it-apart).
But perhaps most overlooked is the alignment of the portafilter itself. Misalignment can cause uneven seating, leading to those stubborn sticking points. Ensuring proper fitment and addressing any wear and tear on seals can make a huge difference.
Before we get into the fix, I want to share an honest mistake I made early on: I used harsh chemical cleaners on my gasket, thinking more cleaning meant better extraction. Nope! That actually deteriorated the seal and worsened the problem. Instead, gentle cleaning combined with proper calibration is the way to go.
Ready to get into the practical steps? The next section will walk you through diagnosing the root cause and applying effective fixes, so your portafilter handle slides out like butter every time. If you’ve experienced this issue, let me know—I’ve been there too, and solving it made all the difference in my daily coffee ritual.
Check and Adjust Your Grind and Tamping
Start by inspecting your coffee grind level. If it’s too fine, the coffee particles can clog the group head, causing extra resistance. To fix this, experiment with coarser settings on your grinder—say, moving from the finest to medium-fine. Then, review your tamping pressure; applying excessive force can compact the coffee unevenly, making removal difficult. Aim for a firm, even tamp of about 30 pounds of pressure. I once over-the-top tamped and found my handle nearly impossible to twist out, but once I lightened up, removal became effortless.
Clean and Maintain the Group Head Regularly
Accumulated coffee oils and residues build up over time, creating a sticky surface that jams the portafilter. Use a cleaning brush or a damp cloth to wipe the group head after each use. For deeper cleaning, run a blank shot with a cleaning tablet or brush with a damp cloth during maintenance. I learned this lesson the hard way when my handle refused to budge until I cleaned the gunk around the gasket, resulting in smoother operation afterward. Learn more about cleaning your machine here.
Ensure Proper Alignment and Seating
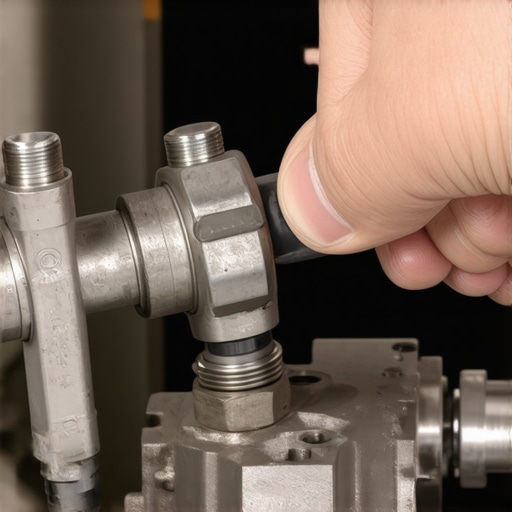
Misalignment between the portafilter and the group head can cause sticking. Remove the portafilter and inspect its position. Confirm that the gasket and shower screen are clean and intact. If the handle always sticks at a certain angle, check for worn seals or warped portafilters. I once replaced a worn gasket, which instantly improved seating and easier removal. When in doubt, try aligning the handle at different angles and see if it moves more freely—sometimes, a slight adjustment makes all the difference.
Apply the Right Lubrication Technique
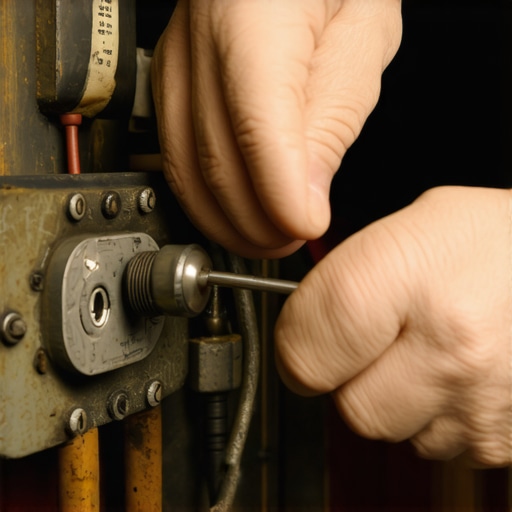
Lubrication isn’t always necessary, but if the handle still feels stiff, you can use a food-safe lubricant or a tiny bit of non-corrosive oil on mounting points. Be cautious—over-lubricating can attract dirt or oils that worsen the problem. I used a small amount of espresso machine-specific lubricant around the handle pivot, which eased its motion during a stubborn sticking phase. Remember, routine maintenance prevents this issue from recurring.
Test and Verify the Fix
After adjustments, reassemble your portafilter and gently insert it into the group head. Twist it back and forth a few times to verify smooth movement. Run a test brew with minimal coffee to ensure everything functions correctly. If resistance persists, revisit each step, double-checking the gasket’s condition, grind size, and cleanliness. This iterative process transforms your handling from frustration to fluidity, streamlining your brewing experience.
Many home baristas fall prey to misconceptions about coffee grinders, milk frothers, and espresso machines, often leading to subpar results despite their best intentions. Let’s dig deeper into what’s truly important and clarify some frequent misunderstandings.
Are All Burr Grinders Equal or Is There a Hidden Complexity?
Contrary to popular belief, not all burr grinders produce the same quality of grind; factors like burr material, sharpness, and alignment dramatically influence flavor extraction. For instance, ceramic burrs can stay sharper longer but may chip if exposed to sudden temperature shifts, affecting grind uniformity. Additionally, premium grinders with conical burrs often provide more consistent particle size, which is vital for espresso. Many enthusiasts overlook calibration, leading to inconsistent shots even with high-end equipment. A common trap is thinking that expensive grinders automatically guarantee great results—while they help, proper dialing-in is equally critical. For more advanced tips, check out calibration techniques.
Milk Frothers: Are You Missing the Subtle Details?
Many believe that any milk frother can produce silky microfoam, but the devil is in the details. The type of frothing wand, temperature control, and even the container shape influence microfoam quality. For instance, external electric frothers might be quick, yet they often produce less integrated foam compared to steam wands, which, when mastered, yield superior texture. Beware the trap of overfilling, which hampers air incorporation, or using cold milk straight from the fridge—warming it first ensures better integration. Also, don’t assume that frothing longer yields better foam; microfoam develops within seconds if done right. Want to perfect your technique? Explore these expert tips.
What Advanced Mistakes Do Home Espresso Enthusiasts Usually Make?
Beyond basic grind and tamp, many hobbyists underestimate the importance of machine maintenance and proper workflow. Overlooking routine group head cleaning or neglecting to replace worn gaskets can cause uneven extraction and sticking issues. An often-overlooked nuance is water temperature stability; fluctuations by just a few degrees can alter shot taste dramatically. Additionally, not considering water quality—hard water can damage boilers and clog pipes—can silently sabotage your investment. According to coffee expert Scott Rao, paying close attention to your machine’s calibration, temperature management, and maintenance routines is key to espresso excellence. For a comprehensive guide, see mastering the art of home espresso.
Common Trap: Ignoring the Subtle Interplay Between Gear and Technique
Many enthusiasts think owning top-tier gear alone guarantees perfect coffee—nothing could be further from the truth. The hidden nuance lies in understanding how each component interacts. For example, a high-end grinder won’t compensate for poor tamping technique or inconsistent dosing. Similarly, premium espresso machines require thoughtful calibration and routine maintenance to perform at their best. Failing to recognize these interdependencies often results in craftsmanship that seems inconsistent or subpar, despite premium gear. Remember, optimizing your setup involves both equipment and skill. Want insider advice? Reach out via our contact page. Have you ever fallen into this trap? Let me know in the comments.Maintaining your coffee equipment is essential to ensuring consistent quality and extending the lifespan of your investment. I swear by a few key tools and routines that keep my gear running smoothly day after day. First, a high-quality calibration scale like the [Acaia Pearl](https://espressotechguide.com/why-your-espresso-scale-turns-off-midway-through-a-shot) has transformed my approach to grind and tamp consistency. It provides precise measurements, helping me dial in my shots and avoid guesswork—crucial for long-term mastery.
For everyday cleaning, I depend on a dedicated brush set designed specifically for espresso machines, which helps me reach into tight spots around the group head and shower screens. Regular cleaning prevents oil and residue buildup that can cause sticking or flavor tainting. Moreover, I use a conditioning service like Calibrated Service Equipment, which ensures my grinder’s burrs stay aligned and sharp over thousands of shots, vital for impressive extraction.
When it comes to tools, I highly recommend a gasket scraper tool that makes replacing worn seals straightforward—I’ve saved myself hours of frustration by swapping gaskets myself instead of calling a technician. This approach not only saves money but also enables me to identify wear early, preventing leaks and pressure drops. For ongoing maintenance, I keep a full maintenance kit from Barista Hustle, which includes lubricants, cleaning tablets, and replacement parts that are built to withstand the rigors of daily use.
Looking ahead, I believe automation tools like digital maintenance trackers will become more mainstream, reminding us when to replace parts or schedule deep cleans. This trend will make maintenance less of a chore and more of an integrated part of brewing mastery.
So, how do I maintain my gear over time? For starters, I follow a strict schedule of descaling, gasket replacement, and brush cleaning. I also document adjustments and procedures—an approach I detailed in our guide on calibrating volumetric buttons—which helps me track what works best and avoid setbacks.
If you haven’t already, I encourage you to try adding a calibration scale to your setup. It’s a game-changer for precision and consistency. Also, consider investing in a dedicated cleaning brush set to streamline your routine. Doing so will take your home coffee game to the next level, ensuring your gear operates flawlessly and your shots taste as good as they should. For more insights on selecting the best barista tools, check out this comprehensive guide.
Secrets I Wish I Knew About Proper Portafilter Handling
One of the most eye-opening lessons in my journey was realizing that the way I tamped and aligned my portafilter directly impacted its lifespan and ease of use. I used to apply excessive force without considering proper technique, leading to unnecessary wear and stuck handles. The game-changer was understanding that gentle, even tamping and correct seating can prevent jamming and save me from costly repairs or replacements.
Another insight was how crucial regular cleaning and maintenance are. It’s tempting to overlook residue buildup, but coffee oils and debris can create resistance—making the handle feel stiff or even causing damage over time. My routine now includes daily wipes and monthly deep cleans, which have drastically improved my machine’s responsiveness and my overall brewing consistency.
Lastly, I learned that alignment isn’t just about throwing the portafilter in and twisting—careful inspection and adjustment of gasket seals and the group head can make a tangible difference. When I replaced my worn gasket, the seating felt smoother, and I experienced fewer sticking issues, even during busy mornings. This shows that paying attention to small details can yield big benefits in your espresso workflow.
Tools and Resources That Transformed My Approach
- Calibration Scale Like Acaia Pearl: Precision is everything. This scale helped me measure tamp pressure and portafilter weight, bringing consistency to every shot and extending my equipment’s life.
- Espresso Machine Cleaning Kit: Dedicated brushes and cleaning tablets are non-negotiable for me. They keep gunk and oils at bay, ensuring smooth handle operation and better flavor extraction.
- Replacement Gasket and Seal Kit: Having spare seals on hand means I can quickly address wear and prevent long-term damage. It’s a small investment that pays off in reliable machine performance.
- Educational Resources: I often revisit this guide for mastering routine maintenance and calibration. Continuous learning keeps my skills sharp and my gear happy.
Step Into Your Coffee Future Now
The journey to a flawless home espresso setup isn’t just about buying the latest gear—it’s about understanding and caring for what you have. Each tweak and routine improvement empowers you to pull better shots and extend your machine’s lifespan. Remember, your passion combined with informed care turns everyday gear into a barista-quality experience. So go ahead, embrace the small adjustments—they compound into big wins.
Have you ever experienced a portafilter handle jamming at the worst moment? Share your story below—I’d love to hear how you tackled it or plan to improve your setup!
,