The Cotton Swab Trick for Cleaning Hidden Grinder Crevices
It was early morning, and I was frantically trying to fix my stubborn espresso shot—it just wouldn’t have that perfect crema I was aiming for. As I pulled out my grinder for another cleaning, I realized that despite regularly deep cleaning, some tiny corners still seemed to harbor old coffee grounds and oils. That’s when I had my lightbulb moment: those hard-to-reach crevices in my grinder were the culprits, silently affecting taste and consistency.
Why Hidden Grinder Crevices Sabotage Your Coffee Experience
Many home baristas overlook the importance of thoroughly cleaning every nook and cranny of their grinder. Those little spaces—especially between burrs and inside the dosing chamber—can accumulate coffee oils, static, and stubborn grounds, which negatively impact flavor and grinder performance over time. I learned this the hard way early on, making the mistake of only cleaning visible parts and neglecting the small gaps. It wasn’t until I adopted a simple yet effective technique that my espresso quality dramatically improved. Interestingly, research suggests that coffee oils can go rancid if not properly cleaned, leading to off-flavors and staling of beans—the same oils that contribute to that beautiful crema in a well-pulled shot.
If you’ve faced similar issues—clogged grinder chutes, inconsistent dosing, or bitter-tasting coffee—it might be time to turn your attention to those hidden spaces. And trust me, achieving a cleaner grinder isn’t about complicated dismantling or expensive tools. Sometimes, the simplest tricks make the biggest difference.
Are you tired of your grinder’s hidden corners ruining your brew? Ready to see how a tiny tool can make a world of difference? Keep reading, because I’ll guide you through a straightforward method that anyone can master.
Is the Cotton Swab Trick Actually Worth the Hype?
I remember rushing into using metal tools, thinking that they’d clean more effectively. Guess what? I damaged my burrs and created scratches—another mistake I wish I’d avoided. Now, I swear by the cotton swab method, which is gentle but remarkably thorough. This approach not only prevents damage but also reaches those tiny, overlooked spots with ease. Want to learn how this simple trick can revolutionize your cleaning routine? Stay tuned.
Start with the Right Tools and Preparation
Before diving into cleaning, gather the essentials: a set of cotton swabs, a small brush with soft bristles, a damp cloth, and a toothbrush. These tools will help you reach those tiny crevices without damaging your grinder. I once started using a metal pick, which scratched my burrs—lesson learned the hard way. Opting for gentle tools preserves the grinder’s integrity and ensures a thorough clean.
Disassemble Your Grinder Carefully
Remove the hopper and bin, then take out the burrs according to your manufacturer’s instructions. For many models, twisting and lifting will do the trick. Handle delicate parts with care to avoid breaking or misaligning anything. Remember, a well-disassembled grinder makes access to hidden spots easier and safer.
Clean the Burrs and Chamber
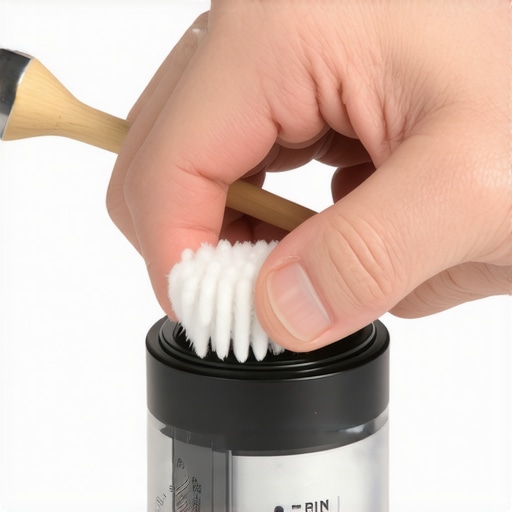
Start by knocking loose any residual coffee grounds with a brush. Use a dry cloth or compressed air to blow away static dust and loose particles. For stubborn oils, dampen a cotton swab with warm water and gently wipe around the burr edges, avoiding soaking the parts. I once tried submerging parts—bad idea! Moisture can lead to rust and damage, so keep everything dry and only slightly damp.
Focus on Hidden Crevices
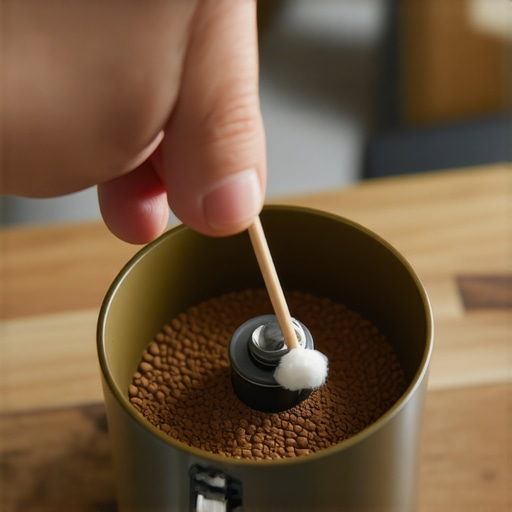
Inspect the space between the burrs and the inside of the chamber. Use cotton swabs to reach these tight spots, rotating the burrs gently to access all angles. The swabs will pick up oily residue and grounds that static cling to surfaces. For corners that are hard to reach, a tiny soft-bristled brush can dislodge debris without scratching surfaces.
Reassemble and Calibrate
Once all parts are cleaned and dried thoroughly, reassemble your grinder in reverse order. To maintain consistency, calibrate your grinder after cleaning—adjust the burrs to your preferred grind size. Regular calibration, especially post-cleaning, helps keep your espresso shots consistent. For detailed calibration steps, visit this guide.
Implement Routine Maintenance
Schedule deep cleanings every few weeks, depending on usage. During daily use, wipe the exterior and remove coffee grounds from the chute with a brush or compressed air. This routine prevents buildup and preserves flavor quality. Remember, a clean grinder directly correlates with better extraction and crema in your espresso.
 While mastering the basics like achieving perfect extraction and milk microfoam is essential, many enthusiasts overlook the subtle nuances that truly elevate their coffee experience. One common misconception is that more expensive equipment automatically guarantees exceptional results. In reality, understanding the intricacies of grinder calibration or the importance of temperature stability can make a significant difference. For example, even a slight misalignment in your grinder’s burrs can lead to uneven particle size, resulting in inconsistent shots. Regularly calibrating your grinder after maintenance is crucial; not doing so can cause over-extraction or under-extraction, diminishing flavor quality. Consider the often-missed role of water quality—hard water can cause mineral buildup, harming your machine and altering taste, as highlighted by industry expert Scott Rao in his book on espresso extraction. Moreover, many believe that manual milk frothing is superior to automated milk frothers, but advanced machines with precise steam control often produce more consistent microfoam, especially for latte art enthusiasts.
Are You Overlooking Temperature Stability and Its Impact on Flavor?
Temperature fluctuations during extraction or steaming can dramatically affect flavor profiles, yet this nuance is frequently ignored by home baristas. Ensuring your machine is properly warmed up and maintaining stable brew temperatures is vital; even minor deviations can cause underdeveloped or overcooked flavors. Consider investing in a temperature gauge or timestamping your brewing process to monitor consistency—these small steps can dramatically improve results. External sources, such as testing by coffee research institutes, demonstrate that temperature accuracy accounts for a significant portion of flavor variation. Remember, a deeper understanding of these subtle factors transforms a good cup into a great one. Want personalized advice on optimizing your setup? Reach out through this contact page. Have you ever fallen into this trap? Let me know in the comments.
Tools That Keep Your Coffee Setup in Top Shape
Maintaining your home espresso equipment isn’t just about occasional cleaning; it’s about investing in the right tools that make ongoing upkeep efficient and effective. For grinders, I highly recommend the coffee grinder calibration kit. It allows me to precisely fine-tune my burrs after cleaning, ensuring consistency in grind size and espresso quality. A high-quality magnetic brush is invaluable for removing fine grounds from hard-to-reach areas without damaging delicate components.
For milk frothing, I’ve switched to a stainless steel digital milk frother. It provides precise temperature control, which is crucial for silky microfoam. Pair this with an ultrasonic cleaning device designed specifically for steam wands, and you’ll drastically reduce buildup and airflow issues over time.
Long-Term Benefits of Consistent Maintenance
Adopting these tools ensures your espresso machine and grinders maintain their peak performance, translating into better shots and extended lifespan. Regular, targeted cleaning and calibration prevent common problems like channeling, uneven extraction, and steam wand blockages. Industry research, such as the detailed insights shared in this article, highlights that routine care directly impacts flavor consistency and machine longevity.
How do I keep my gear in perfect shape over time?
One effective method is scheduling monthly deep-clean sessions using specialized tools like burr adjustment gauges and steam wand brushes. Additionally, investing in quality replacements for wear parts, such as gaskets and seals, and replacing them proactively will save you headaches down the line. Don’t forget to keep a detailed maintenance log; it helps track when each component was last serviced.
By integrating these recommended tools into your routine, you’ll not only preserve your investment but also elevate your coffee game significantly. Ready to take your maintenance routine to the next level? Start with calibrating your grinder after the next cleaning; a tiny adjustment can unlock a world of flavor.
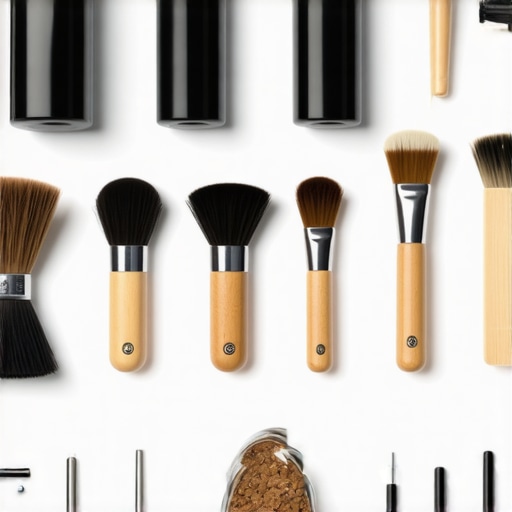
Visualize proper maintenance with an image showing essential tools like calibration gauges, steam wand brushes, and cleaning cloths laid out neatly—making your home barista setup both organized and inviting.
Lessons from the Trenches: Hard-Earned Insights That Changed My Coffee Game
One of the most valuable lessons I learned is that a spotless grinder isn’t enough; truly deep cleaning every tiny nook and cranny unlocks the full potential of my beans and makes my espresso shine. I also discovered that regular calibration of my grinder after cleaning is like tuning an instrument—small adjustments lead to harmonious flavor profiles. Lastly, understanding that small temperature variations can drastically alter taste made me obsess over consistent machine warm-up routines, transforming my daily brew into a ritual of precision rather than guesswork.
Tools That Elevate Your Coffee Crafting Routine
For anyone serious about home espresso, I recommend investing in a precision calibration kit—it’s a game-changer for maintaining consistent grind size and shot quality. A magnetic brush simplifies cleaning between sessions without risking damage, while a high-quality digital milk frother ensures microfoam perfection every time. If you’re looking to optimize your setup, check out this calibration guide and consider integrating these tools into your routine for long-term benefits.
Elevate Your Home Barista Journey
The journey to exceptional home espresso isn’t just about equipment; it’s about fostering a mindset of continuous improvement and curiosity. Remember, even the most humble grinder can produce extraordinary results with proper cleaning, calibration, and attention to detail. Don’t shy away from experimenting with your process—each tweak brings you closer to your perfect cup. If you’re eager for more personalized advice or want to troubleshoot a specific challenge, feel free to reach out here. Your next great cup is just a small step away!