How to Calm a Grinder That Sprays Chaff Everywhere
I stood there, blinking back sleep, staring at what looked like a miniature explosion of wood shavings across my pristine white countertop. It wasn’t wood, of course. It was chaff—those pesky, feather-light skins that cling to coffee beans like they’re afraid of the dark. I’d just bought a bag of high-end Ethiopian beans, but instead of the floral aroma I was promised, I got a face full of static-charged debris. My high-end burr grinder was acting more like a confetti machine.
The Morning I Finally Had Enough of the Mess
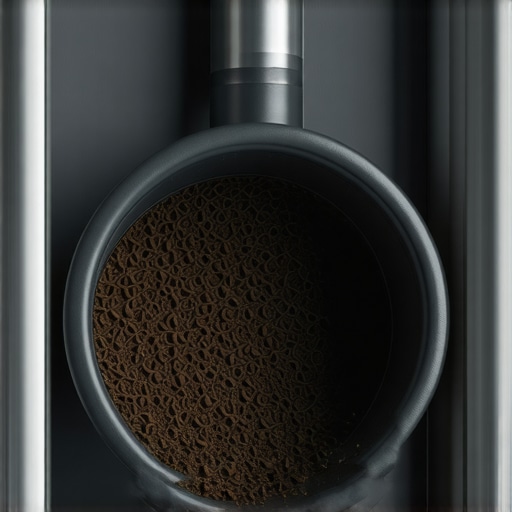
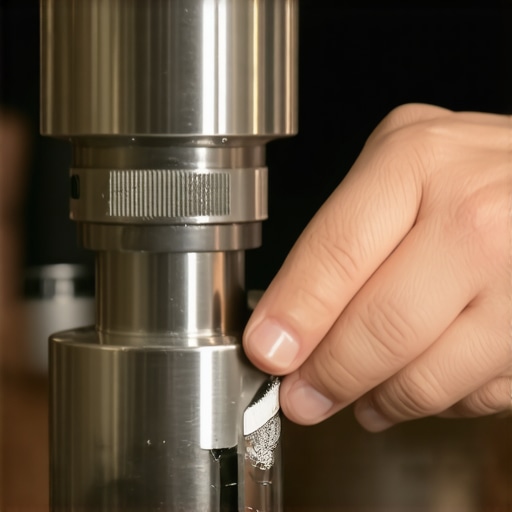
If you’ve ever felt that spike of “grinder rage” while wiping down your machine for the third time before breakfast, you’re in good company. It’s messy, it’s wasteful, and quite frankly, it makes the whole home barista dream feel a bit like a chore. [image_placeholder_1] When your burr grinder starts throwing chaff everywhere, it’s usually not a hardware failure, but a physics problem. I spent months thinking I needed to select a different coffee grinder altogether, but the truth is much simpler. Today, I’m going to share exactly how I transformed my workflow from “dusty disaster” to professional-grade precision.
Do These Tricks Actually Save Time or Just Add More Steps?
I get it. You just want a cup of coffee, not a science experiment. You might be worried that “fixing” the chaff means buying expensive gadgets or spending ten extra minutes on prep. I’ll be honest: early on, I made the mistake of thinking I could just “brush it away” as I went. Big mistake. All that did was push the oils and skins into the crevices of my machine, making cleaning my conical burr grinder an absolute nightmare later. The solutions I’m going to walk you through are about efficiency, not adding fluff to your routine.
Why Chaff Acts Like It’s Training for a Space Mission
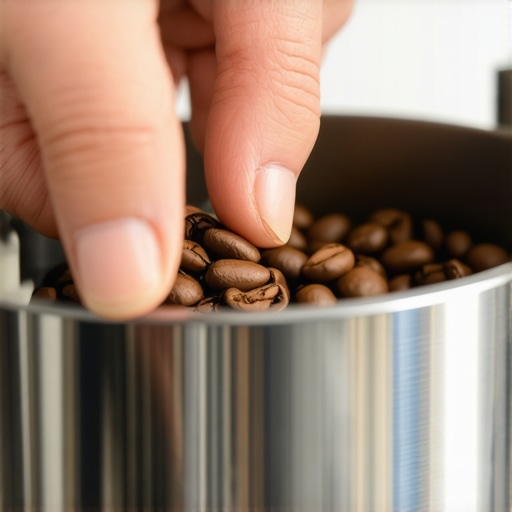
The culprit is almost always static electricity. When those beans hit the burrs at high speed, friction builds up a charge, and since chaff is incredibly light, it takes off like a rocket. Interestingly, research published by the University of Oregon suggests that adding just a tiny bit of moisture to the beans before grinding—a method known as the Ross Droplet Technique—can drastically reduce this internal friction and static buildup. It sounds counterintuitive to put water near your burrs, but it’s a game-changer. Have you ever found yourself chasing a piece of chaff halfway across the kitchen? Tell me in the comments if your grinder is currently winning the battle. Once we understand how to stop static from ruining your workflow, you’ll find that even things like better espresso distribution become way easier because the coffee isn’t clumping together like magnets.
Kill the Static Storm with One Tiny Drop
If you’ve ever rubbed a balloon against your hair and watched it stand on end, you’ve seen exactly what’s happening inside your grinder. As the burrs spin at high speeds, they generate friction, turning your beans into tiny batteries of static electricity. To stop the explosion of chaff, you need to neutralize that charge before it leaves the chute. This is where the Ross Droplet Technique (RDT) becomes your best friend.
Ditch the heavy spray for a simple wet spoon
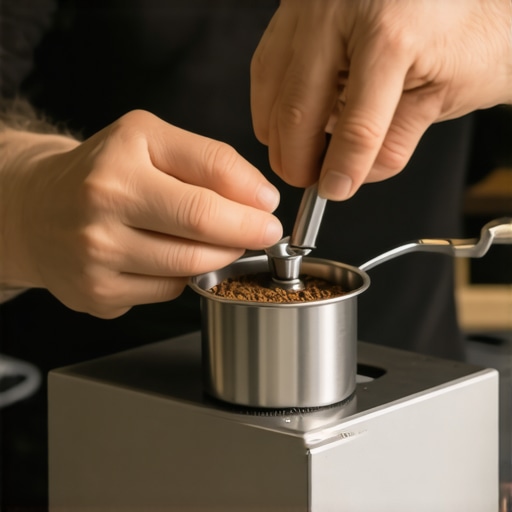
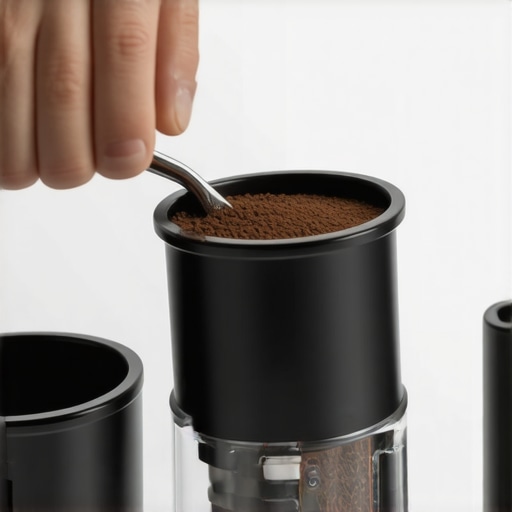
I’ll never forget the first time I heard about RDT. I was so desperate to stop the mess that I grabbed a plant mister and gave my beans a generous soaking. It was a disaster. The water turned the fine coffee dust into a thick, muddy paste that jammed the internal gears. It took me two hours to perform the mess-free way to clean a conical burr grinder because it was anything but mess-free. The trick is minimalism. You don’t need a literal spray; even the handle of a teaspoon dipped in water and stirred through your beans is enough to ground the charge. 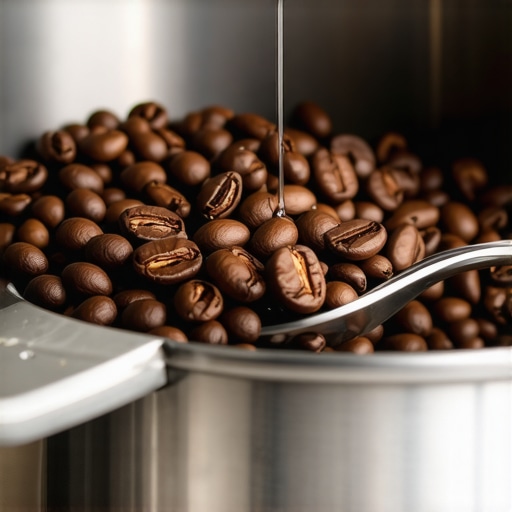
Clear the coffee chimney to prevent clogs
Think of your grinder’s chute like a chimney. If soot—or in this case, oily chaff—builds up, the whole system starts to back up. When this happens, you’ll notice how to stop your grinder from retaining coffee without a bellows becomes a much harder task. Static makes the chaff stick to the walls of the chute, creating a bridge that traps fresh grounds. Once a week, use a small wooden skewer or a dedicated brush to clear that passage. You’ll be surprised how much ‘ghost coffee’ from three days ago falls out. Learning how to clean the grinder chute without taking it apart will save you from that stale, bitter taste that ruins a perfectly good morning.
Spotting the Signs of Dull or Misaligned Burrs
Sometimes the mess isn’t just physics; it’s wear and tear. If your grinder is suddenly producing more chaff than usual, your burrs might be shredding the beans instead of cutting them. This uneven crushing creates more surface area for static to cling to. It’s a good idea to learn how to tell if your espresso grinder burrs are dull before you start blaming the beans. If the burrs aren’t sharp, no amount of water droplets will give you a clean workflow.
Check your alignment for a smoother flow
If you’ve ever driven a car with bad wheel alignment, you know it vibrates and wears down the tires unevenly. Grinder burrs are the same. If they aren’t perfectly parallel, they create ‘fines’ and extra chaff on one side, which leads to a localized static nightmare. Taking the time to find the right way to align your flat burrs for better shots is the move that saves your grinder from unnecessary wear and keeps the chaff in the cup where it belongs, not on your counter. When everything is aligned, you’ll find that how to stop static from ruining your grinding workflow becomes a simple matter of maintenance rather than a daily struggle.I’ve seen so many people drop thousands on top-rated espresso machines for coffee lovers in 2025 only to wonder why their first cup tastes like battery acid. The common myth is that more expensive gear is more ‘forgiving.’ In my experience, it’s the exact opposite. High-end burrs and precision pumps are like a magnifying glass for your mistakes. If your puck prep is sloppy, a high-pressure commercial-grade pump will find every channel and blow a hole right through it. This is exactly why your bottomless portafilter is making a huge mess—the machine isn’t broken, it’s just being too honest with you.
Does Using ‘Pure’ Water Actually Protect Your Boiler?
One of the most dangerous traps I see seasoned home baristas fall into is using distilled or reverse osmosis water to ‘save’ their machine from scale. While it sounds logical, ‘hungry’ water—water stripped of all minerals—is chemically unstable. According to research by chemist Christopher Hendon and barista champion Maxwell Colonna-Dashwood in their study on coffee extraction, water needs specific ions like Magnesium and Calcium to actually pull flavor. Without them, the water becomes aggressive, and you’ll soon need to know how to tell if your water hardness is damaging your boiler because demineralized water can literally corrode the internal copper. 
The Hidden Dangers of Over-Tightening
Another ‘oops’ factor that kills expensive gear is the ‘strongman’ approach to the portafilter. Many people think a tighter seal means a better shot, but why your portafilter handle should never be tightened too far is simple: you’re crushing the group gasket. Once that rubber loses its elasticity, you’ll be fighting leaks every morning. This is often the real reason your espresso machine is leaking. Have you ever tightened yours so hard you needed two hands to get it off? Let me know in the comments—I definitely fell into this trap when I first started mastering the art of home espresso.
Stop Chasing the Grind Setting Every Five Minutes
If you find yourself constantly adjusting the dial, you might be falling victim to ‘retention ghosting.’ Even a professional-grade coffee grinder holds onto a few grams of old coffee. If you don’t purge, you’re tasting a mix of two different settings. This is exactly why your shots taste different on a full hopper compared to single dosing. It’s a nuanced dance, and understanding why your shot extraction time changes every single day—due to everything from humidity to retention—will save you more frustration than any fancy gadget ever could.I used to think that maintenance was something you did once a month when you finally saw scale flakes in your cup. I was wrong. The real secret to longevity is the small, boring stuff you do every single day. For instance, the simple act of a daily water-only backflush is what prevents that sticky, bitter residue from building up in your group head. If you ignore it, you’ll eventually find yourself wondering why your machine needs a backflush every single week just to get a decent flow. I’ve learned that the hard way, usually right before a dinner party when the machine decides to clog.
The Five-Minute Ritual That Saves Your Pump
In their official technical documentation, La Marzocco Home recommends replacing your group gasket and shower screen every 6 to 12 months, regardless of how much coffee you brew. This is because the heat and pressure cycles eventually harden the rubber, leading to leaks. Knowing how to replace a group gasket without scratching the chrome is a skill that separates the casual hobbyist from the true home barista. It’s a ten-minute job that saves you a hundred-dollar service call. Beyond the machine itself, your workflow tools need attention too. I finally realized that my workflow was slow because I was constantly looking for my brushes and rags. After choosing the best barista gear for coffee enthusiasts, you need a place to put it all.
Stop Treating Your Countertop Like a Battlefield
A cluttered space leads to a messy cup. I spent far too long wiping up grounds from my marble counters before I understood how to pick a coffee mat that doesnt absorb odors. A good mat provides a designated ‘safe zone’ for tamping and grinding, protecting both your surfaces and your portafilter. 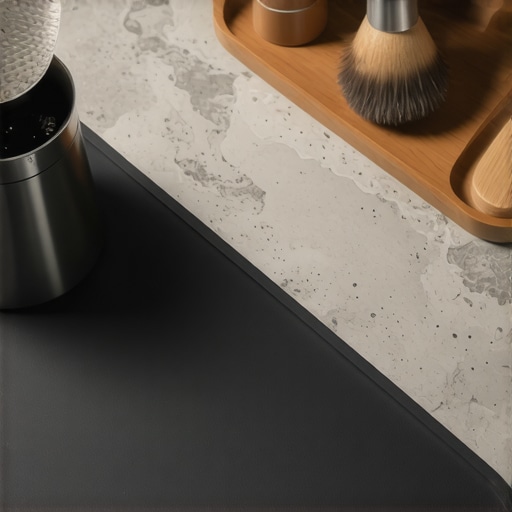
Don’t Let Your Steam Wand Turn Into a Fossil
If you use milk frothers that transform your coffee experience, you know the pain of baked-on milk. Most people use a soggy, milky cloth that sits on the drip tray all day—a literal breeding ground for bacteria. Learning how to stop using a wet cloth on your steam wand by using dedicated microfiber towels and purging immediately after every use is non-negotiable. It’s the move that saves your grinder from unnecessary wear and keeps your steam pressure consistent.
How do I keep my gear running for a decade?
The answer isn’t a secret tool; it’s consistency. I predict that in the next few years, we will see a massive shift toward ‘smart’ maintenance where machines track total water throughput and mineral levels in real-time, giving us a digital ‘health score’ for our boilers. For now, we have to be the brain of the machine. Try this tomorrow: after your very last shot of the day, perform a 10-second water-only backflush. You’ll be shocked at the amount of dark oils that wash out, and your first shot the next morning will taste infinitely cleaner.
Hard Truths from My Five Years Behind the Counter
Looking back at the mountain of wasted beans and the “grinder rage” I used to feel, I realized that the secret isn’t a better machine, but a better relationship with the physics of coffee. One of the most important things I’ve learned is why the first shot of the day is always a throwaway; the stale grounds trapped in the chute from the day before will ruin your dial-in every single time. Also, don’t panic if your equipment makes strange sounds—learning the reason your grinder makes a thumping noise during use can save you from a heart attack and an unnecessary repair bill. Finally, remember that even the most expensive top-rated espresso machines for coffee lovers in 2025 can’t compensate for oily beans that have lost their spark.
The Gear That Actually Earned a Spot on My Counter
I’ve tested hundreds of gadgets, but only a few stay for the long haul. When choosing the best barista gear for coffee enthusiasts, focus on utility over aesthetics. I highly recommend picking up a copy of The World Atlas of Coffee by James Hoffmann; it’s the definitive guide to understanding bean origins. For hardware, I never brew without a high-precision scale that tracks flow rate, and I always have a stack of 300gsm microfiber cloths to keep things tidy. If you are refining your latte art, look for milk frothers that transform your coffee experience to practice your texture without wasting liters of milk on your main steam wand while you learn.
Stop Overthinking and Start Brewing
At the end of the day, coffee is supposed to be a joy, not a source of frustration. Whether you are just mastering the art of home espresso or you’ve been pulling shots for a decade, every messy counter is just a stepping stone to a better cup. Don’t let a bit of static or a soupy puck discourage you. With these small tweaks to your maintenance and technique, you’ll spend less time cleaning and more time enjoying your brew. Which part of your morning workflow is the messiest right now—the grinder or the steam wand? Let me know in the comments below!