How to Stop Your Grinder From Retaining Coffee Without a Bellows
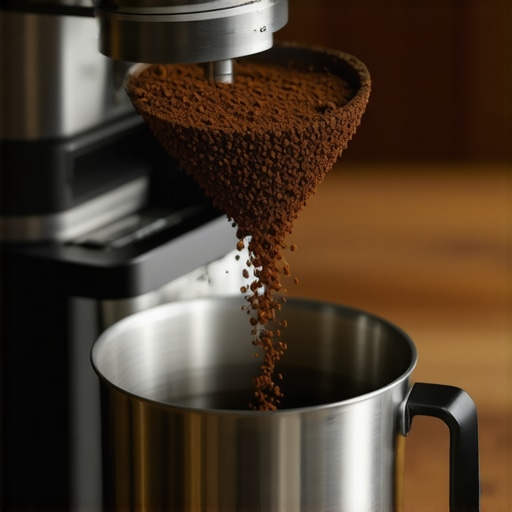
I stood in my kitchen at 6 AM, staring at a shot of espresso that looked like liquid gold but tasted like a dusty basement. It was infuriating. I had spent a small fortune on my setup, yet my first shot of the day was consistently sour and flat. I finally realized my grinder was acting like a greedy vault, holding onto several grams of coffee and swapping them for yesterday’s stale leftovers. I almost bought one of those giant, unsightly rubber bellows that look like they belong in a plumber’s kit. I didn’t want my sleek coffee corner to look like an industrial accident, and I knew there had to be a way to achieve a clean dose without adding more clunky gear to my counter.
Stop Drinking Yesterday’s Stale Leftovers
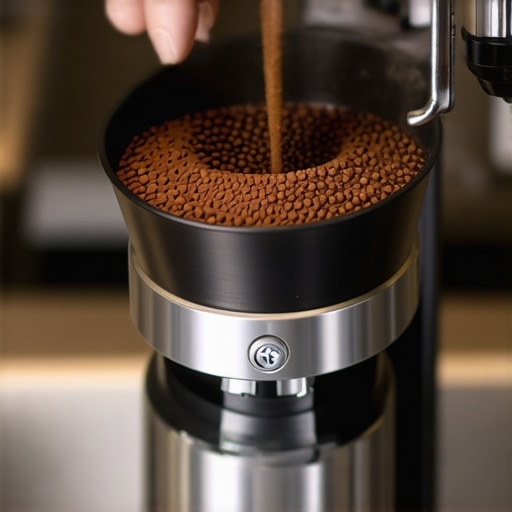
If you have been wondering how to select the perfect coffee grinder for your brew, you likely already know that retention is the absolute enemy of a great morning. It is that stale tax we all pay. You grind 18 grams, but only 16.5 grams come out. Where did the rest go? It is hiding in the nooks, crannies, and the exit chute. Earlier in my journey, I made the huge mistake of thinking a quick brush of the exterior was enough. I completely ignored the internal build-up until my espresso started tasting like vinegar. I soon learned that static gets much worse in winter, turning my grinder’s internals into a magnet for fine particles. This is exactly why the first shot of the day is always a throwaway for most home baristas. But it does not have to be that way. We are going to fix your workflow today so every bean you pay for actually makes it into your portafilter.
Does zero retention require a giant rubber plunger?
Many people will tell you that you absolutely need a bellows to force air through the burr chamber. While they work, they are messy and, let’s be honest, pretty ugly. There are cleaner, more elegant ways to handle this. For instance, the mess-free way to clean a conical burr grinder often involves simple physics and proper maintenance rather than brute force air. According to research from the Specialty Coffee Association, ground coffee loses nearly 60 percent of its volatile aromatic compounds within 15 minutes of being exposed to air. When you leave coffee in your chute, you are not just losing weight; you are losing the very soul of the bean. Have you ever pulled a shot that looked amazing but tasted like it was brewed with five-day-old grounds? It is a heartbreaking moment for any coffee lover. We can avoid this by learning how to clean the grinder chute without taking it apart and using a few clever tricks like the Ross Droplet Technique (RDT) to drop that retention to near-zero. Let’s look at the simple adjustments that will change your morning forever.
Kill the Static Before It Starts
The biggest culprit in coffee retention isn’t just the design of the chute; it is static electricity. Think of your grinder like a playground slide in the middle of winter—everything wants to stick. When those beans shatter between the burrs, they generate a massive charge that makes them cling to every internal surface. I learned this the hard way when I lived in a high-altitude apartment with zero humidity. Every time I ground a dose, a quarter of it stayed inside. This is how to stop static from ruining your grinding workflow: the Ross Droplet Technique (RDT). You do not need a fancy spray bottle. I used to use the back of a damp spoon to stir my beans before dumping them in. That tiny bit of moisture acts like a lightning rod, grounding the static and letting the coffee flow freely. If you skip this, you are basically fighting physics, and physics always wins.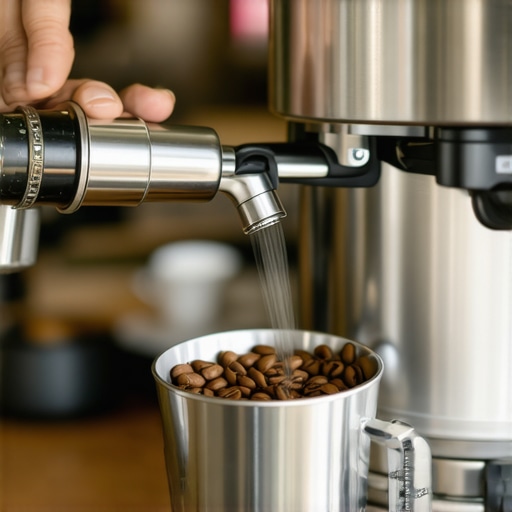
The Strategic Thwack and Physics
If you are not using a bellows, you have to get comfortable with the “thwack.” Most coffee grinders have a sweet spot on the side or the top where a firm (but gentle) tap will dislodge the “hanging” grounds. I remember a Tuesday morning when I was so frustrated by a 1.2-gram deficit that I took a rubber mallet to my hopper. Do not do that. You will end up with a cracked hopper and a very expensive repair bill. Instead, use a palm-strike on the side of the machine. It is about vibration, not force. For those of us choosing the best barista gear for coffee enthusiasts, we look for machines with a short, vertical path from the burrs to the basket. If your grinder has a long, horizontal exit chute, you are fighting an uphill battle. You might even find the trick for getting ground coffee out of tight corners involves a simple, stiff-bristled brush used at the end of every grinding cycle.
Maintenance is Your Best Defense
Coffee oils are like glue. They sit in the crevices of your burr chamber and act as an adhesive for the next batch of grounds. Over time, this build-up can even cause mechanical issues, which is the move that saves your grinder from unnecessary wear. I once went three months without opening my grinder, and when I finally did, I found a puck of coffee so compressed it looked like a piece of dark wood. This old coffee is not just taking up space; it is actively tainting your fresh beans. You need to ensure you know the right way to align your flat burrs for better shots, as misaligned burrs create more “fines”—those microscopic dust particles that are the most likely to get stuck.
Season Your Burrs for Better Flow
New burrs are surprisingly “sticky.” They have microscopic imperfections from the manufacturing process that grab onto coffee particles. This is why the best way to season new grinder burrs fast involves running several pounds of cheap beans through the machine. It polishes the metal surfaces, making them slicker and reducing retention naturally. It is like breaking in a new pair of boots; the more you use them, the more they conform to your needs. Once they are seasoned, you will notice that why your grinder adjustment moves while youre grinding becomes less of a mystery, as the machine settles into a consistent rhythm.
Why Your Distribution Tool Might Be Lying to You
We often assume that a perfectly flat, level surface on our coffee grounds translates to a perfect extraction. I used to spend minutes obsessing over my expensive spin distributor, thinking I was a pro. However, let’s dig deeper: a common trap for enthusiasts is relying too heavily on these tools. While they make the top of the puck look beautiful, they frequently cause uneven density beneath the surface. Research by industry experts has shown that these tools often compress only the top 2-3 millimeters, leaving the bottom of the basket loose and prone to channeling. This is specifically why your distribution tool might be ruining your extraction. Instead of a uniform water flow, the water finds the path of least resistance through the un-compressed bottom layers. Have you ever fallen into this trap? Let me know in the comments. 
Why does the shot speed up when you least expect it?
Advanced baristas often notice that a shot starts slow and syrupy but then suddenly gushes at the end. This isn’t usually a grinder issue; it is puck erosion. A 2018 study published in the journal Scientific Reports notes that as water dissolves the coffee solids, the physical structure of the puck weakens. If your puck isn’t perfectly prepared, the structural integrity collapses, and the water carves out a cavern. This explains why your shots start running fast after two seconds or halfway through the pull. To combat this, you need the move for more consistent puck compression, which involves a vertical, level tamp that focuses on side-wall adhesion rather than just brute downward force.
The Invisible Damage of Over-Tightening
When you’re mastering the art of home espresso, there’s a physical habit that almost everyone develops: cranking the portafilter handle as hard as possible to ensure a seal. It feels secure, right? Wrong. This is a classic “oops” factor that leads to premature equipment failure. By forcing the handle past the 6 o’clock position, you are actually shredding your group gasket and putting unnecessary torque on the machine’s internals. You need to understand why your portafilter handle should never be tightened too far. A gentle snug fit is all that’s required. If it leaks without a heavy crank, your gasket is dead, not your strength.
Stop Smearing Old Milk on Your Steam Wand
We have all seen it: the damp, slightly yellowed cloth sitting on the drip tray. If you are using that same cloth to wipe your steam wand and then your counter, you are creating a bacterial playground. Even worse, how to stop using a wet cloth on your steam wand is the first step toward professional-grade hygiene. Milk proteins bake onto the metal almost instantly. If you don’t purge and wipe with a dedicated, clean microfiber immediately, those proteins get sucked back into the boiler when the wand cools down. This is how you end up with a machine that smells like sour dairy every time it heats up. Consistency in these small, unsexy habits is what separates a hobbyist from a true home barista.
The Weekly Ritual That Saves Thousands
I’ve seen too many beautiful E61 groups turn into calcified paperweights because the owner thought a simple rinse was enough. If you aren’t using detergent, you aren’t actually cleaning. You need to embrace the deep scrub because why your machine needs a backflush every single week isn’t just a suggestion—it is about preventing the three-way solenoid valve from seizing up. When I first started, I was terrified of chemicals, but once I saw the black, oily sludge that came out of my brew head during a proper cleaning, I never skipped it again. This is the core of the best routine for a weekend deep clean. If you let those oils polymerize, they will eventually require a full teardown and soak in citric acid, which is a headache no home barista wants.
Your Machine is Thirsty for Clean Water
The silent killer of espresso machines isn’t a faulty switch or a blown gasket; it’s the invisible minerals in your tap water. I once lived in a city with such hard water that my boiler looked like a limestone cave after just six months. You have to learn how to tell if your water hardness is damaging your boiler before the damage becomes permanent. According to the Specialty Coffee Association (SCA) water quality standards, your total dissolved solids (TDS) should ideally sit between 75-150 ppm for the best flavor and machine longevity. If you are far above that, you are essentially feeding your machine stones. I personally recommend using a refillable pouch of softening resin or, even better, mixing your own ‘Barista Hustle’ water using distilled water and minerals to keep things predictable. 
How can I prevent my machine from dying early?
Consistency in maintenance is the only real answer. Beyond the water and the backflushing, you should be looking at your pressure. If your shots feel erratic, it might be time to learn how to adjust the expansion valve on your prosumer machine. This small brass component, often called the OPV, controls the peak pressure during extraction. Over time, the spring inside can weaken or get gunked up with scale, causing your pressure to wander. If you’re truly geeky, I suggest investing in a Scace thermofilter to verify that your group head temperature matches what your PID display claims. It is often a wake-up call to see a 5-degree offset you never knew existed, which is a common reason how to diagnose a faulty espresso machine thermostat becomes a necessary skill.
The Future of Home Espresso Maintenance
I predict that within the next five years, we will see a massive shift toward ‘smart’ maintenance sensors. We are already seeing machines like the Decent Espresso provide real-time data on flow and pressure, and soon, we will likely have integrated sensors that tell you exactly when your group gasket is about to fail or when your mineral buildup has reached a critical level. For now, we rely on our senses. If you hear a high-pitched squeal when the pump engages, don’t ignore it. That is your machine crying for help. I challenge you to pull your shower screen off this afternoon—if it’s covered in black gunk, that is your sign to start a better cleaning habit today.
Hard Truths I Learned the Hard Way in My Kitchen
After years of tinkering, I realized that the machine is only as good as the person operating it. First, your palate needs training just as much as your burrs need seasoning. If you cannot taste the difference between sour and bitter, no amount of gear will help. Second, cleaning isn’t just about maintenance; it is a flavor enhancer. A dirty machine creates a ceiling on how good your coffee can ever taste. Third, focus on one variable at a time. If you change your grind, your temp, and your yield all at once, you will never learn what actually fixed the shot.
The Tools That Actually Make a Difference
I have tested dozens of gadgets, but only a few stay on my counter permanently. For those looking at top rated espresso machines for coffee lovers in 2025, remember that the accessories matter just as much as the boiler. I always keep a reliable scale handy, though I had to learn the hard way why your coffee scale is giving you inconsistent readings—usually due to steam or heat interference. I also suggest looking into milk frothers that transform your coffee experience if you are not ready to jump into a full prosumer steam wand setup. Finally, do not overlook the small things; you should learn how to pick a coffee mat that doesnt absorb odors to keep your station smelling fresh instead of like old damp grounds.
Stop Chasing Perfection and Start Enjoying the Process
At the end of the day, mastering the art of home espresso is a marathon, not a sprint. You will have days where the shots are messy and the milk is soapy, and that is perfectly okay. Every bad shot is a data point that makes the next good shot taste even sweeter. Don’t let the technical details overwhelm the simple joy of brewing something beautiful in your own home. Have you ever struggled with a shot that looked perfect but tasted completely off? Let me know below.