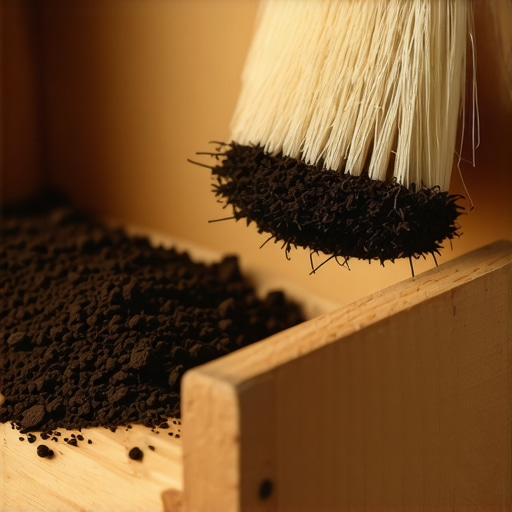
The Trick for Getting Ground Coffee Out of Tight Corners
I was staring at the hinge of my grinder with a toothpick in one hand and a look of pure desperation on my face. A single, stubborn clump of oily espresso grounds was wedged so deep I thought it was part of the factory assembly. I’d just finished mastering the art of home espresso basics, but nobody told me the hardest part wasn’t the extraction—it was the cleanup. That tiny clump of old coffee eventually went rancid, turning my expensive Ethiopian Yirgacheffe into something that tasted like a wet basement. It was a wake-up call. Today, I’m showing you exactly how to reach those ‘unreachable’ spots without losing your mind or scratching your gear.
Why Those Hidden Grounds Are Quietly Ruining Your Morning
I used to think I was being thorough. I’d brush the burrs, wipe the tray, and call it a day. But coffee is sneaky. The oils found in dark roasts act like a glue, trapping fine particles in the threading of your adjustment collar or the deep recesses of the chute. If you don’t clean the grinder chute without taking it apart, those old grounds sit there and oxidize. It’s a slow sabotage of your palate. I learned the hard way that a clean-looking machine isn’t always a clean-tasting one. I spent weeks wondering why my shots were bitter until I realized a stale ‘crust’ had formed in a corner I didn’t even know existed. Have you ever noticed a weird, metallic aftertaste even when using fresh beans?
Does a tiny bit of dust really mess with the flavor?
You might be skeptical. After all, it’s just a few milligrams of coffee, right? Unfortunately, ground coffee is incredibly porous. According to research published by the Specialty Coffee Association (SCA), the high surface area of ground coffee means it absorbs moisture and odors at an alarming rate, often leading to rapid oxidation within minutes. When new coffee passes over old, oxidized oils, it picks up those rancid notes instantly. My biggest mistake early on was trying to ‘wash’ these corners out with a damp rag. I quickly found out I needed to stop using a wet cloth because moisture is the absolute enemy of your burrs and metal casings. Instead, we need a dry, surgical approach. By using the mess-free way to clean a conical burr grinder, you ensure that no moisture creates a sludge in those tight gaps. [image] It’s about precision, not power. To keep your top-rated espresso machines running perfectly, let’s get into the specific tools that actually reach where brushes can’t.
Stop the Brush and Pray Method
The first thing you need to realize is that gravity isn’t your friend; it’s your enemy’s accomplice. Coffee dust doesn’t just fall down; it floats up, sticks sideways, and lodges itself into the very threads of your machine. I remember once trying to clear a jam in my hopper with a bent paperclip—a move I deeply regret. I ended up flicking a week-old, oily ‘coffee-berry’ of compressed grounds right into my freshly brewed cup. The result was a drink that tasted like charred rubber and sadness. That was the day I realized that if you can’t see the spot, that’s exactly where the rancid oils are throwing a party. You have to treat your cleaning like dental work, focusing on the ‘gum line’ of your burrs and the ‘sinuses’ of your steam wand.
Clear the Chute Without a Full Teardown
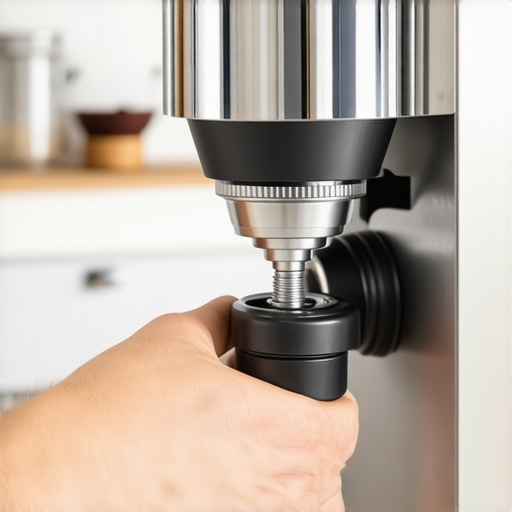
The chute is the most notorious hiding spot for stale grounds. Even if you use the mess-free way to clean a conical burr grinder, static can still cause a buildup in the exit tunnel. Instead of taking the whole unit apart every Tuesday, use a silicone bellows. By creating a sudden burst of air pressure, you force those stubborn ‘shelf’ grounds out of the exit. If you find that the grounds are sticking despite the air, it’s a sign of oil buildup. This is when you should clean the grinder chute without taking it apart using a dedicated flexible pipe cleaner. Think of it like a chimney sweep for your caffeine. Avoid using anything metal, as one slip can nick your burr edge, and suddenly you’ll need to learn how to tell if your espresso grinder burrs are dull because of a self-inflicted wound.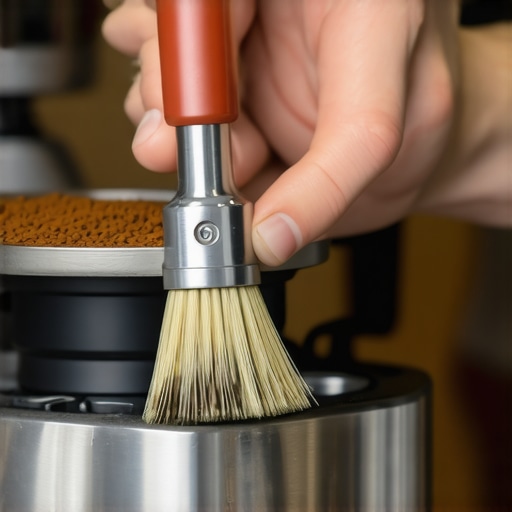
Rescue Your Steam Wand from Milk Stone
Most people wipe the outside of their wand, but the real danger lurks in the tip holes. When milk dries, it creates ‘milk stone’—a hard, calcified residue that harbors bacteria. If you’ve noticed your foam getting thinner, it’s likely because your steam wand tip holes keep getting clogged. Use a dedicated tip wrench to remove the cap once a week. Soak it in an organic milk-cleaning solution, but never use a toothpick to poke the holes; the wood can splinter and get stuck inside. I once spent two hours with a pair of tweezers trying to extract a piece of birch from my steam valve because I thought I was being ‘crafty.’ Now, I only use a thin wire tool or a dedicated cleaning needle to keep the airflow consistent.
The Hidden Swamp Inside Your Portafilter Spouts
If you use a spouted portafilter, unscrew those spouts right now. I’m serious. The internal threads of the spouts are often coated in a black, tar-like substance. This is why the danger of leaving old coffee oils in your portafilter spouts is real; it adds a sour, metallic tang to every shot. This residue is incredibly stubborn because it’s baked on by the heat of the group head. A simple rinse won’t do. You need a stiff nylon brush that can reach the ‘elbow’ of the spout. When I finally cleaned mine after months of neglect, the difference in clarity was like switching from a fuzzy tube TV to 4K. Keeping these hidden pathways clear ensures that your barista gear actually performs at the level you paid for.Most people think that a quick rinse after every shot is enough to keep the group head pristine. But here is the hard truth: if you aren’t doing a chemical backflush regularly, you are brewing through a layer of carbonized sludge. Many manuals suggest a monthly schedule, but in my experience, why your machine needs a backflush every single week becomes obvious the moment you see the brown, acrid foam exiting the discharge valve. If you skip this, those oils polymerize and become a permanent, bitter part of your machine’s ‘flavor profile.’
Wait, why does my espresso taste like vinegar after a deep clean?
It is one of the most frustrating moments for any home barista. You spend an hour scrubbing, only for the next shot to taste like salad dressing. This usually happens because the cleaning agent wasn’t fully rinsed from the solenoid valves or the group head. This is precisely why your espresso tastes like vinegar after cleaning. To avoid the ‘Oops’ factor of ruined beans, always run at least three ‘blind’ backflushes with plain water after using detergent to ensure the path is neutral. Then there is the distilled water myth. I once met a fellow enthusiast who used 100% distilled water because he wanted to ‘protect’ his boiler from scale. While he didn’t have scale, his coffee tasted flat and salty. Even worse, his machine’s auto-fill sensor eventually failed because it lacked conductivity. The truth about using distilled water in your machine is that it is ‘hungry’ water; it can actually leach ions directly from your copper pipes or boiler, causing internal pitting. A study published in the Journal of Agricultural and Food Chemistry confirms that specific mineral balances, particularly magnesium and calcium, are essential for pulling sweet, complex flavors out of the coffee grounds. Instead of stripping everything, you should learn the easy way to test your machines water hardness at home to find the perfect balance between machine longevity and taste.  Finally, let’s talk about the ‘Hulk’ grip. I see many beginners cranking their portafilter handle as far to the right as it will go. Stop doing this immediately. Understanding why your portafilter handle should never be tightened too far will save you from a prematurely flattened group gasket and a leaking machine. You only need enough tension to create a seal, nothing more. Over-tightening is a common trap that turns a $5 gasket replacement into a frequent headache. Have you ever fallen into the ‘distilled water’ trap or accidentally ‘pickled’ your coffee with leftover cleaner? Let me know in the comments below.
Fix Your Workflow Before It Breaks
I’ve spent years perfecting my setup, and if there’s one thing I’ve learned, it’s that even the most top-rated espresso machines are only as good as the maintenance routine behind them. When I first started, I didn’t realize how much the environment affects the electronics. If you’ve ever wondered why your coffee scale is giving you inconsistent readings, look for steam or moisture trapped beneath the weighing plate. I now keep my scale on a separate dry mat, away from the drip tray. This minor adjustment in how I organize your barista tools in a single drawer or on the counter can save you hundreds in replacement costs. Precision is the name of the game, and keeping your sensors dry is step one.
How do I keep my gear running like new for years?
The secret isn’t a single deep clean; it’s a series of small, intentional habits. Beyond the daily wipe-down, you need to establish the best routine for a weekend deep clean. This includes backflushing, checking your gaskets, and inspecting your water quality. La Marzocco International technical manuals specify that a water TDS between 90-150ppm is the ‘Goldilocks zone’—any lower and your sensors might fail; any higher and you’re inviting scale. If you are handy with a wrench, knowing how to replace a group gasket without scratching the chrome will keep your group head leak-free for a decade. It’s also wise to check your internal components if you have a prosumer model; for instance, knowing how to fix a stuck steam valve on a prosumer machine can prevent a minor grit issue from becoming a total valve failure. 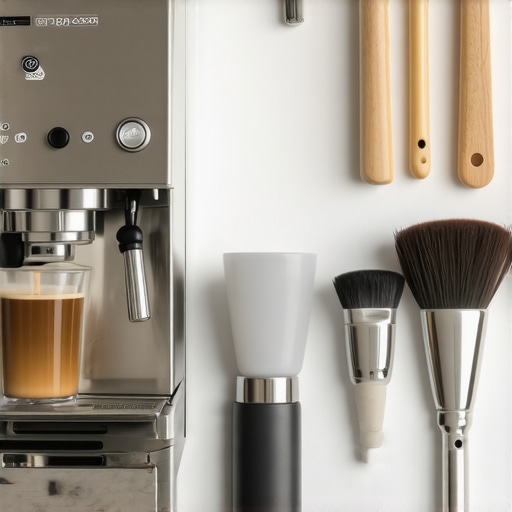
Your Grinder Needs More Than Just Beans
I used to think a grinder was a ‘set and forget’ appliance until I noticed my shots were losing their punch. If you’ve just upgraded, you need to use the best way to season new grinder burrs fast. Raw steel burrs have microscopic burrs of their own that need to be smoothed out by running a few pounds of cheap beans through them. Once seasoned, focus on precision. I’ve found that the right way to align your flat burrs for better shots involves using a dry-erase marker to check for even contact. This level of detail is what separates a good home barista from a great one. And for those using milk systems, remember to clean the tiny air hole in your automatic milk frother; that microscopic opening is the difference between silky foam and hot, flat milk.
The Future of the Intelligent Kitchen
Looking ahead, we are seeing a massive shift toward IoT-integrated machines that track water hardness and shot consistency in real-time. I predict that ‘smart’ espresso machines will soon include predictive maintenance alerts that tell you exactly when a gasket is about to fail or when your burrs are losing their edge. For now, we rely on our senses and our tools. Try this: Next time you do your weekly clean, take a flashlight to your grinder’s exit chute—you might be surprised at the oily ‘ghosts’ of past roasts lingering there. Clearing those out is the easiest way to reset your palate for the week ahead.
What My Years of Clogged Chutes Taught Me
After years of tinkering with various coffee grinders and high-end machines, I realized that the most expensive beans in the world can’t overcome a dirty machine. One of the biggest lightbulb moments I had was when I decided to finally learn how to get the old coffee smell out of your hopper; it wasn’t just about the smell, but the sticky residue that was slowing down the bean feed. I also learned to pay attention to the tactile feedback of my machine. For instance, if you ignore the reason your steam wand valve feels gritty, you aren’t just dealing with a minor annoyance—you are allowing mineral scale to slowly eat away at your internal seals. Cleaning isn’t a chore you do to ‘fix’ a problem; it is the final, essential step of a professional home espresso workflow. Consistency doesn’t come from your recipe alone; it comes from the reliability of your barista gear.
The Small Additions That Save Your Morning
You don’t need a garage full of power tools to maintain your setup, but a few specific items will make your life much easier. I always keep a dedicated set of flexible nylon pipe cleaners and a silicone bellows nearby to clear out espresso machines without a full teardown. I highly recommend establishing the best routine for a weekend deep clean, which serves as a reset button for your palate. If you use milk frothers or integrated steam systems, keeping a small tip wrench in your drawer is a game-changer for those deep-seated clogs. These simple tools ensure that milk frothers that transform your coffee experience continue to produce silky microfoam rather than hot, bubbly mess. [image] Having these items organized and ready prevents maintenance from feeling like a daunting project.
Give Your Machine a Second Life
Your journey with home espresso should be about the joy of the craft, not the frustration of a failing pump or a bitter aftertaste. By taking just twenty minutes once a week to look into those hidden corners, you aren’t just cleaning—you are preserving an investment and honoring the effort that went into growing your favorite beans. Whether you are learning how to texture milk for a flat white versus a latte or dialing in a complex light roast, a clean machine provides the neutral canvas you need to truly taste the difference. Don’t wait for a mechanical failure to start caring for your equipment. Start today, and let your gear perform at the level it was designed for. Have you ever found a ‘mystery clump’ of old grounds that was secretly ruining your shots? Let me know your cleaning horror stories in the comments below!