The Truth About Using Distilled Water in Your Machine
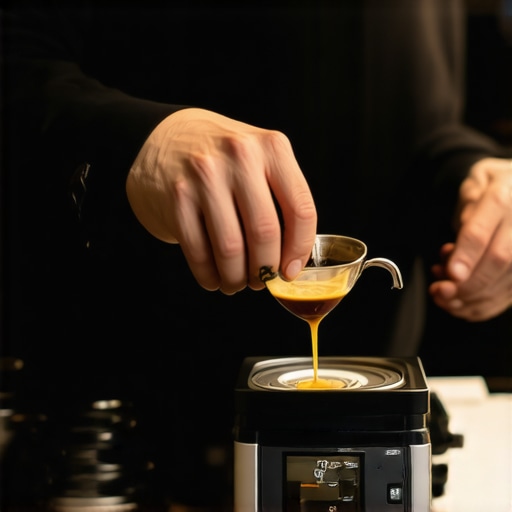
I stood in my kitchen, staring at a $1,500 puddle on the counter. My pride and joy—a prosumer machine I’d saved for for a year—was leaking from the seams. I’d been meticulous. I cleaned it, I backflushed it every single week, and I used the “purest” water I could find: distilled. I thought I was being the perfect barista. I was wrong. I was actually slowly dissolving my machine from the inside out. It is a classic mistake that many of us make when we are mastering the art of home espresso. [image_placeholder] Today, I am going to pull back the curtain on why that jug of steam-distilled water is a silent killer for your gear. We will look at why “hungry water” eats through metal and why your shots probably taste like a handful of pennies. I will show you how to find the middle ground so you are not stuck wondering why your espresso machine takes longer to heat up recently.
The Scary Reality of Hungry Water
I used to think scale was the only enemy. I spent hours learning how to clean an old copper boiler without damaging the finish because I was so terrified of calcium buildup. But water is a solvent. When you strip it of all minerals, it becomes aggressive. It wants to be “balanced,” and it will pull ions directly from your copper pipes and brass fittings to reach that state. This leads to pinhole leaks and ruined sensors.
Is distilled water actually safe for my boiler?
Many folks believe that zero minerals equals zero problems, but science tells a different story. According to the Specialty Coffee Association (SCA), water for coffee extraction needs a specific mineral balance—roughly 150 mg/L of total dissolved solids—to function correctly without damaging equipment. Without these minerals, the water is “hungry” and corrosive. I learned this the hard way after a costly repair bill that could have been avoided if I had just used the easy way to test your machines water hardness at home instead of assuming purity was better. Have you ever noticed a weird metallic tang in your shots after switching water sources? Let me know in the comments. Let’s look at what you should be using instead.
Stop the Corrosion with the 70/30 Method
Think of your water like a sponge. Distilled water is a bone-dry sponge. It is so dry that it will suck the moisture—or in this case, the metal ions—out of anything it touches. To stop this, you need to pre-saturate that sponge with the right minerals. I started by using the easy way to test your machines water hardness at home to realize my tap water was liquid rock, but my distilled water was a silent predator. The easiest way to fix this without a degree in chemistry is to buy remineralization packets or mix your own Pavlis water. This prevents the nightmare scenario where why your espresso machine pressure gauge stays at zero because a sensor has been eaten away by corrosive water.
The Science of the Perfect Buffer
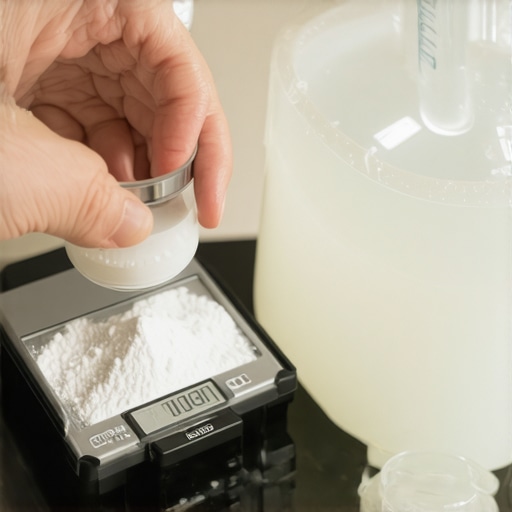
You need two things: hardness and alkalinity. Hardness (usually calcium and magnesium) helps extract flavor from the beans, while alkalinity (bicarbonates) acts as a buffer to keep the pH from dipping into the acidic danger zone. I remember the first time I tried to play chemist. I was hunched over my scale, trying to measure 0.1 grams of potassium bicarbonate. I sneezed, and white powder went everywhere—across my tamping mat and all over how to set up a dedicated coffee station in a narrow hallway. It was a mess, but once I finally got the ratio right, the change was instant. The coffee lost that sharp, metallic bite. If you are struggling with a weird flavor profile, check why your espresso shot tastes salty and how to fix it, as water chemistry is often the culprit.
Building Your Water from Scratch
If you want to protect top-rated espresso machines for coffee lovers in 2025, you cannot just pour in whatever is in the kettle. Start with a gallon of distilled water and add a concentrated mineral spike. For a simple DIY recipe, dissolve 10 grams of potassium bicarbonate into 1 liter of distilled water to create a concentrate. Then, add about 20-30 grams of that concentrate back into a fresh gallon of distilled water. This creates a non-scaling, non-corrosive environment that saves your heating element. This is one of those essential steps when choosing the best barista gear for coffee enthusiasts because even the best machine cannot overcome bad chemistry.
Why Bottled Water Isn’t Always the Answer
I used to grab any bottle with a mountain on the label, thinking it was safe. Big mistake. Many bottled waters are actually quite high in silica or calcium, which can clog your internals faster than you can say ‘descaling.’ If you are seeing the move for better temperature stability on budget machines becoming difficult, it is often because scale has coated the temperature probes. By mixing your own water, you control the destiny of your boiler and ensure that every shot tastes exactly how the roaster intended.
Beyond the water disaster I experienced, there is another nuance that most people miss when choosing the best barista gear for coffee enthusiasts: the thermal lie. You might have the most stable PID in the world, but if you are not accounting for the metal’s ‘heat sink’ effect, your water chemistry is the least of your worries. I used to think that as soon as the light turned green, I was ready to pull a God shot. I was wrong. I was pulling what I now call the ‘sink shot’—the one that tastes like battery acid because the group head is still cold. This is exactly why the first shot of the day is always a throwaway. Have you ever fallen into this trap? Let me know in the comments. 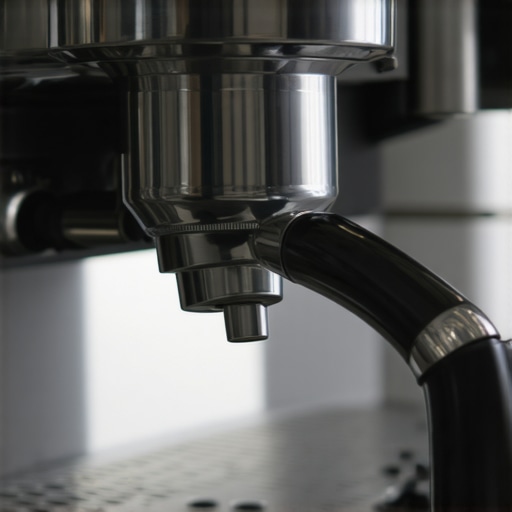
Why your expensive machine still produces sour shots
Most enthusiasts believe that higher pressure equals better espresso. In reality, modern research from experts like coffee physicist Jonathan Gagné suggests that high pressure—specifically the industry standard 9 bars—can actually cause ‘channelling’ more easily with light roasts, leading to a confusing mix of sour and bitter notes. If you are chasing perfection, you need to look at the move for better temperature stability on budget machines rather than just buying a bigger pump. I spent months blaming my beans when the real issue was the benefit of pre-warming your portafilter head. Without that thermal soak, your carefully crafted 200-degree water hits cold steel and drops to 175 degrees instantly.
Does your grinder need a break-in period?
One of the most common myths is that a brand-new grinder is at its peak performance the moment it leaves the box. In my experience, new steel burrs are actually quite ‘aggressive’ and produce an inconsistent distribution of fines until they have been seasoned with several kilograms of coffee. You might notice why your shot extraction time changes every single day even if you haven’t touched the dial. To fix this, you should look into the best way to season new grinder burrs fast. I once wasted three bags of expensive single-origin beans before I realized my burrs just weren’t ready.
The hidden trap of the cold portafilter
Another nuance is the physical wear we ignore while focusing on the ‘sexy’ stats like wattage or boiler size. We often forget the move that saves your grinder from unnecessary wear by ensuring no foreign objects or overly oily beans gunk up the works. If you are struggling with consistency, don’t just buy a new machine; learn how to tell if your espresso grinder burrs are dull. Often, a fifty-dollar set of replacement burrs will do more for your flavor profile than a two-thousand-dollar upgrade. Mastery isn’t about the price tag; it is about managing the variables that the user manuals often omit.I have spent thousands on gear, but the most important item in my setup cost ten bucks: a silicone group gasket. Most machines come with standard rubber, which eventually turns into a rock-hard ring that requires a screwdriver and a prayer to remove. I personally switched to silicone (specifically the blue Cafelat 8.5mm gaskets) because they provide a much softer seal and never bake onto the group head. If you are tired of wrestling with your machine, you need to learn how to replace a group gasket without scratching the chrome before yours turns into plastic. This is the foundation of choosing the best barista gear for coffee enthusiasts: knowing what needs to be replaced before it fails.
How do I maintain my espresso setup over time?
Maintaining a high-end setup is less about deep-cleaning once a year and more about the small, daily wins. I follow a strict 30-second post-shot routine: purge the steam wand, wipe the shower screen, and a quick brush of the gasket area. On Saturdays, I dive into the best routine for a weekend deep clean, which includes backflushing with detergent. Without this, those coffee oils go rancid, and no amount of expensive beans will save your flavor. You will also want to keep your workspace efficient, so I highly recommend learning how to organize your barista tools in a single drawer so you are not hunting for your Puly Caff when the machine is hot.
Stop old oils from ruining your fresh beans
Your grinder is the heart of the operation, but it is also a magnet for stale debris. Even if you use the move that saves your grinder from unnecessary wear by RDTing (spraying a mist of water on your beans), oils still build up in the exit path. I used to take my whole grinder apart every month, but I realized that knowing how to clean the grinder chute without taking it apart saves me hours of recalibration. I use a small bellows system to blow out the ‘retention’—those few grams of old coffee that sit in the chute—before my first shot. According to technical documentation from Mahlkönig, even 2 grams of stale coffee can significantly shift the flavor profile of a 18-gram basket, making the shot taste muddy and flat. #IMAGE_PLACE_HOLDER_D#
What is next for the smart home barista?
As we look toward top-rated espresso machines for coffee lovers in 2025, the trend is clearly moving toward data-driven brewing. We are seeing machines with built-in scales and flow-profiling apps that allow you to mimic a twenty-thousand-dollar commercial Slayer at home. I predict that the next five years will focus on predictive maintenance—sensors that tell you exactly how to tell if your espresso grinder burrs are dull before you even taste the difference. For now, the best thing you can do is master the manual checks. Go ahead and swap your gasket this weekend; it is the single most satisfying piece of maintenance you can perform. It is a five-minute job that makes every portafilter lock-in feel like butter.
The Brutal Lessons I Learned from a Ruined Boiler
If there is one thing that years of tinkering with choosing the best barista gear for coffee enthusiasts has taught me, it is that logic often fails us. We think cleaner is better, but in the world of metallurgy, purity is a predator. My biggest “lightbulb moment” was realizing that my machine didn’t need to be pampered with distilled water; it needed to be protected with mineral science. I spent way too much time worrying about scale and not enough time learning how to diagnose a faulty espresso machine thermostat when the “hungry water” started eating the sensors.
Another hard truth? Your machine is a thermal engine, not a microwave. It needs at least 20 to 30 minutes of “heat soak” to stabilize. If you are rushing the process, you are basically throwing money down the drain. I also learned the hard way that why your portafilter handle should never be tightened too far—over-tightening just ruins your gasket faster and puts unnecessary stress on the group head. Mastery is about the gentle touch, not the brute force.
The Small Setup Upgrades That Saved My Sanity
You don’t need a five-figure budget to make world-class coffee, but you do need the right supporting cast. When I finally decided to how to select the perfect coffee grinder for your brew, it wasn’t about the motor’s horsepower; it was about the ease of cleaning the chute. For those of you branching into lattes, don’t ignore the importance of milk frothers that transform your coffee experience. A dedicated frother can sometimes be more consistent than a struggling single-boiler steam wand, especially if you are seeing why your milk frother creates bubbles instead of foam due to a clogged air hole.
[image_placeholder]
Take the Leap into Advanced Espresso Mastery
At the end of the day, your journey with home espresso is about finding the balance between science and soul. Whether you are mixing your own water recipes or just finally swapping out that old rubber gasket for a silicone one, every small step brings you closer to that perfect shot. Don’t be afraid to experiment with your barista gear. The goal isn’t just a caffeine fix; it’s the satisfaction of knowing exactly what is happening inside your boiler and your cup. Have you checked your machine’s water hardness lately, or are you still relying on distilled water? Let me know your experience in the comments below!