How to Diagnose a Faulty Espresso Machine Thermostat
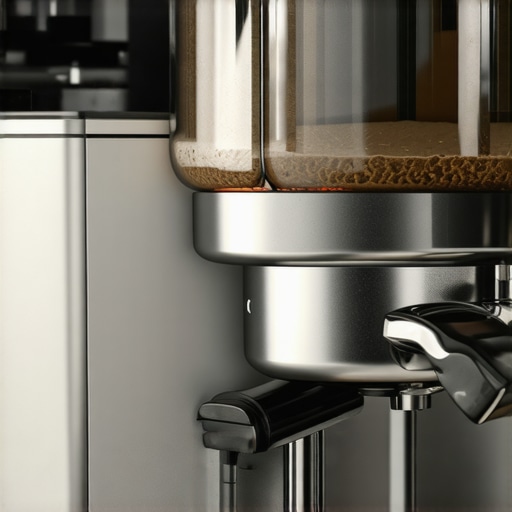
I remember standing in my kitchen at 6:00 AM, shivering in my bathrobe, waiting for my machine to reach that perfect brew temperature. I had my favorite beans ready, my grinder was dialed in, and the house smelled like a dream. But when I pulled the lever, what came out was a sad, tepid puddle. My heart sank. I honestly thought my expensive espresso machine had finally kicked the bucket. I spent the next hour scouring forums, convinced I needed a new pump or a whole new boiler. But here is the kicker: it was just a tiny, inexpensive thermostat that had decided to retire. I felt like a total novice, and honestly, it was a humbling moment in my home espresso journey. I want to save you from that same panic and the potential cost of unneeded repairs.
When Your Morning Brew Becomes a Lukewarm Disaster
If your machine is acting like a moody teenager—boiling hot one minute and barely warm the next—you aren’t just imagining things. This erratic behavior is often the first sign that your thermostat is failing. When the temp is off, your coffee suffers immediately. You might find that your espresso shot tastes like cardboard or has a sour, metallic bite that ruins your morning ritual. Temperature isn’t just a suggestion; it is the chemistry that decides which flavors are extracted from your grinds. According to research cited by the Specialty Coffee Association, even a small 1-degree Celsius variance can significantly alter the flavor profile of a high-quality Arabica bean. That is a tiny margin for error when you are chasing the perfect cup.
The problem is that many people see water temperature fluctuations and assume the worst hardware failure possible. I certainly did. Years ago, I spent nearly $200 on a professional technician only for him to swap a $15 part in under five minutes. I felt ridiculous, though I learned a valuable lesson. Today, we are going to walk through the signs of a faulty thermostat together so you do not make my expensive mistakes. Have you ever looked at your machine and wondered if it was possessed because the lights were blinking in ways they never had before? Reach out and let me know; I bet I have seen it too.
Is Fixing This Yourself Really Worth the Hassle?
Look, I get the skepticism. Dealing with electrical components and boilers can feel incredibly intimidating, especially when you just want a latte, not a project. But the truth is, a thermostat diagnosis is one of the most empowering moments you can have in your kitchen. It is the difference between a machine that is destined for the scrap heap and one that is back to pulling liquid gold by lunchtime. We are going to look at the physical cues and the simple tests that reveal the truth about your machine’s health without needing an engineering degree. Let’s get into the nitty-gritty of why your machine might be lying to you about its heat.
Before you assume your boiler is toast, you need to verify why your machine’s water temperature fluctuates every few minutes. A thermostat is basically a gatekeeper for your heat. When it detects the water is hot enough, it clicks ‘off’ to stop the heating element from turning your kitchen into a steam room. If it is stuck ‘on,’ your machine might start tripping the breaker to prevent a literal meltdown. If it is stuck ‘off,’ you get that tepid, disappointing puddle I mentioned earlier. Think of it like the cruise control in your car; if it breaks, you are either crawling at five miles per hour or flooring it into a wall.
Spot the Signs Before You Grab the Screwdriver
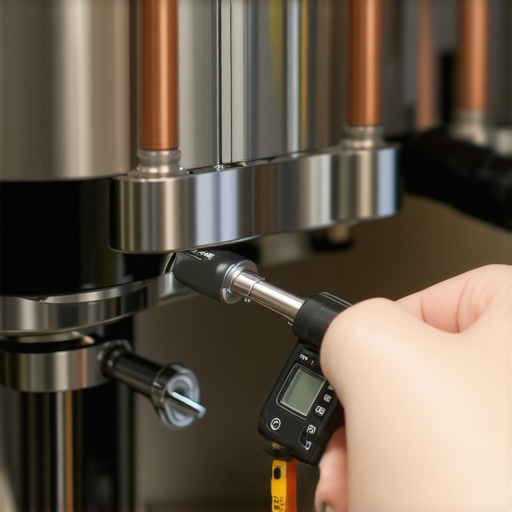
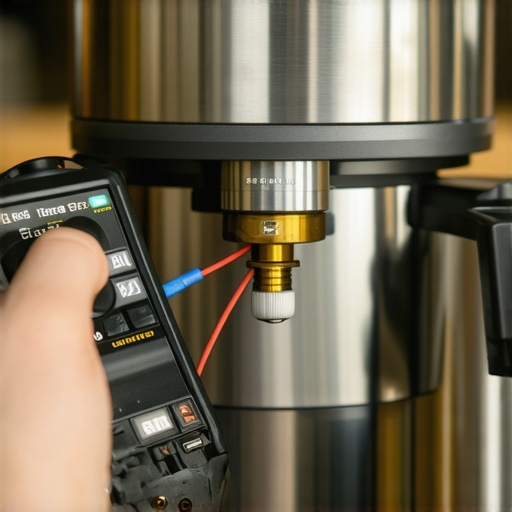
Diagnosis starts with observation. If your machine stays in ‘heating’ mode for thirty minutes without ever reaching pressure, or if it stays cold despite the power light being on, the thermostat is the prime suspect. Grab a multimeter and set it to the continuity setting (the one that beeps). With the machine unplugged—and I cannot stress that enough—touch the probes to the two terminals on the thermostat. If you get a beep, the circuit is closed, which is usually normal when the machine is cold. If there is no beep and your machine won’t heat up, you have found your ghost in the machine.
I remember the first time I heard that diagnostic beep; it felt like I had just won the lottery, knowing I only had to spend $15 instead of $500 on top-rated espresso machines to replace my setup. I once spent two hours troubleshooting a ‘dead’ boiler, only to realize I had knocked a wire loose while performing a mess-free way to clean a conical burr grinder nearby. It was embarrassing, but it taught me that the simplest connection is often the culprit.
The Multimeter Method for Instant Certainty
If you are testing a thermal fuse (which often looks like a small silver bullet near the thermostat), the rules are the same. No beep means the fuse has ‘popped’ to save your house from a fire. This usually happens because the primary thermostat failed first. Replacing the fuse without replacing the thermostat is like putting a band-aid on a broken leg—it might look fixed, but the underlying issue is going to cause another collapse within hours. Always check both components to ensure the move for better temperature stability on budget machines actually sticks.
Swapping the Part Without Breaking Your Machine
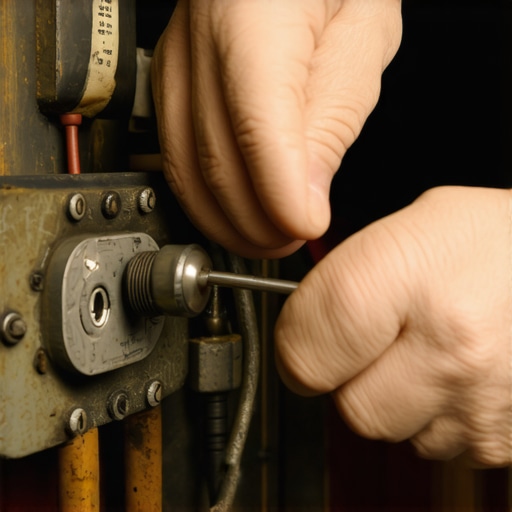
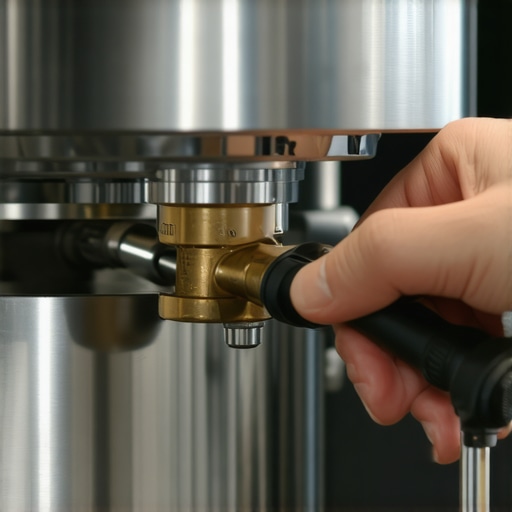
Replacing the part is generally as simple as unscrewing the old one and clipping the wires onto the new unit. However, many people forget about thermal paste. This white, goopy stuff is the ‘bridge’ that helps the thermostat accurately read the boiler’s temperature. Without it, the sensor is essentially guessing, which leads to erratic shots. It is like trying to feel someone’s forehead for a fever while wearing thick winter gloves. Apply a pea-sized amount to the base of the new thermostat before screwing it in.
Small Details That Prevent Future Failures
While you have the case open, it is the perfect time to check other connections. Just as you would ensure your portafilter handle should never be tightened too far to protect the gaskets, you should ensure your electrical spades are snug but not strained. If your machine is an older model, you might even find that you need to swap out a broken power switch at the same time, since these components often wear out in pairs due to heat exposure. Consistency is the goal here. Whether you are adjusting your technique or your hardware, you want a machine that does exactly what it is told, every single time.
It is easy to get caught up in the shiny exterior of top-rated espresso machines for coffee lovers in 2025. But here is a hard truth: most people spend thousands on a boiler while neglecting the very thing that actually dictates flavor—the grinder’s burr alignment. I see it all the time in enthusiast circles. Everyone assumes that if you spend more, you get a free pass on the physics of extraction. In reality, even a budget machine can sing if you know the right way to align your flat burrs for better shots. A machine is just a source of pressure and heat; the grinder is the actual architect of your flavor profile.
Here is a common trap: the ‘grind finer’ mantra. While it is the go-to advice for beginners, it often leads to a bitter, over-extracted mess if you are not accounting for why your cold brew grind isnt working for your espresso machine. If you find yourself constantly chasing the perfect setting, you might actually be fighting a grinder adjustment ring that wont budge or simply using beans that have gone stale. I once spent a whole morning tweaking my grind, only to realize my burrs were so dull they were essentially smashing the beans rather than cutting them.
Why Does Your Shot Time Change Every Single Day?
It is the ultimate frustration. You dialed in the perfect 28-second pull yesterday, and today, with the exact same beans and grind setting, it is gushing out in 15 seconds. According to a study by the Journal of Agricultural and Food Chemistry, humidity and ambient temperature significantly affect how coffee particles hydrate and resist water flow. Even a rainy morning can change your puck’s density by altering the moisture content of the beans in your hopper. This is why your shot extraction time changes every single day and why you cannot just set it and forget it.
One ‘oops’ factor that kills more machines than I would like to admit is the neglected backflush. I used to think I only needed to clean when the coffee tasted off. Wrong. You really need to understand why your machine needs a backflush every single week. If you wait until you taste the rancid oils, they have already baked onto your group head like industrial glue, making it nearly impossible to maintain a clean flow. Have you ever fallen into this trap of thinking a new gadget would fix a technique problem? Let me know in the comments; I have definitely bought my fair share of unnecessary barista gear for coffee enthusiasts thinking it was the magic bullet.
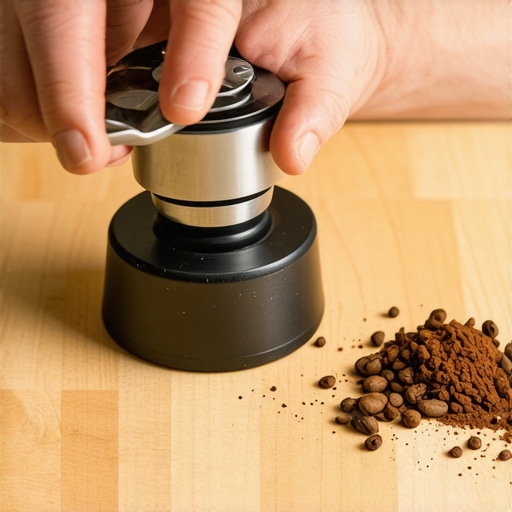
Beyond the machine, your milk game has its own set of myths. Most people think more bubbles mean better foam. In reality, if your milk frother creates bubbles instead of foam, you are likely introducing air too late in the process or at too high a temperature. For those working with limited hardware, the secret to silky microfoam on a single boiler machine is not about raw power—it is about the precise angle of the wand and the initial purge. Do not forget to clean the tiny air hole in your automatic milk frother, as even a microscopic blockage will turn your latte into a soapy, disappointing mess. Excellence in home espresso is rarely about the biggest purchase; it is about the smallest maintenance habits.
I have seen more machines die from neglect than from actual mechanical failure. The absolute biggest threat to your setup isn’t a faulty switch or a loose wire; it is the invisible minerals in your water. If you aren’t careful, calcium and magnesium will slowly turn your high-end boiler into a lime-encrusted rock. I highly recommend you find the easy way to test your machines water hardness at home before you even pull your next shot. When I finally tested my tap water after a year of heavy use, I was horrified to find it was hard enough to practically walk on. I had to spend an entire weekend learning how to recover from a failed descaling process because I had let the buildup get so bad that it clogged the tiny valves during the cleaning cycle.
How do I keep my gear running for a decade?
Real longevity comes down to friction and flow. If you own an E61 group head machine, you need to know how to properly lubricate your e61 group head cam. Every time you lift that lever, metal rubs against metal. Over time, the internal lubricants wash away, and you will feel a gritty resistance that eventually leads to a snapped part. According to Jim Schulman’s ‘Insanely Long Guide to Espresso,’ a staple resource for enthusiasts, maintaining the chemical balance of your water and the lubrication of your mechanical parts is the only way to avoid a catastrophic boiler failure. I make it a point to do a deep dive into my machine’s internals every six months, checking for leaks and ensuring that I am the move that saves your grinder from unnecessary wear by never running the motor without beans for extended periods.
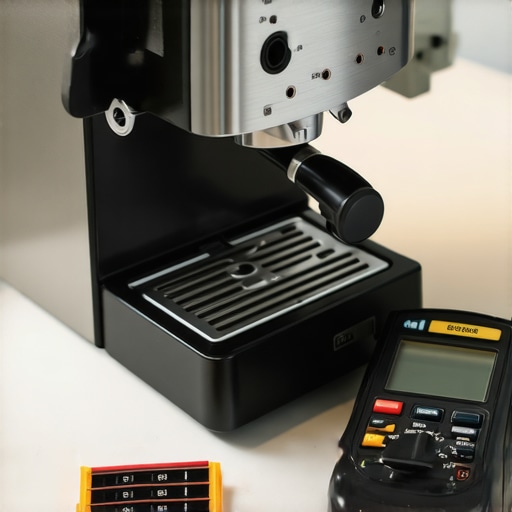
Beyond the machine itself, your peripheral tools need love too. I used to think my scale was broken because it would jump around while I was weighing my beans. It turns out that why your coffee scale is giving you inconsistent readings is often as simple as a low battery or a bit of grit under the weighing platform. These small frustrations add up, and if you don’t address them, they ruin the workflow that makes home espresso enjoyable. If you have just invested in a new set of burrs, remember how to properly season new steel burrs for better consistency; they need several pounds of ‘trash’ coffee run through them before they stop producing excessive fines that muddy your flavors.
Tools That Actually Earn Their Counter Space
I am a minimalist at heart, but a few items in my barista gear for coffee enthusiasts collection are non-negotiable. A high-quality RDT (Ross Droplet Technique) spray bottle is a lifesaver for reducing static, especially if you have ever wondered why your burr grinder is throwing chaff everywhere. Looking forward, I predict we will see more machines with integrated, smart water-sensors that alert your phone the second your TDS levels stray from the ‘safe zone’ for your boiler. We are moving toward an era of preventative maintenance driven by data, not just guesswork. For now, your best bet is to stay proactive. My challenge to you? Go test your water today. It is the single most important thing you can do to protect your investment and keep your top-rated espresso machines pulling perfect shots for years to come.
Lessons I Learned While Tinkering with My First Boiler
After years of fixing my own gear, I’ve realized that the “best” machine is simply the one that is actually maintained. It’s a hard truth, but expensive hardware won’t fix poor water chemistry. I once spent months blaming my thermostat for “metallic” tasting coffee, only to realize I hadn’t changed my filter in a year. Another lightbulb moment was realizing that noise is usually a cry for help; why your espresso machine is making a rattling noise during heat up often points to loose mounting or scale buildup before a component actually dies. Finally, do not let a bad shot ruin your mood. Even the pros have days where the first shot of the day is always a throwaway. Perfection is a moving target, so enjoy the process of chasing it.
My Go-To Resources for a Flawless Workflow
When you are ready to move beyond basic troubleshooting, I highly recommend building a small “maintenance kit.” Start with a reliable multimeter—it is the only way to stop guessing if an electrical part is dead. I also suggest bookmarking a reliable water-hardness guide, as finding the easy way to test your machines water hardness at home is the single best gift you can give your boiler. For those looking to upgrade, how to select the perfect coffee grinder for your brew is a resource I return to constantly; remember, the grinder is the brain, the machine is just the muscle. If you are focusing on aesthetics, exploring milk frothers that transform your coffee experience can give you that cafe-level texture without a heavy investment.
#IMAGE_PLACEHOLDER_E#
Stop Worrying and Start Brewing
The journey of mastering the art of home espresso is filled with small hiccups, but every time you open your machine to fix a thermostat or clean out scale, you become a better barista. You transition from a consumer to a craftsman. Your home espresso setup is an investment in your daily happiness—do not let a fear of mechanics stop you from keeping it in peak condition. You have got the tools and the knowledge; now, go pull that liquid gold. Have you ever tried to fix your own machine only to find a completely different problem? Let me know your most surprising repair stories in the comments below!