The Reason Your Espresso Machine Is Tripping the Breaker
It was 6:15 AM on a Tuesday, and I was just about to pull a shot of a beautiful Ethiopian heirloom. I raised the lever on my E61, the pump groaned for a split second, and then—total, suffocating silence. The lights flickered and died. My kitchen went black. It wasn’t a neighborhood power outage; my espresso machine had just committed a mutiny against my circuit breaker. If you’ve ever stood in your pajamas, staring at a dead machine while the smell of ozone lingers in the air, you know the frustration. I’ve spent years obsessed with top-rated espresso machines, but even the most expensive gear can turn into a 60-pound paperweight when the electricity decides to quit. Today, I’m going to help you figure out why your machine is fighting your house and whether you’re facing a simple fix or a genuine electrical hazard. [image placeholder]
The Moment My Kitchen Wiring Met Its Match
I’ll admit it: when I first started building my home coffee station, I was reckless. I had a dual-boiler machine, a high-torque grinder, and a heavy-duty milk frother all plugged into the same power strip. I thought I was being efficient. I was actually being a fire hazard. Espresso machines are power-hungry beasts. Most home units pull between 1,200 and 1,800 watts just to keep the water at brewing temperature. According to the Electrical Safety Foundation International, overloaded circuits are one of the most common causes of residential electrical fires. My breaker wasn’t being a nuisance; it was saving my house. If you’ve recently upgraded your barista gear and suddenly find yourself resetting the panel every morning, your kitchen’s 15-amp circuit might simply be at its breaking point.
Is your machine actually broken or is your kitchen just tired?
This is the big question that keeps every home barista up at night. If the breaker trips the second you turn the machine on, you might be looking at a short circuit or a broken boiler temperature sensor grounding out. However, if it only happens when the pump engages or the steam boiler kicks in, it’s often a sign of a internal leak. I once spent a week frustrated by a tripping GFCI only to realize I had steam leaking from the top of my boiler, which was slowly dripping onto the heating element terminals. Have you ever had your morning routine interrupted by a sudden blackout? Let me know in the comments which machine is giving you grief. Before we start tearing things apart, we need to distinguish between a simple overload and a dangerous ground fault.
How to Pinpoint the Short Without Calling an Electrician
First, stop resetting your breaker. Every time you flip that switch back on, you risk sending a surge through the control board. We need to act like a detective. Think of your kitchen’s electricity like a high-pressure water system; if there is a ‘leak’ in the wire’s insulation, the electricity escapes to the ground, and your GFCI outlet shuts everything down to prevent you from getting a shock.
Swap Your Circuit to Test the Wall
Before you take a screwdriver to your machine, plug it into a different circuit. I don’t mean the outlet next to it—those are usually on the same 15-amp line. Take your machine to the living room or a bedroom. If it still trips there, the problem is definitely internal. If it doesn’t, your kitchen is simply overloaded. Many top-rated espresso machines pull massive current, and if you are running one alongside powerful milk frothers or a toaster, you’re going to blow a fuse every time.
Look for the Tell-Tale Signs of Steam Leaks
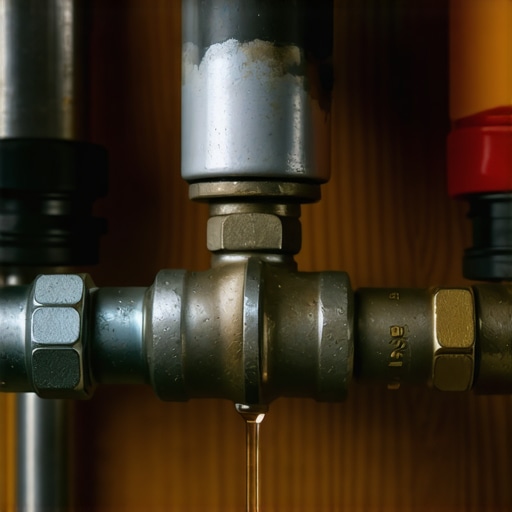
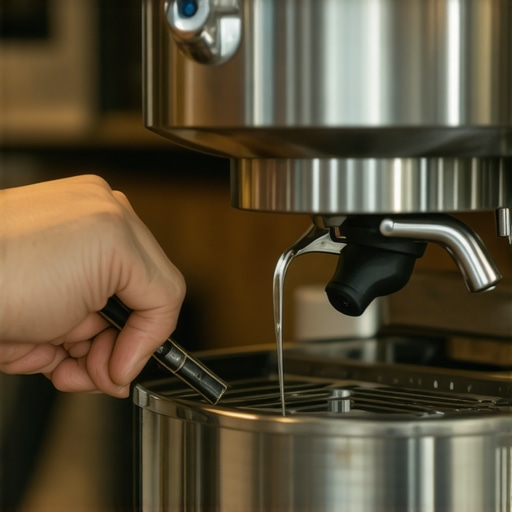
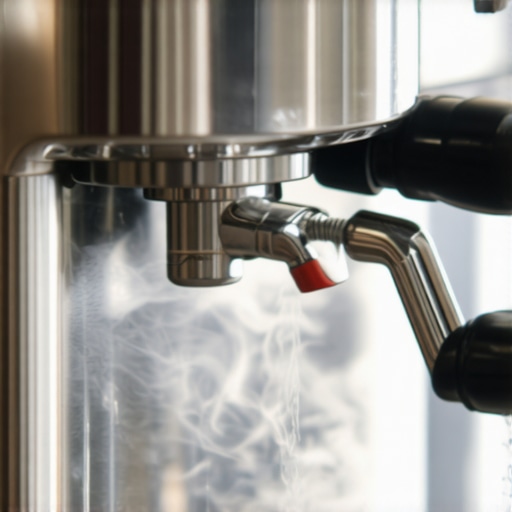
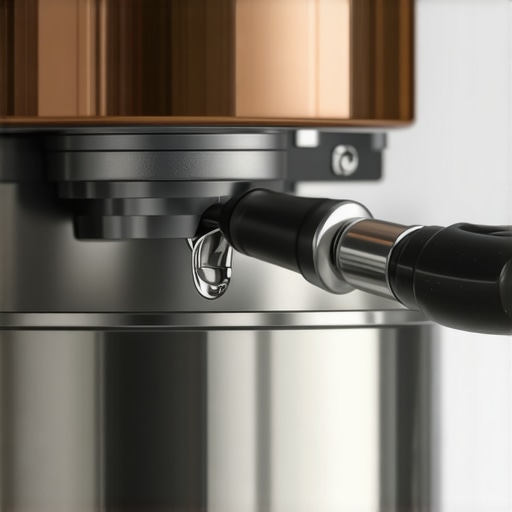
Moisture is the number one enemy of espresso machine electronics. I once had a Rocket Appartamento that tripped the GFCI every time I tried to steam milk. I was convinced the brain box was fried. After opening the case, I found a tiny mist of steam escaping from a fitting—it was so small I could barely see it. That mist was condensing on a terminal. If you see steam leaking from the top of the boiler, it’s only a matter of time before it hits a wire. Open the top cover (with the machine unplugged!) and look for white mineral tracks or green corrosion on electrical tabs. 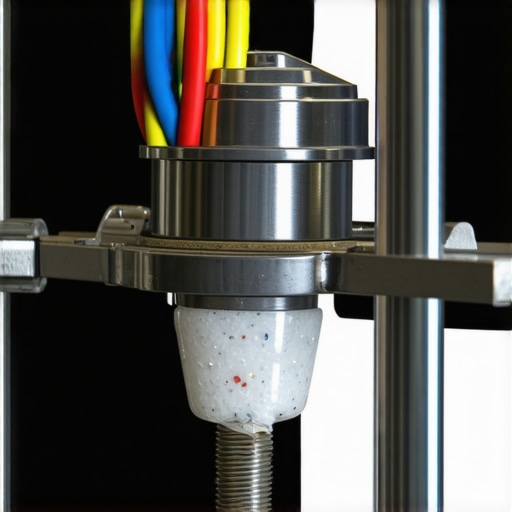
Test Your Heating Element for Invisible Cracks
If the machine trips the moment it starts heating, the heating element is likely the culprit. Inside the boiler, the element is basically a wire inside a metal tube. Over time, that tube can crack. When water touches the internal wire, it’s game over. This often happens if you haven’t been careful about how to tell if your machine boiler is accumulating lime scale. Excessive scale causes hotspots that can split the metal. You can test this with a multimeter by checking the resistance between the element terminals and the boiler wall; any continuity there means the element is toasted.
Spot a Failing Solenoid Before It Shorts
Another sneaky culprit is the three-way solenoid valve. These components get hot and sit right in the path of potential drips. You need to know how to spot a failing solenoid valve before it causes a major short. If the coil on the valve looks swollen or has a burnt smell, it’s drawing too much current or shorting internally. Similarly, check your coffee grinder too; if you’ve recently cleaned it with water or let it build up massive static, you might have a damp motor or a clogged discharge chute causing the motor to strain and trip the breaker.One of the biggest myths in the home coffee community is that spending more money on top-rated espresso machines makes the process easier. In reality, the more ‘pro’ the machine, the more temperamental it becomes. I see beginners dive straight into high-end E61 groups and wonder why their shots are wildly inconsistent. The truth is, choosing the best barista gear actually raises the stakes for your technique. If your puck prep isn’t perfect, a high-pressure rotary pump will find every single flaw and punish you with channeling.
Why does your espresso flow slow down midway through the pull?
This is a question I get from people who have mastered the basics but can’t hit that ‘God shot’ consistency. It’s often due to a phenomenon called ‘fines migration.’ As the shot progresses, the smallest coffee particles travel toward the bottom of the basket, eventually clogging the filter holes and choking the flow. This isn’t a machine failure; it’s a grinder issue. You might need to look at how to select the perfect coffee grinder that produces a more uniform particle size and fewer fines. 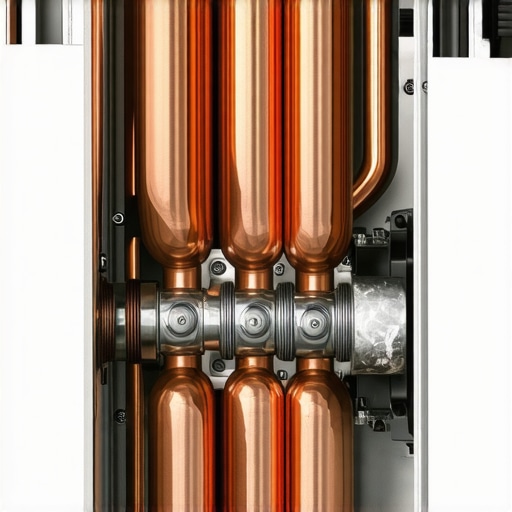
The Descaling Trap That Actually Breaks Your Machine
Here is my contrarian take: stop descaling your dual-boiler machine every month. While common wisdom says descaling is essential maintenance, in high-end machines, the descaling acid can dislodge large flakes of scale that then travel into the tiny orifices of the solenoid or the gicleur. I’ve seen more machines ruined by a failed descaling process than by the scale itself. According to water quality research by the Specialty Coffee Association, the key isn’t cleaning the scale out—it’s preventing it from forming with proper water filtration. If you’ve already gone through with a harsh descale and notice the espresso tastes metallic, you likely haven’t rinsed the boiler thoroughly enough.
The Hidden Danger of Ignoring Machine Vibrations
We often ignore the small things, like how to stop your espresso machine’s feet from vibration walking. It seems like a minor annoyance, but constant micro-vibrations can loosen internal compression fittings over time. This leads to those tiny steam leaks I mentioned earlier, which eventually trip your GFCI or short out your control board. Have you ever fallen into this trap of over-maintaining or under-tuning your gear? Let me know in the comments. Even the best milk frothers or grinders need a stable, vibration-free environment to perform at their peak.Beyond the electrical scares, the real longevity of your home cafe depends on the tools you use when the machine is actually turned off. It’s not enough to just pull shots; you have to treat your gear like the precision laboratory equipment it is. I’ve seen enthusiasts spend thousands on top-rated espresso machines only to let the internals seize up within a year because they ignored simple lubrication. My personal ‘holy grail’ tool isn’t a fancy scale or a distribution needle; it is a small tube of Molykote 111. This food-grade silicone grease is what keeps my E61 lever from feeling like a rusted gate. If you don’t know how to properly lubricate your E61 group head cam, you’re eventually going to feel a disturbing metal-on-metal grind every time you start a shot. According to the technical support specialists at Whole Latte Love, failure to lubricate internal cams after backflushing with detergents is one of the leading causes of premature mechanical wear in prosumer machines.
How do I maintain my espresso setup over time?
The secret is a tiered schedule. Every day, I purge the steam wand and wipe the shower screen. Every week, I do a plain water backflush. Every month, I break out the chemicals. If you’re using a grinder, you also need to keep an eye on the moving parts. I’ve helped friends who thought their equipment was dying, only to find they just needed to know how to fix a grinder adjustment ring that is stuck. Over time, coffee oils and fine dust act like a glue. If you ignore it, the reason your grinder adjustment ring feels gritty or stuck is usually a buildup of rancid oils that have polymerized into a literal sludge. I personally use a small vacuum and a stiff nylon brush every Sunday to ensure my coffee grinder stays as responsive as the day I unboxed it. 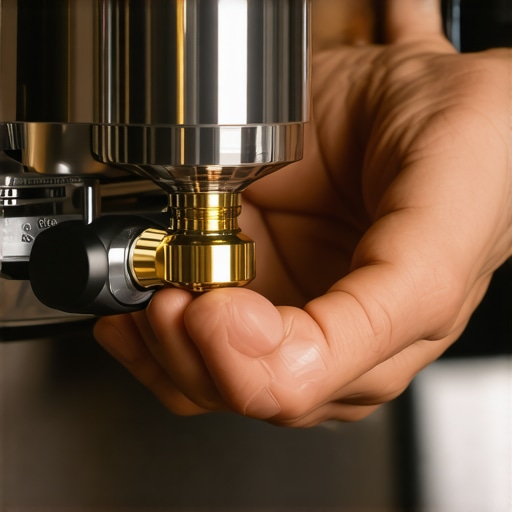
Small upgrades that make a massive difference
You don’t need a new machine to get better results; you just need to stop the small leaks in your workflow. If you notice your shots are messy, you might be wondering why your espresso shot is spraying the back of your cup. Often, this is a sign of a dirty shower screen or a worn-out gasket. I always keep a spare group gasket in my drawer because once that seal goes, you’ll experience a portafilter that leaks from the top, which ruins your pressure and creates a watery mess. For those with milk frothers or steam wands, don’t let milk dry inside the tip. If you do, you’ll be searching for how to fix a steam wand that only blows out weak air. Looking ahead, I predict we will see more ‘smart’ integration in maintenance—not just apps that tell you when to descale, but internal sensors that monitor the actual conductivity of your water in real-time to prevent scale before it even starts. For now, take ten minutes this weekend to pull your shower screen and soak it in backflush detergent. You’ll be shocked at the difference in clarity in your next cup.
Hard Truths I Wish I Knew Before Blowing My Kitchen Fuses
- Most electrical failures are actually plumbing failures in disguise. If you see water or condensation anywhere it shouldn’t be, the circuit breaker isn’t your enemy—it is your house’s life support system.
- A dedicated 20-amp circuit is often the single best upgrade you can make when choosing the best barista gear. It stops the flickering lights and ensures your machine has the current it needs to maintain thermal stability.
- True maintenance is about listening to the machine before it screams. A slight hiss or a rattling noise during heat up is an early warning system that saves you hundreds in repair bills if caught early.
The Reliable Gear That Actually Saves You Money
I don’t trust marketing fluff; I trust tools that prevent downtime. For electrical safety, every serious home barista should own a basic multimeter to check for continuity in heating elements. For mechanical longevity, a tube of Molykote 111 is non-negotiable for anyone who needs to properly lubricate your E61 group head cam. Finally, follow the water chemistry guidelines from the Specialty Coffee Association (SCA). If you master your water, you’ll rarely need to research the best way to descale a boiler because scale buildup will never be an issue in the first place.
Take Control of Your Morning Ritual
At the end of the day, your coffee setup should bring you joy, not a headache. Whether you are troubleshooting a sudden short or just trying to figure out why your espresso shot slows down midway, remember that every mechanical quirk is a chance to deepen your craft. Investing in high-quality barista gear is a journey of discovery, not just a purchase. Don’t let a tripped breaker stop your pursuit of the perfect shot. Have you ever had a piece of equipment literally spark or shut down your whole kitchen in the middle of a brew? Let me know your craziest repair stories in the comments below!