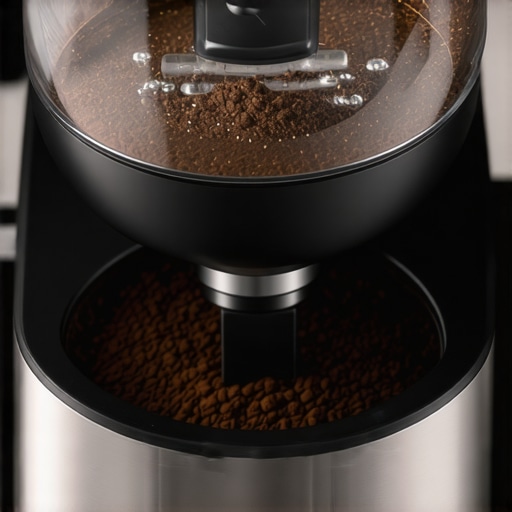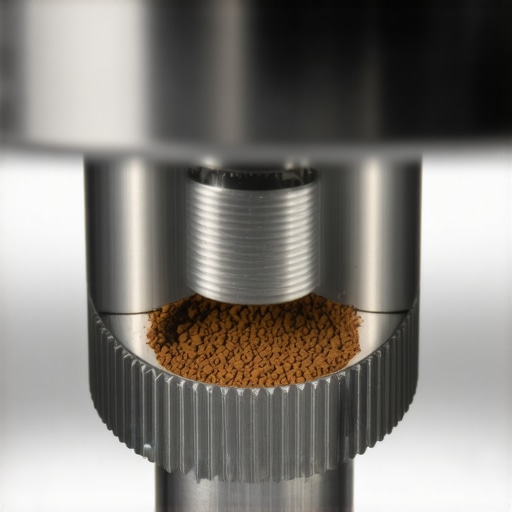
The Reason Your Grinder Adjustment Ring Feels Gritty or Stuck
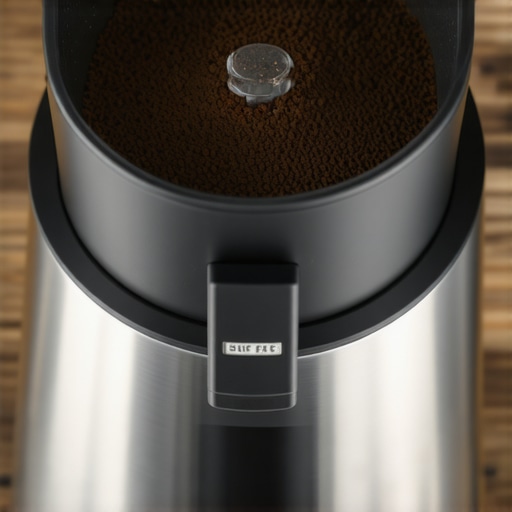
It was 6:00 AM, and the kitchen was silent except for the soft hum of the refrigerator. I reached for my favorite manual grinder, ready to dial in a light-roast Kenyan for my morning pour-over. I gripped the adjustment ring, expecting the usual smooth, buttery glide. Instead, it felt like I was trying to turn a bolt that had been buried in wet sand for a decade. A sharp, scratchy crunch echoed in the quiet room. My heart skipped a beat. I thought I had broken a burr or snapped a tension spring. That moment of panic—where you realize your most-used tool is suddenly failing—is something every coffee enthusiast dreads. But I’ve been there, and I’ve learned the hard way that this ‘grittiness’ is rarely the end of the road. It is usually just a cry for help from a machine that is working too hard. Today, I am going to show you exactly how to diagnose that resistance and get your gear back to its factory-smooth state.
Stop Forcing the Ring Before You Strip the Metal Threads
When your adjustment ring resists, your first instinct—if you’re anything like me—is to use a bit more muscle. Please, don’t do that. Early in my journey, I actually used a pair of rubber jar grippers to force a stuck dial on an old Italian-made grinder. I ended up cross-threading the entire assembly, a mistake that cost me a three-week wait for replacement parts and a lot of expensive shipping fees. It was a visceral lesson: grittiness is a distress signal, not a challenge. Most of the time, the ‘grit’ you feel isn’t the metal failing; it’s a combination of micro-fines and coffee oils that have polymerized into a sticky, abrasive varnish. If you’ve spent time figuring out how to select the perfect coffee grinder for your brew, you know these machines are built to incredibly tight tolerances. Even a microscopic layer of gunk can seize the threads and make an expensive piece of equipment feel like a toy.
Is my expensive grinder actually ruined?
It’s the fear that keeps every home barista awake after a mechanical hiccup. The good news? About 90% of the time, your grinder isn’t broken; it’s just crying out for a deep clean. However, continuing to turn a gritty ring is like rubbing sandpaper between two pieces of polished silk. You are effectively filing down the precision threads that allow you to switch between French Press and Espresso settings. According to a study by the Specialty Coffee Association (SCA), coffee oils can undergo rapid oxidation when exposed to air and heat, leading to a significant increase in viscosity—essentially turning them into a thick, sticky varnish that binds moving parts. To fix it, you need to know the best way to clean a grinder without losing your settings so you don’t have to start your dialing-in process from scratch. Have you ever felt that sickening ‘thud’ or sandpaper resistance when trying to adjust your grind size?
Coffee Oils Are Turning Into Industrial Glue Inside Your Gear
The culprit is often invisible until you take the top off. We often think that because we are only grinding dry beans, the machine stays clean. But coffee is a botanical product full of lipids and fats. Over time, these oils migrate into the adjustment threads. If you prefer darker roasts, this buildup happens twice as fast because those beans are naturally oilier. I’ve found that using the cotton swab trick for cleaning hidden grinder crevices is the only way to truly reach the gunk that sits in the spiral of the threads. Also, a word of warning for the ‘life hack’ crowd: why you should never use rice to clean your high-end grinder becomes very clear once you see how starchy rice dust mixes with coffee oils to create a concrete-like substance that is nearly impossible to remove. We’re going to walk through the gentle steps to clear that debris without damaging your burr alignment.
Mark Your Zero Point Before the First Turn
To start, you need a clear workspace and a way to remember your current settings. I remember the first time I dismantled a premium hand grinder; I was so focused on the ‘crunch’ that I forgot to count my clicks. I spent the next three mornings drinking sour, under-extracted swill because I couldn’t find my espresso range. Before you unscrew the adjustment ring entirely, turn it all the way to its ‘zero’ or tightest position and take a photo or note the number. This is your baseline for when you put your barista gear back together. If the ring is so seized that it won’t even move toward zero, do not force it. Instead, use a vacuum with a brush attachment to pull any loose particles from the top of the burr chamber. Often, the resistance comes from a stray bean fragment that has found its way into the thread gap. 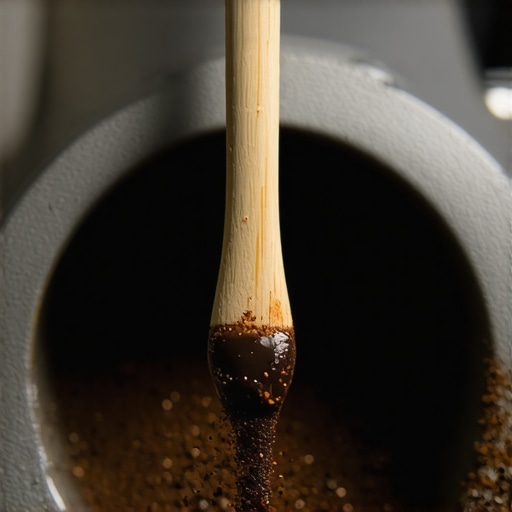
Scrub the Threads Like a Surgeon
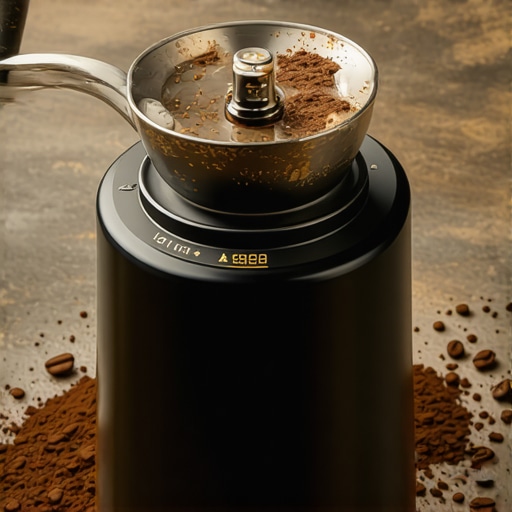
Once you have the adjustment assembly apart, you will likely see a ring of dark, tacky residue hidden in the grooves. This is polymerized coffee oil. It’s basically nature’s version of industrial glue. To remove it, you need 90% isopropyl alcohol and a box of high-quality toothpicks. Avoid using water at all costs; even ‘stainless’ burrs can develop surface rust in the micro-crevices of the threads. I like to sit under a bright desk lamp and slowly trace every single groove of the screw thread with a toothpick. You’ll see the ‘grit’ come out in long, waxy ribbons. If you ignore this, you might notice that why your grinder burrs are getting hot during a single dose becomes a recurring issue, as the friction from the gunk creates unnecessary thermal mass and resistance.
Why a Simple Brush Isn’t Enough
A brush is great for loose dust, but it won’t touch the oily varnish. Think of it like trying to clean dried syrup off a counter with a feather duster. You need a solvent to break the chemical bond. Dip a cotton swab in the alcohol and run it around the threads until the swab comes away white. If you find why your coffee grounds are clumping together is a problem during your daily routine, it is usually a sign that this oil buildup has reached the burr exit chute as well. If you are working on top-rated espresso machines with integrated grinders, be extremely careful not to let the alcohol drip into the internal electronics or the motor housing.
Put It Back Together and Test the Glide
Before reassembling, check the burrs themselves for any chips or dullness. If you see signs of uneven wear, it might be time to learn how to calibrate your grinder after replacing your burrs. When you thread the ring back on, it should spin with zero resistance until the burrs actually touch. If it still feels scratchy, there is likely a microscopic piece of debris still hiding in the threads. Once it’s smooth, use the tinfoil shim move for perfectly aligned grinders to ensure that your deep cleaning didn’t throw off the precise geometry needed for a clean shot. I once had a friend who swore his grinder was terminal, only to find that a single grain of coarse sea salt was jammed in the third thread. A ten-minute scrub and a recalibration saved him a $500 replacement bill.Testing the glide is just the beginning of maintaining a high-performance coffee setup. Many enthusiasts believe that once they invest in the most expensive barista gear, the machine should essentially take care of itself. I’ve found the exact opposite to be true. High-end equipment is designed with such tight tolerances that even a microscopic layer of coffee dust can disrupt the entire mechanism. If you are operating top-rated espresso machines for coffee lovers in 2025, you have to accept that precision engineering actually requires more vigilance, not less. While mastering the art of home espresso tips for beginners focuses on the brew, the advanced user must focus on the mechanical integrity of the tool.
The Myth of the Maintenance-Free Grinder
There is a common misconception that premium burrs and adjustment rings are immune to the ‘grittiness’ experienced by cheaper models. However, research published by the American Chemical Society on the oxidation of coffee lipids suggests that oils can begin to polymerize in as little as 48 hours when exposed to residual heat. This creates a sticky film that acts as a magnet for fine particles. When you turn that ring, you aren’t just feeling metal; you are feeling a chemical sludge that has hardened into the threads. If you’ve ever noticed why your grinder burrs are getting hot during a single dose, it is likely because this internal friction is forcing the motor to work harder, generating heat that further bakes the oils into the metal.
What causes the adjustment ring to tighten up mid-session?
Thermal expansion is the hidden culprit behind many ‘stuck’ grinders. According to studies by the National Institute of Standards and Technology (NIST), metal components can expand significantly under the friction-induced heat of a grinding cycle. This expansion can reduce the gap between the adjustment threads, making a once-smooth dial feel like it is seizing up. This is why you might find it easy to adjust your settings in the morning but impossible when trying to how to dial in decaf without losing your mind in the afternoon. 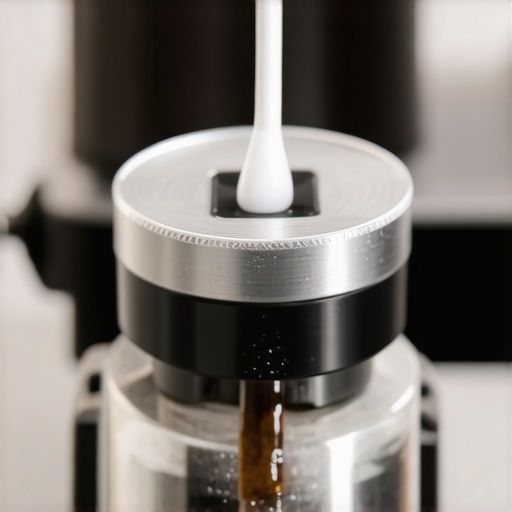
Avoid the Dry Thread Reassembly Trap
The biggest ‘oops’ factor I see among home baristas is reassembling a grinder with completely dry threads. After you’ve stripped away the old oils with alcohol, the metal-on-metal contact can lead to galling—a form of wear caused by adhesion between sliding surfaces. Just as enthusiasts might debate the truth about using spring-loaded tampers for even shots, the use of thread lubricants is a frequent point of contention. My advice? Use a microscopic amount of food-grade silicone grease. If you use too much, it becomes a trap for debris; if you use none, you risk permanent thread damage. Finally, always use the flashlight move for finding hidden channeling paths after reassembly to ensure your burrs are perfectly level and that the cleaning process didn’t shift your alignment. Have you ever fallen into this ‘over-tightening’ trap? Let me know in the comments.Keep Your Steam Wand from Becoming a Dairy Graveyard. You’ve fixed the grinder, but your milk routine might be the next thing to fail. Most people just wipe the tip and move on, but I’ve seen the inside of a neglected wand—it’s not pretty. I swear by the 2-minute habit that prevents clogged steam wands because it stops milk proteins from baking onto the internal copper. If you skip this, you’ll eventually wonder the reason your steam wand is making huge bubbles only, which is usually a sign that the airflow is restricted by a ‘milk plug’ of old residue. When you are choosing the best barista gear for coffee enthusiasts, always look for machines with detachable tips that make deep cleaning easier.
How do I maintain my espresso gear over the long haul?
Maintenance isn’t just about cleaning; it’s about active observation. I keep a physical log of my shot times and yields. If I notice why your espresso shot slows down midway through the pull, I know it’s time to backflush the group head. Every six months, I perform a deep-system audit. This includes using the best way to descale a boiler without using harsh vinegar to protect the delicate copper heating elements from corrosion. According to the Vittoria Coffee technical training guide, water hardness is the single biggest killer of high-end rotary pumps, so checking how to tell if your water is too soft for brewing is a non-negotiable step if you want your machine to last more than five years. 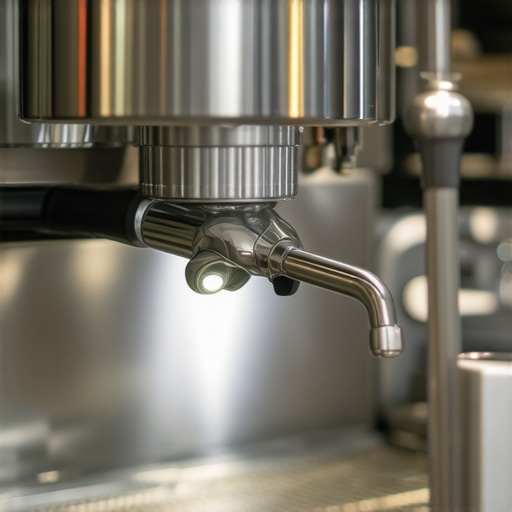 Stop Trusting Your Eyes and Start Using a Flashlight. One tool I never brew without is a high-lumen LED penlight. It sounds like overkill, but using the flashlight move for finding hidden channeling paths is the only way to see if your puck prep is actually working in the dark corners of the basket. I also recommend a dedicated kit for burr health. If your shots taste muddy after a deep clean, use the chalk trick for checking grinder burr alignment to ensure the blades are perfectly parallel. Even top-rated espresso machines for coffee lovers in 2025 will eventually need a hands-on touch to keep the mechanical tolerances tight. Don’t let static ruin your morning workflow either. If you have wondered why your coffee beans are sticking to the sides of the hopper, it’s often a humidity issue that can be solved with a single spray of water. Also, be wary of your electronics; why your digital scale jumps when the pump starts is a classic case of electromagnetic interference. I personally place a thin silicone mat between my scale and the machine’s drip tray to dampen vibrations. The Future is Predictive Maintenance. Looking ahead, I expect we will see a massive trend toward AI-driven pressure sensors that alert your smartphone before a part actually breaks. We are already seeing high-end prototypes that can detect how to tell if your espresso machine solenoid is failing through real-time vibration analysis. Until those become the industry standard, you have to be the primary sensor for your setup. I challenge you to try the ‘Chalk Trick’ this weekend—it is the fastest way to move from a hobbyist to a true home technician.
Everything I Learned the Hard Way While Fixing My Gear
After years of stripping threads and testing my patience, I have realized that a smooth adjustment ring is the literal foundation of a consistent brew. When that ring starts to feel gritty, it is not just an annoyance; it is a signal that your tolerances are drifting. Here are the lightbulb moments that changed my entire maintenance philosophy:
- The Sound of Silence is Key: If your adjustment ring makes any sound at all, even a faint whisper of sand-on-metal, you are likely filing down the precision threads. I learned to stop immediately and clean rather than ‘pushing through’ the resistance.
- Dark Roasts are Silent Saboteurs: While delicious, oily beans require twice the maintenance. The oils act like a magnet for fine dust, creating a sludge that can seize a high-end dial in weeks.
- Alignment is a Moving Target: Even the top-rated espresso machines for coffee lovers in 2025 can shift out of alignment after a deep clean. I now perform the chalk trick for checking grinder burr alignment every time I reassemble my unit.
- Maintenance as a Ritual: I stopped seeing cleaning as a chore and started seeing it as a core part of mastering the art of home espresso tips for beginners. If the tool is compromised, the flavor will be too.
What I Keep in My Emergency Repair Kit
You do not need an industrial workshop to keep your gear in peak condition. These are the specific items I personally trust to save my mornings from mechanical failure:
- 90% Isopropyl Alcohol: This is the only solvent I use. It cuts through polymerized coffee oils instantly and evaporates without leaving a scent that could ruin your next shot.
- Food-Grade Silicone Grease: A microscopic dab on the threads after cleaning prevents future seizing. It is a secret weapon for keeping your barista gear feeling brand new.
- A High-Lumen LED Penlight: Essential for the flashlight move for finding hidden channeling paths and for inspecting the deep recesses of your adjustment threads for hidden debris.
- Wooden Toothpicks: Unlike metal needles, these allow you to scrape gunk out of the thread grooves without risk of scratching or cross-threading the assembly.
Your Machine Is Now Ready for the Perfect Pull
Taking the time to address a gritty adjustment ring is more than just a repair; it is an act of stewardship for your daily coffee ritual. When your tools work effortlessly, you can focus entirely on the sensory experience of the brew rather than fighting with the hardware. By keeping the threads clean and the burrs aligned, your barista gear will remain as precise and satisfying to use as the day you first unboxed it. Remember, a well-maintained grinder is the shortest path to a god-shot. Happy brewing!
Have you ever felt that terrifying crunch when adjusting your grind, or did a deep clean solve a mystery flavor issue for you? Let me know in the comments below!