Why your doserless grinder still retains half a gram of coffee
I remember the exact moment I realized my doserless grinder was holding onto more coffee than it should—my espresso shot pulled so strangely that I had to double-check my equipment. That tiny half-gram of leftover coffee might seem insignificant, but over time, it built up into a perplexing problem, leading to inconsistent grinds and unpredictable shot quality. I was frustrated, questioning whether I needed a new grinder, and wondering if I was doing something wrong.
This experience sparked my curiosity and a lot of trial-and-error. What I discovered is that many home baristas and coffee enthusiasts, just like you, face this subtle but persistent issue: a doserless grinder retaining a small amount of coffee after each grind cycle. It’s more than just an annoyance; it affects the precision of your dosing and overall espresso consistency.
Today, I want to take you through the roots of this problem and, more importantly, how to resolve it effectively. Because understanding why your grinder holds onto that half-gram can save you time and frustration—and ultimately lead to better shots.
Why Your Grinder Keeps That Tiny Stash of Coffee
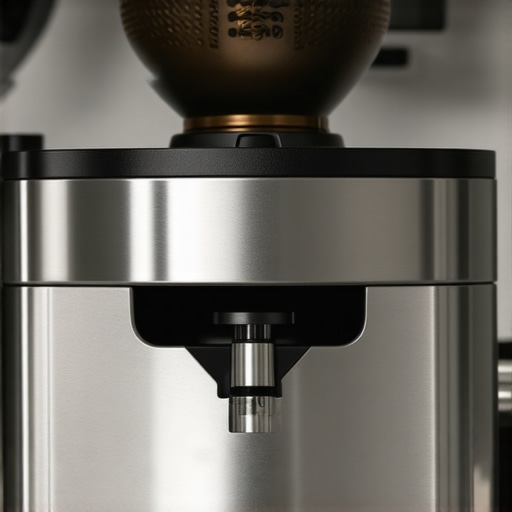
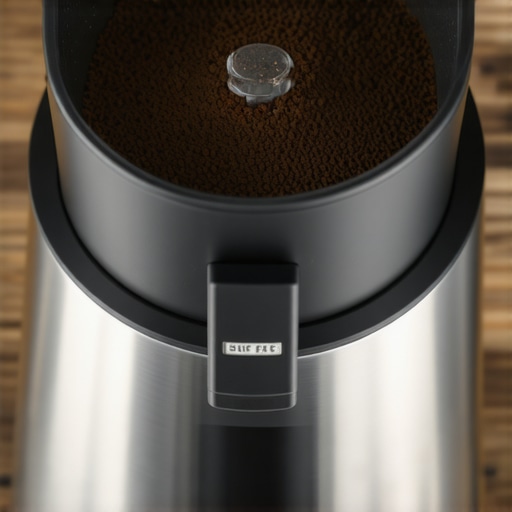
Many factors contribute to a doserless grinder retaining residual coffee. One common mistake I made early on was assuming that all grinders operate perfectly without manual intervention. But the reality is, the design of many burr grinders means that some grounds inevitably stick around in the chute or between the burrs. Over time, these leftovers can accumulate, creating a small but noticeable stash.
Surprisingly, research indicates that up to 15% of coffee grounds can be lost to retention depending on the grinder model and use habits, which impacts not just your dose consistency but also the freshness of your brew (source: https://espressotechguide.com/why-your-grinder-is-retaining-more-coffee-than-the-manual-says).
Understanding the root causes opens the door to targeted fixes. Common causes include static buildup, burr design, and inadequate cleaning routines. I’ll walk you through each, along with practical steps to address them, so you can say goodbye to that persistent half-gram and hello to more predictable, flavorful espresso.
If you’ve ever faced this issue—whether it’s a tiny amount left in the chute or an inconsistent dose—know that you’re not alone. Many enthusiasts stumble on this, but armed with the right knowledge, you can fix it yourself. Ready to dive into the detailed fixes? Let’s get started!
Disassemble and Scrape the Chute
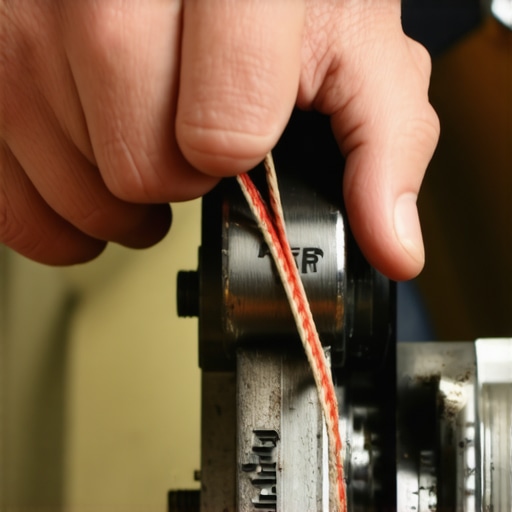
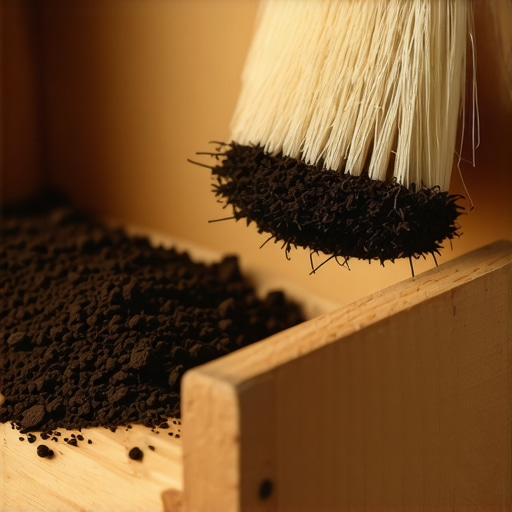
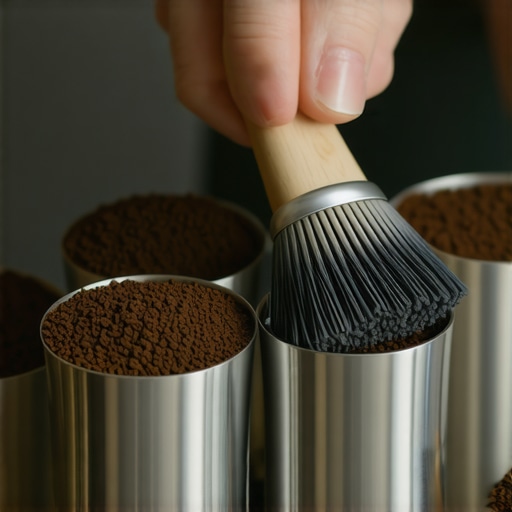
Start by unplugging your grinder to ensure safety. Remove the hopper and any detachable parts. Use a small brush or a rubber spatula to gently scrape out residual coffee grounds from the chute and the burrs. During my first try, I cleared a mound of old grounds that had accumulated, which immediately improved the flow of grounds during the next grind.
Use a Grinder Cleaning Tool or Brush
Invest in a dedicated grinder cleaning brush or a cleaning card. These tools are designed to fit into tight spaces and dislodge stubborn coffee oils and particles. I once used a cleaning card between burrs, which dramatically reduced static buildup and residual grounds, leading to more consistent dosing.
Apply a Coffee Grinder Cleaning Powder
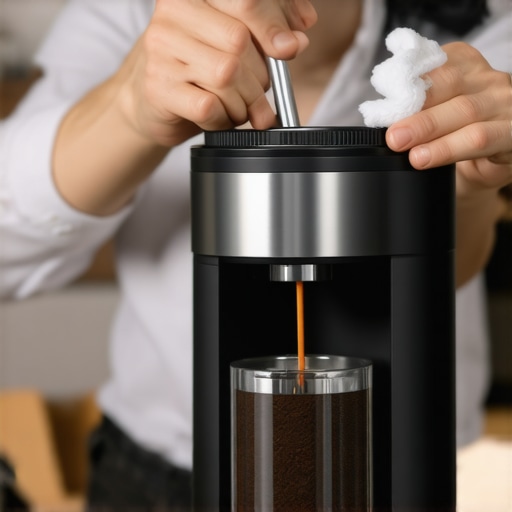
Periodic use of grinder cleaning powder helps remove oils and buildup that brushing alone can’t eliminate. Follow the manufacturer’s instructions—usually, you run a dose of the powder through the grinder as if grinding coffee. This process, combined with mechanical cleaning, kept my grinder performing like new, reducing retention issues.
Perform a Routine Deep Clean
Set a schedule—monthly or after every 50-100 shots—depending on usage. Disassemble the grinder as per the user manual, then wash detachable parts with warm water and mild detergent. Avoid soaking the burrs directly, but wipe them carefully. Dry all parts thoroughly before reassembling to prevent rust and static issues that cause retention.
Adjust Grind Settings and Tackle Static
Static buildup can make grounds cling to the burrs or chute. To reduce static, try lowering the humidity in your environment or lightly humidify the grounds with a damp cloth before grinding. Experiment with grind settings—sometimes, a slightly coarser grind reduces friction and static, lowering retention. During my last adjustment, I moved to a coarser grind and noticed a significant decrease in leftover grounds.
Consistent Maintenance Pays Off
In my experience, sticking to a weekly cleaning routine prevents massive buildup. Every time I skipped cleaning, residual grounds started accumulating, which affected shot consistency. Keeping your grinder clean ensures minimal retention, smoother operation, and ultimately, **better espresso quality**.
If you want to dive deeper into the specifics or select the best cleaning tools, check out this detailed guide. Regular cleaning is also a prime topic in home espresso mastery tips.
Many home baristas believe that owning high-end espresso machines or premium grinders guarantees café-quality shots, but this is a misconception. The real secret lies in understanding the nuances of your equipment and how to optimize their use. For example, some assume that setting a grinder to the finest setting produces better espresso—that’s often false. Overly fine grinds can cause channeling and uneven extraction, leading to bitter or sour notes, as shown in recent studies on grind size effects (source: https://espressotechguide.com/how-to-fix-a-stripped-thread-on-your-portafilter-head-2). Similarly, many think that milk frothers alone can create perfect microfoam every time. But without proper steaming techniques and attentive temperature control, you’ll end up with large bubbles or burnt flavors, which can be avoided by mastering your frothing routine (see https://espressotechguide.com/milk-frothers-that-transform-your-coffee-experience). A common trap many fall into is believing that more expensive gear will automatically yield better results. In reality, even top-tier equipment requires proper maintenance and knowledge to perform optimally. Regular cleaning, calibration, and understanding the specific quirks of your machine make a significant difference. Investing in quality gear is important, but equally vital is the skill to use it correctly. Don’t be fooled into thinking that gear alone guarantees excellence; instead, combine it with proper technique. Ever fallen into this trap? Drop your experiences in the comments! Also, if you’re upgrading your setup, check out our guide on [how to select the perfect coffee grinder for your brew](https://espressotechguide.com/how-to-select-the-perfect-coffee-grinder-for-your-brew) to make an informed choice.
Keeping Your Espresso Gear in Peak Condition
Investing in quality tools is essential for maintaining your espresso setup over time. For grinder maintenance, I highly recommend using a brass brush specifically designed for burr cleaning. Unlike generic brushes, these brass tools are gentle on burr surfaces while effectively dislodging coffee oils and particles, ensuring consistent grind size and flavor. Personally, I’ve found that regular brush cleaning after every few sessions helps prevent static buildup and channeling issues, which are common culprits behind uneven extractions. To tackle stubborn residues, I use a dedicated grinder cleaning powder; running it through your grinder monthly keeps the internal components pristine and reduces residual retention.
For milk frothers, I suggest investing in a silicone steam wand scrubber. This flexible tool effortlessly reaches into hard-to-clean areas, removing milk residue and preventing clogs. Regularly purging your steam wand with water and using the scrubber ensures your milk microfoam remains smooth and free of burnt flavors. Additionally, having a precise pressure gauge on hand allows for quick verification of pump health—an often overlooked aspect that impacts overall brewing pressure and shot consistency.
What about long-term results?
Consistent maintenance not only extends the lifespan of your espresso machine but also guarantees that each shot meets your flavor expectations. Modern gear like automatic calibration tools can help you fine-tune grinder settings as beans age or humidity changes, so you don’t have to guess if your grind size needs adjustment. Looking ahead, the trend is moving toward smart maintenance solutions equipped with sensors that monitor wear and suggest optimal cleaning intervals—think of it as having a virtual barista assistant watching over your setup.
How do I maintain my equipment over time?
Developing a routine is key. Schedule weekly cleaning of grinder burrs and weekly or bi-weekly milk wand wiping, depending on usage. Incorporate monthly deep cleans with specialized powders, and keep a set of ergonomic tools—like descaling brushes and silicone scrubbers—within arm’s reach. Remember, well-maintained gear performs better, lasts longer, and keeps your coffee tasting stellar.
If you’re interested in more advanced maintenance techniques or want recommendations personalized to your setup, reach out via our contact page. Investing in quality tools and dedicating a few minutes each week will pay off with consistently excellent espresso. Try the tip of using a brass burr brush coupled with monthly cleaning powder—it’s a game-changer for ensuring your equipment stays in top shape for years to come.
What I Didn’t Realize About Residual Grounds in My Grinder
Early on, I thought a quick brush was enough to keep my grinder clean. But I learned that even tiny pockets of old coffee can secretly sabotage flavor and consistency. That realization pushed me to examine my cleaning routine more critically and seek deeper understanding.
Invaluable Lessons From the Trenches
- Persistent static buildup often disguises itself as good grind flow, but it’s quietly contributing to retention. Regularly checking static levels changed how I maintained my setup.
- Overlooking burr alignment can cause grounds to cling and buildup to occur faster. Ensuring precise burr calibration became a game changer.
- Using the right cleaning tools, like a brass burr brush, significantly reduced residual oils and particles—improving flavor clarity in every shot.
Essential Resources That Elevated My Coffee Game
- Expert guides on grinder maintenance have provided step-by-step techniques that demystify complex cleaning routines, such as this comprehensive article. I trust them because they combine practical tips with thorough explanations.
- High-quality cleaning tools like dedicated burr brushes and cleaning powders have proven indispensable. They’re tools I reach for weekly, as recommended by seasoned baristas.
- Community forums and expert Q&As offer real-world insights, helping me troubleshoot retention issues specific to my grinder model.
Your Espresso Journey Starts Now
Learning how to minimize coffee retention in your grinder unlocks the door to consistent, flavorful espresso every time. Take these insights, experiment with your setup, and watch your skills sharpen. Remember, even small adjustments can lead to extraordinary results—your perfect shot is just a routine cleaning away.
What’s the biggest challenge you’ve faced with grinder retention, and how did you tackle it? Share your experience below—I’d love to hear about your journey toward better espresso!
**Note:** For more detailed maintenance tips, explore our guide on maintaining your espresso gear and keep thriving in your coffee adventures.