The mess-free way to clean a conical burr grinder
I remember one specific Saturday morning where my kitchen ended up looking like a glitter bomb of coffee grounds had exploded. I had just bought some gorgeous, oily dark roast beans and decided it was finally time to be a responsible adult and clean my gear. By the time I pulled the top burr out, fine dust and chaff had coated my toaster, my favorite mug, and somehow, the inside of the silverware drawer. It took me longer to vacuum the kitchen than it did to actually enjoy my espresso. I made the mistake early on of thinking a damp paper towel was the answer—spoiler alert: it just created a brown paste that was a nightmare to remove. Since then, I’ve refined a process that keeps the burrs pristine without the cleanup tax. Today, we are going to solve the problem of the ‘grinder-cleaning-mess’ once and for all.
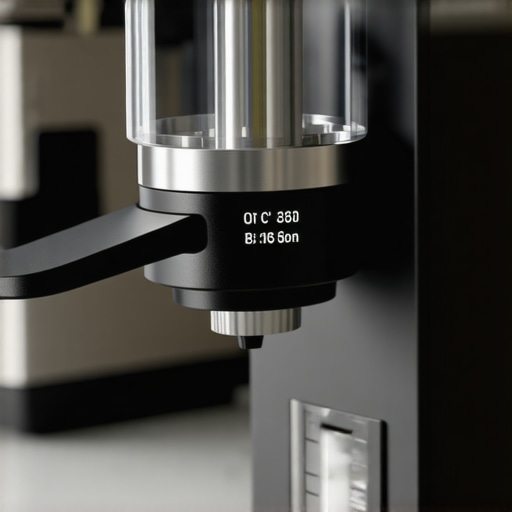
I’ve spent years testing the perfect coffee grinder for your brew, and the one thing the manuals never emphasize enough is how much the leftover oils can ruin a good morning. If you have ever wondered why your burr grinder is throwing chaff everywhere, you are likely dealing with the same static-charged headache I was. Keeping things tidy isn’t just about a clean counter; it is about protecting your investment and your taste buds. [IMAGE_PLACEHOLDER]
A Clean Counter is the Secret to Better Espresso
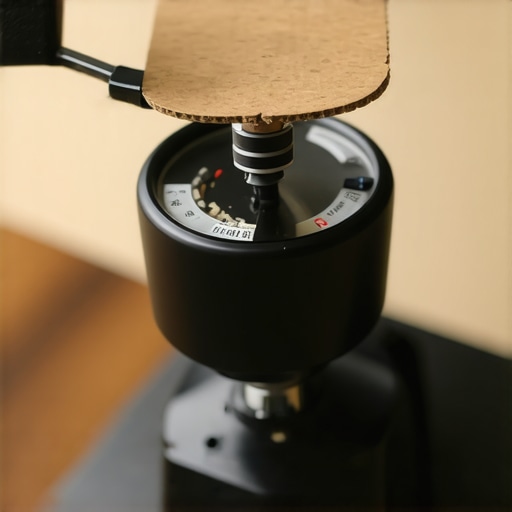
The real enemy here isn’t the coffee itself—it is the static electricity and the hidden ‘dead zones’ inside your machine. I used to think I had to take the whole thing apart every three days, but I eventually learned the move that saves your grinder from unnecessary wear while still keeping it fresh. You want to focus on the chute and the burr chamber without creating a cloud of dust. For most of us, the trick is knowing how to clean the grinder chute without taking it apart to avoid that inevitable explosion of grounds. When you master the airflow and the right tools, you can finish the job in three minutes flat with zero debris on the floor.
Does cleaning it really make that much of a difference?
It is easy to be skeptical when you are in a rush to get your caffeine fix. You might think that a little bit of old dust won’t hurt, but the Specialty Coffee Association (SCA) notes that oxidized coffee oils are the primary reason home-brewed coffee starts to taste like cardboard or old tobacco. When those oils sit on your conical burrs, they turn rancid and contaminate every fresh bean you pour into the hopper. I once went four months without a deep clean and honestly thought my taste buds were failing me until I finally cleared out the old sludge. The difference was night and day. Have you ever skipped cleaning your grinder just because you didn’t want to deal with the vacuuming afterward? I’ve been there, but I promise there is a better way to handle the maintenance without the drama.
Clear the Chute Without the Tool Kit
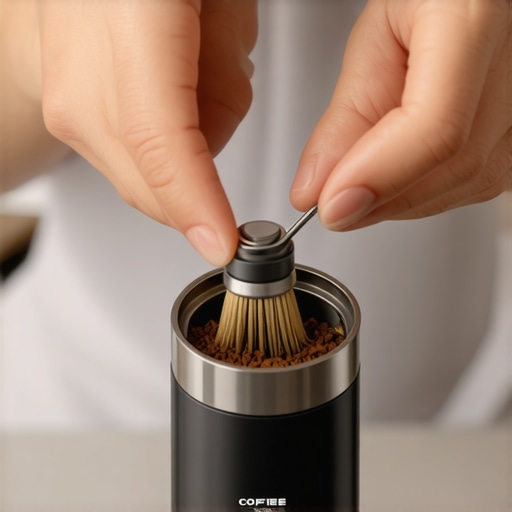
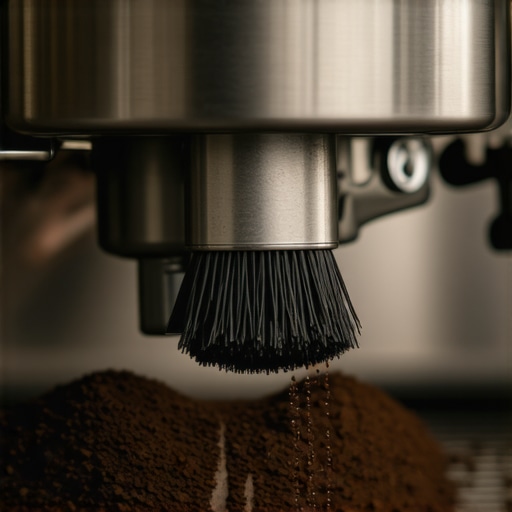
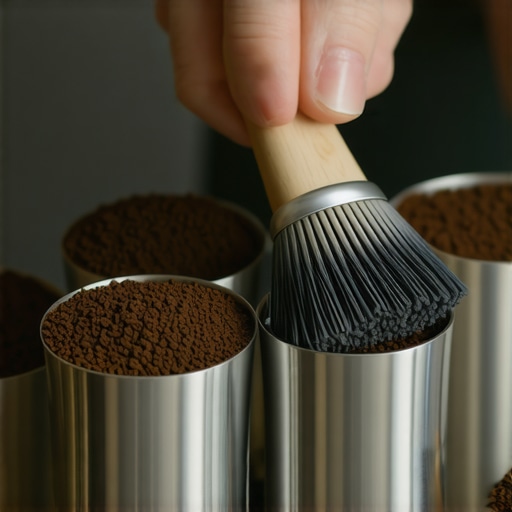
Most of the mess happens because of retention—that stale coffee trapped between the burrs and the exit point. Think of the grinder chute like a bottleneck on a busy highway; once one car stalls, the whole system backs up. To avoid a deep-clean surgery every week, you need to master how to clean the grinder chute without taking it apart. I use a small, stiff-bristled bamboo brush to reach upward into the exit hole after every few sessions. This knocks loose the ‘wall’ of compressed grounds that causes most clogs. If you leave that wall there, it eventually falls into your fresh portafilter as a dry, flavorless puck of charcoal that explains why your espresso shot tastes like cardboard. I once ignored this for a month and found a solid ‘plug’ of coffee that was as hard as a hockey puck—don’t let it get to that point.
Kill the Static Before It Kills Your Morning
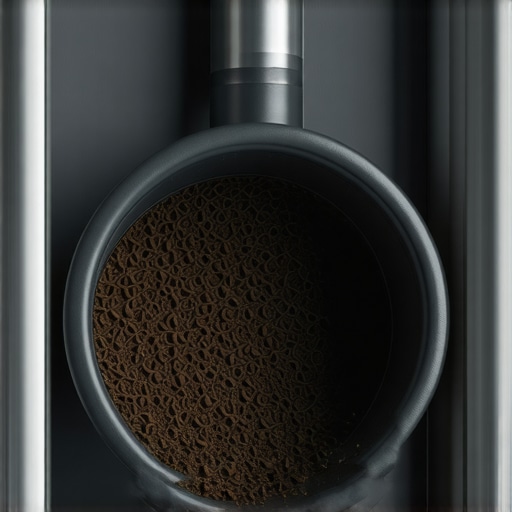
The dreaded ‘glitter bomb’ effect is almost entirely caused by static electricity. When beans move through the burrs at high speeds, they generate a charge that makes the chaff fly everywhere. This is why your burr grinder is throwing chaff everywhere and coating your cabinets in brown dust. The solution is the Ross Droplet Technique (RDT). I used to be terrified of putting water near my expensive burrs, but one tiny mist changes everything. I remember the first time I tried it; I used a massive plant mister and accidentally turned my beans into a soggy mess. The trick is a tiny 5ml atomizer. One spray, a quick shake of the dosing cup, and the static is neutralized. Learning how to stop static from ruining your grinding workflow is the single biggest upgrade you can make to your kitchen cleanliness. [IMAGE_PLACEHOLDER_B]
The Sound of a Grinder Screaming for Help
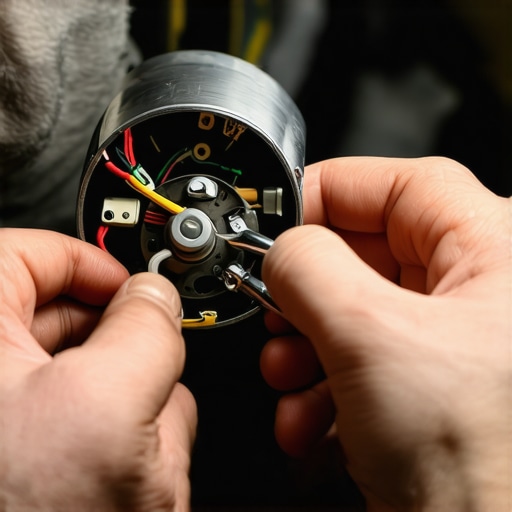
Maintenance isn’t just about what you see; it is about what you hear. If you notice a change in the pitch of the motor, or the reason your grinder makes a thumping noise during use becomes a mystery, you likely have a piece of debris or a significant buildup of oils. This often happens if you haven’t taken the time to learn how to properly season new steel burrs for better consistency, leading to uneven wear. When the burrs aren’t aligned, they fight against each other rather than the beans. I found that taking ten minutes to ensure the right way to align your flat burrs for better shots not only quieted the machine but reduced the amount of fine dust that usually escapes into the air. A well-aligned grinder is a clean grinder.
Find Your Zero Point Without Scouring the Burrs
Many home baristas make the mistake of tightening their grinder until the burrs scream. This ‘chirp’ is the sound of metal-on-metal, which is essentially the ‘move’ that creates permanent damage. You need to learn the trick to finding the true zero point on your grinder without actually letting the blades touch. Once you know your true zero, you can dial in your espresso settings with much higher precision. I used to guess where my ‘fine’ setting was, but after I calibrated it properly, the internal retention dropped by half because the beans were being cut efficiently rather than being crushed into a messy paste. If you ever find how to fix a grinder adjustment ring that wont budge, it is usually because coffee oils have acted like glue in the threads—regularly spinning the dial to its extremes prevents this sticky situation.
Beyond the specialized maintenance of your grinder, I have noticed a shift in how we approach our overall setup. Many enthusiasts fall into the trap of thinking that choosing the best barista gear for coffee enthusiasts is simply about buying the most expensive accessories. However, there is a massive hidden nuance here. Everyone says you need a heavy, spinning distribution tool to get a level bed, but in my experience, why your distribution tool might be ruining your extraction comes down to ‘polishing’ the surface while leaving air pockets below. This creates a false sense of security; the top looks perfect, but the water finds the path of least resistance through the center, leading to invisible channeling. If you aren’t careful, these fancy tools actually bypass the core work of proper WDT (Weiss Distribution Technique) and consistent tamping.
Fresh Water and Sealed Gaskets Matter More Than You Think
The ‘oops’ factor often hides in the parts of the machine we cannot see. I spent weeks troubleshooting a bitter aftertaste only to realize I was violating a cardinal rule: why you should never leave water in your reservoir overnight. Stagnant water loses its oxygen balance and picks up ‘kitchen smells,’ which interacts poorly with the delicate acids in your espresso. Another common oversight is the group head seal. If you don’t periodically learn how to check if your portafilter gasket is actually sealed, you lose pressure stability. Similarly, if you use an automatic frother, forgetting how to clean the tiny air hole in your automatic milk frother will result in flat, hot milk instead of silky microfoam. It isn’t a broken motor; it is just a tiny blockage. Have you ever fallen into the trap of buying more gear instead of fixing these small environmental factors? Let me know in the comments.
Why does your extraction time change every single day?
This is the question that separates the beginners from the experts. You dialed in the perfect shot yesterday, but today it is running five seconds faster without you touching the dial. This is why your shot extraction time changes every single day. According to coffee researcher and astrophysicist Jonathan Gagné in his analysis of puck dynamics, the porosity of the coffee bed is highly sensitive to ambient humidity. When the air is more humid, the cellulose in the coffee fibers absorbs moisture and expands, which narrows the gaps between the grounds. This requires a ‘looser’ grind to maintain the same flow rate. If you aren’t adjusting for the weather, you aren’t really in control of your espresso. It is these advanced nuances—not just the price tag of your machine—that turn a hobbyist into a true home barista.
Maintaining a high-end setup isn’t just about the occasional wipe-down; it is about preventative maintenance that keeps your shots tasting as good in year five as they did on day one. I learned this the hard way when my E61 lever started squeaking like a rusty garden gate every time I pulled a shot. That sound is a cry for help. I eventually realized that learning how to properly lubricate your E61 group head cam is not a luxury—it is a necessity. I use a high-temperature, food-safe silicone grease like Molykote 111. If you skip this, the internal brass components will eventually grind each other down, leading to a costly rebuild that could have been avoided with five minutes of work and a Q-tip.
Stop the Scale Before It Stops Your Machine
Scale is the silent killer of the top rated espresso machines for coffee lovers in 2025. Even if you use filtered water, minerals eventually find a way to calcify on your heating elements. This is why I am so adamant about why your machine needs a backflush every single week. When you use a blind basket and a dedicated espresso detergent, you are clearing out the rancid oils and fine particles that migrate behind the shower screen. According to the technical specifications from Fluid-o-Tech, the primary manufacturer of rotary pumps for the coffee industry, running a pump against a completely clogged group head or a seized internal valve causes the internal bypass to work overtime, which is often why your espresso machine pump runs non-stop without building actual pressure.
How do I maintain my espresso setup for a decade?
The secret to longevity is a three-month deep-clean cycle. Every quarter, I pull my shower screen and check the rubber ring. If you don’t know how to check if your portafilter gasket is actually sealed, you will eventually experience ‘sneezing’ where hot water sprays out the side of the portafilter mid-shot. I also keep a close eye on the steam wand. If you notice a drop in pressure, it is likely milk solids building up inside the tip. Instead of reaching for harsh detergents, you should master the one way to fix a clogged steam wand without chemicals by using a simple paperclip and a long purge. Keeping these mechanical pathways clear is the only way to ensure your machine doesn’t end up as an expensive paperweight.
Ditch the Inconsistent Readings
Even the best maintenance won’t save you if your measurement tools are failing. I once spent an entire morning thinking my grinder was broken, only to realize why your coffee scale is giving you inconsistent readings: low battery and a slight tilt in my countertop. Precision is the name of the game in home espresso. Looking forward, I predict we will soon see espresso machines with integrated AI sensors that monitor mineral buildup and lubrication levels in real-time, sending an alert to your phone before a part actually fails. For now, the best tool you have is your own routine. I challenge you to pull your lever apart and lubricate those cams this weekend; the smoothness of the pull will remind you why you fell in love with home espresso in the first place.
The Lessons I Learned After Wrecking My First Burr Set
After years of tinkering, I realized that expensive gear is a multiplier, not a replacement for technique. If you aren’t mastering the art of home espresso tips for beginners first, even the most advanced machine will produce bitter results. One of my biggest lightbulb moments was realizing that ‘clean enough’ is actually a recipe for rancid flavors. You have to understand the danger of leaving old coffee oils in your portafilter spouts because those invisible residues are what turn a sweet shot sour overnight. I also learned that if things go wrong, such as why your bottomless portafilter is making a huge mess, it is usually a sign of a distribution error rather than a hardware failure. Respect the machine, and it will reward you with consistency.
The Toolkit I Actually Use Every Morning
You don’t need a massive budget to keep things pristine, but you do need the right essentials. I swear by a small atomizer for static, a dedicated set of stiff bamboo brushes, and high-quality cleaning agents. If you are just starting to build your setup, I recommend looking into milk frothers that transform your coffee experience to round out your milk-based drinks without the steep learning curve of a commercial steam wand. For those who want to skip the expensive gadgets, I always suggest the move for better espresso distribution without fancy tools—it is often more effective than a hundred-dollar spinning leveler because it addresses the core density of the coffee bed.
Start Your Ritual with Fresh Confidence
Espresso is as much about the ritual as it is about the caffeine. When you take the time to care for your machine, you aren’t just doing chores; you are ensuring that every cup of home espresso reflects the hard work you put into choosing the beans. Don’t let the fear of technical maintenance stop you from exploring. Every deep clean is an opportunity to learn how your machine handles pressure and heat. Have you ever discovered a ‘hidden’ clog that was ruining your shots for weeks? Let me know in the comments below.