How to Clean the Grinder Chute Without Taking it Apart
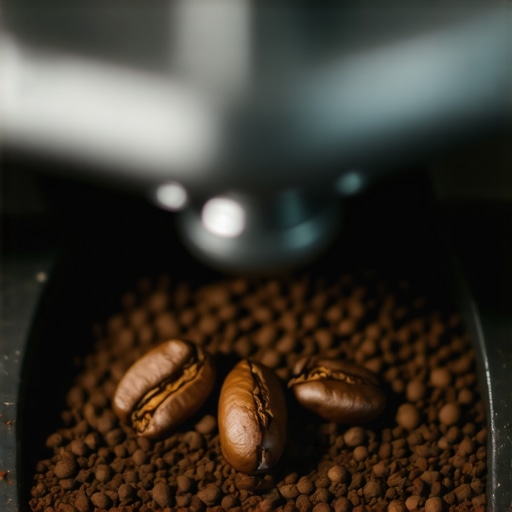
I remember staring at my expensive Italian grinder at 6:30 AM, watching the motor spin while exactly zero grounds dropped into my portafilter. It is a sinking feeling. You have got guests coming over, or you are just desperate for that first shot, and suddenly your gear decides to go on strike. For years, I thought the only way to fix a “clump-monster” was a full, hour-long teardown that left my kitchen counter covered in screws and stray beans. I even once made the rookie mistake of trying to “poke” the blockage with a metal screwdriver while the unit was plugged in. I ended up with scratched burrs and a very bruised ego. Today, I am going to show you how to avoid that mess entirely. [image_placeholder]
Stop Fearfully Dismantling Your Gear Every Week
Most of us are terrified of voiding a warranty or, worse, not being able to put the thing back together once it is in pieces. But here is the secret: coffee oils and fine dust love to congregate in that tiny exit tunnel, and you do not need a degree in mechanical engineering to evict them. If you have noticed why your coffee grinder is stalling with dark roast beans lately, it is usually because those oily residues have turned into a literal brick inside the chute. It is frustrating, it ruins the flavor of your morning cup, and it is entirely preventable. Learning how to clean your grinders discharge chute with a pipe cleaner or a soft brush can save you thirty minutes of frustration every weekend.
Does This Quick Method Actually Work?
You might be skeptical. I was too, especially after my first few attempts at “fast” cleaning resulted in a clogged mess. However, research from the Specialty Coffee Association (SCA) suggests that stale coffee retention is the primary culprit behind “off” flavors in home espresso. This is why how to select the perfect coffee grinder for your brew often comes down to the design of the exit path. By using targeted airflow and soft manual tools, you can clear the path without the risk of how to fix a grinder that wont turn on after cleaning because you accidentally disconnected a wire inside. Have you ever felt the sheer panic of a total grinder clog right when you needed caffeine the most? Let me know, because I have definitely been there. We are going to dive into the exact tools you need—most of which are likely sitting in your kitchen drawer right now.
Clear the Path Without a Toolbox
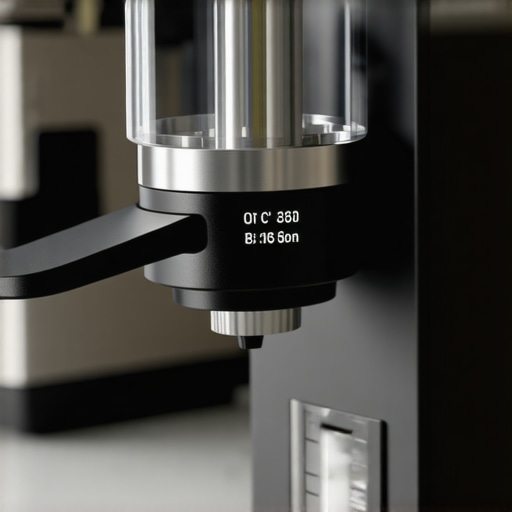
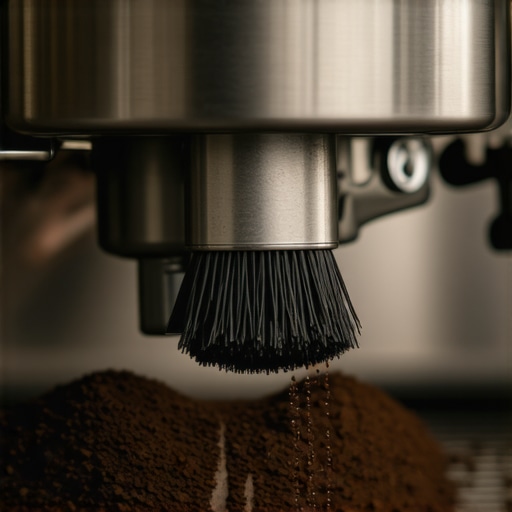
First, disconnect the power. I cannot stress this enough—I once nearly lost a fingernail because I thought ‘pulse mode’ was off when it was not. Once you are safe, take a look at that exit hole. It is essentially a chimney for coffee. If the smoke (the grounds) cannot get out, the fire (your motor) starts to struggle. I find that a simple, flexible pipe cleaner is the most underrated tool in any barista gear kit. You gently slide it up into the chute while the grinder is off. Rotate it like you are trying to catch a stray hair in a bathroom drain. You will be shocked at the solid ‘slug’ of coffee that drops out. This is usually why your coffee grounds are clumping like little rocks and ruining your espresso distribution.
#IMAGE_PLACE_HOLDER_B#
The Five Minute Purge Routine
Last Tuesday, I was testing a medium roast that felt particularly ‘sticky.’ My grinder started making a strained humming noise—the classic ‘about-to-die’ sound that every home barista fears. Instead of panicking and reaching for the screwdriver, I grabbed my bellows. By creating a quick pulse of air through the top of the chamber, I blew out about four grams of stale, compressed dust that had been living there since last month. This simple move that saves your grinder from unnecessary wear also ensures your next shot is actually fresh, not a blend of today’s beans and last week’s leftovers. If you do not have bellows, a short blast from a handheld vacuum held over the chute can perform wonders.
Why Airflow Trumps Brute Force
If you find yourself cleaning the chute every single morning, it might not just be the beans. Sometimes, how to tell if your espresso grinder burrs are dull starts with seeing more fines and excessive static. These fines act like mortar between the larger coffee bricks, sealing the chute shut. While you are at it, consider how to stop static from ruining your grinding workflow by adding a single tiny drop of water to your beans before grinding. This reduces the electrical charge that makes those grounds cling to the walls of the chute like magnetic dust.
How to Spot a Hidden Blockage
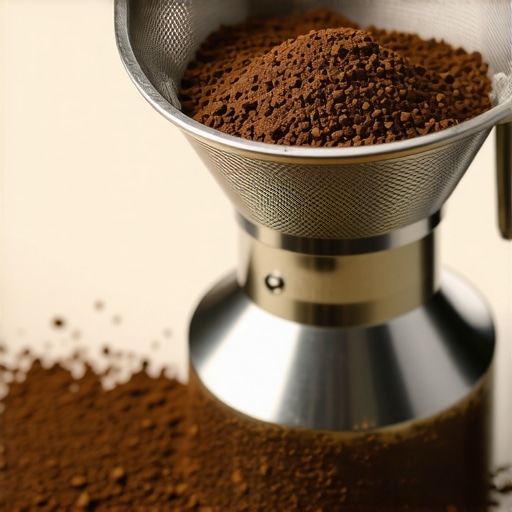
Most people think they need to scrub the burrs to get a clean taste, but 90% of the ‘old coffee’ flavor comes from the discharge path. Think of it like a garden hose; it does not matter how clean the faucet is if there is a plug of mud at the nozzle. By mastering how to clean your grinders discharge chute with a pipe cleaner, you are ensuring a straight, fast, and fluffy path into your portafilter. This keeps your dose consistent, which is the absolute foundation of mastering the art of home espresso for any beginner. Pay attention to the sound: if the coffee is coming out like a gentle snowfall, you are good. If it comes out in erratic plops, you still have a restriction.
A common trap I see is the ‘Dialing-In Obsession.’ Most home baristas believe that if a shot runs five seconds fast, they must immediately adjust the burrs. In reality, your grinder might be fine, but your kitchen’s humidity changed. In my experience, chasing the grind setting without considering external factors leads to a cycle of frustration. Research from the Specialty Coffee Association (SCA) confirms that environmental moisture can significantly alter how beans fracture during grinding. This is exactly why your shot extraction time changes every single day even when your settings remain untouched. Have you ever fallen into this trap? Let me know in the comments.
Why Does My Shot Time Shift Without Touching the Dial?
It often comes down to ‘puck resistance’ rather than the grinder itself. If you aren’t pre-warming your portafilter head, the temperature drop during extraction causes the coffee oils to behave differently, creating erratic flow. Another nuance people miss is how to properly season new steel burrs for better consistency; fresh burrs actually produce more ‘fines’ until they’ve processed a few kilos of coffee. 
Beware the ‘Zero Point’ Confusion
Another dangerous mistake is misinterpreting the ‘zero point’ of your grinder. I’ve seen people crank their adjustment rings until they hear metal-on-metal grinding, thinking that’s where the scale starts. This is the fastest way to ruin expensive gear. Learning the trick to finding the true zero point on your grinder without damaging the burrs is essential for your gear’s longevity. If you push too hard, you’ll end up needing to know how to fix a grinder adjustment ring that wont budge. Also, pay attention to flavor nuances: if you’ve checked the grind but your brew still tastes off, you might be dealing with under-extraction. I’ve written about why your espresso shot tastes salty and how to fix it, which is a classic sign that your water temperature or ratio is the real culprit, not the burrs. Finally, always keep an eye on your electrical load. I once had a friend whose machine was consistently underperforming simply because the reason your espresso machine is tripping the breaker was an overloaded circuit, causing the heater to struggle during the pump cycle. It’s these hidden technical nuances that separate a casual hobbyist from a true home barista.
Stop the Slow Death of Your Steam Wand
I have spent far too many mornings scrubbing at a ‘milk-stone’ that looked more like concrete than dairy. It is embarrassing, but it happens to the best of us when we forget to purge. If you have ever wondered why your steam wand tips keep getting blocked by milk residue, it is usually because the vacuum created after steaming pulls a tiny amount of milk back into the tip. If you do not clear it immediately, that milk bakes onto the internal threads. Instead of reaching for harsh needles that can scratch the finish, I always recommend the one way to fix a clogged steam wand without chemicals: a long soak in extremely hot water followed by a vigorous steam burst. It is simple, yet most people skip it until the pressure drops to a whistle.
How do I maintain my espresso machine over time?
The key to longevity is not a once-a-year deep clean; it is the small, daily habits that prevent catastrophic failure. Technical documentation from La Marzocco Home suggests that daily backflushing with water and a weekly chemical clean are non-negotiable for maintaining group head health. This prevents the buildup of rancid oils that turn your expensive light roast into a bitter mess. I also make it a point to use the easy way to test your machines water hardness at home every few months. If your water is too hard, you are essentially ticking a time bomb of scale. Trust me, you do not want to be the person learning how to recover from a failed descaling process because a chunk of calcium got stuck in your solenoid valve.
The One Lubricant You Actually Need
If you own an E61 group head machine, you will eventually hear it: the dreaded ‘squeak.’ That metal-on-metal grind when you lift the lever is the sound of your internal cams wearing down. I always keep a tube of food-grade Molykote 111 in my drawer. Learning how to properly lubricate your e61 group head cam takes ten minutes and makes the lever feel like it is gliding on silk again. It is these small mechanical touches that extend the life of your machine by years. While you are at it, consider how to organize your barista tools in a single drawer so you aren’t hunting for your lubricant and brushes when you should be enjoying your morning latte.
What the Future Holds for Home Baristas
I predict that the next five years will move away from manual ‘dialing in’ and toward integrated flow-profiling sensors that adjust your grinder in real-time. We are already seeing high-end machines that communicate with scales via Bluetooth. Eventually, the ‘clump-monster’ issues I mentioned earlier will be detected by the machine before you even pull the shot. For now, we rely on our senses and a few good tools. I strongly encourage you to try the ‘water hardness test’ this weekend—it is the single most important step in protecting your investment that most hobbyists completely ignore.
Hard Lessons from My 6 AM Meltdowns
After years of tinkering, I have realized that the perfect shot is 20% gear and 80% attentiveness. One major epiphany was that a silent grinder isn’t always a happy one; sometimes that lack of sound means you are dangerously close to a total jam. I also learned that bean freshness can actually work against you if you do not account for the gas—freshly roasted beans often need a coarser setting than you would expect to avoid choking the machine. Lastly, never underestimate the power of a clean shower screen; a five-second wipe after every shot prevents that bitter, charred taste that no amount of dialing in can fix.
The Tool Kit That Saved My Sanity
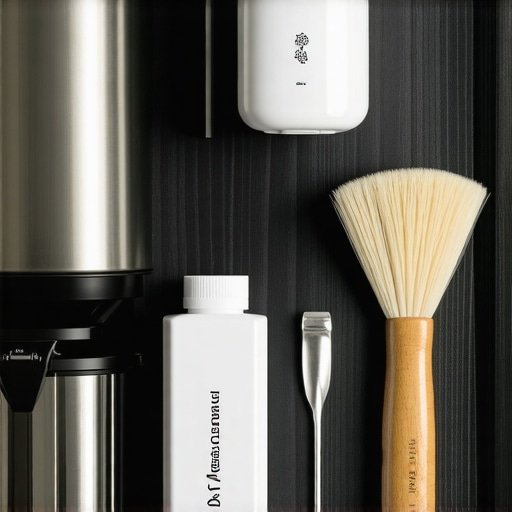
You do not need a massive workshop to keep things running efficiently. My go-to setup includes a simple set of flexible pipe cleaners for those stubborn chutes, a small bellows for air-purging, and a tube of food-grade lubricant for the moving parts. If you are just starting to build your collection, I have shared some tips on how to organize your barista tools in a single drawer so you are not digging for a brush while your espresso gets cold. I also highly recommend keeping a few water test strips handy. Knowing the easy way to test your machines water hardness at home is the difference between a machine that lasts two years and one that lasts twenty.
Become the Master of Your Machine
Maintenance might feel like a chore, but it is actually the most rewarding part of the hobby. When you understand the mechanical logic behind the routine, you stop being at the mercy of your equipment and start being a true craftsman. Whether you are clearing a stubborn clog or finally learning how to properly lubricate your e61 group head cam, every bit of care you put in shows up in the clarity of your next shot. Mastering the art of home espresso is a marathon, not a sprint, so take your time and enjoy the process of learning. Have you ever experienced a clump-monster that almost ruined your morning? Let me know in the comments below!