Why Your Coffee Grounds Are Clumping Like Little Rocks
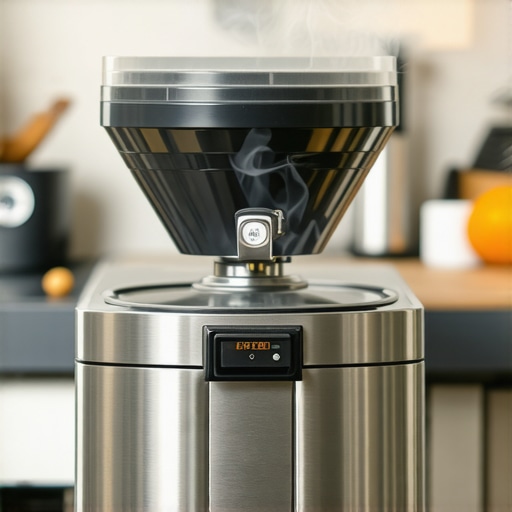
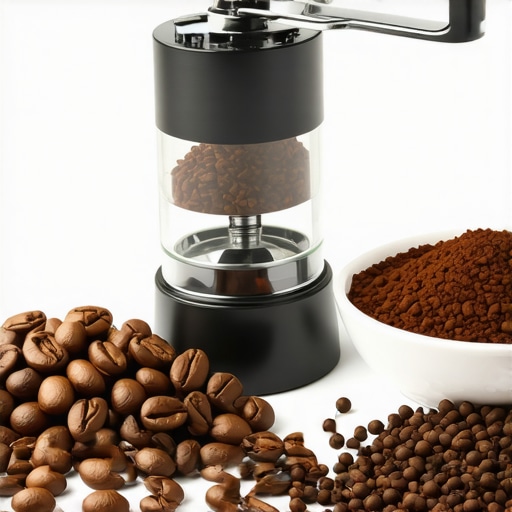
I was standing in my kitchen last Tuesday, bleary-eyed and desperate for caffeine, when it happened again. My grinder let out its usual roar, but instead of the fluffy, snow-like mound of espresso I expected, out fell these dense, pebble-sized nuggets of compressed coffee. I tried to shake the portafilter. I tried to tap it. Nothing. When I finally pulled the shot, it was a total disaster—dark brown water spraying everywhere like a broken sprinkler, ruining my favorite white t-shirt. It was frustrating, messy, and frankly, a massive waste of some really expensive single-origin beans. If you have ever felt that sinking feeling in your gut when your expensive gear seemingly betrays you, you are not alone. We are going to get to the bottom of this rocky problem today so you can get back to enjoying your morning ritual without the geological anomalies in your basket.
Your Grinder is Throwing Rocks and It’s Ruining Everything
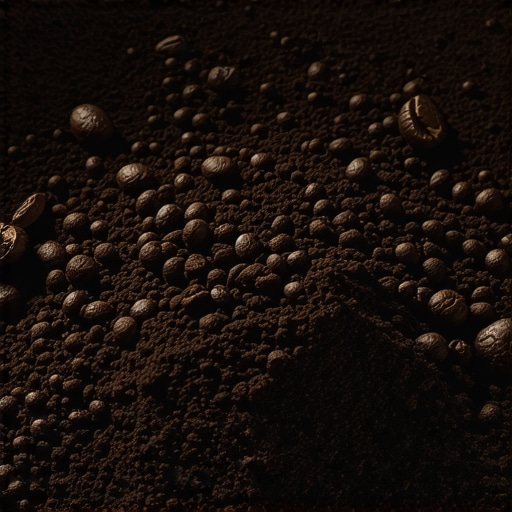
The truth is, those clumps aren’t just an aesthetic annoyance; they are the primary reason why your bottomless portafilter shows channels every time. When your coffee isn’t distributed evenly because it is stuck in little balls, the water finds the path of least resistance. It blasts right past the clumps and leaves half your coffee unextracted and the other half burnt. Early on in my journey, I made the classic rookie mistake of thinking I could just tamp harder to squash the rocks into submission. I thought my arm strength could overcome physics. Spoiler alert: it does not work. It just creates a pressurized mess that tastes like battery acid. Understanding why your coffee grounds are clumping together is the absolute first step toward that elusive god-shot we are all chasing. Usually, it is a localized battle between static electricity, humidity, and the internal design of your grinder chute. In fact, a fascinating study led by computational chemist Christopher Hendon at the University of Oregon found that the moisture content of the beans and the static charge generated during grinding can significantly alter the particle distribution. If you are currently how to select the perfect coffee grinder for your brew, you will want to look for machines that prioritize low retention and have built-in anti-static measures like plasma generators or de-clumper wires. Have you noticed your grounds looking more like gravel than fine flour lately? It is a sign that your workflow needs a quick tune-up.
Will This Cost Me a Fortune to Fix?
I know exactly what you are thinking. You have already spent a small fortune on your machine and your beans, and the last thing you want to hear is that you need a five-hundred-dollar accessory to fix a basic grinding issue. I have spent years choosing the best barista gear for coffee enthusiasts, and I can tell you from the scars on my knuckles that the most expensive solution is rarely the best one. Sometimes, the fix is as simple as climate control or a quick cleaning hack you can do with items already in your pantry. For instance, on those sweltering summer days when the humidity makes everything sticky, I have found that the freezer trick for cleaner grinding on hot days can do absolute wonders for your consistency. We are not here to just throw more money at the problem; we are here to master the physics of your kitchen counter and ensure every gram of coffee you buy actually ends up in the cup, tasting exactly how the roaster intended.
Stop the Static Before the Motor even Turns
The first line of defense is a technique called RDT, or the Ross Droplet Technique. Think of your coffee beans like a head of frizzy hair on a humid day—static is the enemy. When those beans rub against each other and the metal burrs, they generate a massive electric charge that causes them to cling together like magnets. To fix this, simply take a small spray bottle or even the handle of a spoon, dampen it with a single drop of water, and stir it through your beans before you dump them in. This tiny bit of moisture acts as a ground for the electricity. I remember the first time I tried this; I was skeptical that a literal drop of water would do anything, but the change was instant. The grounds fell into my basket like soft, sifted flour instead of the usual gravel. It is the easiest way to combat why your coffee beans are sticking to the sides of the hopper and ensures your dose remains consistent every single time.
Break Up the Clumps with a Needle
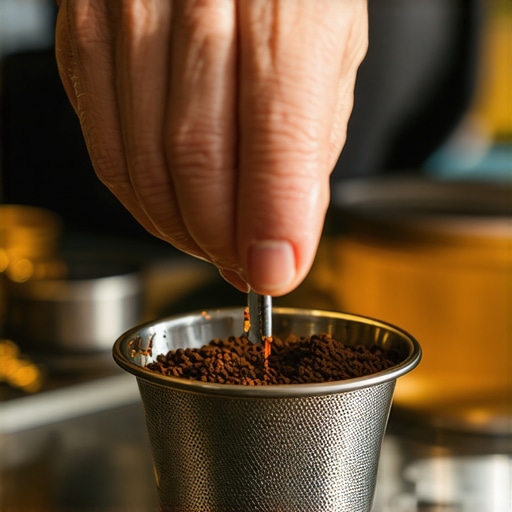
Even with RDT, some grinders are just prone to retention. If you see those boulders forming in your portafilter, you need to intervene manually using WDT (Weiss Distribution Technique). You do not need a hundred-dollar tool for this; a few thin acupuncture needles stuck in a cork will do the trick. The goal is to rake the grounds to break up those pockets of compressed air and coffee. If you skip this, you are almost guaranteed to see why your bottomless portafilter shows channels every time. I once tried to use a thick toothpick for this, and it actually made the problem worse by pushing the coffee into even denser walls. Use thin needles to ensure the density is perfectly uniform across the entire basket. This simple mechanical disruption is the bridge between a messy, spraying extraction and a beautiful, syrupy flow from the center of your basket.
Clear the Hidden Blockages in Your Chute
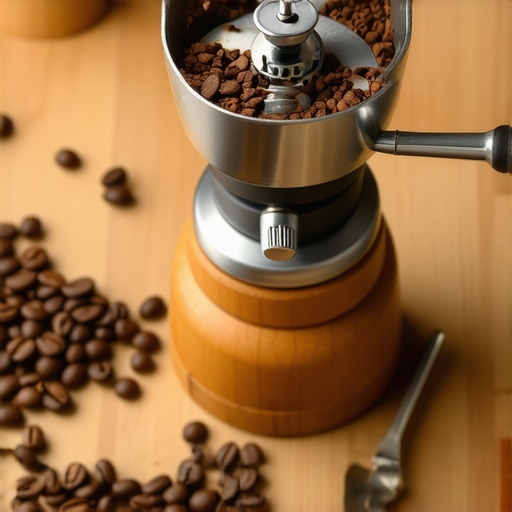
If your grinder starts producing more clumps than usual, it is often because of compaction inside the exit chute. Imagine a slide at a playground that is sticky; the kids (your coffee grounds) start piling up at the top until they are forced through in one big, smashed-together mess. This is often why your coffee grinder retains more grounds than it should. Every few weeks, you need to get in there and perform a deep clean. I have found that using the cotton swab trick for cleaning hidden grinder crevices is a lifesaver for reaching those tight spots where old, oily coffee builds up. When that chute is clear, the grounds have a runway to fall freely into your dosing cup without being squeezed into rocks by the pressure of the coffee behind them.
The Secret to Better Flow Without New Gear
Sometimes the clumps are a symptom of the environment or the beans themselves. Oily, dark roasts are notorious for sticking together because the oils act like a glue. If you find yourself struggling with a particularly stubborn bag, the move for better espresso without buying a new machine might be as simple as adding a small paper filter to the bottom of your basket. This does not fix the clumps at the source, but it provides a consistent resistance layer that helps mitigate the channeling caused by uneven distribution. In my early days, I would get so frustrated by why your grinder settings feel like they changed overnight, only to realize the humidity had spiked and my chute was half-clogged. Learning how to clear a jammed chute without damaging your grinder became a weekly ritual that saved my sanity and my coffee from poor extraction.
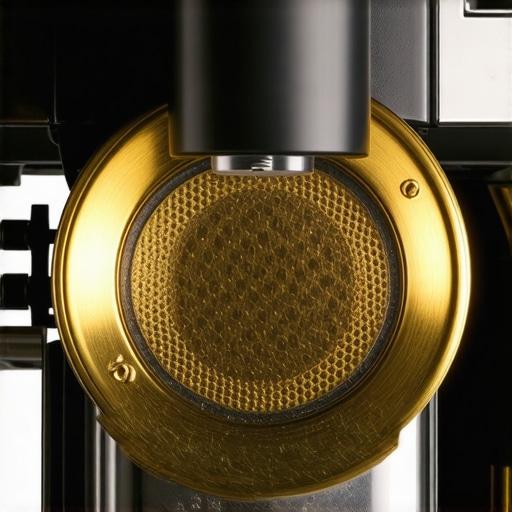
Many enthusiasts believe that upgrading to a flat-burr, titan-class grinder exempts them from the tedious needle-stirring of the WDT. In my experience, that is a total myth. In fact, high-RPM grinders can generate significant thermal energy during heavy use. A study by the Specialty Coffee Association (SCA) notes that burr temperature significantly affects the physical properties of the oils in coffee. When your burrs heat up, those oils become more fluid and act as a binder, creating micro-clumps that are invisible to the naked eye but devastating to your extraction. This is exactly why your grinder burrs are getting hot during a single dose and how it can subtly sabotage your morning. Even if you are testing the truth about using spring-loaded tampers for even shots, a thermally unstable grind will still lead to micro-channeling. #IMAGE_PLACE_HOLDER_C#
Stop Cleaning Your Burrs with Pantry Staples
There is one massive trap I see beginners fall into constantly: the rice cleaning hack. Someone on a forum probably told you that running a handful of white rice through your burrs will soak up the oils and clear the chute. Please, do not do it. Rice is significantly harder than coffee beans and can put immense strain on your motor or even chip the edges of your expensive steel or ceramic burrs. If you want to keep things pristine without a full teardown, stick to the best way to clean a grinder without taking it apart rather than risking a total mechanical failure. I have seen too many people learn why you should never use rice to clean your high-end grinder the hard way—usually involving a very expensive repair bill and a week without caffeine.
Why is my shot bitter when the pull is lightning fast?
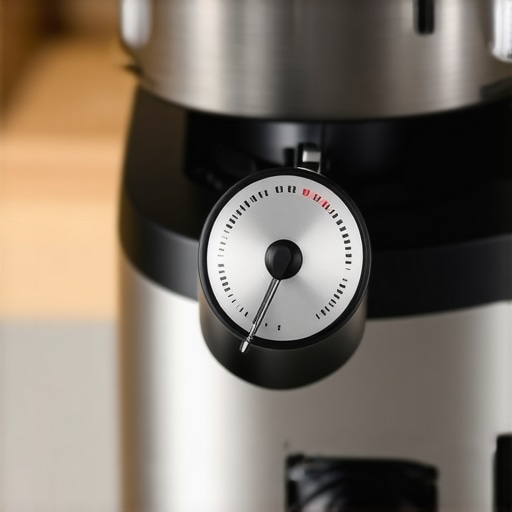
It feels counterintuitive, right? Usually, a fast shot means sour, watery under-extraction. But if you are seeing 15-second pulls that taste like burnt rubber or ash, you are likely dealing with catastrophic channeling. The water isn’t moving through the coffee; it is moving around it. This is why your espresso tastes bitter even with a fast pull. The tiny tunnels of water are over-extracting specific veins of coffee while leaving the rest of the puck dry and untouched. Also, check your roast date before you adjust your grind size again. If you have not learned how to tell if your coffee beans are too fresh for espresso, you might be fighting CO2 bubbles that are literally pushing the water away from the grinds, creating those very channels you are trying to avoid. Another nuance people often overlook is the clump crusher or de-clumper wire found in the exit chute of many machines. While designed to help, these can often get bent or clogged with old oils. This results in the machine spitting out massive nuggets of coffee regardless of how well you have dialed in your settings. I always recommend checking these small components during your monthly maintenance. If you find your flow is still erratic, the move for better espresso without buying a new machine often involves just a bit of surgical cleaning in that exit pathway. It is these tiny, unsexy details that separate a frustrated amateur from a consistent home barista. Have you ever fallen into this trap? Let me know in the comments.
Seriously though, if you have ever had a shot suddenly lose pressure and start sputtering, you know that gut-wrenching feeling. I have learned the hard way that a high-end setup is only as good as the maintenance you put into it. For me, the journey shifted when I finally upgraded to one of the top-rated espresso machines for coffee lovers in 2025. I used to think I could just pull shots and forget it, but these machines are precision instruments. If you are not careful, you will quickly find out how to tell if your machine boiler is accumulating lime scale before it completely chokes your flow. I now keep a strict log of my descaling cycles because nothing ruins a Sunday morning like a machine that takes twenty minutes to reach temperature.
Keep Your Gear From Dying Early
The biggest mistake I see enthusiasts make is ignoring the hidden components. We all clean our portafilters, but when was the last time you checked your solenoid? According to the technical service documentation from Nuova Simonelli, the solenoid valve is often the first point of failure due to scale buildup or debris, which can lead to total pressure loss. Learning how to spot a failing solenoid valve before it floods your kitchen is a skill that has saved me hundreds in repair bills. I also make it a point to swap my group head gasket every six months. It’s a cheap five-dollar part, but it prevents the frustration of why your group head gasket is leaking after just one month because you let old, baked-on grounds turn it into brittle plastic.
My Daily Toolkit for Perfect Consistency
I am a firm believer that certain tools are not just ‘extras’—they are essential for repeatable results. For example, I never pull a shot without a puck screen or a paper filter anymore. Using the simple paper filter trick for better bottomless shots has practically eliminated my issues with stray sprays. It’s also about the machine’s internal stability. If you are working on a single boiler, you are always playing a guessing game with temperature. That is why I advocate for the secret to getting consistent shots on a dual boiler; having a dedicated boiler for your steam and your brew is the only way to ensure your thermal profile doesn’t crash mid-shot. I’ve also integrated the ice water hack for stopping a bitter extraction into my workflow when I’m dealing with light roasts that tend to run hot at the end of the cycle.
How do I maintain my espresso setup over the long haul?
The key to longevity is a ‘preventative over reactive’ mindset. Beyond just backflushing with detergent once a week, I recommend a deep dive into your grinder burrs every month. Use the best way to clean a grinder without losing your settings so you don’t have to spend a whole bag of beans re-dialing in your grind after a cleaning. I predict that in the next few years, we are going to see a massive shift toward AI-integrated sensors that alert your phone the second your group head pressure deviates by even 0.1 bar. We are moving away from ‘feeling’ the shot and toward data-driven perfection. Until that tech is standard, we have to rely on our own eyes and ears. If you want to level up your game right now, I highly recommend trying the advanced ‘salami shot’ technique to taste exactly how your extraction changes second by second. It’s a total eye-opener for understanding flavor development.
Three Espresso Truths I Had to Learn the Hard Way
After years of chasing the perfect shot, I’ve realized that the small stuff—the stuff we usually ignore—is actually the big stuff. First, stop blaming your equipment for every bad shot. Even the top-rated espresso machines for coffee lovers in 2025 won’t save you if your distribution is a mess. Second, embrace the mess; coffee is an organic product that reacts to the world around it. If it’s raining outside, your grinder will notice before you do. Finally, mastering the art of home espresso tips for beginners usually comes down to patience rather than a bigger credit card limit. I spent months thinking my burrs were dull when I really just needed to deep clean my chute.
The Gear That Actually Earned a Permanent Spot on My Counter
I’ve tested dozens of gadgets, but only a few have survived the daily use test. If you are currently choosing the best barista gear for coffee enthusiasts, focus on the fundamentals. I personally swear by a simple 0.35mm needle WDT tool—it’s the single most effective way to how to prevent channelling in a bottomless portafilter shot. I also keep a tiny amber glass spray bottle for the Ross Droplet Technique; it’s more consistent than the wet finger method. For those looking to upgrade, how to select the perfect coffee grinder for your brew involves looking for low-retention designs that don’t trap stale grounds in a dark corner of the machine.
Take Control of Your Morning Ritual
You don’t need to be a professional chemist to enjoy world-class coffee in your own kitchen. By understanding the physics of static and the importance of a clean grinder chute, you are taking the power back from your machine. Every shot is an opportunity to learn something new about your beans and your technique. The goal isn’t just a caffeine hit; it’s the satisfaction of crafting something beautiful from start to finish. Don’t be afraid to experiment with your home espresso setup until it feels just right. Have you ever found a weird trick that fixed your clumping issues? Let me know in the comments below!