How to Prevent Channelling in a Bottomless Portafilter Shot
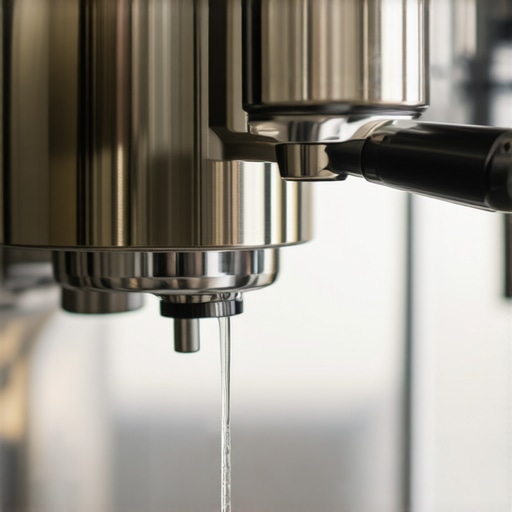
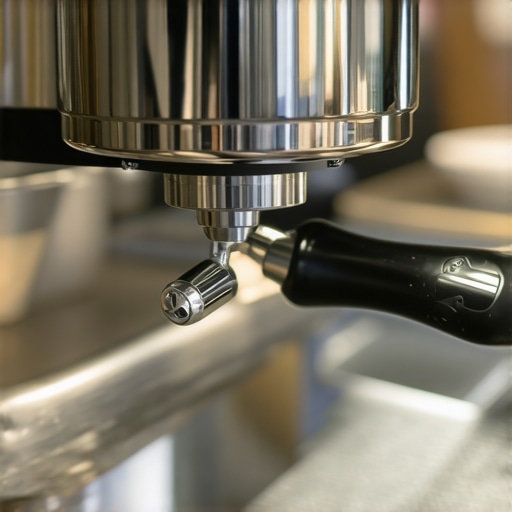
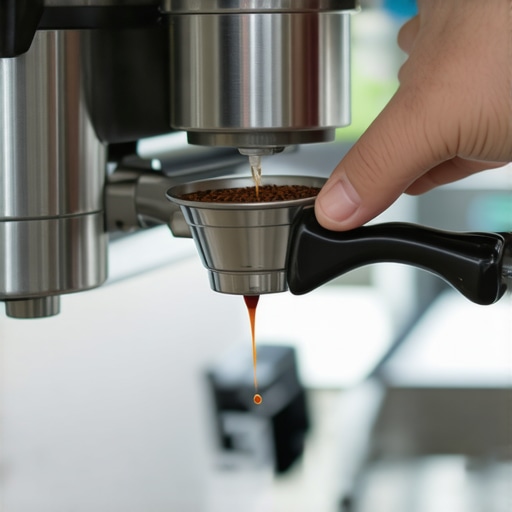
I stood there, blinking coffee out of my eyes, while my machine hummed mockingly. I had just bought my first naked portafilter, thinking it was the final piece of my barista journey. Instead, it was a geyser. If you have ever watched in horror as a thin, high-pressure stream of coffee shoots out of the basket and straight onto your kitchen backsplash, you know the frustration. It is messy, it is wasteful, and it usually means your espresso tastes like a battery. I promise you, we can fix this together. By the end of this, you will stop mopping your counters and start drinking the best shots of your life.
Stop Your Espresso from Spraying the Walls
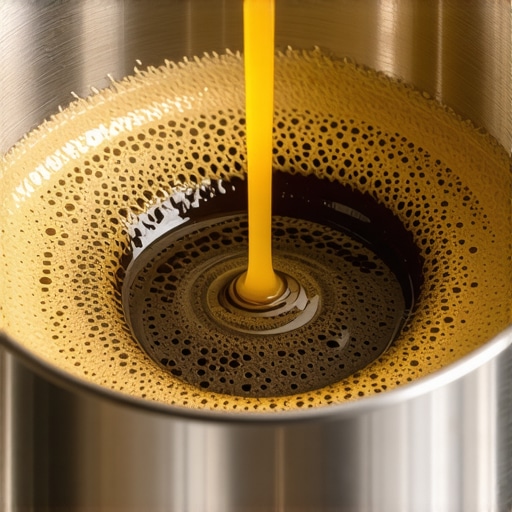
The truth is, why your bottomless portafilter shows channels every time usually comes down to a lack of respect for the puck. When I first started, I thought a hard, heavy-handed tamp solved everything. I was wrong. Water is lazy; it wants the path of least resistance. If there is a tiny crack or a weak spot in your coffee bed, the water will find it, widen it, and blast through. This leaves the rest of your coffee under-extracted while the “channel” gets over-extracted and bitter. To get those beautiful, syrupy tiger stripes, you need to master home espresso tips for beginners that focus on even distribution, not just brute force. According to a study by the Specialty Coffee Association, even minor inconsistencies in particle size can create “micro-channels” that destroy the clarity of the shot flavor. I learned this the hard way after months of pulling what I called “volcano shots.” Have you ever felt like throwing your portafilter across the room after a particularly messy extraction? Trust me, I have been there. We are going to fix your espresso shot spraying problems by looking at everything from your grind consistency to the way you hold your tamper.
Is a naked portafilter actually worth the headache?
Some folks will tell you it is just for the social media aesthetic or for pretty videos. But the real value isn’t the looks; it is the diagnostic power. Without the spouts hiding the mess, you can finally see why your shots taste “off” despite having top-rated espresso machines. It is a steep learning curve, but it is the only way to achieve true consistency. If you are tired of guessing why your coffee tastes sour or bitter, this tool is your best friend. Let us look at how to stop the mess before you start your next pull.
Fix the Clumps Before You Ever Touch the Tamper
I remember the first time I tried to use a paperclip to stir my grounds. I had read that distribution was key, but my DIY tool was far too thick. Instead of breaking up clumps, it just plowed deep furrows into the coffee. The resulting shot didn’t just spray; it actually hit my glasses. This happened because why your coffee grounds are clumping together often starts inside the grinder’s chute, and if you do not break those bonds gently, your puck integrity is toast. Think of your coffee bed like a sponge; if one part is denser than the rest, the water will simply flow around it. This is why many pros use WDT (Weiss Distribution Technique) tools. However, be careful—using why your wdt tool pins are too thick for light roasts can actually create the very channels you are trying to avoid. You want needles that are roughly 0.3mm to 0.4mm thick to rake the grounds into a fluffy, level mountain. 
Stop Guessing Your Tamping Pressure
Once your grounds are fluffy, the next hurdle is the tamp. I used to think I needed to put my whole body weight into it, like I was trying to crush a diamond. I ended up with a sore wrist and a shot that tasted like ash. The truth is, once the air is squeezed out of the puck, adding more pressure does nothing helpful. It only increases the chance of a tilted tamp. If your portafilter isn’t level, the water will rush toward the shallow side every single time. If you struggle with this, the truth about using spring-loaded tampers for even shots is that they take the guesswork out of the equation. They ensure the face of the tamper is perfectly parallel to the basket rim, which is far more important than how many pounds of force you apply. I switched to a self-leveling tamper after that kitchen-backsplash disaster, and the spraying stopped almost instantly.
Keep an Eye on the Gauge to Catch Errors Early
Your machine is constantly trying to tell you what’s wrong if you know how to listen. If you start your pull and notice why your espresso pressure gauge is stuck at zero or moving very slowly, you likely have a massive channel or your grind is way too coarse. A healthy shot should see the pressure ramp up smoothly and hold steady. If the needle flickers, that is a sign the puck is structurally failing—essentially, a micro-sinkhole has formed inside your coffee. To combat this, some enthusiasts swear by the simple paper filter trick for better bottomless shots. By placing a small paper circle at the bottom of the basket, you create a slight amount of extra resistance that helps the water saturate the puck more evenly, preventing those high-pressure jets from forming.
Why Heat and Maintenance Matter More Than You Think
It is easy to blame your technique when the machine itself is the culprit. I once spent an entire morning adjusting my grind, only to realize why your espresso machine takes longer to heat up lately was due to scale buildup that was causing inconsistent water flow. If the water coming out of the group head is pulsing instead of flowing in a gentle rain, it will punch holes in your puck before the pressure even hits nine bars. Ensuring you have choosing the best barista gear includes having a reliable cleaning kit. A clean shower screen ensures that water is distributed across the entire surface of the coffee, rather than being focused into a single, destructive stream. Focus on these mechanics first, and the tiger stripes will follow.Many people think that buying beans roasted yesterday is the gold standard for a perfect pull. In reality, that is a recipe for a bubbly, spraying mess. I used to pull shots just a few hours after roasting my own beans, wondering why the crema looked like dish soap and the flow was so erratic. The carbon dioxide escaping the beans creates massive turbulence in the basket, which leads to inevitable channeling. This is why learning how to tell if your coffee beans are too fresh for espresso is just as important as the grind size itself. For most medium roasts, a rest period of 7 to 14 days is the sweet spot. A study by the International Coffee Organization suggests that the degassing process is most volatile in the first 48 hours, making consistent puck resistance nearly impossible during this window. If you are chasing those syrupy shots, patience is your best tool.
Keep those oily beans away from your burrs
Another common trap that catches even seasoned hobbyists is the “dark roast obsession.” If you love that oily, shiny look on your beans, you are inadvertently shortening the lifespan of your equipment. I have seen countless enthusiasts ruin their top-rated espresso machines or high-end grinders because of cumulative residue. This is the ultimate “oops” factor: why you should never use oily beans in a super-automatic or even a dedicated high-end espresso grinder. Those surface oils go rancid quickly, gum up the burrs, and eventually, you will find yourself searching for how to fix a grinder adjustment ring that is stuck because of the sticky buildup. If you must use dark roasts, make sure you are cleaning your equipment weekly, not monthly.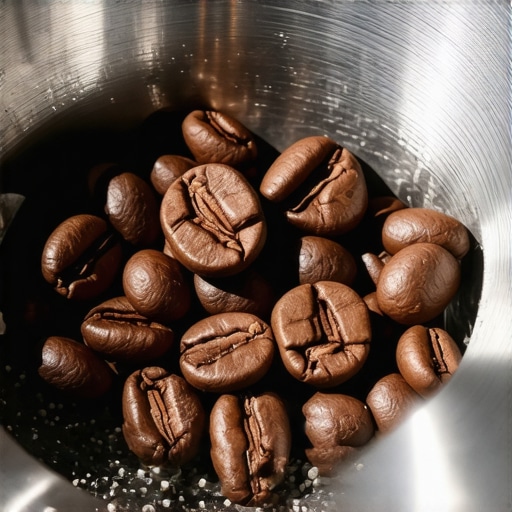
Should you really blame your grinder when things go south?
Before you go out and spend another thousand dollars on a new unit, consider your kitchen’s environment. It sounds crazy, but humidity and temperature play a massive role in shot consistency. You might notice why your grinder settings feel like they changed overnight even if you didn’t touch the dial. Static electricity increases in dry air, causing grounds to fly everywhere and clump harder than usual. This is a nuance many professionals track with a hygrometer. Instead of constantly buying new choosing the best barista gear, focus on stabilizing your environment and your puck prep technique. Have you ever fallen into this trap of buying more gear to fix a basic technique problem? Let me know in the comments below.
The high cost of stale retention
Finally, when you are trying to figure out how to select the perfect coffee grinder for your brew, don’t just look at the burr size or the motor wattage. Look at the retention. If your grinder holds onto three or four grams of yesterday’s stale coffee in the chute, your first shot of the day will always spray, no matter how perfect your distribution is. Mastering home espresso tips for beginners means understanding that the “old” coffee hidden inside the machine is often the silent culprit behind that one weird, bitter shot that ruins your morning. Purging a few grams before your first pull can be the difference between a geyser and a masterpiece.It is not just about the grind; it is about the long-term health of your machine. I used to ignore the white crust forming on my steam wand until my machine started making a wheezing sound. That was a wake-up call. Understanding how to tell if your machine boiler is accumulating lime scale is the first step in preventing a multi-hundred-dollar repair bill that puts your morning caffeine routine on hold. According to the SCAA Water Quality Handbook, water with total dissolved solids (TDS) exceeding 150mg/L is a death sentence for precision valves and heating elements alike. I recommend using a dedicated water filter or even mixing your own ‘coffee water’ with magnesium and calcium. If you are already seeing signs of buildup, the best way to descale a boiler without using harsh vinegar is to use a food-grade citric-acid-based solution. Vinegar can take dozens of flushes to disappear, and nobody wants a salad-flavored latte.
The simple tools that changed my workflow
When I started choosing the best barista gear, I focused solely on the big-ticket items like top-rated espresso machines. However, I soon realized that the real game-changers were the tiny, unassuming accessories. For instance, I spent years fighting with my grinder’s internal chute, resulting in stale flavors and erratic doses, until I discovered the cotton swab trick for cleaning hidden grinder crevices. It is a five-minute job that removes the rancid oils hiding in the threads of your adjustment collar. Even if your focus is primarily on milk-based drinks, investing in high-quality milk frothers that transform your coffee experience can save you from the frustration of ‘soap bubble’ foam that collapses before you can even take a sip. 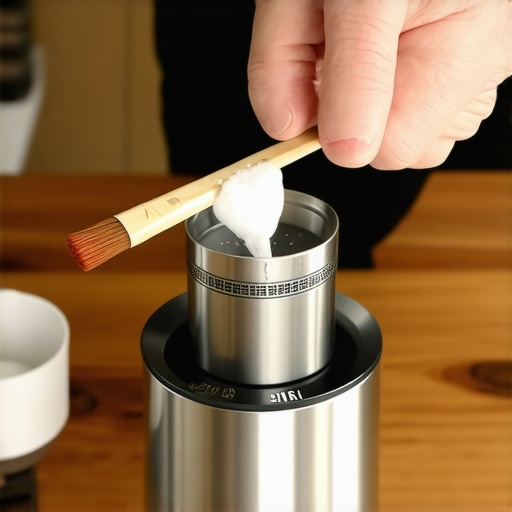
How do I keep my home cafe running perfectly?
Routine is your best friend when it comes to longevity. Every month, I perform a ‘deep dive’ into my group head assembly. If you neglect this, you will eventually find out why your group head gasket is leaking after just one month—it is often just grit and old grounds creating an uneven seal rather than a mechanical failure. Take the shower screen out, soak it in a backflush detergent, and use a stiff brush on the inner tracks. I believe the future of home espresso is moving toward ‘smart’ grinders equipped with laser-diffraction sensors to measure particle size in real-time, but until that technology is affordable, your eyes, ears, and hands are the most valuable sensors you own. My challenge to you? Grab a pack of cotton swabs tonight and clean out your grinder’s chute. You will be shocked at the amount of ‘caked’ coffee that has been hiding in there, subtly ruining your flavor profile.
What Nobody Told Me About the Frustrating First Week with a Naked Portafilter
Looking back at my first dozen ‘volcano shots,’ I realized that espresso is 10% equipment and 90% discipline. Here is the wisdom I wish someone had whispered in my ear while I was mopping coffee off my kitchen backsplash:
- Failure is your best diagnostic tool: Every time your portafilter sprays, it is telling you exactly where the coffee bed was too loose. Don’t get frustrated; get curious about the path the water took.
- Small adjustments beat big ones: If you change the grind, the dose, and the tamping pressure all at once, you will never know what actually fixed the channel. Change exactly one variable at a time.
- The ‘magic’ happens before the pump: 99% of your problems are solved before the water even hits the coffee. Focus on home espresso tips for beginners that emphasize a perfectly fluffy, level distribution over raw tamping strength.
The Few Items I Genuinely Use to Save My Morning Shots
You do not need a five-figure setup to get incredible results, but you do need tools that actively remove human error from the equation. When you are choosing the best barista gear for coffee enthusiasts, prioritize items that offer precision. First, a thin-needle WDT tool is the single most affordable way to stop clumping in its tracks. Second, the truth about using spring-loaded tampers for even shots is that they provide the level surface that traditional hand-tamping often misses. Finally, don’t let your water quality sabotage your hard work; knowing how to tell if your machine boiler is accumulating lime scale is just as vital for flavor as how to select the perfect coffee grinder for your brew.
Take a Breath and Pull Your Best Shot Tomorrow
Mastering home espresso is a marathon, not a sprint. There will be mornings when the beans feel stubborn and the grinder settings seem to drift. But when you finally see those rich, mahogany tiger stripes merge into one perfect, syrupy stream, all the practice and cleanup will feel worth it. Don’t be afraid to experiment, and remember that every pro started with a messy counter and a shot that tasted like batteries. Have you ever felt like giving up after a ‘volcano shot’ covered your kitchen? Let me know in the comments below.