How to Organize Your Barista Tools in a Single Drawer
It happened last Tuesday. I was bleary-eyed, standing in front of one of those top-rated espresso machines, ready to pull a shot. I reached for my WDT tool. Nothing. I moved the milk pitcher—clank. I shifted the scale—thud. My beautiful coffee station looked like a crime scene of stainless steel and stray grounds. In my frustration, I accidentally knocked my precision basket onto the tile floor. That was the moment I realized my “system” of leaving everything on the counter was actually a recipe for a morning headache and broken gear.
Stop Digging for Your Tamper Every Single Morning
I’m going to show you how I reclaimed my kitchen real estate. We aren’t just moving the mess; we are creating a functional, ergonomic home for every single piece of equipment you own. Whether you are just mastering the art of home espresso or you’re a seasoned pro with a mountain of accessories, this single-drawer strategy works. I made a classic rookie mistake when I started: I thought everything needed to be “on display.” I had my best barista gear lined up like soldiers on the granite. It looked great for five minutes until I actually had to wipe down the counter. Then, I tried throwing it all in a random drawer without a plan. My expensive leveled tamper got a massive gouge because it was banging against a heavy metal portafilter. You have to learn the best way to store your tamper properly, or you are literally throwing money away.
Is it actually possible to fit everything in one spot?
You’re probably looking at your milk frothers, various baskets, cleaning brushes, and scales thinking there is no way a standard kitchen drawer can hold it all. I felt the same skepticism. But here’s a surprising fact: organizational experts at the National Association of Productivity & Organizing Professionals suggest that clutter can actually increase cortisol levels, making your morning ritual feel more like a chore than a hobby. By designating a specific home for your tools, you reduce “decision fatigue” before your first sip of caffeine. Have you ever reached for a tool only to find it buried under a pile of mail or lost behind the grinder? Tell me I’m not the only one who has faced the “exploding drawer” syndrome. Let’s look at how to map out that drawer space so you never lose a puck screen again.
Map Out Your Coffee Pit Stop
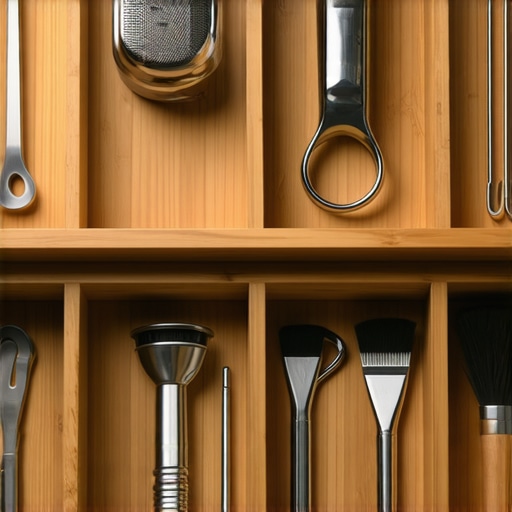
Think of your drawer as a high-speed pit stop in a Formula 1 race. You do not want to be fumbling for a wrench when the car is idling. First, I recommend clearing the entire drawer and laying down a heavy-duty silicone liner. I once tried using a standard plastic silverware organizer, but the weight of my heavy brass portafilters caused the thin plastic to crack within a week. Now, I group items by their ‘touch time’ in the brewing process. My WDT tool and dosing funnel stay front and center because they are the first things I reach for after I select the perfect coffee grinder and begin the prep.
Protect Your Precision Parts from Themselves
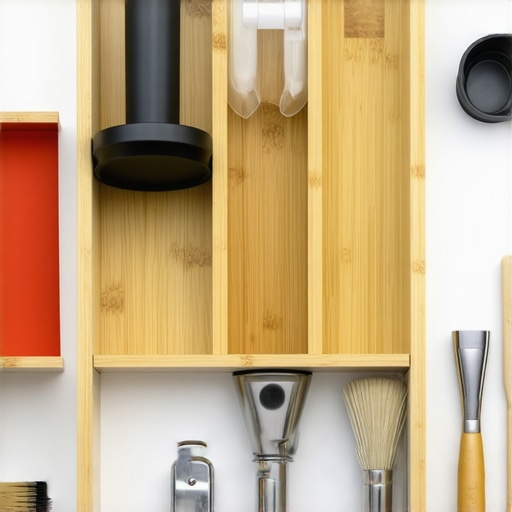
Metal-on-metal is the enemy of longevity. If your precision baskets are rattling against your metal tamping station, you are creating micro-scratches that trap old oils and degrade the finish. I learned this the hard way when my favorite walnut-handled portafilter started looking like it had been through a woodchipper. I had to research the best way to clean a wood-handled portafilter just to restore its luster. Now, I use foam inserts or small bamboo dividers to keep my tamper stored properly and away from heavy tools that might dent the base.
Keep the Electronics Safe from Moisture
Your scale is likely the most sensitive piece of tech in that drawer. One morning, I accidentally tossed a slightly damp microfiber cloth right on top of my precision scale. The humidity seeped into the casing, and that is often why your espresso scale is jumping numbers while the shot is pulling—moisture interference with the load cell. Now, my electronics live in a dedicated ‘dry zone’ of the drawer, far away from any steam wand cloths or damp brushes. If you have any milk frothers or battery-operated whisks, give them their own section with a small silica gel packet to keep the air dry and the circuits safe.
The Secret of Vertical Storage
Instead of stacking things in messy layers, try to stand them up. Small bins can hold your puck screens and blind baskets vertically so you can see them at a glance. I used to stack my spare baskets in a tower, and I would always end up using the wrong size because the ’18g’ laser etching was hidden at the bottom. This simple ‘file system’ approach is the move for better espresso distribution without fancy tools—it is about having the right gear visible and ready at the exact moment you need it. By giving each item a dedicated slot, you will notice your workflow becomes muscle memory, letting you focus on the art of the pour rather than the hunt for a lost brush.
Everyone tells you that to pull a ‘god shot,’ you need to turn your kitchen into a miniature café with every tool on display. I used to think that, too. I spent thousands on choosing the best barista gear for coffee enthusiasts, only to realize that a cluttered counter is the fastest way to kill your workflow. The truth is, many high-end setups fail not because of the equipment, but because the owner treats their station like a museum rather than a laboratory. When you leave your gear exposed to the elements (and the dust), you’re fighting a losing battle against hygiene and temperature stability. For example, did you know that the simple benefit of pre-warming your portafilter head can be completely undone if you leave it sitting out on a cold marble counter for just two minutes? Thermal mass matters far more than most people realize.
The Myth of the Barista Museum Countertop
The biggest ‘pro’ mistake I see is people prioritizing aesthetics over efficiency. They want the top-rated espresso machines front and center, but they forget that the real magic happens in the maintenance. I once had a friend who complained his light roasts always tasted like charcoal. He was convinced his machine was broken and was ready to call a technician to fix a stuck pressure stat that didn’t even exist. In reality, he just hadn’t cleaned his grinder. If you aren’t careful, you’ll find why your espresso tastes burnt even with light roast beans often comes down to rancid oils hiding in the nooks of your equipment, not the temperature of your water.
Why Does Your Shot Volume Change When Nothing Else Has?
This is the question that separates the hobbyists from the experts. You used the same beans, the same grind setting, and the same 18g dose, yet today’s shot is three grams heavier. According to research by the Specialty Coffee Association (SCA), variables like ambient humidity and ‘grinder retention’—the coffee left over from yesterday—drastically alter your results. If you don’t purge a few grams before your first shot, you’re actually brewing a blend of fresh and stale coffee. This hidden inconsistency is often why your espresso shot volume varies even with the same dose. Professional baristas account for this ‘dead space’ within the grinder, but at home, we often forget that yesterday’s leftovers are today’s sour notes.
Stop Letting Old Grinds Sabotage Your Fresh Beans
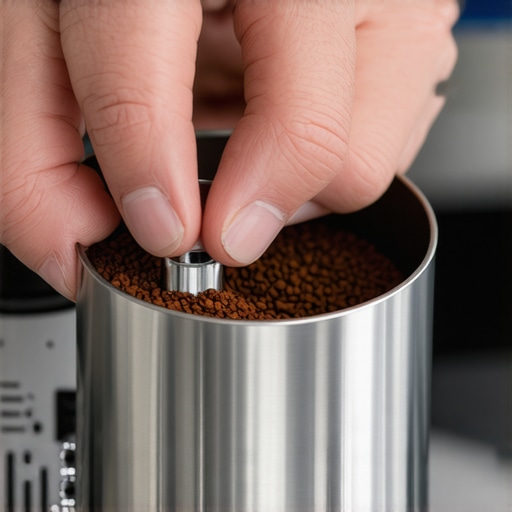
One of the most overlooked parts of any high-end grinder is the ‘chute.’ Most people think that because they bought a zero-retention grinder, they are safe. They aren’t. Micro-clumps of coffee oils act like glue, trapping old grounds in the exit path. I’ve found that the most effective way to maintain flavor clarity is to clean your grinders discharge chute with a pipe cleaner once a week. This prevents the ‘accumulation effect’ where old coffee slowly leeches into your new bag of expensive beans. Have you ever fallen into the trap of thinking a more expensive machine would solve all your consistency issues without looking at these small details? Let me know in the comments.
The same logic applies to your milk setup. If you’ve invested in fancy milk frothers that transform your coffee experience, you must understand the physics of steam. A common frustration is the reason your steam wand only makes thin hot milk instead of velvety microfoam. More often than not, this is caused by a microscopic blockage in the steam tip or a failure to purge condensation before starting. Advanced espresso isn’t about buying more stuff; it’s about mastering the physics of what you already own. By keeping your tools organized and your maintenance routines strict, you ensure that every variable is under your control, leading to that elusive perfect cup every single morning.
Stop Ignoring the Squeak in Your Lever
Maintenance isn’t just about descaling once a year and hoping for the best. If you’ve invested in one of the top-rated espresso machines, you have to treat it like a high-performance engine. I noticed my shots were tasting slightly metallic last month, and I realized I had neglected my E61 group head. You need to learn how to properly lubricate your e61 group head cam with food-safe grease, or the internal friction will eventually grind down the brass components. It’s these tiny, mechanical rituals that separate the people who replace their machines every three years from those who keep them for twenty.
How do I keep my machine running like new for a decade?
Consistency is built on the health of your hardware. I make it a habit to how to check your espresso machines group head flow rate every Sunday. If the flow is uneven, it’s often a sign of scale buildup or a dying pump. Beyond the pump, electronics can be finicky. I once spent three hours trying to figure out why my machine wouldn’t heat past 80 degrees, only to realize I needed to how to fix a broken boiler temperature sensor. According to the SCA Water Quality Handbook, maintaining a total alkalinity of around 40 ppm is the sweet spot for preventing this kind of internal damage while still pulling out the best notes from your beans. If your water is too soft, you risk corrosion; too hard, and your boiler becomes a limestone cave.
Season Your Burrs to Save Your Shots
We often talk about the beans, but we rarely talk about the metal that cuts them. When you get a new set of burrs, they are actually ‘too sharp’ in a way that creates inconsistent fines. I spent a whole afternoon learning how to properly season new steel burrs for better consistency by running several pounds of old coffee through them. It feels wasteful, but it’s the only way to stabilize your grind size. Without this, you’ll find yourself constantly questioning how to tell if your espresso grinder burrs are dull because your shots won’t stop drifting. 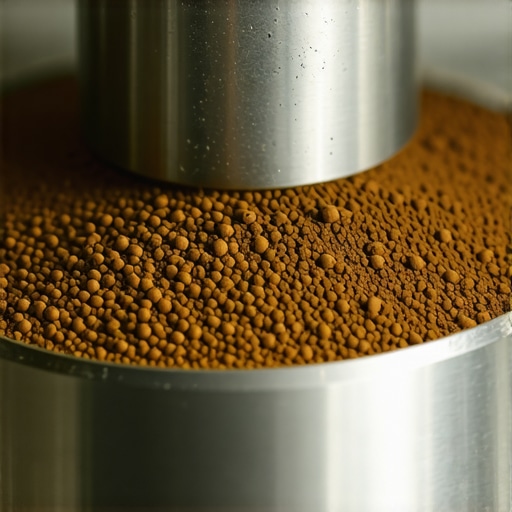 If you notice your coffee grinder is stalling with dark roast beans, it’s usually a sign that those oils have created too much friction on the burr face, requiring a deep physical clean rather than just a quick pulse. This is especially true for those perfect coffee grinders with high-torque motors that can mask problems until it is too late.
Prediction: The Rise of the Smart Barista Station
Looking ahead, I see the hobby moving away from manual guesswork and toward integrated data. We are already seeing grinders that communicate with scales via Bluetooth to stop exactly at the target weight. In the next few years, I expect home machines to automatically adjust their pressure profiles based on real-time feedback from the flow rate. We are entering an era where the ‘god shot’ isn’t a lucky accident, but a repeatable data point. The integration of precision sensors into the drip tray is just the beginning. I suspect we’ll soon see sensors that analyze the chemical composition of the extraction in real-time. Until then, mastering the tools you have is the best investment you can make for mastering the art of home espresso. My challenge to you: Go how to calibrate your machines volumetric settings this weekend. It takes ten minutes but saves you from 365 days of inconsistent yields. This level of precision is the ultimate move for anyone serious about choosing the best barista gear for coffee enthusiasts.
Hard-Won Truths from My Years at the Barista Station
After a decade of fumbling with portafilters, I’ve realized that the most expensive gear won’t save a sloppy workflow. If you are still mastering the art of home espresso, remember that consistency is a habit, not a purchase. One of my biggest lightbulb moments was realizing that “good enough” cleanliness is the enemy of flavor; those old oils in the basket act like a sour seasoning for your next shot. Another lesson? Don’t let your gear intimidate you. Even the most complex top-rated espresso machines are just tools meant to serve your palate, not the other way around. Finally, trust your tongue more than the timer—if the shot tastes amazing but took 40 seconds, it’s still a win.
My Trusted Toolkit for Brewing Like a Pro
I didn’t build my setup overnight, and neither should you. If you’re looking for where to focus your energy next, here are the essentials I swear by. First, prioritize a grinder that allows for micro-adjustments; knowing how to select the perfect coffee grinder is the single best investment you can make. For maintenance, a simple pack of long-reach pipe cleaners is indispensable—I use them to clean your grinders discharge chute and keep the flavor profile crisp. If you are into milk-based drinks, invest in milk frothers that transform your coffee experience by providing consistent steam pressure. Lastly, always keep a notebook by your station to track variables, especially when you’re trying to figure out why your espresso shot volume varies even with the same dose.
Your Journey Toward the Perfect Pull
Creating a streamlined, organized space for your home espresso ritual isn’t just about kitchen aesthetics—it’s about removing the friction between you and that first incredible sip. When your tools have a home and your machine is well-maintained, the process becomes a dance rather than a struggle. Don’t be afraid to experiment, make a mess, and pull a few “sink shots” along the way. Every mistake is just data for your next masterpiece. What is the one piece of gear in your drawer that you absolutely couldn’t live without? Let me know in the comments!