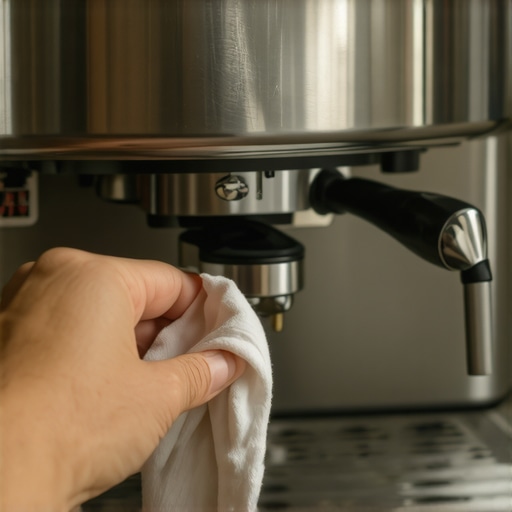
The Danger of Leaving Old Coffee Oils in Your Portafilter Spouts
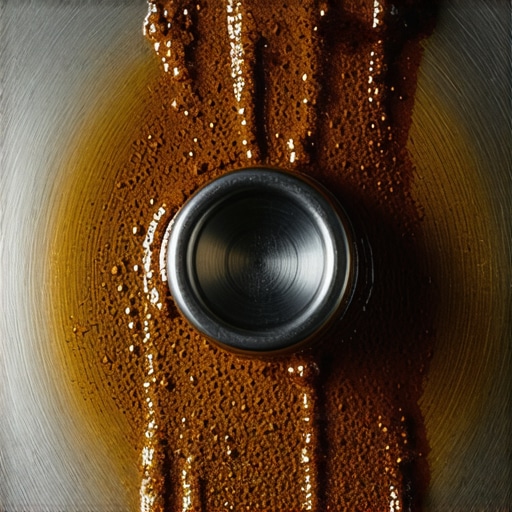
I stood there, staring at a shot of high-end Geisha that cost more than my lunch, and it tasted like a dusty basement. It was heartbreaking. I’d spent hours mastering the art of home espresso, yet my cup was a disaster. I checked my grind, my temp, and my top-rated espresso machine settings, but the culprit was hiding in plain sight. It was the thick, black sludge lining the inside of my portafilter spouts. My laziness had caught up with me.
The Hidden Sludge Killing Your Coffee Flavor
Coffee is an oily business. While those oils are responsible for that beautiful crema, they are also incredibly unstable. When they sit in the dark, warm crevices of your portafilter spouts, they go rancid faster than you’d think. I used to be the guy who thought a quick rinse under the tap was enough. I was wrong. That laziness is exactly why your espresso shot tastes like cardboard or worse. If you are using the best barista gear but skipping the deep clean, you are wasting your money. According to the Specialty Coffee Association, coffee oils are highly prone to oxidation, which creates the bitter, astringent flavors that mask the delicate notes of your roast. If you haven’t scrubbed those spouts lately, you’re basically seasoning your fresh coffee with old, oxidized grease. It is like cooking a gourmet steak in a pan that hasn’t been washed since last Thanksgiving.
Is deep cleaning the spouts really worth the extra five minutes?
You might be thinking that the coffee passes through so quickly it cannot possibly pick up that much flavor. I thought the same thing until I took a pipe cleaner to my double-spout portafilter for the first time. What came out looked like thick engine oil. It was a wake-up call. I realized that my shots were often running too fast or tasting bitter because of a buildup of debris that I simply ignored. Have you ever noticed a weird, metallic, or bitter aftertaste even when you nail your timing? Drop a comment below—I want to know if I’m the only one who neglected their spouts for way too long! Today, I’m going to show you how to purge that funk for good so your espresso finally tastes the way the roaster intended.
Unscrew those spouts to reveal the grime
The first step is facing the reality of what’s inside. Most people think the basket is the only part that needs a scrub, but the spouts are where the flavor goes to die. If you have a standard portafilter that came with your top-rated espresso machine, those spouts usually unscrew. I remember the first time I tried this on my old Italian workhorse machine; I actually broke a sweat. The factory had tightened that double spout so hard I thought it was welded on. I eventually had to wrap the portafilter head in a thick towel, stick a heavy-duty screwdriver through the spouts for leverage, and twist with everything I had. When it finally cracked open, a smell hit me that was halfway between a wet campfire and a tire fire. That was the moment I realized why my morning lattes were always missing that sweetness. If your gear is stubborn, don’t force it with bare metal—protect the finish, but be firm.
Let the chemicals do the hard work
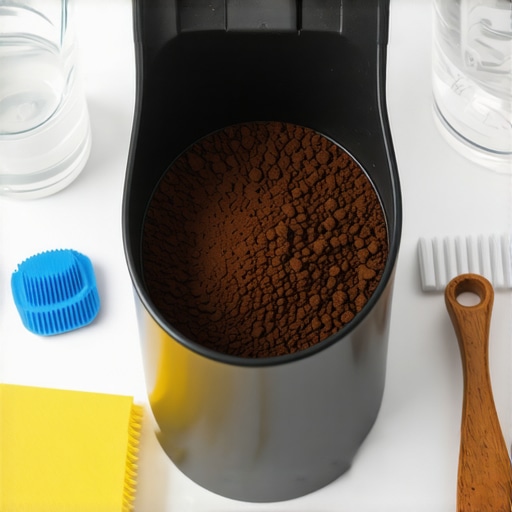
Once you have the spouts off, don’t just reach for the dish soap. You need a dedicated backflush detergent like Cafiza or Puly Caff. These are designed specifically to break down the complex organic compounds in coffee oils that regular soap won’t touch. Grab a small bowl, fill it with boiling water, and dissolve a teaspoon of the cleaner. Drop the spouts and the portafilter body (metal parts only!) into the solution. Pro tip: Never soak the plastic or wood handles, as the caustic cleaner will ruin the finish or make the wood brittle. While you wait for the magic to happen, it is a great time to clean the screen on your automatic milk frother or check your other accessories. Within ten minutes, the water will likely turn a swampy, opaque brown. That is the literal ‘flavor killer’ leaving your equipment.
Pipe cleaners are the unsung heroes of coffee
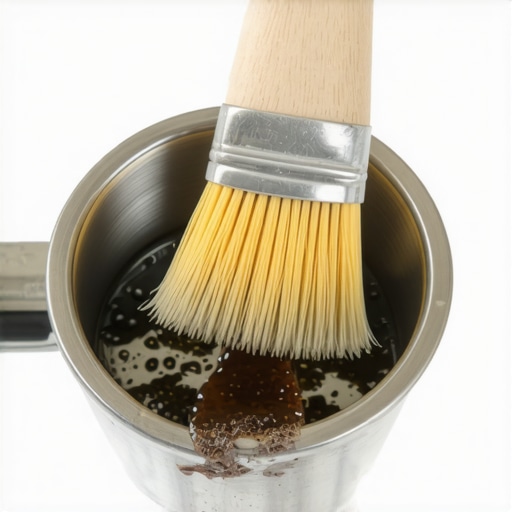 After the soak, the oils are softened but not entirely gone. This is where most baristas fail; they rinse and think they are done. You need mechanical friction. I’ve found that the same technique used to clean your grinder’s discharge chute with a pipe cleaner works perfectly here. Thread a stiff-bristled pipe cleaner or a small straw brush through the narrow neck of the spouts. I was shocked at the chunks of carbonized coffee that still fell out even after a long soak. This buildup is often why your espresso shot volume varies even with the same dose, as the internal diameter of the spout is literally shrinking due to the ‘cholesterol’ of old coffee grease.
Balance the flow for a perfect pour
When you put everything back together, make sure the spouts are aligned perfectly horizontal. If they are even slightly tilted, you will run into the frustrating issue of why your espresso is flowing out of only one spout. When you are choosing the best barista gear, you might notice some portafilters have ‘open’ spouts specifically to make this cleaning process easier. If you have the closed-off version, do not skip the final rinse. Run a ‘blank shot’ of hot water through the machine with the clean portafilter attached to ensure no chemical residue remains. You will notice the water coming out of the spouts is finally crystal clear, rather than having that slight yellow tint that indicates lingering rancidity.Once you’ve scrubbed your spouts, you might think you’ve finally solved the riddle of the bitter shot. But even with sparkling clean gear, many people find themselves stuck in a frustrating loop of ‘dialing in’ with no end in sight. Let’s talk about the biggest nuance that most enthusiasts miss: the obsession with the grind setting number. Most people treat their perfect coffee grinder like a set-it-and-forget-it appliance. In reality, the number on your dial is almost meaningless if you aren’t accounting for exchange and retention. If your machine is holding onto even a gram of stale grounds from yesterday, your fresh ‘god shot’ is being diluted by bitter, oxidized dust. This is precisely why your coffee grinder retains more grounds than it should, and it’s a trap that even seasoned baristas fall into. 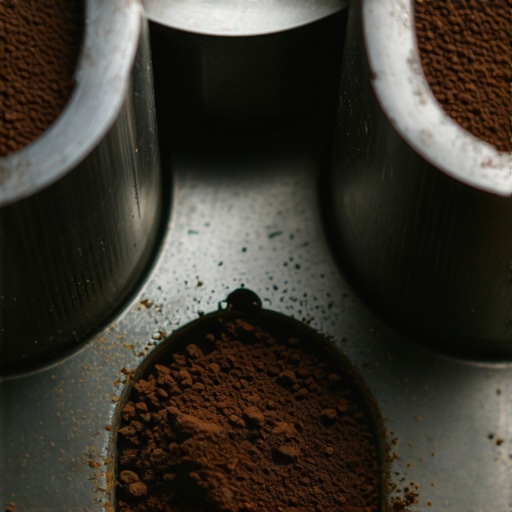
The silent killer of consistency is hiding in your burr chamber
Beyond just the old grounds, there is a technical ‘oops’ that can actually damage your expensive barista gear. I’ve seen countless people try to move their grinder to a finer setting while the motor is off. When you do this, you are literally crushing beans between stationary burrs, which can lead to a grinder adjustment ring that is stuck or, worse, motor failure. Always, and I mean always, have the burrs spinning when you adjust finer. It’s a small habit that saves you from a massive repair bill. Have you ever accidentally jammed your grinder this way? Let me know in the comments—I’ve definitely been there! Another nuance people ignore is burr seasoning. New burrs have microscopic ‘teeth’ that are actually too sharp, leading to a wider range of particle sizes. You need to run about 5 to 10 pounds of coffee through a new grinder before it settles into its true performance profile. Until then, you might notice why your coffee grounds are clumping together more than they should.
Does your grind setting actually change when the weather shifts?
To the advanced reader, this isn’t just a suspicion; it’s physics. A study by the Coffee Science Foundation on particle distribution shows that even minor changes in ambient humidity can cause beans to shatter differently. This is why your grinder settings feel like they changed overnight. When it’s humid, the beans are more pliable and produce fewer ‘fines.’ When it’s dry, they shatter like glass, creating tiny dust particles that clog your filter basket and lead to why your espresso tastes bitter even with a fast pull. You aren’t going crazy; you’re just dealing with the atmospheric variables of a high-end top-rated espresso machine setup. Finally, stop falling into the trap of over-tamping to compensate for a coarse grind. If you find yourself pushing with all your weight to slow down a shot, you are likely creating micro-fractures in the puck. This leads to why your bottomless portafilter shows channels every time. Trust your grind size, not your muscle power.Maintaining a top-rated espresso machine isn’t just about the occasional backflush or rinsing your basket; it’s about understanding the internal friction that eventually kills the joy of a smooth pull. I learned the hard way that neglecting the mechanical health of your gear leads to a cascade of failures. If your machine features a manual lever, you might notice the movement starts to feel gritty or stiff over time. I ignored that slight ‘catch’ for months until my internal cam was practically grinding itself into metal shavings. This is exactly why you need to properly lubricate your E61 group head cam with a high-viscosity, food-grade grease like Molykote 111. It is a ten-minute maintenance job that restores that ‘new machine’ feel and prevents expensive repairs.
How do I keep my gear running like day one for years?
The real secret to longevity isn’t a special chemical; it is managing your water chemistry before it ever enters the boiler. Scale is the silent killer of the home barista’s dream. You can own the best barista gear on the market, but if your water is too hard, your boiler becomes a ticking time bomb of calcium buildup. I used to rely on cheap test strips until I read a technical service bulletin from La Marzocco Home, which stresses that even ‘filtered’ water can lead to catastrophic scale if chloride levels are ignored. If you are unsure if your machine boiler is accumulating lime scale, I recommend pulling the mushroom valve on your group head to check for white, crusty deposits. If you find them, skip the grocery store remedies and use the best way to descale a boiler without using harsh vinegar to avoid that lingering, nasty metallic aftertaste.
Ditch the stock parts for better ergonomics
Sometimes, the best ‘maintenance’ is actually an upgrade that prevents future mess. I spent years fighting with a stiff steam knob that required five full rotations to get full power, leading to wet, spluttery foam. I finally realized why you should switch to a lever handle for your steam wand. It isn’t just for the aesthetic; it provides instant on-off control, which means you can purge the wand the second you’re done steaming. This habit prevents milk from being sucked back into the wand, which is the primary reason why your steam wand tips keep getting blocked by milk residue. If you prefer a standalone frother for your morning lattes, you have likely struggled to stop your milk frother from burning the bottom of the jug. Using a dedicated espresso machine steam wand or a high-quality non-stick pitcher is the only real way to escape that burnt-milk cleanup chore.#IMAGE_PLACE_HOLDER_D#I predict that the future of home espresso will be defined by smart maintenance sensors. We are already seeing the first wave of machines that track flow rate decay in real-time, alerting you to a clogged shower screen before it ruins your morning. Until those become standard, you can try the move for better espresso without buying a new machine: start using a puck screen. It keeps your group head incredibly clean, though you will quickly learn why your puck screen keeps falling into the knock box—a minor annoyance for a much cleaner machine. My challenge to you is simple: this weekend, unscrew your shower screen and soak it in detergent. You will be shocked at the hidden coffee ‘charcoal’ that has been seasoning your shots. Once you see it, you’ll never skip a deep clean again.
Lessons Bought With Bitter Shots and Broken Parts
Looking back at my years behind the counter and at home, the biggest ‘lightbulb moment’ wasn’t finding a new bean; it was realizing that espresso is 90% sanitation and 10% inspiration. I’ve learned that if your barista gear smells like a coffee shop at night, it’s actually dirty. Fresh coffee shouldn’t leave a lingering, stale scent on the metal. Another hard truth? Your coffee grinders are constantly lying to you if you don’t purge a few grams after an adjustment. I spent months chasing my tail because I didn’t account for the ‘old’ grinds stuck in the chute. Finally, remember that consistency is a moving target. You aren’t failing; you’re just reacting to the physics of a living product.
#IMAGE_PLACEHOLDER_E#
The Toolbelt That Keeps My Workflow Seamless
I don’t believe in buying every gadget, but three specific tools changed my life. First, a precision basket is essential once you learn how to tell if your basket is too large for your dose, as it eliminates one of the biggest variables in extraction. Second, I always keep food-grade silicone grease nearby to properly lubricate your E61 group head cam, which prevents that painful metal-on-metal grinding sound. Lastly, I trust a high-quality water filtration pitcher over any ‘in-tank’ softener—it’s easier to track and saves your boiler from a slow, calcified death.
Pour Your Way to a Better Morning
The journey of mastering the art of home espresso is rarely a straight line. There will be mornings where the sink gets more coffee than your mug, but those are the days you learn the most about your equipment. Whether you are using entry-level tools or the latest top-rated espresso machines, the secret is simply paying attention to the details that others ignore. Keep your gear clean, your water soft, and your curiosity high. What is the one part of your machine you’ve been ‘forgetting’ to clean lately? Let me know in the comments below!