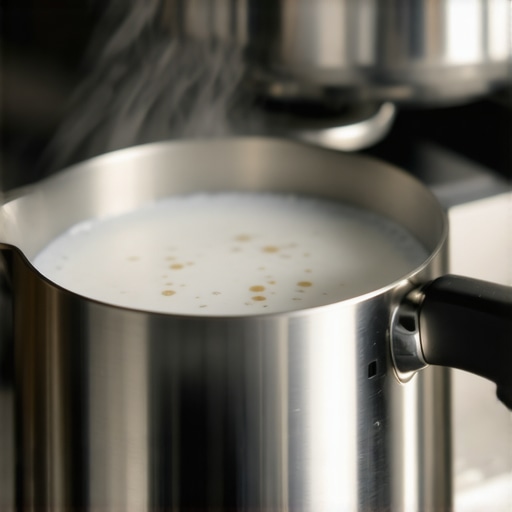
The Secret to Silky Microfoam on a Single Boiler Machine
I’ll never forget the morning I nearly tossed my milk pitcher through the kitchen window. I had just pulled what looked like a decent shot, but my milk—oh, the milk—was a tragic mountain of stiff, dry foam that sat on top of my coffee like a cheap wig. It was embarrassing. I thought I needed a five-thousand-dollar dual boiler to get those glossy, wet-paint textures I saw on Instagram. I was wrong. The truth is, my choice of espresso machines wasn’t the problem; it was my lack of respect for the single-boiler workflow. I was treating my entry-level machine like a commercial Linea, and the machine was punishing me for it with every splutter.
Stop Fighting Your Machine and Start Working With It
If you’re using a single boiler, you know the dance. You flip the steam switch, wait for the light, and hope for the best. Usually, you end up with a steam wand that only blows out weak air or, worse, a spluttery mess that adds more water to your milk than foam. My biggest mistake early on was not purging long enough. I was so afraid of losing pressure that I left a half-ounce of condensed water in the tip. That water instantly kills your chances of microfoam. According to the Specialty Coffee Association, the ideal temperature range for milk texturing is actually between 55°C and 65°C (131°F–149°F). Hitting that window while managing a single boiler’s temperature swing requires a bit of ‘espresso gymnastics.’ You have to learn to catch the heater on the way up, not when the light tells you it’s ‘ready.’ [image_placeholder]
Can a single boiler really compete with the big rigs?
You might think you’re at a permanent disadvantage compared to a pro-sumer dual boiler setup. You aren’t. While a dual boiler offers convenience, your single boiler is capable of incredible pressure if you time it right. Have you ever felt like your machine is actively working against your latte art dreams? I certainly did. But once I realized that why your milk pitcher position is ruining your texture was a bigger factor than my boiler size, everything changed. I stopped aimlessly swirling and started looking for the ‘vortex.’ We’re going to fix your technique, stop your milk foam from turning into a big bubble, and finally get that silk. This isn’t just about buying new barista gear; it’s about mastering the physics of steam. Wait, have you faced that specific problem where you get perfect foam one day and absolute bathwater the next? Let me know in the comments, because that inconsistency is exactly what we’re tackling today. It’s time to stop guessing and start steaming with intent.
If you wait for the ‘ready’ light on your machine, you have already lost the battle. Most espresso machines in the entry-level bracket use a thermostat that shuts off the heating element once it hits a peak temperature. If you start steaming then, the pressure immediately begins to drop. I remember a Tuesday morning when I was in a rush and did exactly that; the steam wand just gave up halfway through, leaving me with a lukewarm cup of disappointment. Instead, you need to ‘surf’ the boiler. Turn on the steam switch and wait about 15 to 20 seconds. You want to start steaming before that light turns off so the heating element stays active while you work. This keeps the pressure high and prevents that dreaded scenario where your steam wand only blows out weak air right when you need it most.
Catch the Heat Before the Light Turns On
This trick is like timing a wave while surfing. By starting the steam process while the boiler is still actively heating, you maintain a much more consistent flow. If you find that why your espresso machine steam is wet and spluttery is a constant issue, it is likely because the boiler is struggling to keep up with the demand. The active heater prevents the temperature from dipping too low, which is the secret to getting that dry, powerful steam necessary for silk.
Ditch the Water Before It Ruins Your Milk
The very first thing you must do is purge. Condensation builds up inside the wand as it sits. If you don’t clear it out, that water goes straight into your milk, diluting the proteins and making it impossible to hold air. Open the valve into the drip tray for a full three seconds until you see pure steam. If you notice your espresso machine is discharging too much water, it might just be the excess condensation you are clearing out. This step is non-negotiable. I once skipped this to save a few seconds, and my latte tasted like watered-down cardboard because I had injected an extra ounce of hot water into my pitcher.
Listen for the Sound of Tearing Paper
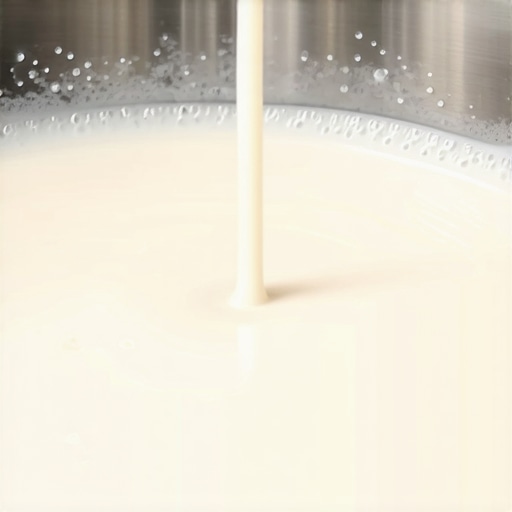
Once you are ready to steam, position the tip of the wand just below the surface. You are looking for a very specific sound—a sharp ‘tch-tch-tch’ like paper being torn. This is the air entering the milk. If the sound is too deep, like a ‘gloop’, you are too deep. If it’s a loud screech, you are too shallow. The goal is to ‘stretch’ the milk until the pitcher feels about as warm as your palm (roughly 37°C or 100°F). After that, bury the tip slightly to begin the rolling phase. This is where the trick to getting the perfect swirl comes into play. You need to create a vortex that pulls those big bubbles down and shreds them into microfoam.
Spin That Vortex Until the Pitcher Bites Back
A common mistake is thinking you need to keep adding air the whole time. You don’t. Once you hit that palm-warm temperature, stop the stretching and focus entirely on the roll. If you keep adding air, you’ll end up needing to know how to stop your milk foam from turning into a big bubble because it will become too stiff to pour. The vortex should be violent enough to spin the milk in a tight circle. This ‘incorporation’ phase is what turns regular foam into that glossy, ‘wet paint’ texture. When the pitcher becomes too hot to hold for more than a second, shut off the steam immediately. Leaving it longer will scald the milk, destroying the sweetness you worked so hard to preserve with your perfect coffee grinder settings.
Common wisdom suggests that more power is always better when it comes to espresso machines. We are told that high-velocity steam is the only way to get that glossy finish. In my experience, however, ‘maxing out’ your boiler pressure is often the quickest way to ruin a small latte. If you are working with a standard 12oz pitcher, too much steam pressure creates a chaotic turbulence that heats the milk faster than you can actually texture it. This leads to what I call ‘flash-heated foam’—it looks okay for ten seconds and then separates into a watery mess. Have you ever fallen into this trap of thinking higher pressure equals better quality? Let me know in the comments, because I spent months blaming my wand when the real issue was my lack of throttle control.
Your Giant Pitcher Might Be the Problem
One of the biggest ‘oops’ factors I see with home baristas is using a pitcher that is simply too large for the drink. If you are pouring a single flat white but using a 20oz jug, the steam wand cannot create a deep enough vortex to pull the surface bubbles down. You end up with the reason your steam wand only makes thin hot milk, which is a lack of vertical circulation. To fix this, your milk level should always sit just below the start of the spout indentation. This isn’t just about waste; it is about the fluid dynamics required to shred large bubbles into microfoam. If you are struggling with larger vessels, mastering the best way to handle large milk pitchers is a fundamental shift in your workflow.
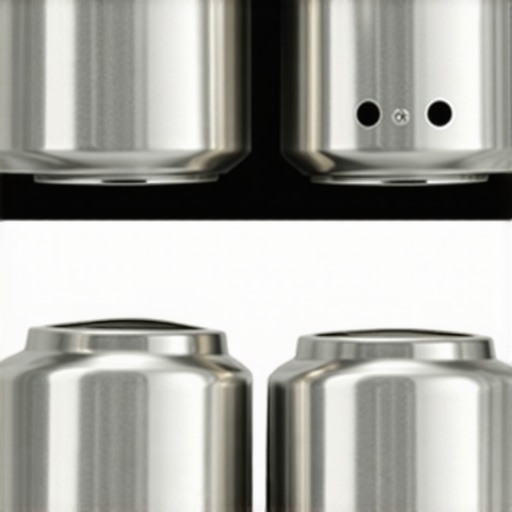
Why do some steam wands have two holes while others have four?
This is where the nuance of barista gear really shows. A four-hole tip disperses pressure in multiple directions, which is fantastic for large volumes of milk but can be overwhelming on a single boiler machine. A two-hole tip, conversely, provides a more concentrated stream that allows for a much tighter vortex in smaller pitchers. According to research on milk protein denaturation by the Journal of Dairy Science, the stability of your foam is heavily dependent on the rate of air incorporation relative to the temperature rise. If your wand has too many holes for its output, you hit the scalding point before the proteins can properly encapsulate the air. This is often why some steam wands have two holes and others have four; it’s about matching the machine’s recovery rate to your specific pitcher size.
The Freshness Trap You Didn’t See Coming
Even if your technique is flawless, the chemistry of your milk might be working against you. Many baristas don’t realize that as milk ages, even before it ‘spoils,’ the lipids begin to break down into free fatty acids. These acids are foam killers. If you find that how to tell if your milk is too old for latte art is becoming a daily struggle, check the ‘opened on’ date, not just the expiration date. Freshness provides the structural integrity needed for complex designs. When the milk is slightly ‘off’ chemically, you’ll notice why your latte art foam always slumps to one side or fails to hold its shape during the pour. Don’t let your perfect coffee grinder settings go to waste by pairing a great shot with unstable, aging milk.
I’ve spent years twisting the steam knobs on various espresso machines, and honestly, it’s the most tedious part of the workflow. If you want to elevate your game, you should consider why you should switch to a lever handle for your steam wand. It allows for instant, full-throttle pressure. This precision is vital because the window for perfect texturing is so small. When you are fumbling with a screw-knob, you’re losing precious seconds of temperature control. I switched to a joystick-style lever last year, and it felt like moving from a dial-up modem to fiber-optic internet.
Lever Handles Give You Instant Control
The ergonomics of your barista gear play a huge role in consistency. If your hands are occupied with mechanical resistance, you aren’t focusing on the milk surface.
How do I keep my steam power from fading over the years?
Maintenance is the silent killer of great latte art. Over time, mineral deposits will choke your boiler’s output. You need to know how to tell if your machine boiler is accumulating lime scale before your pressure drops off a cliff. A technical report from the Specialty Coffee Association (SCA) regarding Water Quality and Equipment Longevity notes that even a 1mm layer of scale can reduce heating efficiency by nearly 10%, leading to that ‘weak’ steam we all hate. Regularly checking your how to check your espresso machines group head flow rate is a great way to monitor internal health.
Clean Your Chute to Save Your Shots
Most people focus on the steam wand, but your grinder is just as susceptible to ‘performance creep.’ If you don’t use a how to clean your grinders discharge chute with a pipe cleaner method, old, rancid oils will build up. This doesn’t just affect the taste; it creates physical resistance that causes clumping. 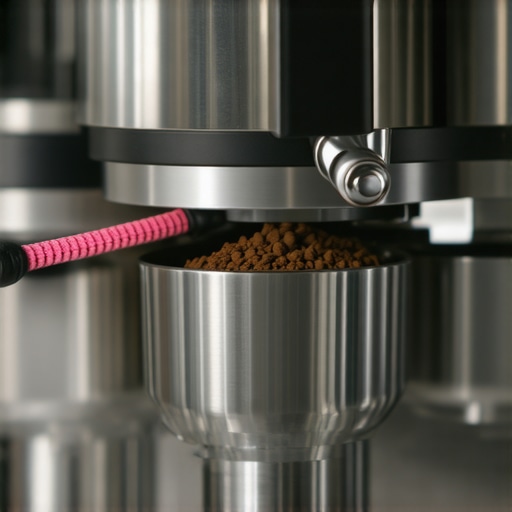 I recommend deep cleaning your how to clean the inside of your steam wand pipe at least once a month. This prevents the ‘milk stone’ buildup that can eventually flake off into your pitcher.
The Future of Smart Steam
I predict we are moving toward a world where milk frothers that transform your coffee experience will include built-in acoustic sensors. These sensors will listen for that ‘tearing paper’ sound and automatically adjust the steam pressure to maintain the vortex, regardless of the milk type. Until then, you are the pilot. I challenge you to try the ‘pipe cleaner’ trick on your grinder this weekend—you’ll be shocked at the volume of stale grounds that have been sabotaging your morning flat white. It’s these small maintenance wins that separate the enthusiasts from the true home baristas.
The Hardest Lessons I Learned While Chasing the Dragon of Microfoam
Over the years, I’ve realized that the difference between a coffee shop latte and a home version isn’t just the machine; it’s the intuition. Here are the lightbulb moments that finally clicked for me:
- Texture is decided in the first five seconds: If you don’t hear that ‘paper tearing’ sound before the pitcher hits room temperature, you’ve missed the window. You can’t add air to hot milk without it becoming a bubbly mess.
- The freezer is your best friend: I started keeping my stainless steel pitchers in the freezer. That extra 10-degree drop gives you three more seconds of ‘stretch’ time, which is an eternity when you are working on mastering the art of home espresso.
- Cleanliness isn’t just about hygiene: A tiny bit of dried milk in one of those steam holes will create an asymmetrical jet that ruins your vortex. I always keep a dedicated cloth just for the wand.
The Toolkit That Turned My Kitchen Into a Pro Studio
If you are tired of the ‘guessing game,’ these are the specific resources and tools I rely on every single morning to keep my workflow consistent:
- A Dedicated Pitcher: Don’t just use whatever came in the box. Invest in proper barista gear, specifically a 12oz pitcher with a sharp spout for better control.
- Proper Maintenance Knowledge: Learn how to check if your portafilter gasket is actually sealed because any steam leak in the system reduces the pressure available at the wand.
- The Right Foundation: Your milk is only as good as the espresso it sits on. Using one of the top-rated espresso machines for coffee lovers in 2025 won’t matter if you haven’t yet mastered how to select the perfect coffee grinder for a syrupy extraction.
Take the Leap Into the Vortex
The journey to perfect microfoam is paved with a lot of bad lattes, but every single one is a lesson. Don’t be discouraged by a few bubbles or a spluttery wand. The more you work with your milk frothers and steam wands, the more the ‘physics’ of the milk will start to feel like second nature. You have the tools, you have the timing, and now you have the intent. It’s time to go make something beautiful. Have you ever had a morning where your milk was perfect but your espresso shot was a disaster? Let me know in the comments how you handled it!