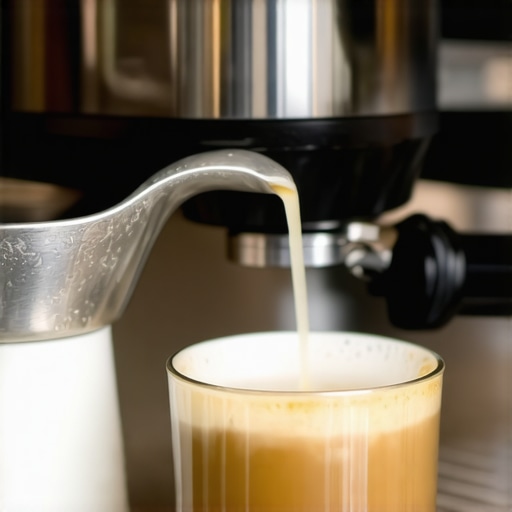
The Best Way to Handle Large Milk Pitchers for Small Drinks
I was standing in my pajamas, clutching a 20-ounce stainless steel pitcher as if it were a life raft. Inside was a measly splash of milk—hardly enough to cover the thermometer tip. I thought, ‘I’m a pro, I can handle this.’ I was wrong. As soon as I cracked the steam valve, my milk transformed into a violent, soapy mess that splashed onto my favorite robe. This is the classic ‘big jug, small drink’ conundrum that plagues every home barista. If you’ve ever felt like your steam wand was a fire hose trying to fill a thimble, you are in the right place. Most top-rated espresso machines for coffee lovers in 2025 ship with a standard-sized jug, but when you’re craving a tiny macchiato, that gear starts working against you. Today, I want to show you how to tame that oversized stainless steel beast. You don’t always need to go out and buy a 10oz pitcher, but you do need to change your physics game. I’ll share the exact tilt and tip-depth that saved my mornings and finally gave me that silky microfoam. While mastering the art of home espresso tips for beginners is a journey, getting your milk texture right is the ultimate reward.
Stop Wrestling Your Oversized Pitcher
When I first started out, I thought one pitcher could do it all. I was wrong. The physics of steam pressure and liquid volume are a bit unforgiving. When you have a high-powered steam wand, it expects a certain amount of resistance. In a large pitcher with only two or three ounces of milk, that steam has nowhere to go but up and out. I spent weeks cleaning dried milk off my backsplash because I didn’t understand the ’tilt and depth’ trick. Dealing with milk frothers that transform your coffee experience is one thing, but a powerful steam wand on a prosumer machine is a different beast entirely. You have to create an artificial depth by tilting the pitcher at an aggressive 45-degree angle. This gathers the milk into one corner, giving your steam tip enough submerged surface area to actually create a vortex instead of just blowing bubbles. Have you ever ended up with more milk on your counter than in your cup? I’d love to hear your messiest steam wand stories in the comments below!
Is Buying a Smaller Jug Actually Worth the Hype?
You might be wondering if you really need to drop another $30 on a 10oz pitcher when you already have a perfectly good 20oz one. The short answer is that it makes life much easier, but it isn’t strictly mandatory if you master the geometry. According to the Specialty Coffee Association, the precision of milk texture is a cornerstone of specialty beverage standards, and achieving that texture requires hitting a very specific temperature window—usually between 131 and 149 degrees Fahrenheit. In a large pitcher with tiny amounts of milk, you hit that window in a heartbeat. You have maybe five seconds of ‘stretch’ time before you’re at risk of scalding. By using a deeper tilt, you can extend that window and find the reason your milk tastes sweet without adding sugar. It’s all about control. Before you give up and go back to black coffee, remember that even a small tweak in your hand position can prevent you from needing the 2-minute habit that prevents clogged steam wands quite so often due to milk overheating and baking onto the tip. Let’s look at the specific hand movements that will save your next cortado.
To master the small-pour-in-a-large-jug technique, you have to treat the pitcher less like a cup and more like a funnel. When you only have two ounces of liquid in a wide-bottomed 20oz vessel, the milk sits too shallow for the steam tip to submerge properly. This is exactly why the reason your steam wand is making huge bubbles only is usually a depth issue, not a machine flaw. You need to create a ‘false depth’ by tilting the pitcher sharply toward you or to the side. By forcing all that milk into the corner where the wall meets the floor, you suddenly turn a half-inch of liquid into an inch and a half of depth. This gives you the runway you need to submerge the steam tip just enough to start the air injection without it blowing air into the empty stainless steel floor.
Find the Corner Vortex
Once you’ve tilted the pitcher at that 45-degree angle, position the steam tip so it is just slightly off-center in that deep pocket of milk. Think of the steam wand like a jet engine on a boat; if it’s too centered, it just pushes water around, but if it’s angled against the hull, it creates a powerful whirlpool. You want a tight, silent vortex. If you hear a screaming sound, the tip is too deep; if you hear a ripping sound like paper tearing, you are successfully injecting air. Because you have so little milk, you only want to hear that ‘tearing’ sound for about two seconds before you submerge the tip slightly further to let the vortex polish the bubbles into silk.
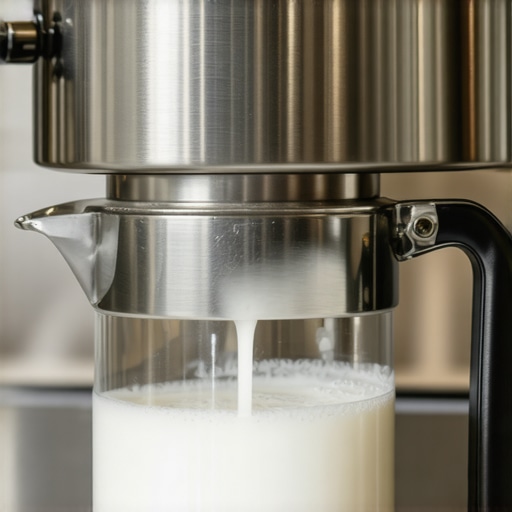
Manage the Heat Before It Runs Away
The biggest challenge with small volumes is how fast the temperature climbs. On top-rated espresso machines for coffee lovers in 2025, the steam pressure is often so high that two ounces of milk will hit 140 degrees in the blink of an eye. I remember trying to steam a tiny splash for a macchiato during a busy morning. I got cocky, didn’t tilt enough, and the steam wand basically ‘punched’ the milk. Within four seconds, the milk was scalding, and half of it was on my shirt. The result was a thin, watery mess that tasted like burnt cardboard. To prevent this, keep your hand on the bottom of the pitcher. The moment it feels too hot to touch comfortably, you’re done. If you struggle with the pressure, check why your steam wand pressure cuts out after 10-seconds or consider partially closing the valve to slow the flow.
Keep Your Tip Submerged After Stretching
After those first two seconds of stretching the milk, the goal is purely integration. Since you’re working with such a small amount of liquid, even a tiny movement of your hand can pull the tip out of the milk and create a massive bubble that ruins the texture. Rest the steam wand against the spout of the pitcher to stabilize your hand. This physical anchor point is essential when choosing the best barista gear for coffee enthusiasts because it allows for micro-adjustments that you simply can’t do while free-handing. If you notice the vortex slowing down, tilt the pitcher just a fraction more to tighten that deep pocket of milk around the tip. This maintains the spin and ensures the foam is incorporated throughout the entire drink, rather than sitting like a dry cap of suds on top of warm milk.
Everyone tells you that a high-end, prosumer machine is the ultimate goal for home coffee, but there is a hidden nuance that catches even seasoned hobbyists off guard: more power is not always better for small drinks. If you have invested in one of the top-rated espresso machines for coffee lovers in 2025, you are likely dealing with 1.5 to 2.0 bars of steam pressure. While this is great for a 12oz latte, it is an absolute nightmare for a 3oz cortado. In a large 20oz pitcher, that high-velocity steam creates a ‘bounce-back’ effect where the air hits the bottom of the jug and reflects upward before it can be integrated into the milk. This is the primary reason why the reason your steam wand is making huge bubbles only is often a matter of physics rather than a lack of skill. You are fighting the machine’s own strength.
The High Pressure Trap You Did Not See Coming
The ‘Oops’ factor that I see most often is the ‘static tip’ mistake. When steaming large volumes, you can often find a sweet spot and hold the pitcher still. With tiny volumes, the milk is moving so fast that you have to actively ‘chase’ the vortex. If you stay static, you create a dead zone on the opposite side of the pitcher where the milk remains un-aerated, leading to a drink that is half-foam and half-watery milk. This is a common frustration when mastering the art of home espresso tips for beginners. Furthermore, research by the Coffee Science Foundation suggests that localized overheating can occur at the point of contact with the steam tip in small volumes, even if the total temperature of the milk seems fine. This results in a ‘cooked’ or sulfurous taste that ruins the delicate sweetness of the espresso. Have you ever fallen into this trap of thinking your machine was too powerful for your favorite small drink? Let me know in the comments!
Does Your Pitcher’s Wall Thickness Actually Change the Taste?
A sophisticated variable that many overlook is thermal mass. A heavy, thick-walled stainless steel jug has a high thermal capacity. When you only put two ounces of milk in a large, cold pitcher, that metal acts as a heat sink, drawing energy away from the milk unevenly. This can actually prevent the milk proteins from denaturing correctly, which is the secret to that glossy, paint-like finish. If you find that your milk looks dull, it might be the vessel, not the wand. This is why choosing the best barista gear for coffee enthusiasts requires thinking about the specific drinks you make most often. If your gear is acting up, you might even need to investigate how to fix a steam wand that only blows out weak air to see if a partial clog is actually helping you by ‘taming’ the pressure for these smaller pours.
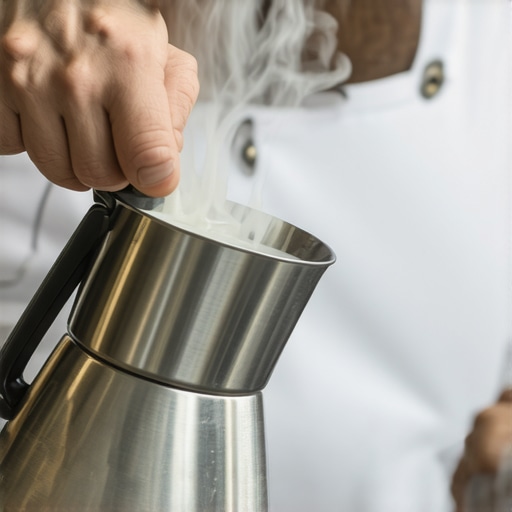
Beyond the hardware, the most advanced nuance is the ‘entry angle’ of the steam. Most beginners are taught to keep the wand at a 12 o’clock or 3 o’clock position. However, with low volumes in a wide jug, I’ve found that a 10 o’clock entry, angled toward the side wall, creates a centrifugal force that keeps the milk from splashing. This is even more critical when you are learning the secret to steaming alternative milks without the bubbles, as oat and almond milks have lower surface tension and will fly out of a large pitcher at the slightest provocation. If you experience a sudden drop in performance, don’t panic; just check why your steam wand loses pressure halfway through frothing to ensure your boiler is keeping up with the aggressive angles required for this technique.
I’ve learned the hard way that no amount of tilting your pitcher will save a drink if your steam tip is half-clogged with calcified milk. It sounds basic, but I see so many home baristas wonder why your steam tip holes keep clogging every single day when the fix is just a three-second purge. When you’re done with that silky microfoam, don’t just walk away. The residual heat in the metal will bake that milk into the tiny holes, turning your steam wand into a glorified toothpick. I personally swear by the ‘wet rag, double purge’ method. If you aren’t doing this, you’ll eventually find yourself asking how to fix a steam wand that only blows out weak air because the internal pathways are narrowing from neglect. This isn’t just about hygiene; it’s about preserving the velocity needed for that corner vortex we discussed earlier.
How Can I Keep My Setup Running Like New for Years?
The secret isn’t just cleaning; it’s preventative monitoring. According to the official La Marzocco Linea Mini technical manual, water hardness is the number one killer of heating elements. They recommend maintaining a total hardness of 90-150 ppm (parts per million) to prevent scale without stripping the flavor-carrying minerals. If you ignore this, you’ll soon need to learn how to tell if your machine boiler is accumulating lime scale before it completely chokes. I check my water every three months using a simple TDS meter. It’s much cheaper than a $500 boiler repair. Beyond water, pay attention to your grinder. If you notice why your grinder burrs are getting hot during a single dose, you might be pushing it too hard or using beans that are too oily for your current setting. Heat is the enemy of consistency, and a hot burr will actually change the particle size mid-grind.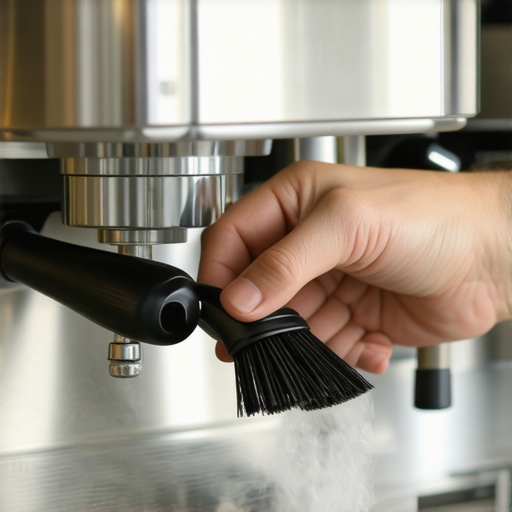
Upgrade Your Control Without Buying a New Machine
You don’t always need to replace your whole unit to get better results. For instance, why you should switch to a lever handle for your steam wand is something I tell every friend who struggles with those annoying twist-knobs. A lever gives you instant on-off precision, which is vital when you’re working with the tiny volumes I mentioned earlier. It allows you to kill the steam the exact millisecond the pitcher gets too hot, rather than frantically spinning a knob while your milk boils over. This level of intentionality is what separates a hobbyist from a home pro. Similarly, keeping an eye on your group head ensures you don’t end up with a mess. If you find why your group head gasket is leaking after just one month, it’s usually because of coffee grit building up and tearing the silicone. If you’re still using the stock grinder that came in a bundle, learning how to select the perfect coffee grinder for your brew is the single biggest move you can make for your palate. Looking ahead, I see the industry moving toward much more granular control over flow rates. In the next few years, I predict that even entry-level top-rated espresso machines for coffee lovers in 2025 will incorporate app-based pressure curves. This will make the ‘physics game’ I described earlier much easier to manage with software presets. For now, though, your best tool is your own muscle memory. Try this today: Next time you purge your steam wand, watch the steam flow carefully. If it looks uneven or ‘split,’ use a thin paperclip to gently clear the holes while the machine is off. It’s a simple act of care that keeps your microfoam game top-tier.
Lessons from a Thousand Splattered Macchiatos
Steaming milk for a tiny drink in a massive jug is a rite of passage for every home barista. Through trial, error, and many stained robes, I’ve discovered a few hard truths that standard manuals skip over.
- The sound is your compass: If your steam wand is screaming, you are too deep. If it’s splashing, you’re too high. You are looking for that specific, rhythmic ‘chirp’ that indicates you are stretching the milk without creating a bubble bath.
- Equipment temperature matters: When you only have two ounces of liquid, use a stone-cold pitcher from the fridge. This buys you an extra three to four seconds of ‘stretch’ time before the milk hits its temperature limit, which is vital for achieving that silky microfoam.
- Vortex over volume: A small amount of milk requires a much tighter spin. Don’t be afraid to tilt the pitcher aggressively to force the milk into a narrow pocket where the steam can actually grab it.
The Toolkit That Tamed My Steam Wand
While technique is the foundation, having the right setup makes the learning curve much less steep. When choosing the best barista gear for coffee enthusiasts, I always recommend having at least two pitcher sizes. However, if you’re stuck with one, focus on the details. I personally rely on a precision-tip steam wand and a high-accuracy thermometer until the hand-feel becomes second nature. For those days when you just want a quick froth without firing up the boiler, exploring milk frothers that transform your coffee experience can be a great low-stakes alternative. And remember, no amount of milk skill can save a shot if the beans aren’t right; knowing how to select the perfect coffee grinder for your brew is the secret first step to every great latte.
#IMAGE_PLACEHOLDER_E#
Go Make Your Best Cortado Yet
The beauty of home espresso is that you have the time to experiment and find what works for your specific machine and your specific palate. Don’t be discouraged by a few soapy-looking lattes or a messy counter. Every time you adjust your tilt or refine your ‘chirp,’ you’re building the muscle memory that separates a novice from a pro. Grab your pitcher, find that 45-degree angle, and start spinning. Your journey in mastering the art of home espresso tips for beginners is just getting started, and the perfect microfoam is well within your reach. Have you ever accidentally turned your kitchen into a bubble bath with a powerful steam wand? Let me know your funniest steam wand disaster stories in the comments below!