Why Your Espresso Is Flowing Out of Only One Spout
I stood there, steam wand hissing, watching my portafilter do something truly annoying. One spout was gushing like a mountain spring, while the other sat there, stubbornly dry. I’ve been obsessed with high-quality barista gear for a decade, and yet, here I was, feeling like a total amateur. My first instinct was to shake the machine, but I’ve learned the hard way that brute force leads to leaking steam and expensive repair bills. Today, we’re going to diagnose exactly why your espresso is playing favorites and how you can get that perfect, symmetrical stream back into your cup.
Stop Blaming Your Machine for the Lopsided Pour
When I first started mastering the art of home espresso, I made the classic mistake of thinking my kitchen counter was perfectly level. It wasn’t. Even a tiny tilt can send all that delicious coffee down one side of the spout. I spent weeks trying to fix my coffee grinder settings when the real culprit was a slightly warped cutting board under the machine. It’s embarrassing, sure, but these little details are what separate a mediocre morning from a wow morning. Beyond the level of your counter, we need to talk about preventing channelling. If your coffee isn’t distributed evenly in the basket, the water will find a shortcut, leaving one spout high and dry. This often happens if your coffee grounds are clumping like little rocks in your basket. I remember one morning where I got so frustrated I actually took a spirit level to my machine. It turned out that a stray coffee bean had lodged itself under one of the back feet! One tiny bean was enough to throw the whole balance off. Have you ever noticed your espresso consistently favoring one side of the cup lately?
Does it really matter if the spouts don’t match?
You might wonder if this is just coffee-snob pedantry. If you’re using a single cup, does it matter if the left side fills faster? Surprisingly, yes. According to research from the Specialty Coffee Association (SCA), water follows the path of least resistance through the coffee bed. If your espresso shot is coming out of only one spout, it usually indicates an uneven extraction. This means you’re likely getting bitter notes from the over-saturated side of the puck and sour notes from the drier side, resulting in a muddy flavor profile. If you’ve ever felt like your espresso tastes like vinegar despite buying the best beans, your one-spout problem might be the smoking gun. We aren’t just chasing aesthetics here; we’re chasing the sweet, balanced shot you deserve. Before we dive into the mechanical fixes, let’s look at how you’re prepping your portafilter and whether you’re using top-rated espresso machines or a manual lever setup. Using quality milk frothers is great for the final drink, but the heart of the issue starts with the flow.
Check the Tilt of Your Counter First
To get those spouts flowing in harmony, you have to treat your espresso machine like a high-precision instrument. If the machine is even two degrees off-center, gravity wins every time. I remember a particularly frustrating Sunday where I almost threw my portafilter across the kitchen because the left spout was bone dry. I finally grabbed a spirit level and realized my “flat” granite counter had a subtle dip.
The Simple Cardboard Shim Trick
Instead of buying a new table, I used the simple cardboard trick to level things out. I folded a small piece of a cereal box and slid it under the front-left foot of the machine. It sounds DIY, but that tiny lift was enough to bring the flow back to the center. It’s a low-tech solution for a high-tech problem. 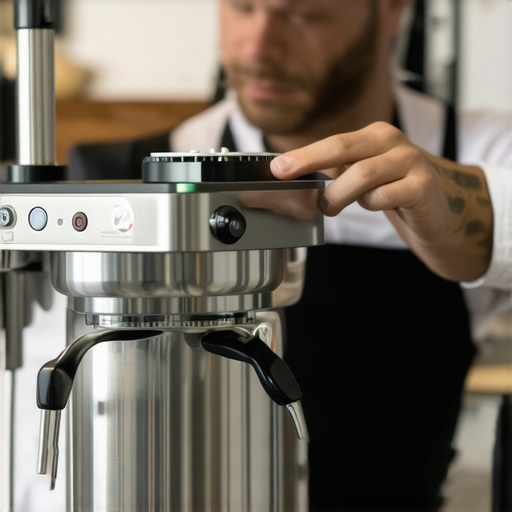
Your Grinder Might Be Throwing Curves
Even with high-quality barista gear, your dose can be sabotaged before it even hits the basket. If your coffee grounds are clumping together, they create dense “islands” in your portafilter. Water is lazy; it will flow around these rocks, causing an uneven exit through the spouts.
Break Up the Clumps with Intention
I used to just shake the portafilter and hope for the best, but that never worked. Now, I use a WDT tool—basically a few thin needles—to stir the grounds. If you notice your coffee grinder is producing more boulders than dust, it might be time to clean your grinder’s discharge chute. A clear path ensures the grounds land softly and evenly, which is the first step in preventing channelling.
Tamping Without the Constant Wrist Pain
Your tamping technique is the final gatekeeper. If you push down at even a slight angle, you’re compressing one side of the puck more than the other. This creates a literal wall that the water cannot easily penetrate. I struggled with this for months until I adjusted the best angle for tamping to avoid wrist strain. By keeping your elbow high and using your palm to feel the rim of the basket, you ensure the puck is as flat as a frozen lake.
Is Your Basket Too Big for Your Dose?
Sometimes the hardware itself is the issue. If you’re putting 14 grams of coffee into a 22-gram basket, the water has too much room to dance around. You need to know how to tell if your basket is too large for your dose. A massive headspace between the coffee and the group head shower screen allows the water to hit the puck with too much turbulence, often blowing a hole in one side and causing that frustrating lopsided pour. Even the most top-rated espresso machines can’t compensate for a poorly sized basket.While tamping technique is a huge factor in balanced flow, I’ve found that even the most expensive high-quality barista gear won’t save you from a neglected group head. Most guides suggest that you should just ‘grind finer’ as a cure-all for thin shots, but I’m going to challenge that common belief: your machine’s internal maintenance is likely the real culprit for that frustrating lopsided pour. If your group head shower screen is getting clogged with old oils and fine particles, water will naturally find the path of least resistance. This mimics the appearance of a bad tamp or poor distribution, leading to what I call ‘phantom channeling.’ According to standards from the Specialty Coffee Association (SCA), water dispersion must be perfectly uniform to ensure even solubility across the entire puck surface. If three or four holes on one side of your screen are blocked, no amount of expensive WDT tools or precision baskets will fix your extraction. 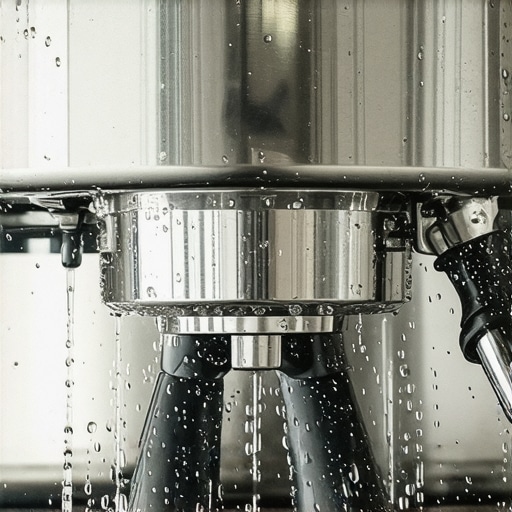
Is your shower screen secretly sabotaging the shot?
To diagnose this properly, run the machine for a few seconds without the portafilter engaged and watch the water flow. If it doesn’t look like a gentle, even rain and instead comes out in heavy jets or favors one side, you have a mechanical bias. Sometimes the fix is as simple as the trick to removing a stuck shower screen and giving it a deep backflush or an ultrasonic soak. I’ve seen countless cases where home baristas thought they needed to upgrade their hardware, when the real move for better espresso without buying a new machine was just a five-dollar replacement screen and a bit of elbow grease. Another nuance that even advanced users miss is the ‘descaling trap.’ We are constantly told to descale regularly to protect our boilers, but if you don’t flush the system with extreme aggression afterward, you’ll encounter the reason your espresso tastes metallic after descaling. It’s a classic ‘oops’ moment where your effort to keep things pristine actually introduces harsh chemical flavors into your morning cup. This same logic of ‘blockage equals bias’ applies to your milk prep too. If you are struggling with why your milk frother won’t spin or why your steam wand loses pressure halfway through, it is almost always a tiny physical obstruction or a residue buildup rather than a total pump failure. Even the most top-rated espresso machines are more sensitive to these small maintenance lapses, not less. We have to stop treating these tools like magic black boxes and start respecting the fluid dynamics at play. Have you ever fallen into this trap where you blamed your skills for weeks only to find a dirty machine was the problem? Let me know in the comments.
Silence the Rattle and Save Your Counters
It’s one thing to have a lopsided pour; it’s another when your machine starts physically wandering across the granite. I once owned a vibratory pump machine that was so loud and shaky, it would practically migrate six inches to the left every morning. If you find yourself chasing your setup, you need to learn how to stop your espresso machines feet from vibration walking. Not only is the noise annoying, but that constant movement can slowly loosen internal copper fittings, leading to those dreaded internal leaks. I’ve found that high-density rubber pads are the unsung heroes of the home bar, absorbing that kinetic energy before it rattles your coffee grinder off the edge.
Invest in the Maintenance Kit You’ll Actually Use
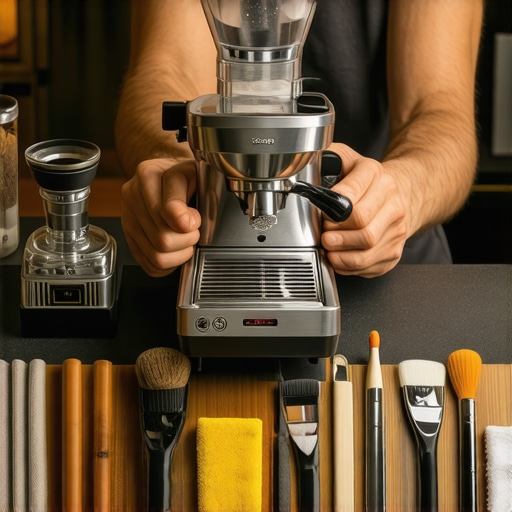
We all love buying high-quality barista gear like precision baskets and wood-handled tampers, but the most important tool in my drawer is actually a tube of food-grade Molykote 111. If you own an E61 group head, you absolutely must know how to properly lubricate your e61 group head cam. Without it, the lever will start to feel crunchy, and you’ll eventually grind down the brass components. I also keep a set of pipe cleaners specifically for the exit path of my beans. If the reason your grinder adjustment ring feels gritty or stuck is a buildup of old, rancid oils, a quick scrub is the only way to restore that smooth, tactile click we all crave. 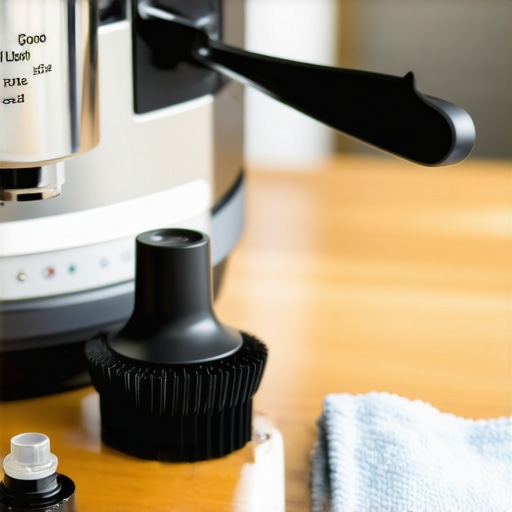
How can I keep my gear running for a decade?
The secret isn’t just cleaning; it’s scheduled inspection. Most manufacturers, like La Marzocco in their official home maintenance documentation, recommend a full gasket and screen replacement every six to nine months, regardless of how much coffee you brew. Rubber perishes over time with heat cycles. I personally set a calendar reminder to how to check your espresso machines group head flow rate every month. If my milliliters-per-second start to dip, I know there’s scale building up or a pump starting to fail. As we look toward the future, I predict we’ll see more top-rated espresso machines integrating smart sensors that can detect scale levels before they become a terminal issue. For now, we have to be the sensors. Don’t wait for a breakdown to start mastering the art of home espresso maintenance. Try this tonight: pull your shower screen off and see what’s hiding behind it. If it’s black and oily, your coffee is tasting like charcoal, and you didn’t even know it. Using the best way to clean a grinder without taking it apart will also save your motor from unnecessary strain on those darker, oilier roasts. Use the right tools now, and your machine will still be pulling sweet shots long after the next trend has come and gone.
Lessons I Learned While Chasing the Perfect Parallel Stream
After years of tinkering, I’ve realized that a lopsided pour is rarely about the spouts themselves; it’s a symptom of what’s happening deep inside the puck. I learned that your ears are just as important as your eyes—listen for that ‘sneezing’ sound which indicates bottomless portafilter channeling. I also discovered that ‘perfectly level’ isn’t just about the machine, but the way your body aligns during the tamp. If you’re consistently off-center, no amount of high-quality barista gear will compensate for a crooked wrist.
My Go-To Kit for a Flawless Daily Routine
To keep everything running smoothly, I rely on a few non-negotiables. First, a reliable coffee grinder with consistent burr alignment prevents those micro-clumps that ruin your extraction. I also keep a digital level nearby; it’s a small step that saves hours of frustration. For those working with milk, knowing how to fix a milk frother that won’t spin is a skill that saves your morning when technology decides to be stubborn. Finally, I always have a spare group head gasket on hand because rubber inevitably fails when you least expect it.
Your Path to Barista-Level Mastery Starts Now
The journey toward mastering the art of home espresso is filled with tiny, rewarding discoveries. Every time you fix a lopsided stream or successfully troubleshoot a top-rated espresso machine, you’re building a deeper connection with your craft. Don’t let a single-sided pour discourage you—treat it as a puzzle to be solved. With the right maintenance and a bit of patience, your coffee will taste just as good as it looks. #IMAGE_PLACEHOLDER_E# Have you ever found a weird ‘hidden’ culprit like a stray bean under your machine’s foot? Let me know in the comments below!