How to Measure Your Espresso Yield Without a Scale in an Emergency
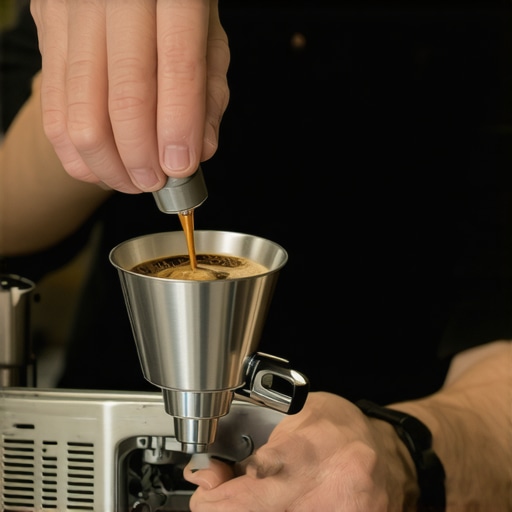
I was standing in my kitchen last Sunday, portafilter locked, pump humming, when I looked down at my scale and saw the dreaded ‘Lo’ blinking. Panic set in. My guests were waiting, and my backup batteries were hiding somewhere in the deep, dark corners of the junk drawer. I had to pull the shot by feel, and let’s just say it was a disaster—salty, thin, and altogether disappointing. I’ve spent years mastering the art of home espresso, but without that digital crutch, I felt like a total amateur again. It reminded me of the time I first started and realized my scale didn’t even fit under my portafilter properly, yet I persisted anyway. We’ve all been there, right? That moment when your essential barista gear fails right when you need it most. [image] Today, we are going to fix that. I’m going to show you exactly how to calibrate your eyes and ears to get a decent yield even when the electronics quit. You don’t need a fancy lab to get a drinkable shot; you just need to understand the relationship between time and volume.
Forget the Digital Crutch and Use Your Senses Instead
I remember one particularly embarrassing morning when I tried to eye-ball a double shot for my father-in-law. I was so confident I didn’t need the scale. I stopped the flow when I thought the crema looked thick enough, but because the beans were a bit older, the volume was way off. It tasted like a battery. That experience taught me that while we love our tech, we need a backup plan. This approach is actually a great move for better espresso without buying a new machine because it forces you to actually look at what’s happening in the cup. According to the Specialty Coffee Association, while weight is the gold standard, understanding the volumetric flow is a foundational skill for any professional barista.
Can we really trust our eyes when the scale dies?
It’s a valid fear. Crema is tricky and can vary based on bean freshness, making a shot look larger than it actually is. However, by using a clear shot glass with ounce markings—or even just a standard shot glass which typically holds 1.5 to 2 ounces—you can get surprisingly close to your target. Have you ever had your scale die mid-shot? Tell me your horror stories in the comments! Let’s dive into the visual cues that will save your morning brew.
Lock in Your Dose Without the Digital Readout
The biggest hurdle when your scale quits is maintaining a consistent dose. Think of your basket like a measuring cup; it has a set capacity. Even without a scale, you can achieve a repeatable dose by filling the basket to the brim and leveling it off with a straight edge. I remember a frantic Tuesday morning when I had to prep five lattes for a carpool group. My scale was dead, and I was panicking. I decided to fill my portafilter until it was slightly mounded, then used the back of a knife to sweep away the excess. By ensuring the grounds were perfectly flush with the rim every single time, I eliminated the guesswork. This is where how to select the perfect coffee grinder for your brew becomes critical; a consistent grind size makes this volume-based dosing much more reliable.
Watch for the Visual Tipping Point
Once the water hits the puck, you need to stop acting like a mathematician and start acting like a hawk. You are looking for ‘blonding.’ This is the moment the espresso stream shifts from a rich, dark syrup—like melted chocolate—to a thin, watery yellow. This color change signals that the tasty oils have been extracted and you’re starting to pull bitter, over-extracted water. 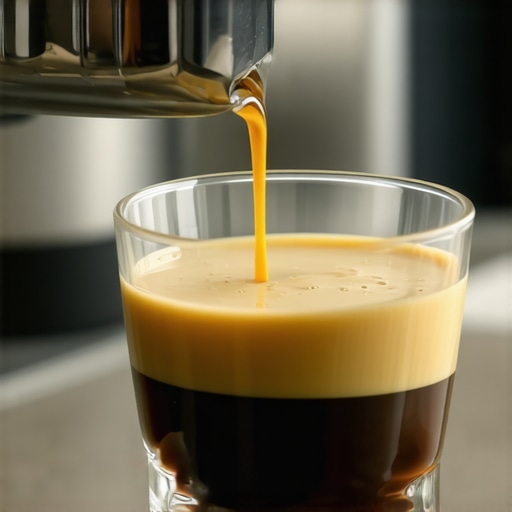 If you let it go too long, you’ll end up with a cup that tastes like ash. This is often why your espresso shot is blonde from the very start if your grind is too coarse, so pay close attention to that initial drip. On that same carpool morning, I noticed the stream thinning out around the 25-second mark. I cut the pump right as the crema turned pale, and the shots were surprisingly sweet.
Use Time as Your Hidden Yardstick
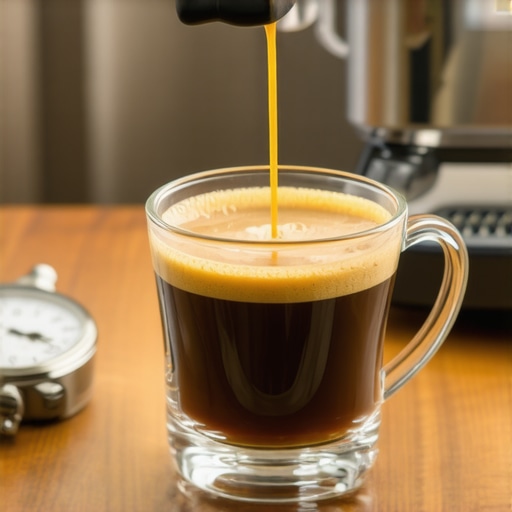
While we can’t weigh the output, we can still track the duration. Most top-rated espresso machines for coffee lovers in 2025 have built-in timers, but even a wall clock or a mental count of ‘one-mississippi’ works. Aim for that 25 to 30-second window. If your shot fills the cup in 10 seconds, it’s a sign you need to adjust your how to stop your portafilter from sneezing coffee grounds by refining your puck prep. Treat the time as a speed limit; if you’re going too fast, you’re missing the flavor. On my the secret to getting consistent shots on a dual boiler, I’ve found that even without a scale, a 28-second pull consistently delivers a balanced body. It’s like baking bread without a timer; eventually, you just know by the smell and the crust color when it’s done. You are training your brain to recognize the ‘rhythm’ of a good extraction.
Master the Volume by Sight
If you usually pull a 36g shot, that roughly translates to 1.25 to 1.5 fluid ounces including the crema. Grab a standard shot glass from your cabinet—most have a line or a natural taper at the one-ounce mark. Use this as your visual anchor. I once calibrated my eyes by weighing a shot into my favorite glass and then etching a tiny, invisible scratch on the outside with a diamond file at the fill line. Now, when I’m ‘flying blind’ without my electronics, I just pull the shot until it hits that scratch. It’s an analog solution to a digital problem that ensures my yield is never so high that it washes out the intensity of the bean.
Stop Obsessing Over Recent Roast Dates
Most beginners think that the fresher the bean, the better the shot. In my experience, that’s one of the biggest myths in the specialty coffee community. If you pull a shot from beans roasted yesterday, you’re essentially fighting a volcano of CO2. This gas creates a massive, unstable crema that masks the actual flavor profile, often leading to a cup where the reason your espresso tastes like vinegar isn’t the brew temperature, but the sheer lack of degassing. For the best results, especially when you’re flying blind without a scale, let your beans rest for at least seven to ten days. This stability makes the visual cues we discussed—like the blonding point—far more predictable and the extraction much sweeter.
The Hidden Trap of Puck Vacuuming
The biggest ‘oops’ factor I see with advanced home baristas involves the tamper. I’ve seen enthusiasts buy high-end gear only to struggle because they don’t know how to stop your tamper from vacuum sealing the coffee puck when they lift it. That tiny suction can micro-lift the edges of the puck, creating invisible channels where water rushes through, bypassing the coffee entirely. You might notice why your espresso shot is coming out of only one spout or looks watery on one side; that’s often a prep error, not a machine failure. This is why a slow, twisting release of the tamper is a more professional move than a straight pull.
Why Does Your Flow Rate Speed Up Suddenly?
 This is the classic ‘gush.’ You start with a beautiful, syrupy flow, and then halfway through, it turns into a thin torrent. This usually happens because of internal channeling. A study by the UC Davis Coffee Center highlighted how uneven particle distribution leads to ‘pathways of least resistance.’ If you see why your coffee grounds are clumping like little rocks, you need to break those clumps up with a WDT tool before tamping. Otherwise, the high-pressure water will find those gaps, and your pressure will tank, explaining why your espresso pressure drops suddenly during the shot. Have you ever fallen into this trap of blaming your pump when it was actually just your prep? Let me know in the comments!
Fix Your Grind Before Blaming Your Machine
Even if you’ve mastered the secret to pulling sweet shots from very dark roasts, a poor grind distribution will ruin the most expensive beans. Many people buy a thousand-dollar machine and pair it with a subpar grinder, but that’s backwards. Your focus should always be on how to select the perfect coffee grinder for your brew to ensure you aren’t fighting a losing battle against physics every morning. When the scale is dead, the grinder is your only true ally in maintaining consistency.
Once you’ve mastered the art of pulling a shot by sight, you realize that your gear is only as good as your last maintenance session. I used to be lazy about cleaning, thinking a quick wipe-down was enough, but that’s a recipe for a metallic-tasting disaster. I’ve learned the hard way that learning how to tell if your machine boiler is accumulating lime scale is usually the first step toward preventing a total pump failure. Scale is the silent killer of the home barista world, and if you live in an area with hard water, you are essentially brewing with a ticking time bomb. I make it a point to use the best way to descale a boiler without using harsh vinegar every three months to keep the internals pristine. This isn’t just about longevity; it’s about flavor. Old scale buildup can make even the most expensive beans taste like they were brewed in a rusty pipe.
Keep Your Grinder Sharp Without Resetting Everything
Your grinder is the heart of your setup, yet it’s often the most neglected. I used to dread cleaning my burrs because I didn’t want to lose my carefully dialed-in settings. However, finding the best way to clean a grinder without losing your settings changed the game for me. I now use a specialized vacuum attachment and a stiff brush once a week to prevent oil rancidity. If you let coffee oils sit on those burrs, they go stale and pass that ‘off’ flavor to every subsequent shot. This is especially true if you enjoy darker roasts, as they are oilier and more prone to gunking up the works. I predict that in the next few years, we’ll see more grinders with ‘smart maintenance’ sensors that can detect burr wear and oil buildup automatically, but for now, your hands are the best tools you have.
How do I keep my espresso gear running like new for years?
The secret is consistency in your small habits. I’ve noticed that why your group head shower screen is getting clogged so fast is usually due to skipping the post-shot purge. Always run a two-second blast of water after you pull your shot to clear out stray grounds. Furthermore, don’t forget your milk setup. If you use an automatic frother, knowing how to fix a milk frother that wont spin often comes down to just cleaning the tiny magnetic whisk properly. For your machine’s water source, I strongly recommend how to clean a moldy water tank without harsh chemicals by using a simple citric acid solution to ensure no biofilm develops. According to the technical maintenance manuals from La Marzocco, replacing your group head gasket every six months is the single most effective way to prevent pressure leaks. It’s a five-dollar part that saves you from a hundred-dollar headache. When choosing the best barista gear for coffee enthusiasts, always look for machines that have easily accessible parts. I want you to try one thing this weekend: pull your shower screen and soak it in a specialized espresso cleaner. You’ll be shocked at how much better your Monday morning latte tastes.
Hard Truths I Learned While My Batteries Were Dead
One of the biggest ‘aha’ moments in my coffee journey wasn’t when I bought a fancy scale, but when I was forced to stop using one. I realized that the sound of the pump actually changes pitch—getting deeper and more labored—right as the puck reaches full saturation. This sensory feedback is actually a more effective move for better espresso without buying a new machine than staring at numbers. Another lesson? Your puck prep needs to be twice as good when you’re flying blind. If you haven’t figured out how to select the perfect coffee grinder for your brew, your visual cues will lie to you because the flow will be erratic. Consistency is the only way to make the ‘eyeball method’ work.
The Analog Toolkit Every Barista Needs
When I’m not relying on electronics, I turn to a few reliable physical tools. First, I always keep a set of etched shot glasses handy; they provide a physical volume limit that doesn’t require a battery. Second, I highly recommend ‘The World Atlas of Coffee’ by James Hoffmann for understanding the ‘why’ behind bean density. Lastly, when choosing the best barista gear for coffee enthusiasts, I now prioritize tactile feedback over digital displays. Even on the top-rated espresso machines for coffee lovers in 2025, having a manual pressure gauge is a lifesaver when your other sensors go dark.
Trust Your Gut Over Your Gadgets
At the end of the day, espresso is as much an art as it is a science. While we love our precision, don’t let a dead battery or a glitchy sensor stand between you and a great morning. Start practicing one shot a day without your scale to build that ‘muscle memory.’ You’ll find that mastering the art of home espresso is much more rewarding when you can feel the rhythm of the extraction yourself. If you’re also working on your milk game, checking out milk frothers that transform your coffee experience can help you focus on texture while your eyes are busy with the espresso flow. What’s the weirdest hack you’ve used to save a shot when your gear failed? Let me know in the comments below!