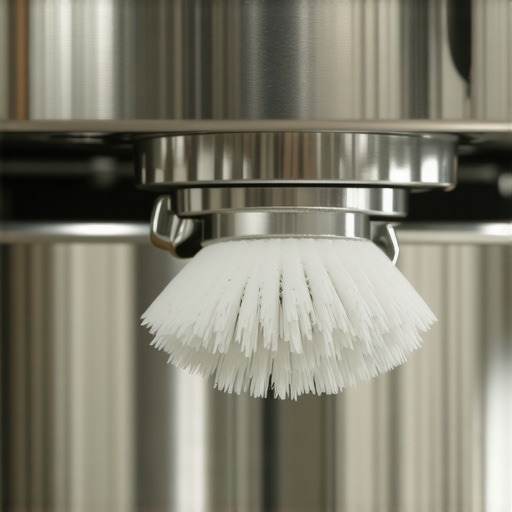
How to Clean the Inside of Your Steam Wand Pipe
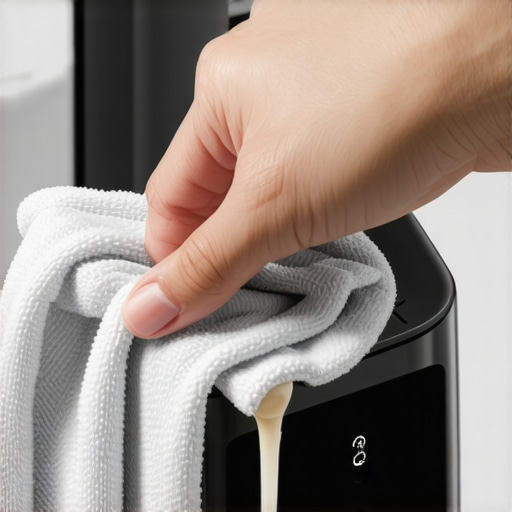
I stood there, kitchen towel in hand, staring at my beautiful espresso machine with a sense of dread. I had just finished frothing what should have been a velvety microfoam, but instead of the sweet aroma of toasted milk, I caught a distinct, sour whiff of a middle school locker room. I had been wiping the exterior of that wand religiously after every single drink. I thought I was doing everything right. But the truth is, I was making the classic beginner mistake of ignoring the dark, damp interior where milk proteins go to die—and rot. It’s one of those things you don’t think about until your morning latte starts tasting like a science experiment. Today, I am going to show you exactly how to tackle the gunk living inside that pipe so you can get back to the high-quality caffeine hits you deserve.
Stop the Hidden Grime from Ruining Your Morning
If you have noticed that your steam wand tips keep getting blocked by milk residue, then you are already halfway to a hygiene crisis. I used to think a quick three-second blast of steam was enough. I was wrong. Early on, I actually tried to ‘fix’ a slow wand by poking a safety pin into the holes. All I did was shove a hardened plug of old milk further up the pipe, making the problem ten times worse. You see, when you turn off the steam, a tiny bit of milk is often sucked back into the wand due to the vacuum effect. If you don’t deep clean that interior, you’re literally steaming through a layer of old, cooked bacteria. Beyond the taste, the health implications are real; research published by the National Science Foundation highlights that moist kitchen environments are primary hubs for coliform bacteria, and a warm steam wand is essentially a five-star hotel for microbes. We are going to ensure your top-rated espresso machine stays a sanctuary for flavor, not a petri dish.
Is taking my steam wand apart actually going to break my machine?
I get it—the fear of unscrewing something and never getting it back together is real. I’ve been there, holding a wrench and wondering if I was about to turn my expensive setup into a very heavy paperweight. But trust me, your steam wand is much sturdier than you think. Most modern wands are designed to be serviced. Learning how to safely disassemble the tip and soak the interior pipe is a fundamental part of mastering the art of home espresso. You don’t need a degree in mechanical engineering; you just need a little patience and the right soak. Have you ever noticed a weird smell when you purge your wand, or are you just realizing now that you might have a ‘milk monster’ living in your pipes? [image placeholder] Before we dive into the tools, remember that the best way to purge your steam wand without getting burned is always the first step in any maintenance routine. Let’s get that pipe sparkling again.
Ditch the Surface Wipe for a Deep Soak
Most people treat their steam wand like a kitchen counter—they wipe the top and think the job is done. But the inside of that pipe is like a slow-moving traffic jam where the cars are made of protein and fat. To clear the path, you need to start with a chemical soak. I learned this the hard way during my second year of home brewing when I realized why your espresso machine steam is wet and spluttery: it wasn’t the boiler, it was a literal wall of gunk narrowing the exit. Fill a pitcher with hot water and a dedicated milk system cleaner. These cleaners are designed to break down organic fats that regular soap won’t touch. Submerge the wand and let it sit for at least 20 minutes. If you are using one of the milk frothers that transform your coffee experience, this soak is even more critical because their internal sensors can get confused by a layer of insulation made of old milk.
Pop the Tip Off Without Damaging the Metal
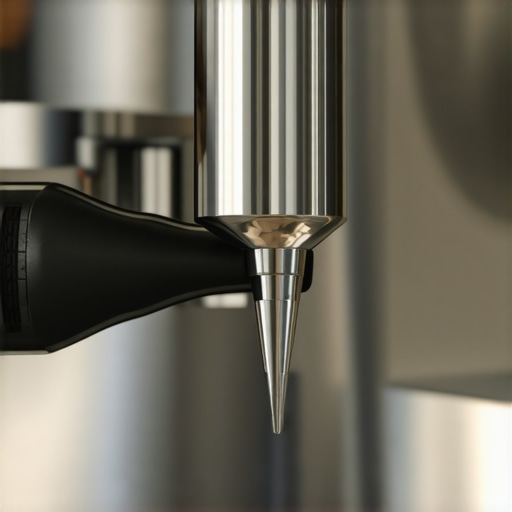
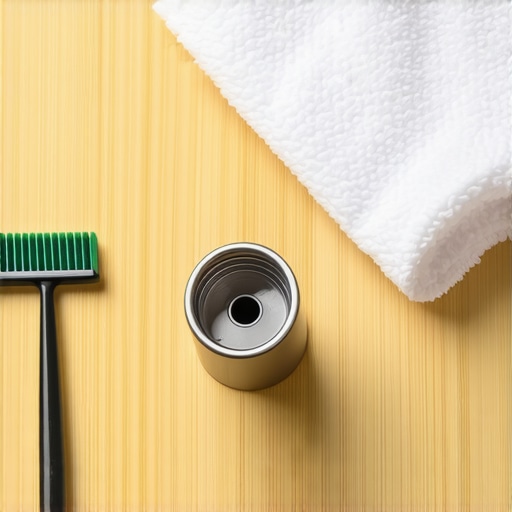
Once the soak has softened the milk monster, it is time for surgery. Most tips unscrew counter-clockwise. I once used a pair of pliers without padding and scarred the chrome on my first machine—don’t be like me. Use a thick microfiber cloth to grip the tip, or a specialized wrench if your manufacturer provided one. When that tip comes off, you might see a black or brown film. That is not coffee; it is carbonized milk. This is the stage where choosing the best barista gear for coffee enthusiasts pays off, as high-quality wands usually have smoother internal bores that are easier to scrub. 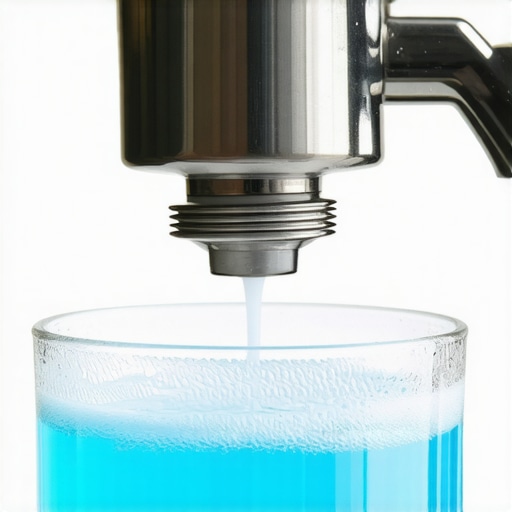
Scrub the Pipe Like a Pro
This is the part everyone skips because it is gross. You need a small, flexible pipe brush. Think of it like a tiny chimney sweep for your latte. I remember the first time I pushed a brush up into the wand after months of neglect. I expected a little gray water, but instead, a solid, rubbery plug of old milk popped out. It was satisfying and horrifying all at once. Insert the brush and move it vigorously. This mechanical agitation is the only way to ensure the walls of the pipe are actually smooth again. This technique is actually very similar to how to clean your grinders discharge chute with a pipe cleaner; you are removing the buildup that creates friction and ruins the flow.
Flush the System to Avoid a Chemical Aftertaste
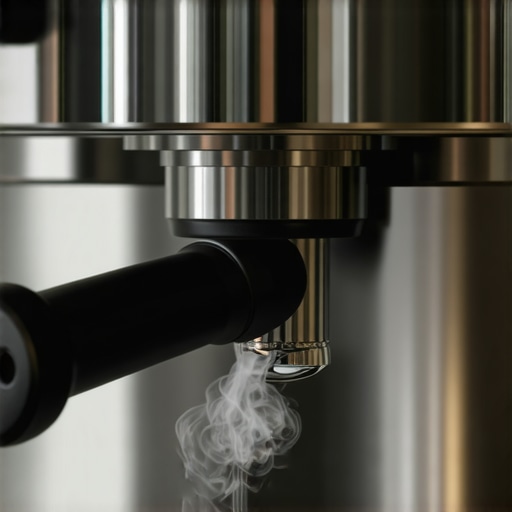
After the scrub, you aren’t done. You have to purge like your life depends on it. If you don’t, your next latte will taste like a swimming pool. Reattach the tip—finger tight only, as heat will cause the metal to expand and lock it in place later—and run the steam for a full 30 seconds. This clears out the loosened debris and the cleaning agent. If you notice why your steam wand pressure cuts out after 10 seconds, it might be because some of that loosened gunk has moved down and is now blocking the tip holes. Just remove the tip again, rinse it under a tap, and repeat the purge. You want to see a clear, powerful jet of dry steam, not a sputtering mess.
Why Your ‘Clean’ Wand is Still Tainting the Milk
Most home baristas believe that if the exterior of the wand looks shiny, the job is done. This is a dangerous myth. In my years of mastering the art of home espresso, I have discovered that the most persistent issues aren’t on the surface, but in the molecular bond between milk and metal. Many guides suggest that a quick purge is all you need, but they ignore the physics of protein denaturation. According to research published in the Journal of Dairy Science, milk proteins like beta-lactoglobulin form a complex ‘fouling layer’ on stainless steel as soon as they hit critical temperatures. This layer acts like a magnet for more buildup, and eventually, it can be the reason your espresso shot smells like sulfur even if your beans are fresh.
Is your boiler temperature actually working against you?
Here is a nuance many people miss: if your boiler is set too high to get ‘drier’ steam, you might be scorched-earth cleaning your wand. Excessive heat instantly bakes the milk residue into a carbonized shell inside the tip. If you notice why your steam wand loses pressure halfway through frothing, it might not be a mechanical failure of the machine, but rather the internal diameter of the pipe shrinking due to this ‘milk stone.’ When you are choosing the best barista gear for coffee enthusiasts, look for ‘no-burn’ wands which use a Teflon insert to keep the outer pipe cooler, but remember—these require even more careful internal cleaning because the gap between the insert and the metal is a prime breeding ground for bacteria.
Stop blaming your beans for that bitter aftertaste
A common ‘trap’ I see is the obsession with grinder settings when the milk tastes off. I have seen people spend hours learning how to select the perfect coffee grinder for your brew, only to ruin the final cup with a wand that has not been deep-cleaned in a month. They think the bitterness is ‘over-extraction,’ but it is actually the taste of old, rancid milk fats being re-steamed into their fresh jug. This is why even the top-rated espresso machines can produce mediocre results in the wrong hands. Don’t fall into the trap of thinking a more expensive machine is ‘self-cleaning’—it is not. The more powerful the steam, the deeper the gunk can be pushed into the system if you are not diligent. Have you ever fallen into this trap of ignoring the internals because the outside looked clean? Let me know in the comments below!
Stop Settling for Weak Steam and Cloudy Lattes
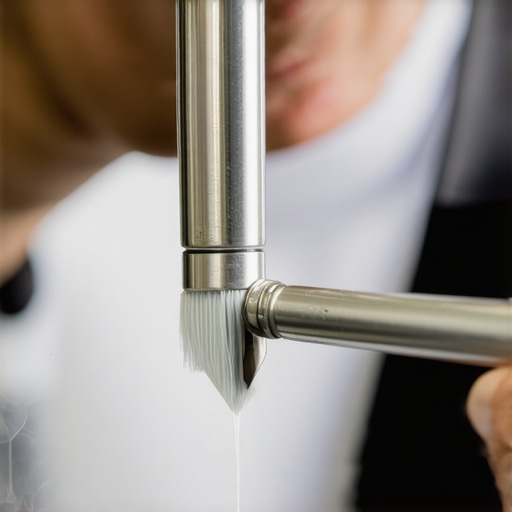
Once you realize that a simple damp cloth isn’t the hero you thought it was, it’s time to upgrade your arsenal. I spent years thinking my machine was just ‘getting old’ because the steam felt sluggish. In reality, I was suffering from internal constriction. To get back that factory-pressurized punch, I personally recommend a dedicated set of nylon-bristle pipe brushes. Unlike the flimsy craft cleaners you might find in a hobby shop, professional barista brushes are stiff enough to scrape away the ‘milk stone’ without shedding bristles into your valve. If you are struggling with how to fix a steam wand that only blows out weak air, the answer is usually found in this mechanical deep-scrub. I keep a 3mm brush specifically for the tip and a longer 6mm brush for the main pipe. This isn’t just about flow; it’s about flavor. When the internal path is clear, your steam is drier and your microfoam becomes significantly more stable.
How do I maintain my steam system for the long haul?
Consistency is the secret sauce here. You don’t need a full teardown every day, but a weekly alkaline soak is non-negotiable. I use a professional-grade milk acid cleaner because it targets the fats that standard dish soap ignores. For those using standalone gadgets, knowing how to fix a milk frother that wont spin often comes down to this same protein buildup around the whisk’s drive shaft. Beyond the chemicals, you should be checking your steam tip holes for perfectly round exits. If they look oval or jagged, you’ve got scale or milk residue acting as a literal dam. As noted in the La Marzocco Technical Bulletin for Linea Series, even a 0.5mm reduction in the tip aperture can result in a 20% loss of steaming efficiency. This is also why choosing the best barista gear for coffee enthusiasts means looking for stainless steel components over chrome-plated copper, as they resist this ‘fouling layer’ much better over time.
The Future of Smart Steam Technology
We are currently entering an era where manual cleaning might become a thing of the past. I am already seeing high-end commercial machines integrating AI-driven ‘active purging’ cycles that use ultrasonic vibrations to prevent milk from ever sticking to the internal bore. In the next five years, expect this tech to trickle down into the top-rated espresso machines for home use. Until then, we have to rely on manual diligence. Using a specialized tool is very similar to the process of how to clean your grinders discharge chute with a pipe cleaner; it is about removing the friction that ruins your output. If you ignore the internals, you’ll eventually need to learn how to tell if your machine boiler is accumulating lime scale, because a clogged wand forces back-pressure that can damage your heating elements. Don’t let a $5 brush stand between you and a perfect latte. I challenge you to perform an overnight soak with a dedicated milk cleaner this weekend—you will be shocked at the gray residue that flushes out on Monday morning.
3 Myths About Steam Wand Hygiene That Ruined My Lattes
One of the biggest eye-openers for me was realizing that the ‘purge’ we all do is mostly performative if the internal proteins have already bonded to the metal. I used to think that because I saw steam, the path was clear. But just like how to fix a milk frother that wont spin, the problem is often a microscopic layer of friction preventing proper movement or, in this case, flow. I also learned that if your wand smells slightly sweet when dry, that isn’t a good sign; it is actually the early stage of milk sugars fermenting inside the tip. Finally, don’t assume your water filter protects you here; while it handles minerals, it does nothing for the fats that create a ‘milk stone’ barrier. Realizing this changed how I approached mastering the art of home espresso entirely.
[image placeholder]
The Gear I Actually Use to Fight the Milk Monster
If you want to keep your top-rated espresso machine running like a dream, you need three specific things in your cleaning kit. First, an alkaline milk cleaner; it is the only substance that effectively detaches carbonized milk from the pipe walls without damaging the steel. Second, a dedicated set of nylon pipe brushes in multiple diameters. I have found that using a single size often misses the corners where the tip meets the wand. Third, a high-quality microfiber cloth dedicated solely to the wand to prevent cross-contamination from other barista gear. These tools are the difference between a mediocre morning and a cafe-quality experience.
Start Your Journey to Better Microfoam Today
Maintenance might feel like a chore, but it is actually the fastest way to improve your milk-steaming skills. When you know how to fix a steam wand that only blows out weak air, you gain a level of control over your equipment that most home brewers never achieve. Don’t be afraid to get your hands dirty and really scrub those internals. Your taste buds—and your guests—will thank you for the crisp, clean flavor of perfectly textured microfoam. Have you ever noticed a sudden drop in steam power and wondered if it was time for a new machine, or did a deep clean save the day? Let me know your ‘milk monster’ stories in the comments below!